Skip to content

2014 Summer Scavenger Hunt
  • by

Rsz_2014summerhunt

I’ve got a pretty good start on Rinda’s Summer Scavenger Hunt this year. I’ll have a link to a SmugMug gallery up next week sometime, but for now here are the ones I’ve found so far.

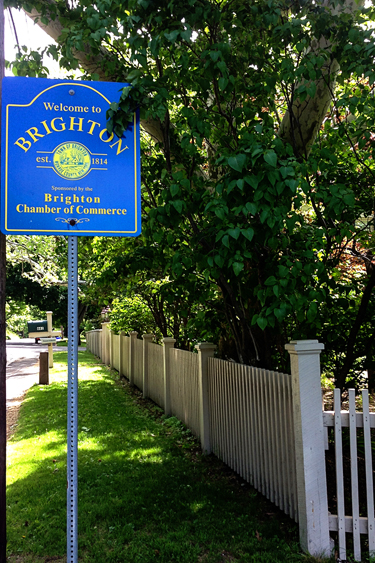
#1 A sign welcoming people to your home town.
IMG_6180ed_blog

We live on the border of Brighton and the city of Rochester so this sign is just a short walk away from our house.

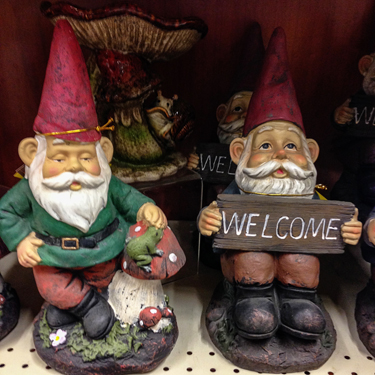
#2 A garden gnome
IMG_6199ed_blog

I found these lively guys for sale at our local grocery store. I gave some thought to bringing one home, but decided against it. I’ll have another offering for this in a week or so. My mother-in-law knew I was looking for one, and found one in a neighbor’s yard.

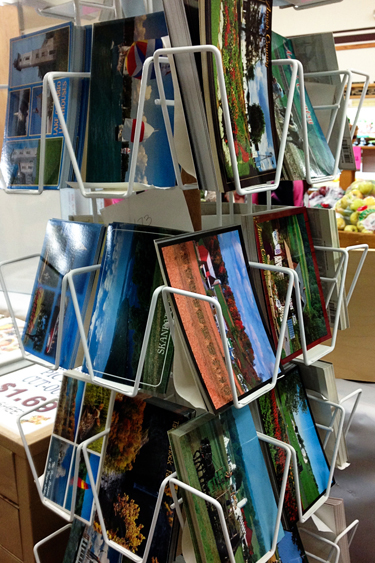
#5 A rack of post cards
IMG_6194ed_blog

These postcards were displayed  at Sauder’s Amish Market when we were there Saturday.

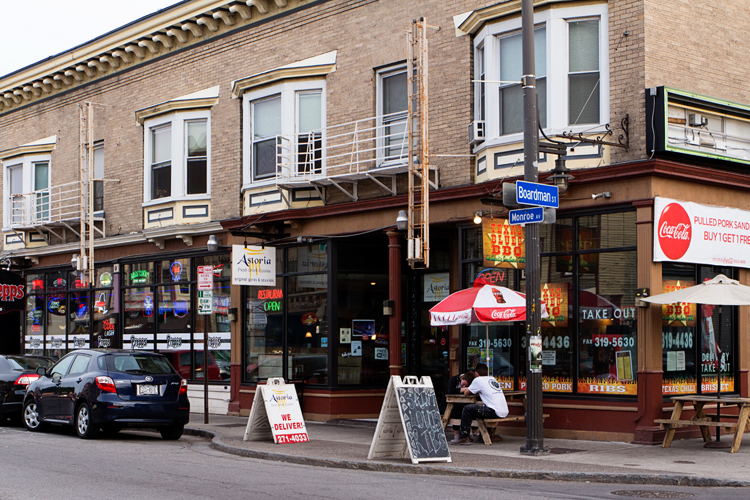
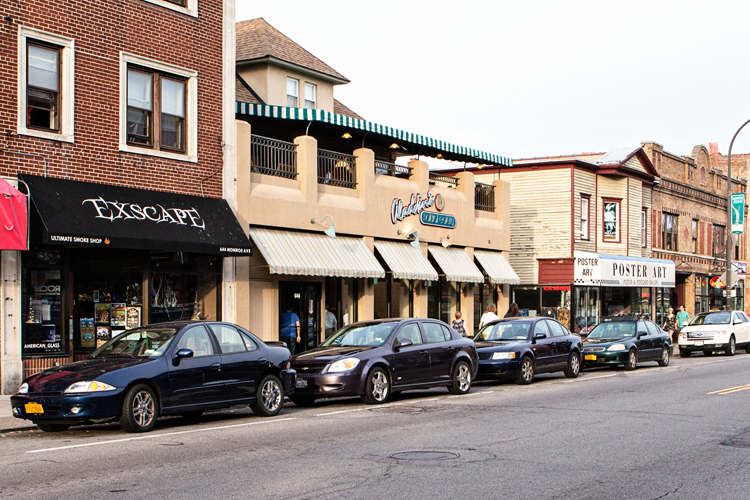
#6 An urban stree scene
IMG_5148ed_blog

IMG_5151ed_blog

Last night was my last photography class at the Community Darkroom, and we were sent out to take photos for the first 45 minutes of class. I didn’t expect to have this one checked off until later.

#7 A rural landscape

IMG_5119ed_blog

I knew I’d find a good prospect for this item on our trip to Ithaca on Saturday. I was hoping for black and white cows with a red barn, but was happy with the sheep and the blue silo.

#8 A tatoo on a person
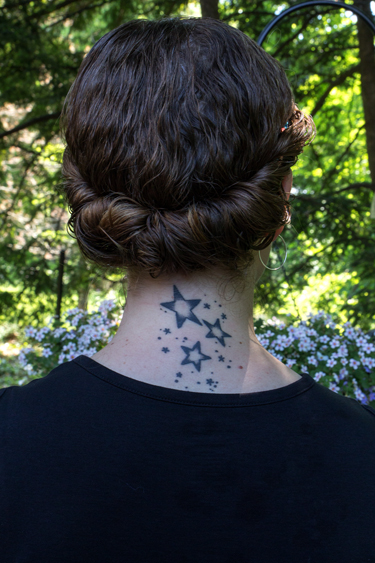
IMG_4899ed_blog

My daughter, Sarah, has wanted a tatoo for years. Frankly, I thought she’d given up on the idea, but that is what she wanted from Adam for Christmas last year. She worked with a tatoo artist in North Chicago to create the tatoo she wanted. The three large stars are for her three boys, Micah and Judah (the twins who did not survive), and Caleb. I knew what her plan was, but was surprised by the size of the tatoo, expecting it to be much smaller. When Rinda published her list, Sarah was here visiting and was willing to pose for a photo.

#17 A lamp post
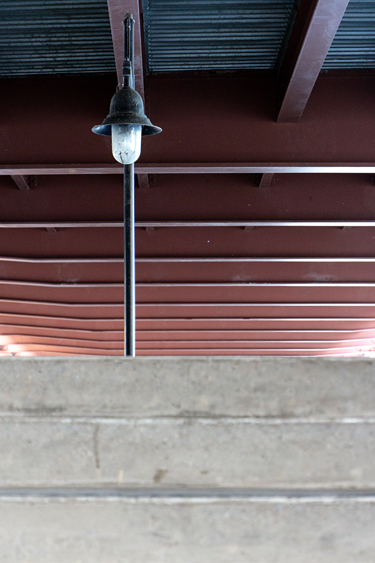
IMG_4877ed_blog

Another find thanks to my photography class. This light post is next to the Frederick Douglass-Susan B. Anthony Memorial Bridge. You can see the underside of the bridge in the background.

#18 A waterfall
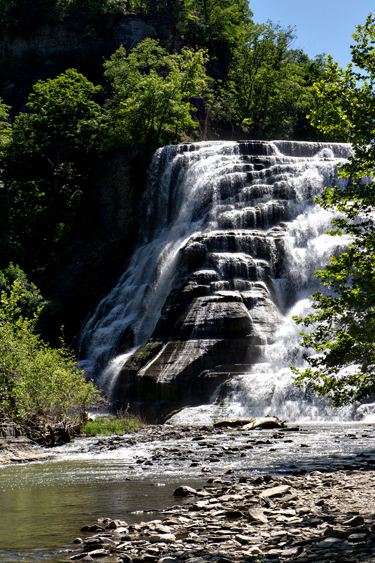
IMG_5095ed_blog

Ithaca is surrounded by gorges and waterfalls. This photograph was on Saturday’s agenda.

I’ll have my Zoom In, Zoom Out up tomorrow morning, and then I’m off to the Presbyterian Church’s 221st General Assembly in Detroit. I’m going as an observer just for the weekend since the head of staff at my church is standing for Moderator of the Assembly. You can read about that here on one of Adam’s posts.
Saturday Road Trip

  • by

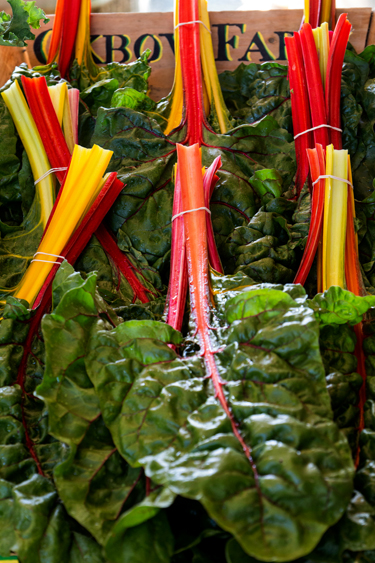
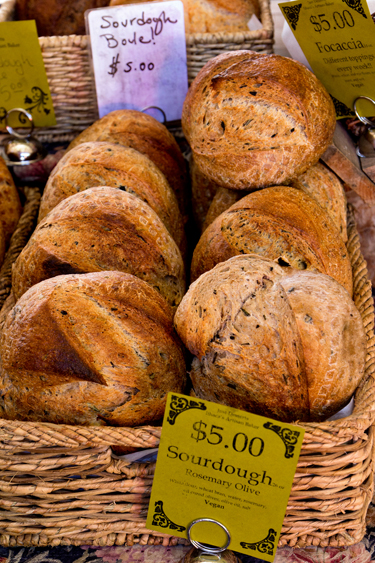
Saturday dawned clear and sunny, the perfect day for our road trip to Ithaca. We always start our day there at the Famer’s Market. This year we bought a few plants, a loaf of sour dough bread, and some Rainbow Swiss Chard.

IMG_5025ed_blog

IMG_5011ed_blog

IMG_5007ed_blog

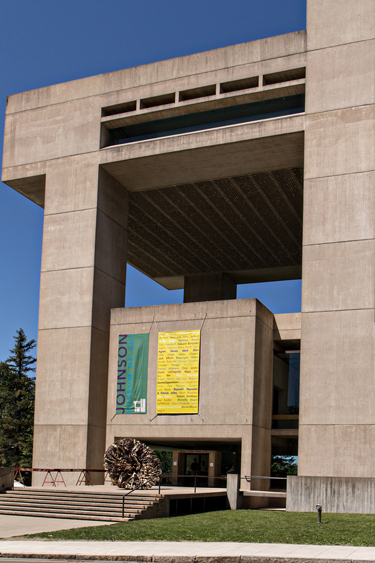
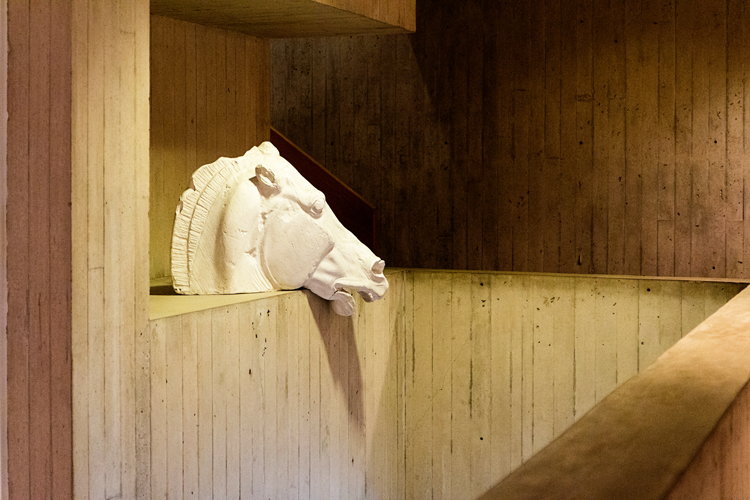
Then we drove to the Cornell campus to the Johnson Art Museum. Much to our surprise (since it was reunion weekend), we had no trouble finding a place to park, and the museum was not overly crowded. 

IMG_5091ed_blog

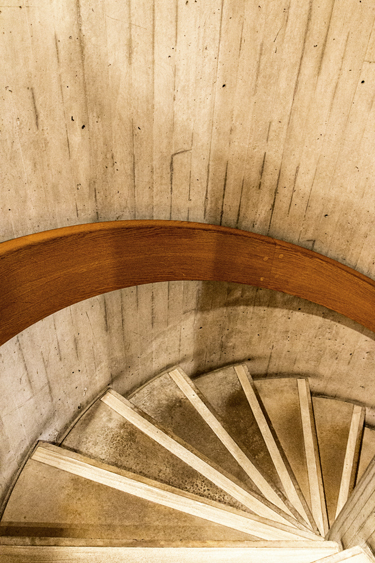
The museum has a nice collection of Ansel Adams photographs, but only a handful were on display this weekend. There’s also an extensive collection of Asian art, but for me the architecture and the views are as good as any of the art.

IMG_5062ed_blog

IMG_5061ed_blog

IMG_5079ed_blog

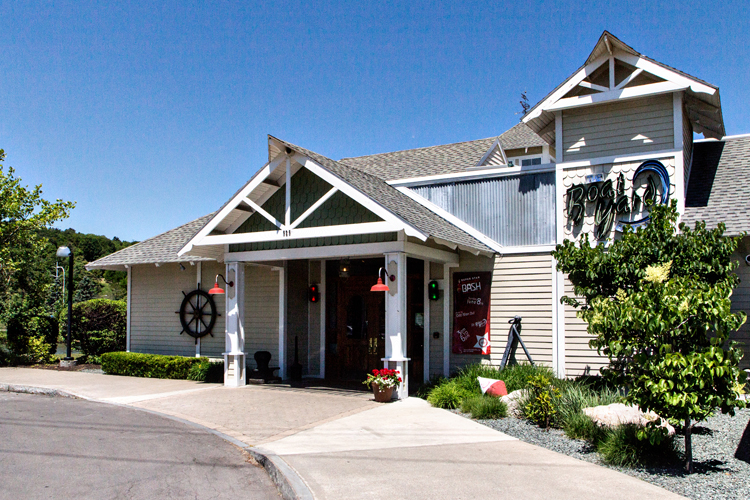
By the time we finished at the museum, it was time for lunch. One of our favorite places to eat when it’s nice outside is the Boatyard Grill at the end of Cayuga Lake.

IMG_5105ed_blog

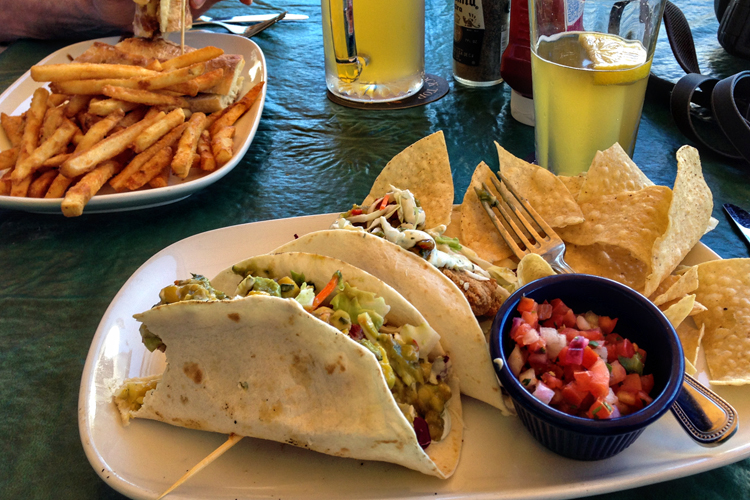
We sat outside on the covered patio (none of my photos from there were particularly good), but my fish tacos were definitely good!

IMG_6186ed_blog

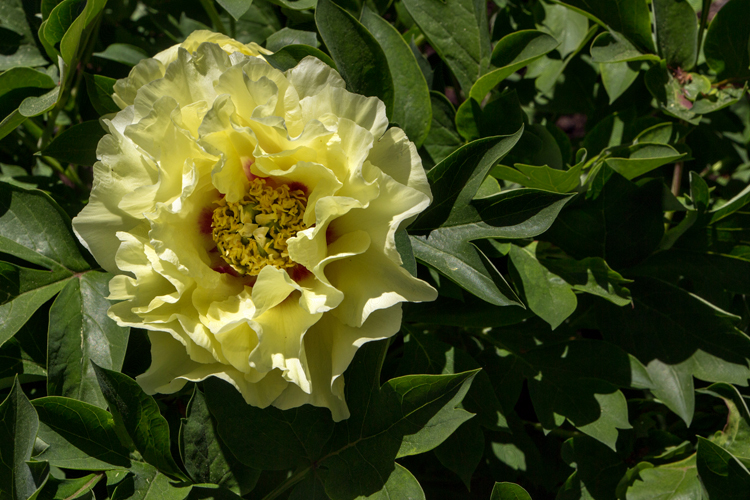
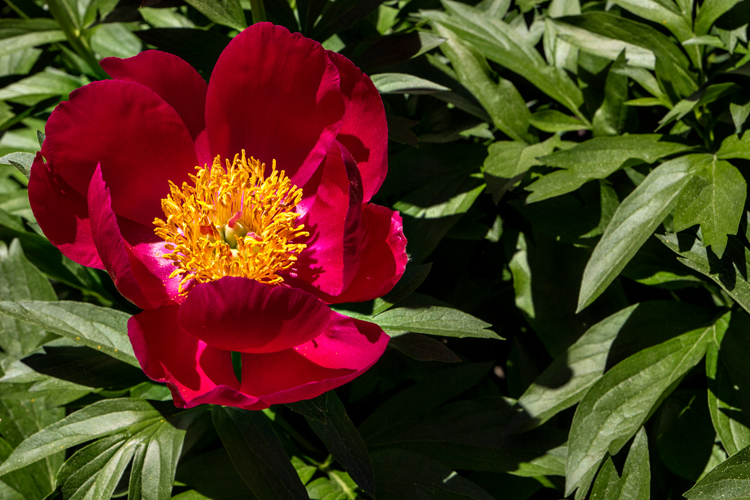
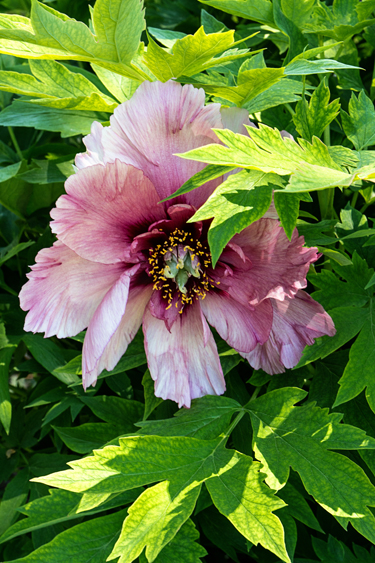
While we were waiting for lunch, I glanced through a free Ithaca newspaper I picked up on the way in. We discovered the Cornell Plantation was having a plant sale, so instead of heading out of town, we went back to Cornell. The peonies in the Botanical Garden were stunning.

IMG_5110ed_blog

IMG_5112ed_blog

IMG_5114ed_blog

I’d love one of these, but there weren’t any peonies for sale. We did buy four varieties of day lilies in a variety of colors which Tracy planted among our peonies this afternoon.

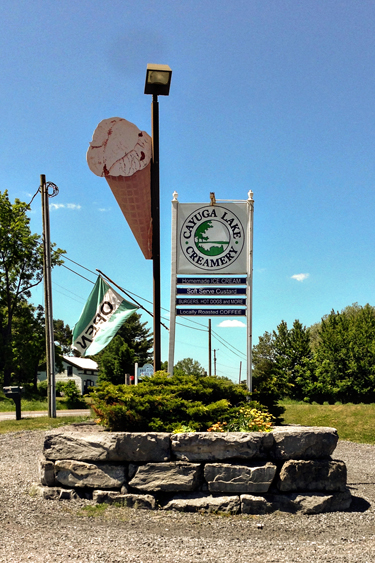
Our first stop on the way home is a favorite in the spring, summer, and fall—the Cayuga Creamery. All their ice cream is homemade, and it is delicious! I had No Doze–coffee ice cream with espresso beans. Yum!

IMG_6187ed_blog

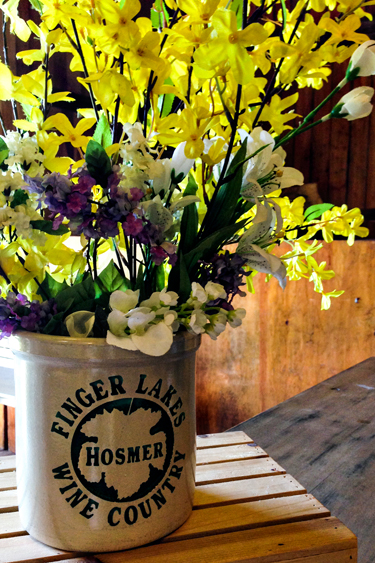
Matt and Betsy gave us a gift certificate to the Hosmer Winery for Christmas so that was the next stop. We shared a tasting (too full to consider anything else!) and quickly decided on a wonderful 2011 Lemberger. We both like this red wine, but it’s not easy to find a good one.

IMG_6190ed_blog

We made one last stop at the Amish Market in Seneca Falls, and called it a day. And it was quite a good one! (I’ve got a few photos for Rinda’s Summer Scavenger Hunt to share as well. Later.)

Something Simple: Two Anniversary Cards

  • by

I sent off two anniversary cards the end of May. I’m entering the first one in Curtain Call’s current challenge “Something Simple.” 

Something simple

3HeartsClose

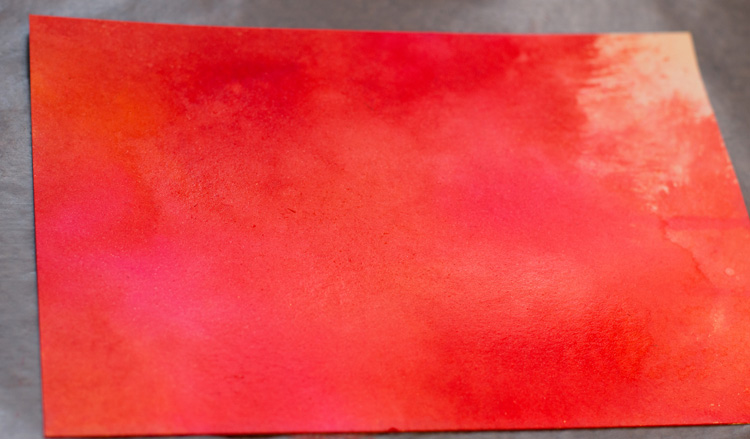
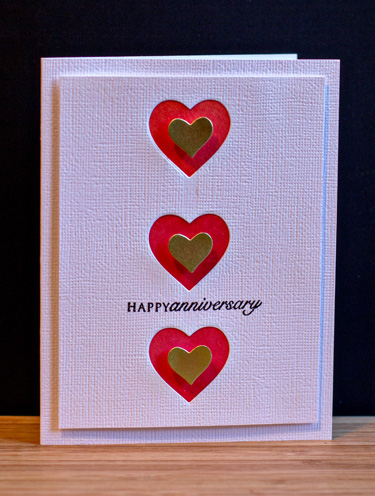
This card was made with the wonderful die (Simon Says) I won on Melissa’s blog several months ago. I sprayed a piece of watercolor cardstock with Dylusions sprays and then added a spray or two of Sheer Shimmer Spritz.

DylusionPaper

I cut a piece of the cardstock and put it behind the three die cut hearts. Sadly, I couldn’t find any light that really showed the glimmer of the red watercolored piece. 
3Hearts

I add three die cut hearts (Simon Says) cut from metallic gold paper and finally the sentiment from “Round and Round” by Papertrey Ink. The cardstock is a textured one from my stash—probably American Craft.

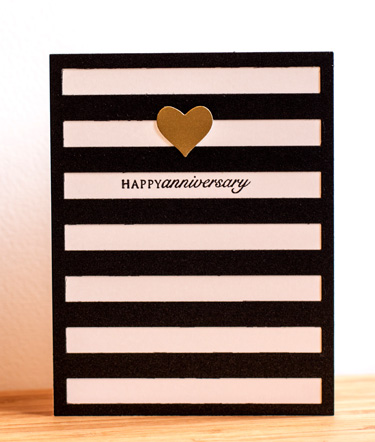
The second card is a total CASE of a card on Danielle Flander’s blog so I won’t be entering that in any challenge. It’s such a great design, however, I thought I’d share it for those who don’t follow Danielle’s blog. She’s a wonderful designer, not only of cards, but of scrapbook pages as well.

AnniversaryShimmer

The black die cut is Papertrey’s Building Blocks coverplate, layered over Select White with another metallic gold die cut heart (Simon Says). The sentiment is the same as the first. 

We’re off to Ithaca tomorrow for our annual spring trip to the Farmer’s Market. We’re hoping to visit the Johnson Museum on the Cornell campus as well, but just discovered it’s reunion weekend there so we may not find anywhere to park! I’ll be trying to finish my last assignment for my photography course, and maybe a few photos for Rinda’s scavenger hunt.

Just a Note: Three Challenges

  • by

Yesterday I received an email saying a gentleman who serves with me on a Presbytery committee had been admitted to the hospital. I wanted to get a card and note off to him.

JustANoteClose

This card actually fits three current challenges, although I didn’t start out to meet the requirements of any of them. The first is one I’ve never entered before, “The Card Concept.” There’s an inspiration piece and in addition, you need to identify your card by type. This card fits the “Clean and Layering” category, and includes the following color challenge:

CardConcept

The CAS-ual Friday challenge is to create a masculine card with the following catch: no kraft cardstock, and you must use some ribbon.

Cfc132

And finally, the Simon Says Wednesday Challenge is to create a masculine or Father’s Day card.

Wednesdayblog-logo

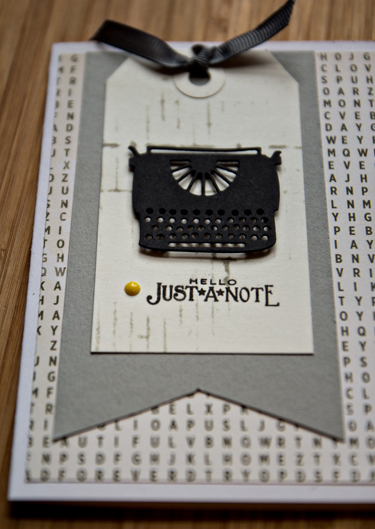
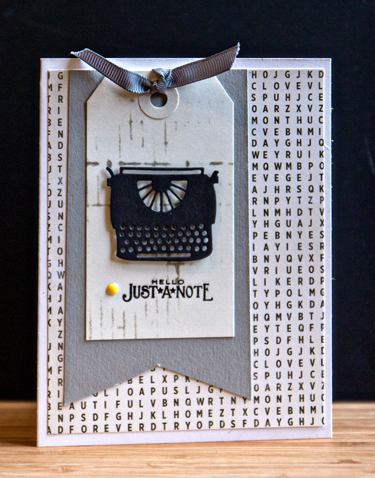
JustANote

I started out with the cute Savvy die cut typewriter which was  already in my die cut basket. I pulled out an Avery tag, and used some Tim Holtz Distress Ink with a Crafter’s Workshop stencil to createsone interest on the tag. The sentiment on the tag was stamped with Papertrey Ink’s “Just The Ticket.” When I looked through my patterned paper I found the perfect match for that from Pink Paislee’s “Vintage Vogue” collection. After tying on some gray grosgrain ribbon, I layed the tag on the patterned paper and realized I needed some plain cardstock between it and the patterned paper. I hand cut a larger tag with Simon Says “Smoke Gray” cardstock, and adhered it all to a Rustic White cardbase (Papertrey Ink). Since the sentiment wasn’t stamped perfectly in the center, adding the yellow enamel dot emphasized the sentiment, and was the final color needed for the Card Concept challenge. I hope it cheers up my friend, Ben.

Zoom In, Zoom Out: Week 23

  • by

Sarah and Caleb left yesterday afternoon, and our house feels very empty and quiet this morning. Life with a two-year old is certainly a change for two empty nesters, but do we ever enjoy having them here! We spent a lot of time with Matt, Betsy, and Skylar over the weekend, and I’ll be back with photos later this week. The party at Shadow Lake was fantastic: perfect weather, beautiful setting, tons of happy people! I took my camera, but didn’t take any photos at the party. Too busy having a good time. Fortunately there was a professional photographer there so I’ll eventually have lots of photos.
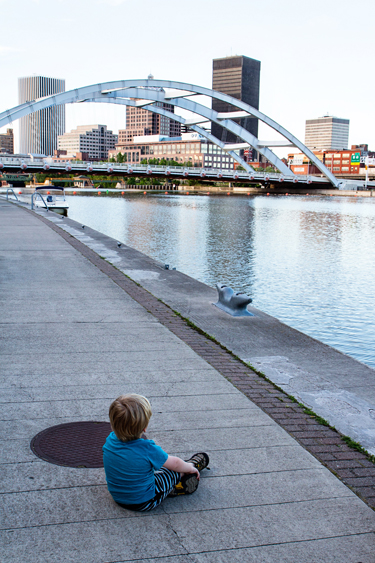
I’m nearing the end of an eight week course called “Beyond Your DSLR” at our local Community Darkroom. I’ve really enjoyed it, and will be back to post more about it when it’s over. This week’s assignment was to choose a subject and take ten photos of it. I’ll share just four of them here (I actually took a lot more than 10), for this week’s Zoom In, Zoom Out. This is the Frederick Douglass-Susan B. Anthony Memorial Bridge that crosses the Genesee River. Much of the walkway in this area is lined with parks and restaurants.
IMG_4887ed_blog

I totally forgot there is no railing or fence along this walkway on the Genesee River. Fortunately, Sarah and Tracy were able to monitor Caleb’s movements while I got my photos! 

IMG_4848ed_blog

For an earlier assignment, we were instructed to use Raw + JPeg and set our cameras to Monochrome. When you upload the photos you get a black and white image as well as a color image. I’ll be using this setting frequently.

IMG_4852ed_blog

IMG_4853ed_blog

I’m off to see what I can do to organize myself for the rest of the week. My list of projects seems endless, and like Rinda, I’m getting ready to try some block scheduling as outlined here by Ali Edwards. I’m hoping it will help me get to some projects that just don’t get the attention they need.


Zoom In, Zoom Out: Week 22

  • by

I’m popping in to post my Zoom In, Zoom Out, but it’s probably my last post for a week, and it will be awhile before I catch up with all of you as well.  Sarah and Caleb arrive tomorrow for five days. When Matt and Betsy got married in December it was a very small, immediate family, event. They knew then they’d want to have a party for the extended family and friends and it’s this Saturday. My brother and niece are arriving on Saturday morning, so we’ll have a full house for the weekend. I’m excited to have family here and to see some friends we haven’t seen in quite some time.

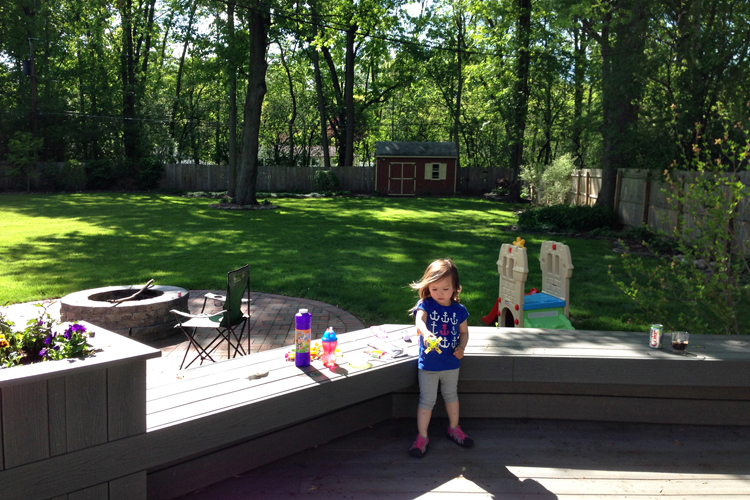
Last weekend was busy too. We spent all day Saturday and Sunday (and evening) helping Matt and Betsy move into their new house. It’s a great house, with lots of room for a growing family, but the best part of all is the fabulous new yard. The house needs some updating (mostly painting), but the yard is perfect just the way it is.

SkylarYard_blog

Skylar is already enjoying it!

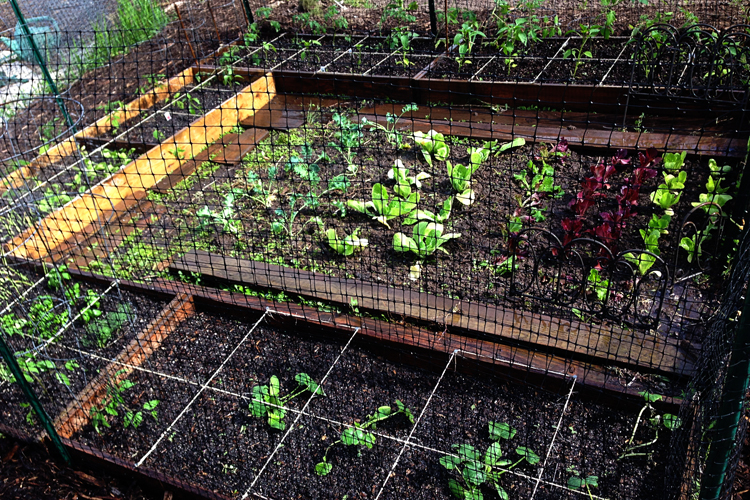
Then on Monday we got our vegetables planted at the community garden. I’m hoping this is a more successful year. Last year the torrential rains caused root rot, and we got less than half the yield we usually get.

Garden_blog

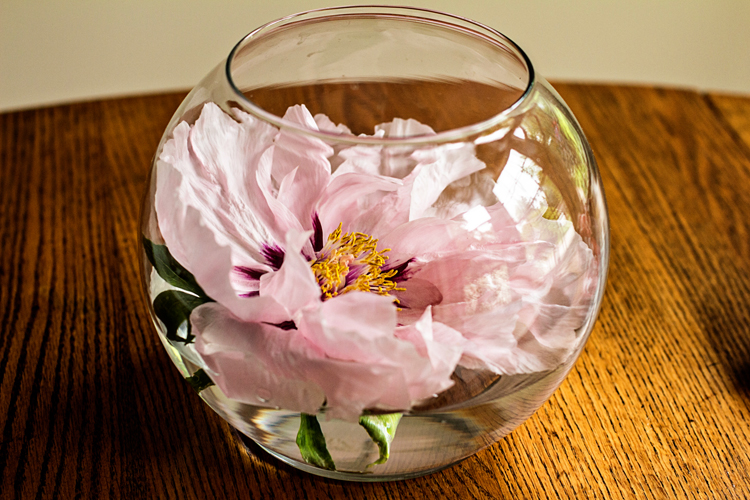
When we bought our house nearly 29 years ago, we discovered a peony tree in our back yard. It’s in the lower yard, and hard to see from the house or the patio. A few years ago when Matt was living with us, he picked one and put it in a bowl. Ever since we’ve brought them in to enjoy for a week or so while they bloom. The blossoms are huge and so beautiful.

IMG_4689ed_blog

IMG_4693ed_blog

You can check out Helena’s kelpies and other links for the Zoom In, Zoom Out meme right here.

Zoom-in-zoom-out-button

Here’s hoping all is well with you. See you next week!

May Papertrey Ink Blog Hop Challenge

  • by

Not that any month seems to drag along any more, but May has really flown by. We spent all day yesterday helping Matt and Betsy move to a new (to them) house just five houses away from their previous home. They’re expecting #2 in November (!!!!) and this house has quite a bit more room, and a fabulous, huge, fenced-in yard. They’re going to love it there. We’ll be back there again today helping them get settled. When I got home last night, I had time to play around with some watercolor techniques and a new stamp and die set from Papertrey Ink.

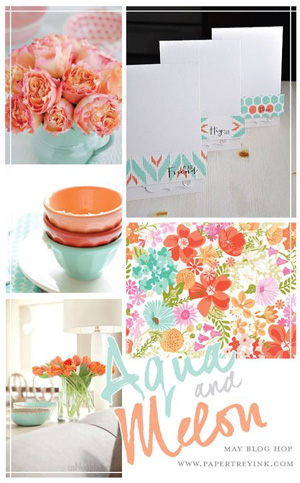
This month’s blog hop challenge was a color challenge: Aqua and Melon.

PTIBlogHop

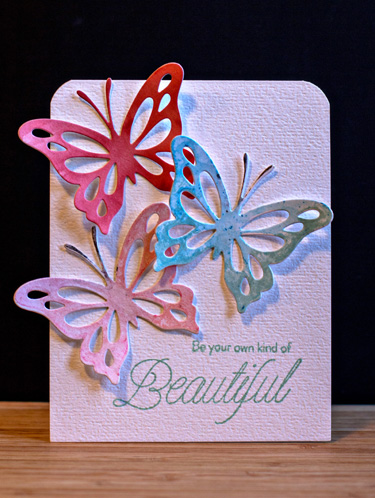
My first card meets the challenge with both colors. 

3Butterflies

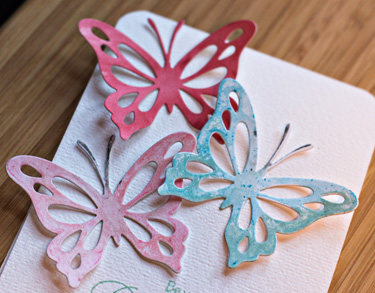
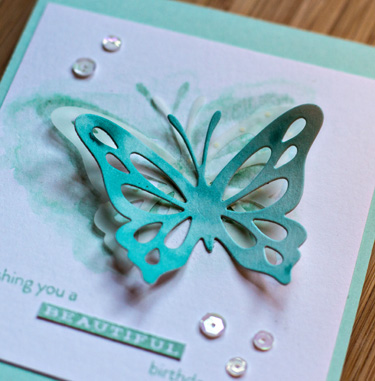
I love this new butterfly set, “A Beautiful Life.” The darkest of the butterflies was die cut from a piece of Bristol paper on which I did a watercolor wash with some Peerless watercolors. The other two butterflies were stamped after coating them with Gelatoes and spraying them with water. Then I die cut the stamped images which were amazingly easy to line up. The sentiment is also from the same set stamped in Aqua Mist.

3ButterfliesClose

I decided the butterflies were a bold enough statement that they didn’t need any other embellishment.

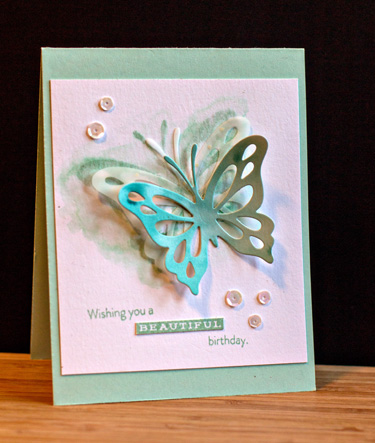
My second card is my favorite, and although I tried adding some melon accents I really like it better without them. So here it is, even though it really doesn’t meet the challenge.

AquaButterfly

I stamped the butterfly image with Aqua Mist on a piece of Tim Holtz watercolor paper, and then “bled” the ink around the image much the way Betsy Veldman did here. Then I added a butterfly die cut from dotted vellum, and a die cut from an aqua watercolor wash with Peerless watercolors. This time a few white sequins seemed in order.

AquaButterflyClose

Hope you’re having a wonderful weekend! 

Watercolor for Card Makers & A Challenge

  • by

Today is the last day participants in the Online Card Class can post their work to the galleries. Today I found time to finish two cards I had already started and create a third one. Each one uses a different medium for the watercolor.  I’ve taken several of the Online Card Classes and loved them all, but this one rates an A+. Each lesson was loaded with content and inspiration, and the techniques varied from beginner to very advanced. I’ll be working on the techniques for weeks to come, but I’m already more comfortable with many of the watercolor mediums now than I was when we began. One thing I’ve learned (which is not easy for me) is that you cannot hurry watercolor. It takes time!

All three cards qualify for the new CAS-ology Challenge: Flowers, so I’ll be linking them up there.

Week 96 - Flower

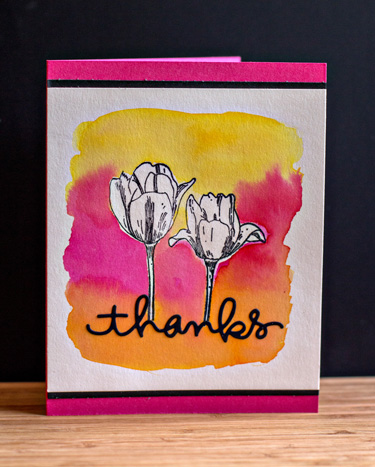
My first card is based on a lesson for Day 2. Jennifer McGuire demonstrated how to use art masking fluid (or rubber cement) to seal the stamped image. Once it dried, it was easy to add a water color wash over it.

Thanks

After the watercolor dries, you can easily rub the masking fluid off the stamped image. I added a die cut from Simon Says and put the watercolor panel on a card of Raspberry Fizz (PTI) and added some thin pieces of black card stock to set it off.

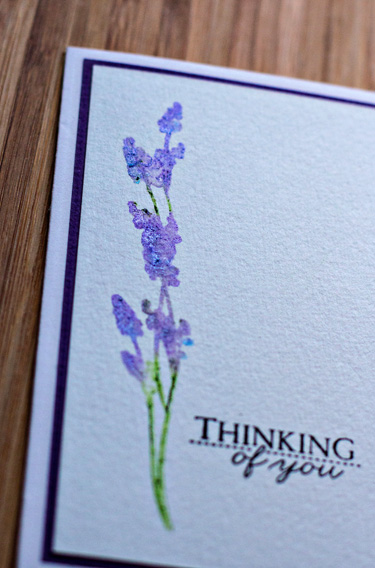
On Day 4, Shari Carroll used Gelatoes directly on a stamp. She used a red rubber stamp, so I wasn’t sure how it would work on a clear acrylic stamp, but my test sample came out just as I hoped, so it ended up on the card! My purple Gelato is one of the metallic ones, and so the flower has a subtle sheen to it.

Thinking

The stamp is from a rather neglected set by Papertrey Ink called “Life.” I do believe this class will breathe new life into some of my older, less used stamp sets. The sentiment came from “Winter Hills,” also by Papertrey. Here you can see the subtle shine of the Gelato.

ThinkingClose


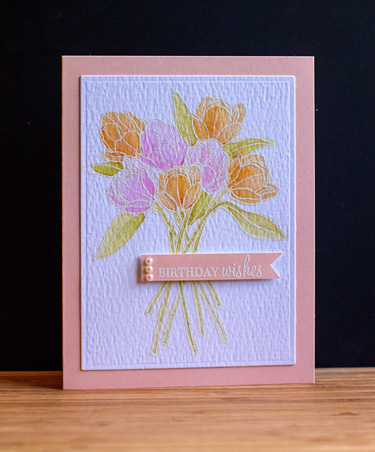
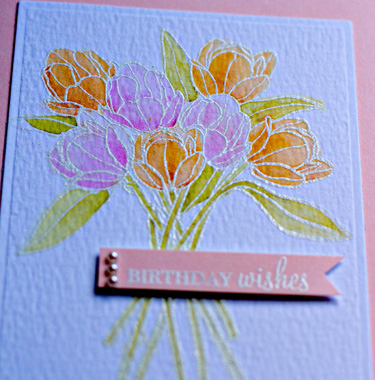
The last card was based on another of Jennifer McGuire’s cards on Day 6 where she watercolored a white embossed stamped image. She used some Sparkle mist as her water, but I didn’t feel the tulips were a great subject for that, so I stuck to water. This one took a lot of time. It was very difficult to see the white embossing on the watercolor paper. I taped it down on a clipboard and by tilting the clipboard to the light was able to get it watercolored. I used Tim Holtz Distress Markers for this one.

BDWishes

I do love these soft colors, and it was worth the time it took. 

BDClose

The tulips are from Friendship Jar Spring Fillers, and the sentiment is from “Wishes Come True,” both Papertrey Ink sets. 

Zoom In, Zoom Out: Runniculas

  • by

May seemed to be slipping away from me, and then I ended up with a nasty cold which is so unusual I was quite taken aback. So my hopes of getting a lot of watercoloring done fell along the wayside with most other creative endeavors. 

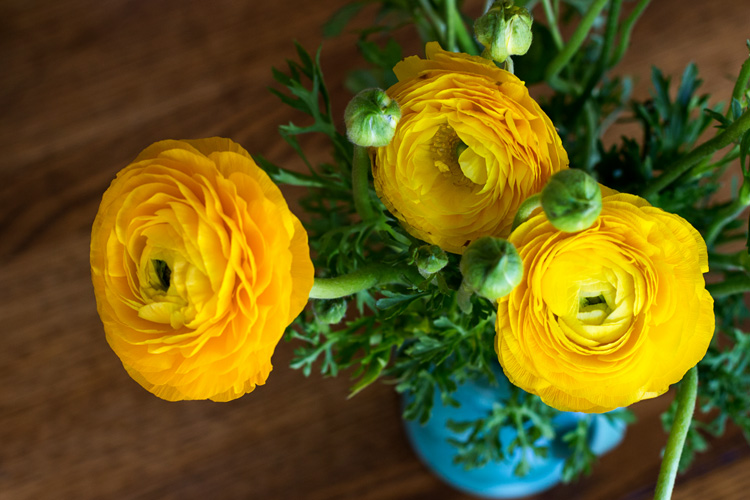
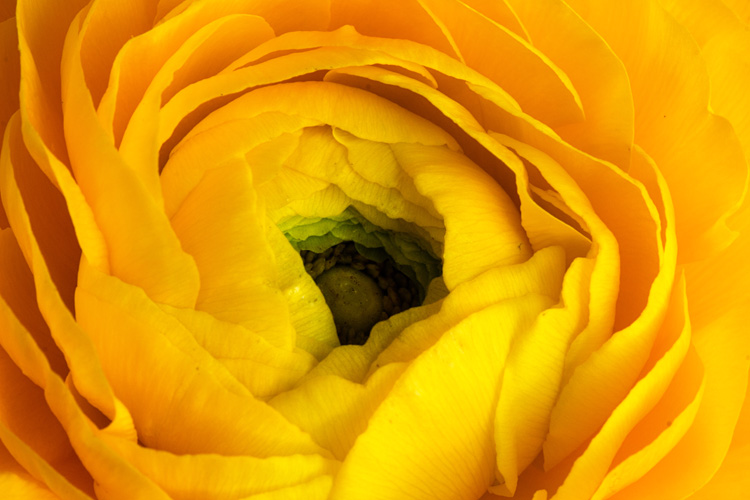
A friend recently brought me a beautiful bunch of runniculas. As part of one assignment for the photography course I’m taking I pulled out my macro lens and had some fun.

IMG_4395ed_blog

IMG_4397ed_blog

I’ll be back later with a long (long overdue) One Little Word post for April. I’d better hurry as it will soon be time to talk about May’s intentions!

Zoom In, Zoom Out

  • by

Zoom-in-zoom-out-button

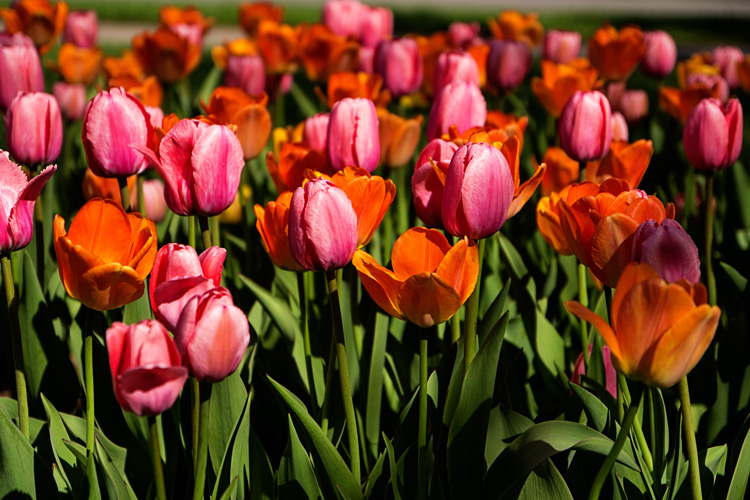
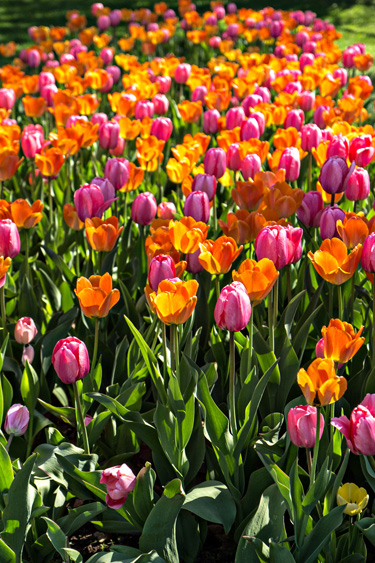
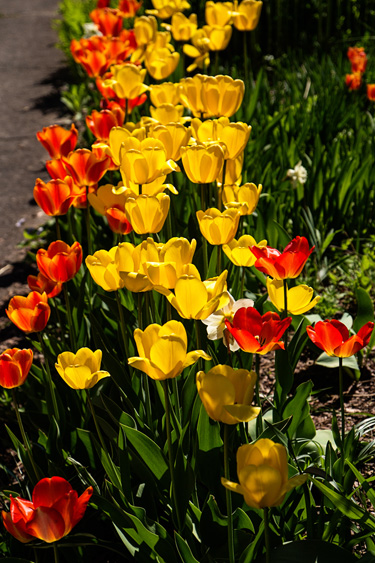
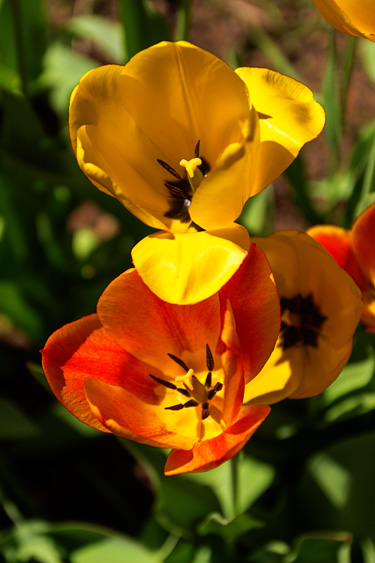
It’s time for Helena’s wonderful meme:  Zoom In, Zoom Out. You’ll have to indulge me for awhile. It was such a long, gray winter I’m obsessed with the beautiful spring flowers. This week when we walked through the park, the magnolia blossoms were mostly on the ground. The tulips, however, are still gorgeous.

IMG_4577ed_blog

IMG_4580ed_blog

I love the colors in this collection planted near the conservatory.

IMG_4581edb_blog

IMG_4583ed_blog

And I always love red and yellow.


More Watercolor

  • by

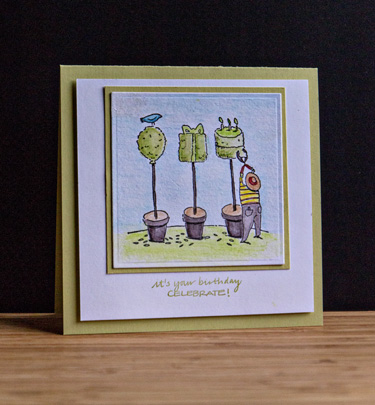
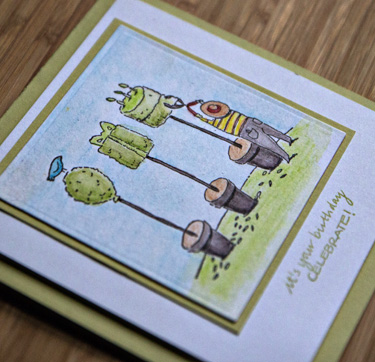
I’ve fallen behind in the Watercolor for Cardmakers class. The featured cards just get more and more beautiful every day, and I’m a bit overwhelmed by all I want to try. I do have a couple cards to share. The first one is watercoloring a stamped image from Jennifer Razsa’s lesson on Day 5. In my desire to use some of my older wooden stamps I chose “Happy Birthday Topiaries” by Uptown Rubber Stamps. I don’t even know if they’re in business anymore. Every time I purge my stamp collection, this one makes the cut. It’s whimiscal nature gets to me every time. 

I used my Inktense watercolor pencils for this one, and it was definitely a learning experience. I’ll be giving it another go once I’ve tried some of the other techniques.

BirthdayTopiaries

TopiariesClose

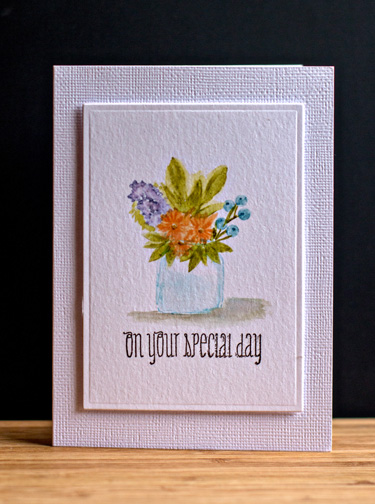
The next card was also a learning experiences from the lessons on Day 3:  watercolor stamping. This involves applying ink directly to the stamp and then adding water to the stamped image. I followed along with a video by Dawn Woleslagle on her WPlus9 blog to create this card. She’s one of the instructors for the class, as well.

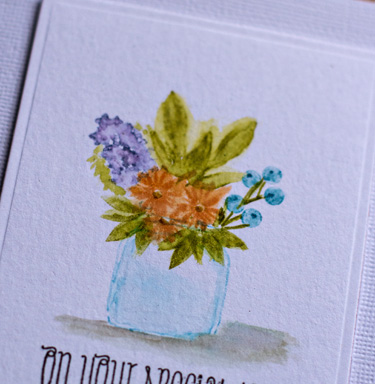
SpecialDay

I used another older wooden stamp by Judith for the mason jar. It’s a bit bigger than I would have liked so I’ll search through my acrylic stamps next time for a better choice. The flowers, foliage, and sentiment are all from Dawn’s “Fresh Cut Flowers.”

SpecialDayClose

I’m anxious to try this again soon, as I think I know what I what’s needed to improve the watercoloring here. I’m hoping to find time today to watch the last three days worth of videos for class so tomorrow I can give another technique a try. I’ve always thought these classes were well worth the money, but this one far exceeded my expectations. I’ll be working on these techniques all summer!


Happy Mother’s Day & Watercolor #4

  • by

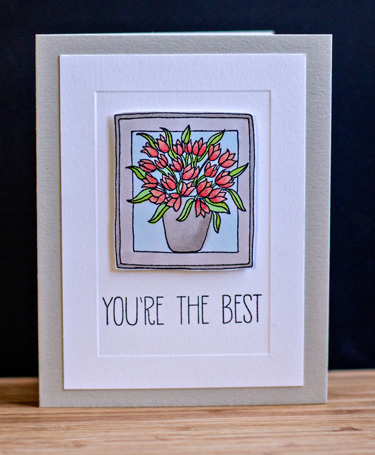
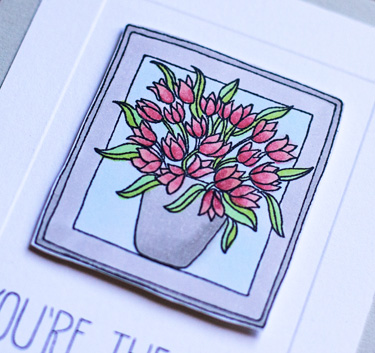
Today is Mother’s Day in the States, and I’ve had quite a lovely one. Before I share a little bit about my day, I thought I’d share the cards I sent to my daughter and and gave to my daughter-in-law. Sarah’s been spending a lot of time in her yard, so I sent her a gift certificate to a lovely nursery around the corner from their house. A floral card seemed appropriate. One of my goals this year is to use some of my older stamps and decide if they are ones I want to keep. The stamp collection is the one thing I really didn’t spend a lot of time purging in January, although I did give a nice sized box to the charity shop. I decided this stamp of tulips by Lockhart is a keeper.

MothersDay2

I colored it with Copic markers, adhered it to a Paper Source embossed flat card, and then to a card made with Simon Say’s new Fog cardstock (a new favorite.) The sentiment is from Avery Elle.

MD2Close

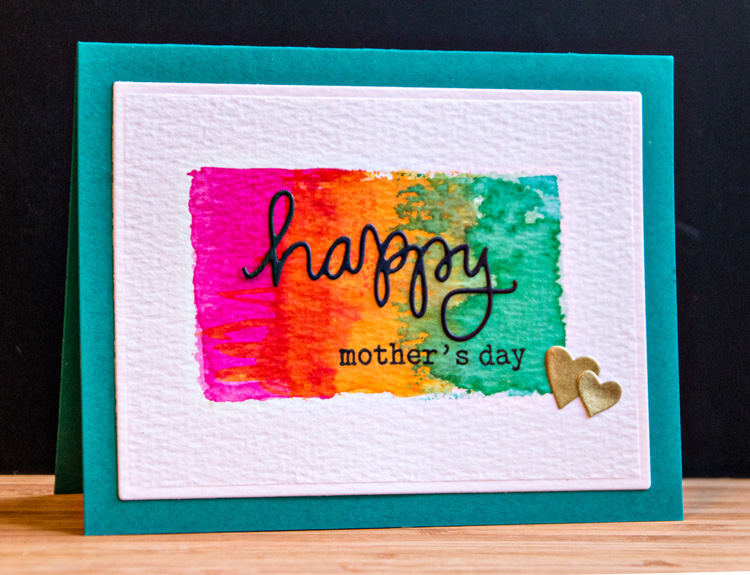
Betsy’s card is another card for the Watercolor for Card Makers class. I posted another card using this technique earlier. This time I was quite happy with the way the Distress Inks stamped off the acrylic block.

MothersDay

The die cut is from Simon Says “Happy,” and the rest of the sentiment from Winnie and Walter’s The Big, The Bold, and The Happy. After mounting it on Papertrey Ink’s Tropical Teal card, I added two gold die cut hearts left over from a previous project. 

HappyMothersDayClose

This is also the week of my birthday, and I took some money I’ve been saving and purchased a fixed aperture 17-50mm lens for my camera. We’re finally having some splendid spring weather, and the Lilac Festival in Highland Park opened on Friday. This morning Tracy and I walked through the park and I had a chance to try out the new lens.

IMG_4549ed_blog

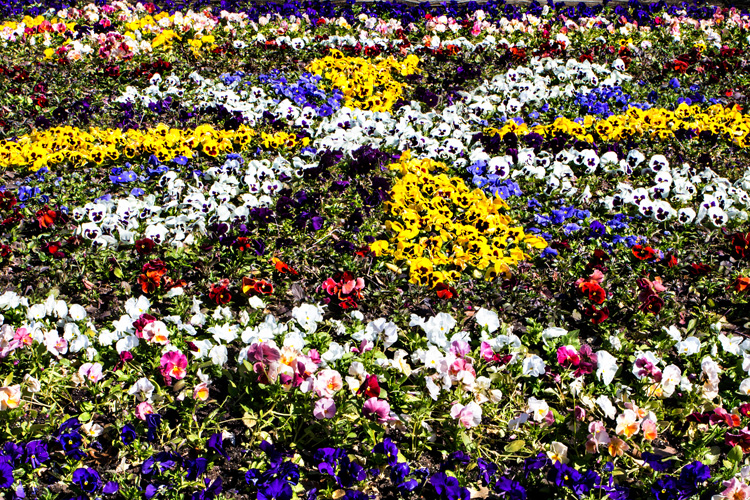
This is just one section of a huge pansy bed they plant for the festival each year. The design is always different.

IMG_4553ed_blog

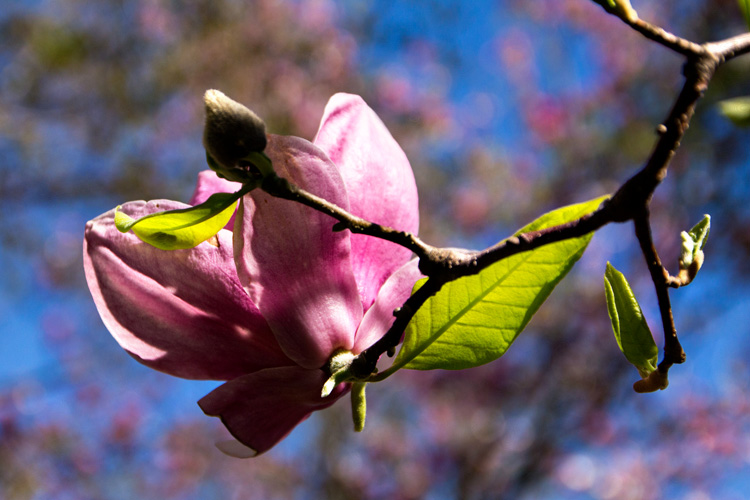
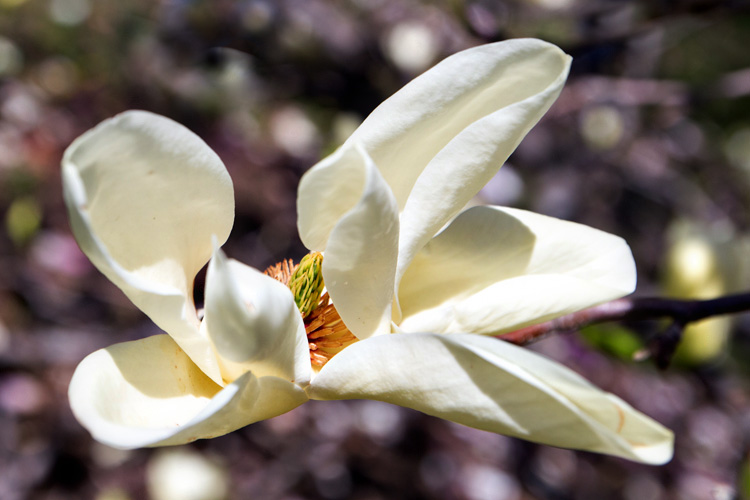
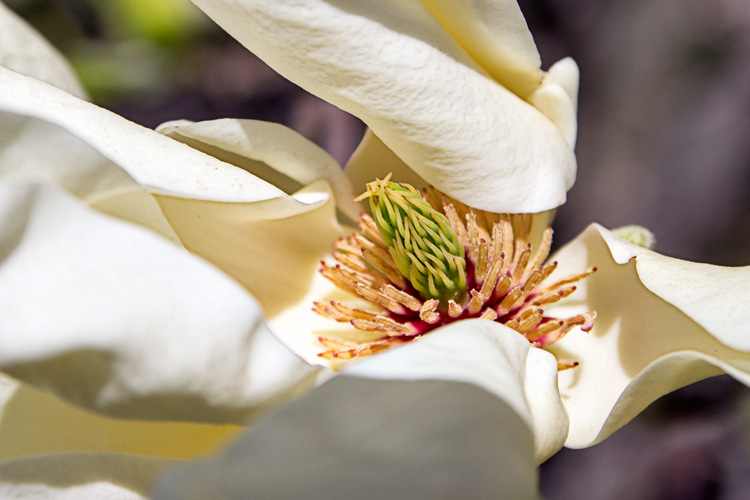
Despite a lot of rain Friday night and some pretty strong winds (we were in the park for Tracy’s brother’s band performance), the magnolias have survived rather well.

IMG_4568ed_blog

IMG_4561ed–blog

IMG_4562ed_blog


My main motivation for purchasing the lens was to improve my ability to take photos in low light situations. I’m asked pretty frequently to take photographs at Presbytery events, usually in a church where I’m uncomfortable using my flash. And then, more importantly, I’d like more consistently good shots of grandchildren indoors. But I have to say, I’m pretty pleased with the way the lens performed outdoors today. It’s the heaviest lens I own, but wasn’t a problem during our three mile walk.

After lunch, we went to the nursery and purchased the geraniums for our patio bed, and a flat of marigolds to plant along the driveway. Tracy bought me a beautiful hanging pot of geraniums, vinca, and lobelia which is hanging by the front door. (Forgot to take photos of these!)

Matt, Betsy, and Skylar came for dinner, and we had a nice long Face Book session with Sarah, Adam, and Caleb. I couldn’t have asked for a nicer day!


Watercolor: Part 3 & CAS(E) This Sketch

  • by

Back again with yet another card from the techniques introduced on Day 1 of the Online Card Class. This time it was the embossed resist technique which I’ve done before on a smaller scale. I didn’t have a background stamp with the open spaces they recommended but I thought this one called “Tiny Flags” by Hero Arts might work.

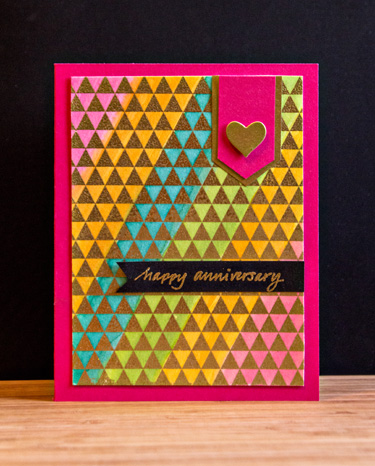
Anniversary

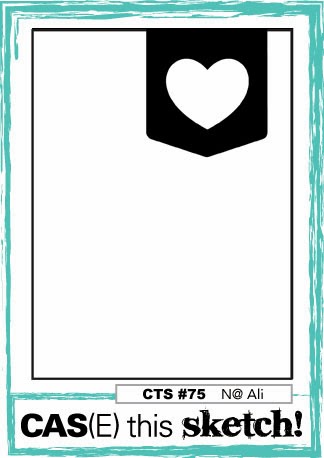
I embossed it with gold on the smooth side of Tim Holtz’s watercolor paper, and used Distress Inks to watercolor diagonal stripes, and adhered it to a card made with PTI’s Raspberry Fizz cardstock. The stamp is a very old wooden one by Savvy Stamps. I needed an anniversary card for my brother-in-law and sister-in-law and this looked appropriately festive. The card design is based on this week’s sketch from CAS(E) This Sketch. It couldn’t have been more perfect!

CTS_Sketch_75 (1)

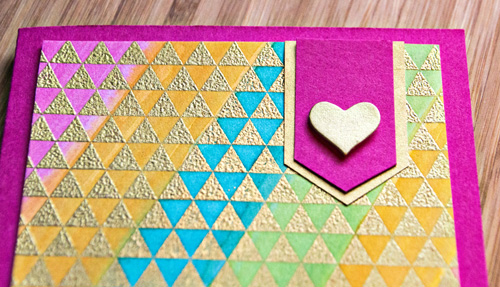
Here’s a closer look at the watercoloring.

AnniversaryClose

We’re off in just an hour or so to celebrate Mother’s Day with Tracy’s mom and siblings. We’re celebrating a day early since his brother, Greg, who’s band was inducted in the Rochester Music Hall of Fame last week, flies back to Texas tomorrow.

Watercolor for Card Makers 2

  • by

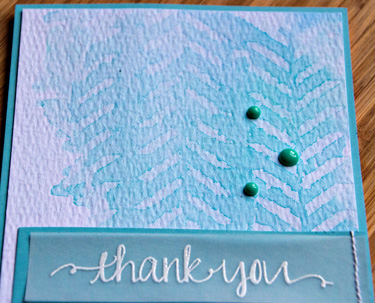
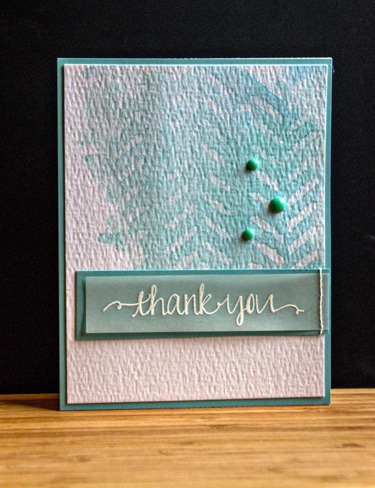
This was the first technique taught in the Online Card Class on watercolors. Once you’ve painted a watercolor background, you lay a stencil down on it, press it in, and when you lift it up here’s what you see.

ThankYouStencilClose

I absolutely love this technique and will use it again, I’m sure. Luckily it worked well on the first try!

ThankYouStencil

I used my Winsor and Newton travel watercolor set with the Crafter’s Workshop “Mini-herringbone” stencil on Tim Holtz watercolor paper. My favorite thing about this watercolor paper is how white it is. Both my cold press watercolor pad and my regular watercolor pads are more cream colored. I bordered the watercolor piece with a piece of Worldwin “Light Terrific Teal” cardstock. I used to be able to buy this paper locally. When the last of the local shops went out of business I stocked up on a lot of colors, but they’re beginning to dwindle. I love the range of colors and it’s a great weight for matting. 

The sentiment (“Oh, Happy Day” by Avery Elle) was stamped on vellum, layered on another piece of cardstock and stitched down. I’ll enter this in Virginia’s View Challenge:  Stitching, even though there’s not a lot of it!

Watercolor for Card Makers 1

  • by

As soon as I saw it advertised I signed up for the Online Card Class:  Watercolor. I’ve tried nearly all the techniques from Day 1, and have four cards I’ll share here over the next few days, but today is Day 4, and the list of things I want to try is LONG! Like every other Online Card Class, this one is packed with techniques, videos, and great tips that apply to more than just watercolor. I thoroughly enjoy these classes.

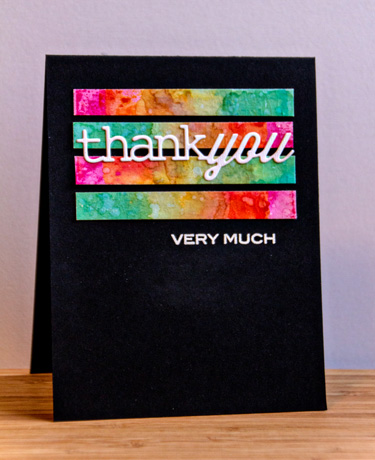
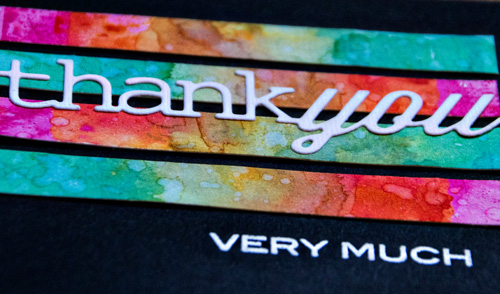
My first attempt at using Distress Inks and an acrylic block to stamp some intense watercolors wasn’t a total success. I wasn’t really happy with one of the colors I chose, but when I cut the piece into strips and alternated them, I ended up with a card I like.

ThankYou1

The die cut & stamp are from “Wonderful Words: Thank You” by Papertrey Ink, and the cardstock is Papertrey’s True Black. 

ThankYou1Close

I was happier with the second attempt, but I’m saving that one to post on Mother’s  Day. Off to see the videos for Day 4!