Skip to content

Project 64: Tumbleweed

  • by

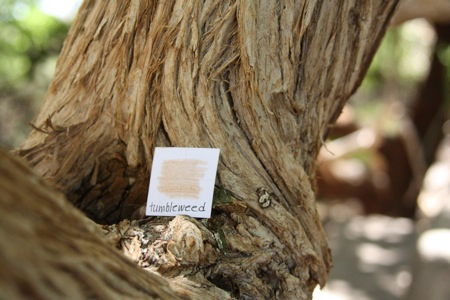
I sure hope Typepad comes out with an iPad app soon. There’s no way to alternate text with photos on the iPhone app I’m using now. I’ll be home to post this week’s color, but here are my tumbleweed shots. By chance, we were in the desert this week, so finding tumbleweed was not a problem. The real tumbleweed was found at the Painted Desert, and the rest of the photos were taken at the Desert Museum in Tucson.

Project 64: Tumbleweed

Project 64: Tumbleweed

Project 64: Tumbleweed

Project 64: Tumbleweed

Project 64: Tumbleweed

The Rossie Albums

  • by

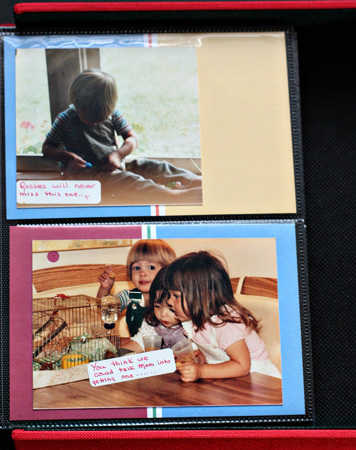
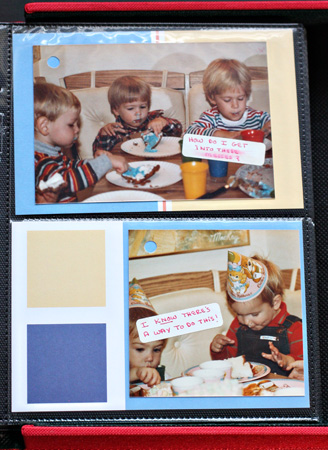
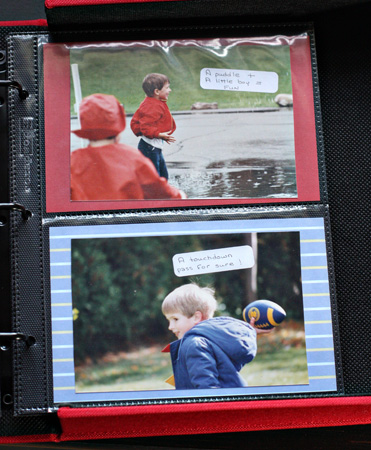
I didn’t have time to create my page for the One Little Word tag book before I left on vacation. But the big accomplishment this month was finishing Sarah’s Rossie Album. I finished Matt’s last month, but ended up moving all the photos from one album to another. I bought two-up albums for these projects, but I don’t like the way the pages lay in the post-bound album. I can’t find another 8X8 ring album that works, although I ordered on that didn’t work!

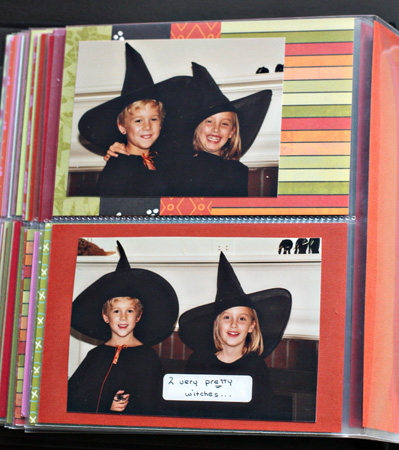
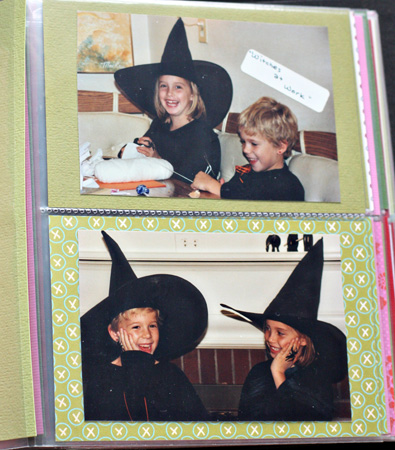
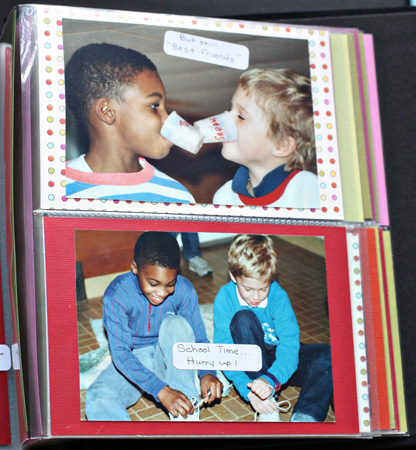
I had the very best day care any mother could want. Rossie (a variation of her last name) is still a wonderful friend to all of us. Both kids worked for her when they were in middle school. She paid them a nominal fee, and it kept them in day care for a couple extra years. Moving up through the ranks from baby to toddler to little kid to big kid was a rite of passage in her house. Almost no one left once they’d come through the door, so both Sarah and Matt had the same friends for years and years. Sarah is still in contact with one of them, and when I run into any of the parents or the kids around town, it’s like a little family reunion.

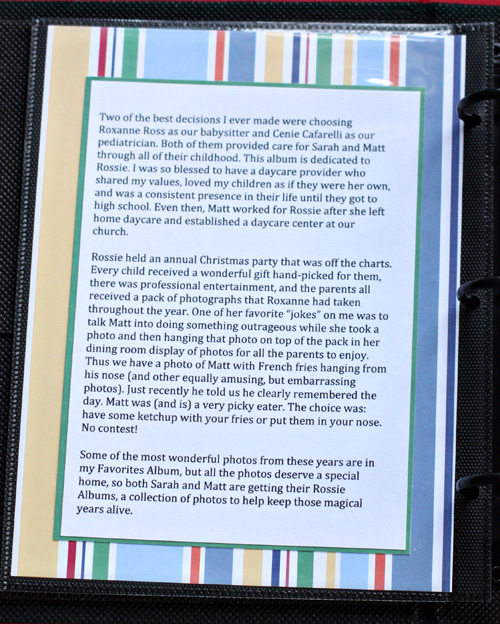
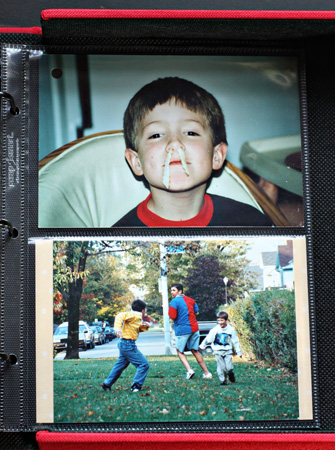
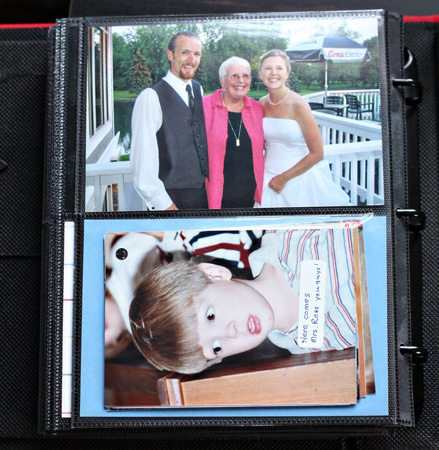
Rossie took lots and lots of photos during the year. At her annual Christmas party she would hang a packet of them for each parent on her dining room wall. One of her favorite things to do was to find a really goofy photo to put on the top of Matt’s pile, in hopes of making me squirm. 🙂 Thus the photo of French fries in Matt’s nose. He laughed when he got to that photo, and told us that Rossie told him he could try ketchup on the fries or stick them up his nose! She knew he’s never try the ketchup. I wanted my kids to have these albums of their time with Rossie. Matt took his with him, and Sarah will have gotten hers by the time this posts. Here are a few photos of the two albums.

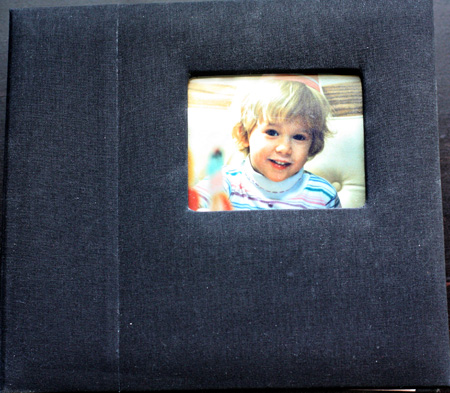
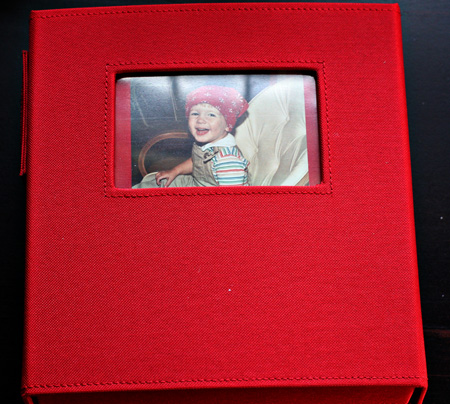
SarahCover

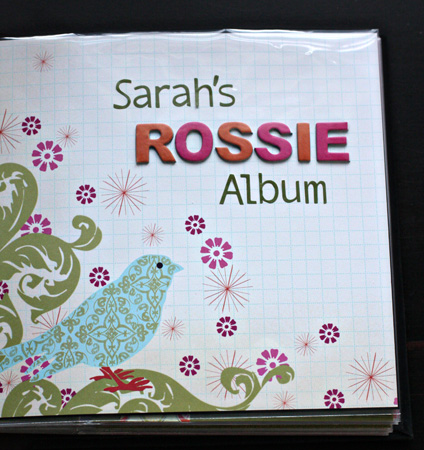
SarahTitlePg

Sarah2

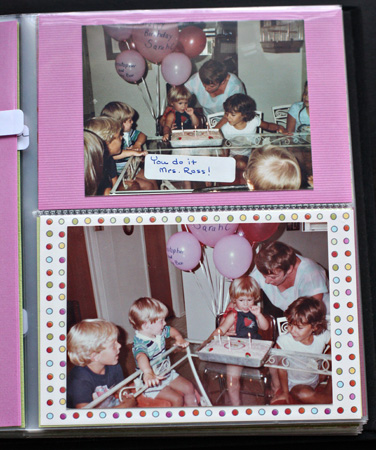
You always had two birthday parties, one at Rossie’s and one at our house.

Witches1

Rossie’s captions were always a big hit!

Witches2

Sarah3

Still friends today.

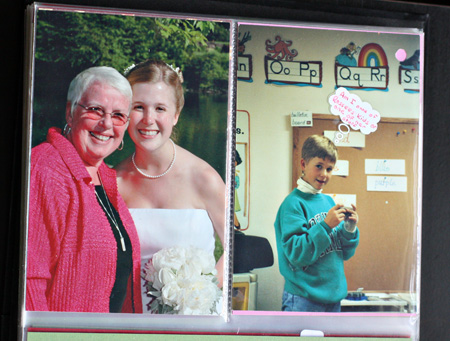
SarahFinal

Sarah and Rossie at her wedding.

MattAlbumcover

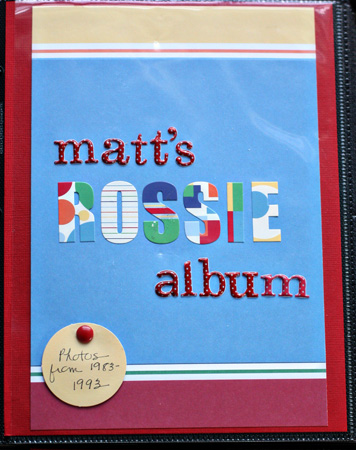
MattTitlePage

Journaling

Matt8

Matt6

Matt4

Matt3

Matt1

MattFinal

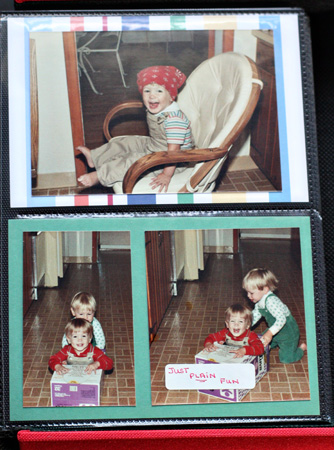
The last page of Matt’s album with a few extras that I didn’t have room for.

Since most of the photos were 5X3 I had to cut 4X6 mats for them. Sarah’s album uses coordinated papers from Scenic Route, and Matt’s are from SEI.

Road Trip Layout

  • by

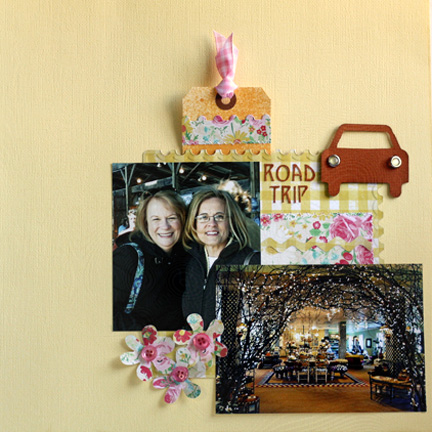
Here’s a layout I did for the Scrap-Mart blog this month. I really like how it came out. It was nice to work with just two photos instead of trying to fit four or more on the page as I have been with My Home album.

RoadTrip3

I started out with the beautiful new paper from Emma’s Shoppe by Crate Paper, and used both sides of it for my layout. I die cut and embossed a panel from Spellbinders’ Creative Book Pages as a mat for the photos and embellishments. Then I stitched a piece of the floral paper and cut a rickrack border with the checks. The car was cut with my Slice (Animal Cracker’s cartridge) with two SEI brads for headlights. I needed a tiny title and the Silhouette came in handy again. The strip on the misted journaling tag is the negative piece from one edge of the Creative Book Page die, and the flowers are from Lifestyle Crafts (Quickutz) Spring Blooms die. The ribbons and buttons are from my stash. The yellow cardstock is American Craft’s “Butter.”

Project 64: Violet Red

  • by

This is my fourth attempt to post from my iPad. I knew it might be tricky, and indeed it is. There’s an app for the iPhone (which I’m using now, but no Typepad app for the iPad. Writing a post isn’t the problem. It’s getting photos up that are sized appropriately.

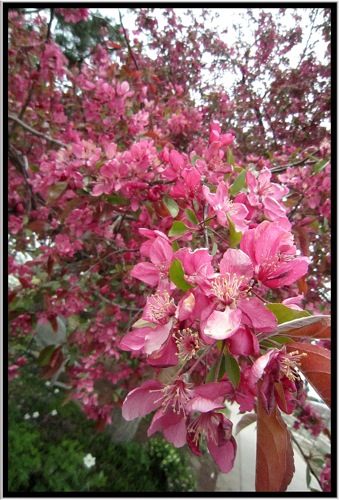
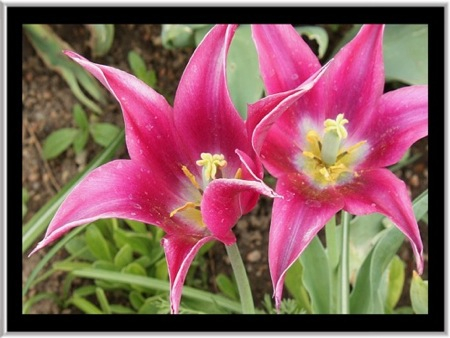
All the photos for this week’s color were taken at the Denver Botanic Garden, just a few blocks from Matt’s new apartment. He found a great one, but can’t move in until Friday. We’re leaving tomorrow morning for Santa Fe, and will be at Tracy’s brother’s in Phoenix by Friday.

Project 64: Violet Red

Project 64: Violet Red

Project 64: Violet Red

Project 64: Violet Red

Happy Birthday, Marti!

  • by

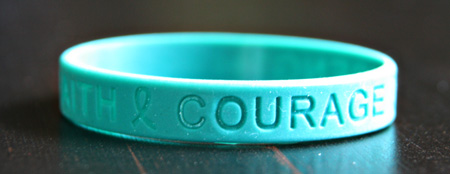
Today is Deb’s mother’s birthday! (Hi, Marti!) I’m a proud member of Team Teal, a blogging and personal support group as Marti battles her cancer. My mom also fought cancer, though of a very different kind.

TeamTeal

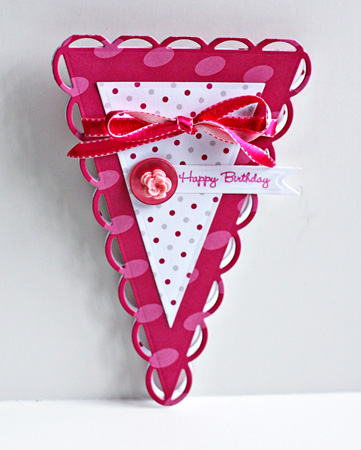
Although I sent Marti a totally different card, I thought I’d post a card I made for Scrap-Mart from the new pennant dies by Spellbinders.

HBPennantCard

Creating a card from the Lacey Pennants wasn’t as hard as I thought it might be. I used a two-sided paper from American Crafts, so the inside matches the smaller pennant on the front cut and embossed with the Nested Pennants. The sentiment is from the Just Right “Happy Everything” set which has ended up being a very versatile set. All the other elements are from my stash.

Make-It Monday

  • by

Make-itMonday

One last challenge before I leave for vacation. I’ve always loved the hand-drawn frames Nicole Heady does on so many of her cards, but I’ve never been very successful at it. After watching her video, I found it’s easier than I thought.

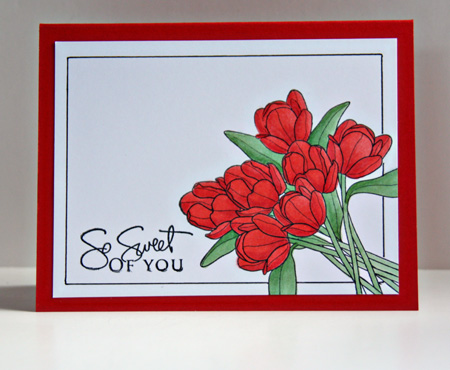
SoSweet

This tulip image from the Friendship Jar Spring Fillers set was the image that pushed me over the edge and put the stamp set in my cart. But this is the first time I’ve used it. I love the way it looks on its own without the jar. I don’t make one layer cards that often, but I think that might change. The tulips were colored with Copic markers, and the sentiment is from Signature Greetings. You can find the other entries for this challenge here.

Color Challenge

  • by

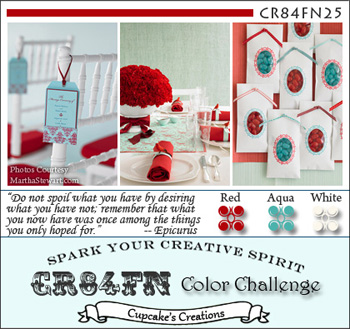
I’ve been lurking on the CR84FN Color Challenge site for a few weeks, but finally got around to creating a card. I love this combination of red, aqua, and white.

CR84FN25+Graphic

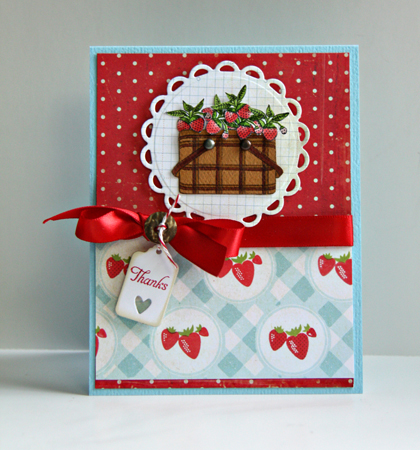
The first thing I did was take a look at the most recent Studio Calico kit, and found two perfect papers, one by Studio Calico and one from Emma’s Shoppe by Crate Paper. The strawberry paper then dictated which stamps I used. I was surprised to discover that the only strawberry stamp I own is part of Papertrey Ink’s Vintage Picnic set. It’s one of my favorites, and it’s been awhile since it’s seen some love. I also cased Heather’s design which you can see on the CR84FN site as well.

CR84FN4.26

I colored the strawberries with a combination of Copic markers and Faber-Castell Artist pens. The strawberries are so tiny, the artist pens were much easier to use on the leaves than the Copics. I also used the artist pens to enhance the picnic basket and added two brads to the handles. I cut out five sets of strawberries and layered them into the basket after adhering it to the Lacey Circle I cut from the B side of the Studio Calico paper. The ribbon and button are from Papertrey as is the Tiny Tag. I just love the Tiny Tag set. It’s the perfect size for tying to a bow.


Project 64: Pacific Blue

  • by

Project64

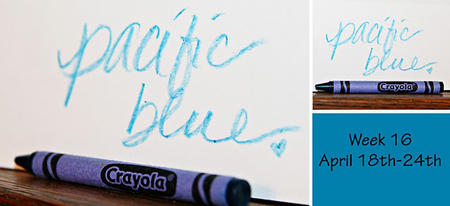
I wasn’t too hopeful about finding much Pacific Blue this week, but actually there was a lot more than I expected and I never had to leave the house.

  Wk16 pacific blue copy

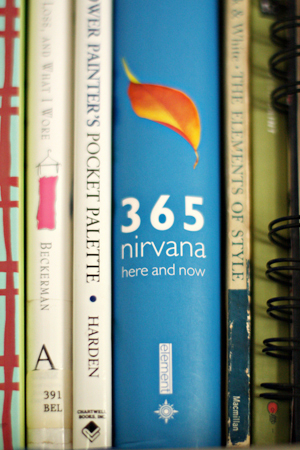
Books

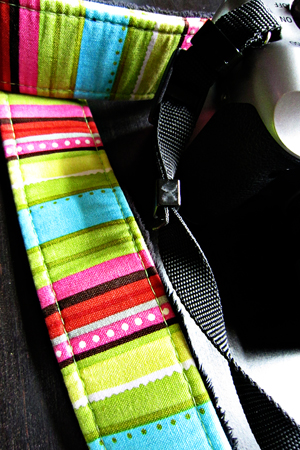
CameraStropw

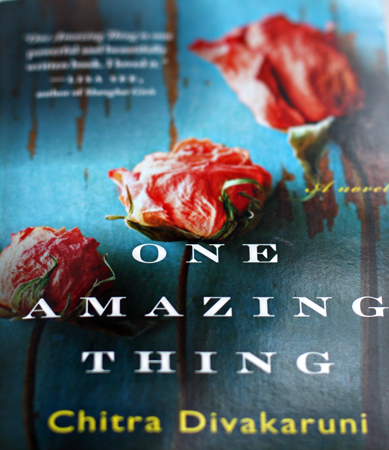
OMT

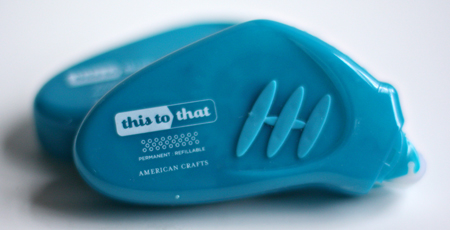
ThisToThat 

They were all right here in my studio. Who knew? Just another reason why I like this challenge—it encourages me to look more carefully everywhere.

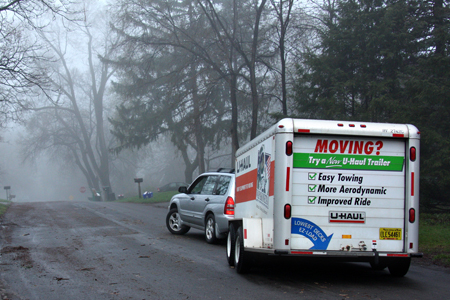
For the next couple of weeks, I’ll be on the road, and I’m hoping to continue to participate. I’ve never tried to post from an iPad and the photos will definitely be SOOC. If need be, I’ll do a catch-up post when I get home. Tracy and Matt rolled out of here a day late due to major car repairs on the way to Denver. Matt’s new job starts on Monday. I’ll be joining them on Thursday.

U-Haulw

Papertrey April Blog Hop

  • by

Bloghoplogo

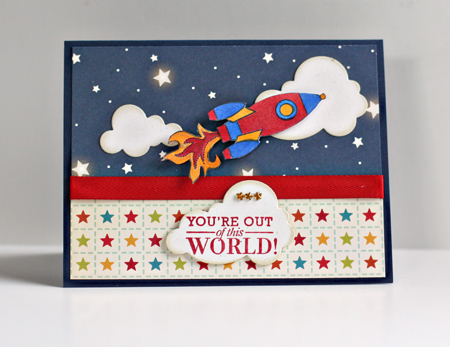
I don’t typically post twice in one day, but I totally forgot about the blog hop until this morning. Since my April order arrived on Friday, it was the perfect opportunity to break out the new stamps. This month’s release and the theme of the blog hop is masculine cards. I didn’t order many of the new stamp sets, but I did love the Out of This World stamps, and knew I could use them for a variety of occasions.

OutofWorldPTIBlogHop

I was pleased to discover the sentiment I wanted to use fit inside the larger cloud die. All the product in this card is Papertrey Ink except for the cardstock (Bazzill), the patterned paper (October Afternoon), and the Twinkle Stars (A Muse Creative Candy).

Anniversary Wishes

  • by

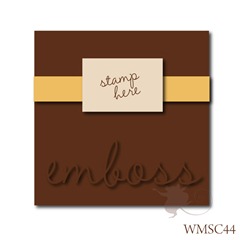
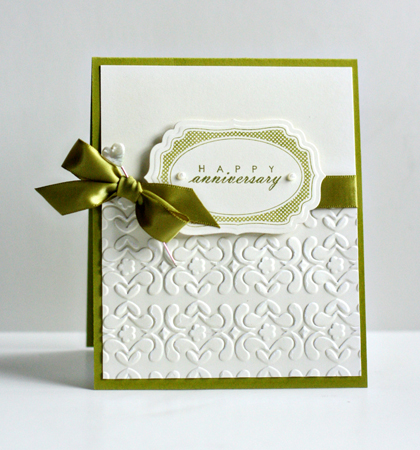
I’ve been trying to complete all the cards I need for the many birthdays and anniversaries of friends and family that occur in May. The last two I needed to do were for anniversaries, and both cards meet the challenge at Mark’s Finest Paper where the challenge is to create an anniversary card. The first is based on the Waltzing Mouse Sketch Challenge so I’m posting it there as well.

WMS44-Sketch_thumb1

AnniversaryWMS

The cardstock is Simply Chartruese (Papertrey Ink) and a pale yellow (looks cream here) by Memory Box. The bottom half is embossed with a Sizzix embossing folder (I think it’s called Snow Flowers). The stamps are Very Vintage Labels 4 by Waltzing Mouse Stamps and the greeting is from Fillable Frames #4 (Papertrey Ink). The ribbon is Simply Chartreuse. the pearls are Reflections (Michaels), and the heart pin came in a Scrapbook Circle kit.

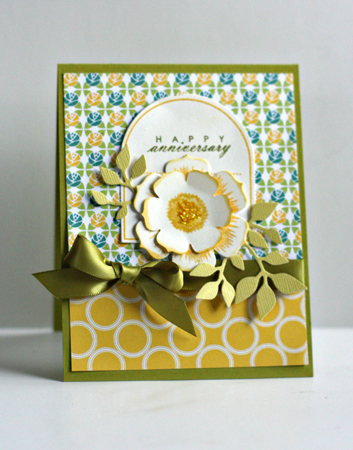
Anniversary1

This card was based on a simply beautiful card I found here by Heather Jensen. I love the Sending You stamps and dies (Papertrey) and used the same cardstock and ribbon that was lying on my desk from the previous card. The patterned papers are DeLovely by Cosmo Cricket, and the sentiment is the same as above as well. The leaves are a Sizzix die “Branch with Leaves” which I cut into two pieces. I have all the May cards addressed and in my bag to mail at the appropriate times when we’re on our trip.


Happy Easter

  • by

After a beautiful service at our church (always totally uplifting) we’ll be headed to my brother- and sister-in-law’s for Easter dinner and a celebration of Bill’s 90th birthday. I think there are 14-15 people scheduled to attend. This will Matt’s last dinner with us before he heads to Colorado on Monday. I expect to have more than a few mixed-emotions today and tomorrow!

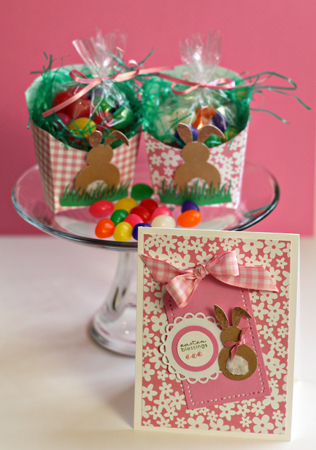
Here’s an Easter project I did for the Scrap-Mart blog. I love these Quickutz fry boxes and they make a perfect home for a little bag of jelly beans.

Boxes&Card

The patterned papers are all Jillibean Soup and just perfect for Easter. I cut the bunny and the grass with my Silhouette. A Lacey Circle and Small Circles (Spellbinder’s Nestabilities) made a perfect home for the Papertrey Ink sentiment on the card. I used some Fun Flock on the bunnies’ ears and on their tails. The tag is a Papertrey Ink die.

If you celebrate Easter, I hope it’s with family and friends and that the day is a joyous one!

Spellbinders’ Week at Scrap-Mart

  • by

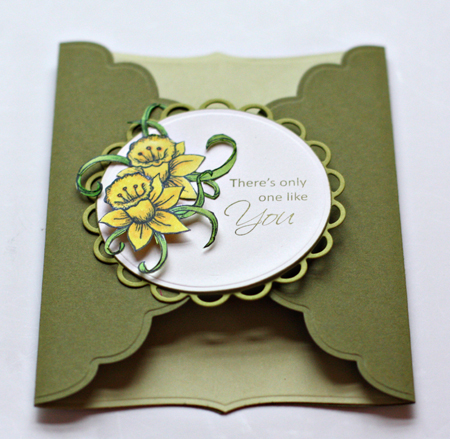
This week was Spellbinders’ Week on the Scrap-Mart Blog and I thought I would repost my contribution here. No week goes by without my using one (or many) of my Spellbinders dies. It’s a rare card that leaves my studio without a mat or message cut and embossed with a Spellbinders’ die. I’m lucky enough to have a Grand Calibur and a few of the Grand Nestability dies. They’re great for scrapbooking, but my favorite use is to create a shaped card base with them. This time I used the largest die from the Grand Nestability Labels Four and created a tri-fold card.

SpellbindersDaffodils

After folding the two sides in, I cut and embossed a lighter shade of green and trimmed it to fit the inside center of the card. Using a third shade of green I cut a Lacey Circle and then a Large Nestability Circle from cream cardstock for the sentiment and focal point. The daffodils are from the Heartfelt Creations “Daffodils” set which I colored with Copic Sketch markers. The sentiment is also from Heartfelt Creations, the “Classic Message” set. The sentiment is stamped with Quick Quotes chalk inks. I used half of a velcro circle to close the card.

Scrapbook On The Road

  • by

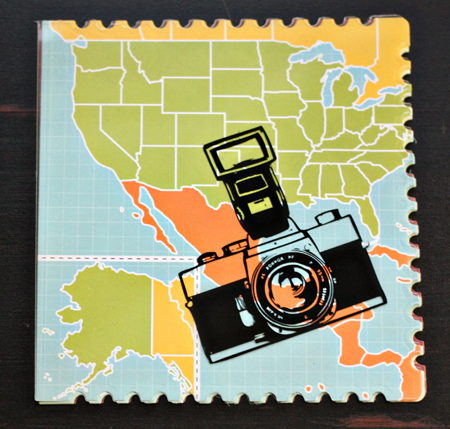
On a whim, I purchased Ali Edward’s class “Scrapbook on the Road,” and set up an album to take with me on our next trip. I’ve never tried to scrap on the road, but I’m anxious to give it a try, and this looks totally doable. Although Ali assembled all of her scrapbook ahead of time, I decided to create the pages and take a small bag of embellishments and journaling cards with me. This way I can choose what size page I need and can decide whether or not I need an envelope or how big a journaling card each day warrants. I used the Spellbinders Creative Book Pages dies again for this album which, once again, seem just perfect. I plan to bind the book with my Bind-it All when it’s finished.
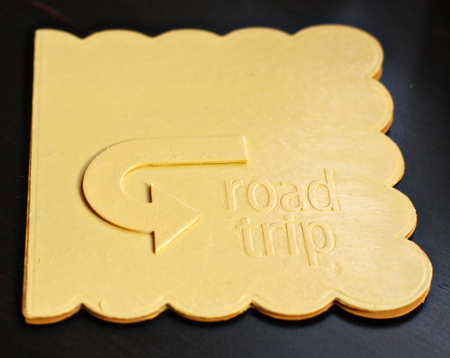
Cover

The covers were cut from plain chipboard (run through the Grand Calibur twice) and painted with Heidi Swapp paint after I adhered the Doodlebug Stickers to the front. I painted a Technique Tuesday arrow and adhered it to the cover as well.
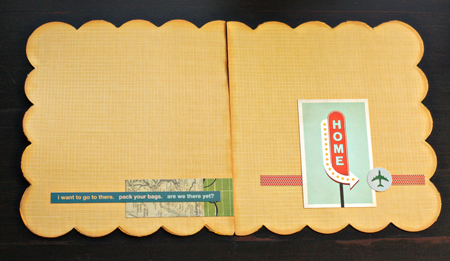
InsideCovers

Rather than paint the inside covers, I lined them with Chatterbox patterned papers that have been in my stash for years. The embellishments are a scrap of paper by Simple Stories from a page I cut for the album, and a phrase sticker from Little Yellow Bicycle. On the back inside cover is a Studio Calico Journaling Card and two stickers from Little Yellow Bicycle.
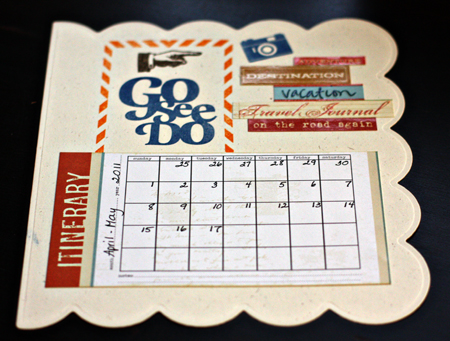
Itinerary

This is one of very few completed pages (except for filling in the calendar). The Itinerary card and word fetti stickers are Little Yellow Bicycle, the camera stamp is from October Afternoon, and the three title stamps are all Studio Calico.
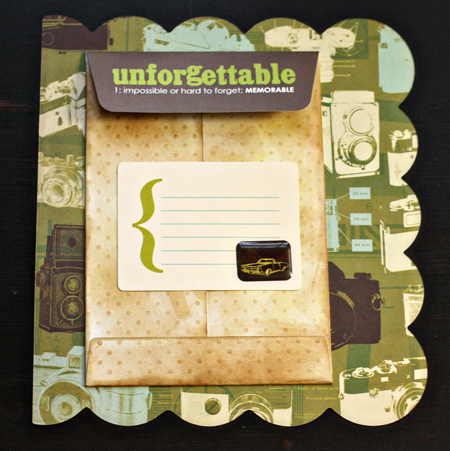
MemorabiliaPocket

When I was going through my stash to look for supplies, I found these pocket envelopes from an old Lisa Bearnson kit. I knew they’d come in handy some day! The journaling card is from October afternoon and I covered the image on the card with an SEI sticker. The patterned paper is Studio Calico.
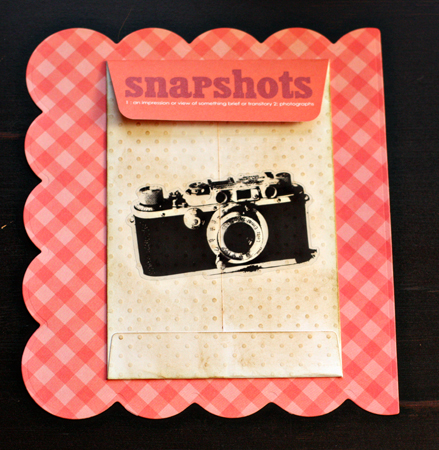
Snapshots

Another pocket envelope from the same kit and Side B of a beautiful cloud paper from this month’s Studio Calico kit.
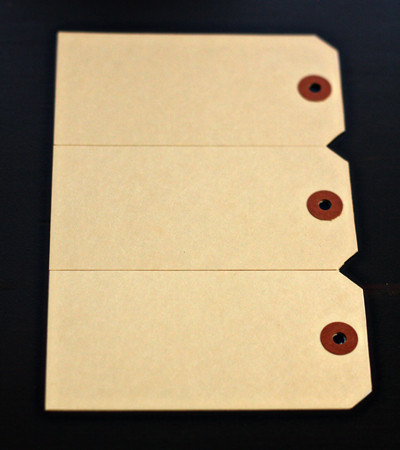
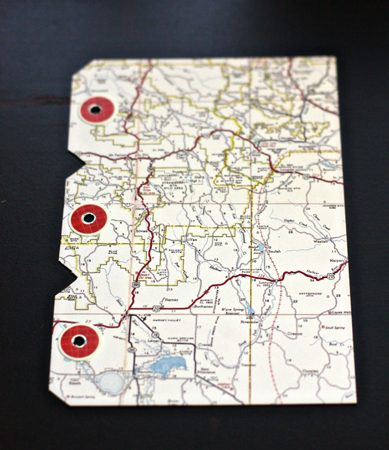
TagsSideA

A page made from three tags glued to a piece of patterned paper.
TagsSideB

The flip side.

TransparencyOverMap

A piece of Clearly Creative cardstock (Papertrey Ink) with a Hambly rub on. I’ll probably leave the page with the map behind it. I think it’s also a Studio Calico paper, but I’m not sure.
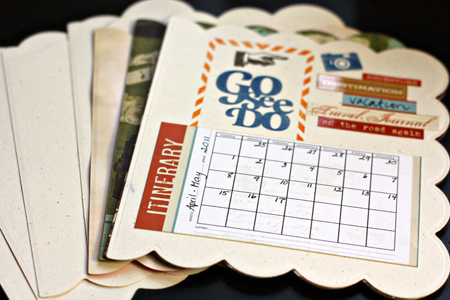
PagesSize1

These are the largest pages, most cut from Rustic White cardstock by Papertrey Ink. They’re about 6 1/2 by 7 inches.
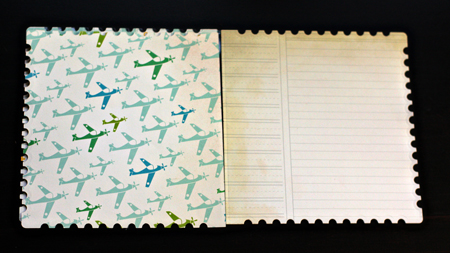
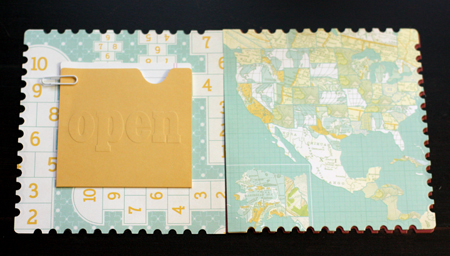
SamplePPpages

SamplePPwithjournaling

There are also a set of pages the same size as the transparency page, about 6 X 6. I think these are all Studio Calico papers, and the journaling card is from the Lisa Bearnson kit.
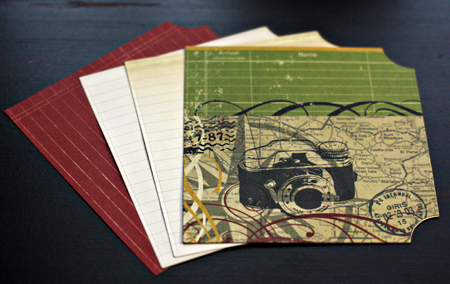
PagesSize2

This is the third size page, about 5 X 5 1/2 inches. There are also a few pages that are about 3 1/2 X 3 1/2. The Creative Book Pages dies also have two smaller dies which I will probably use for dividers once I get home.
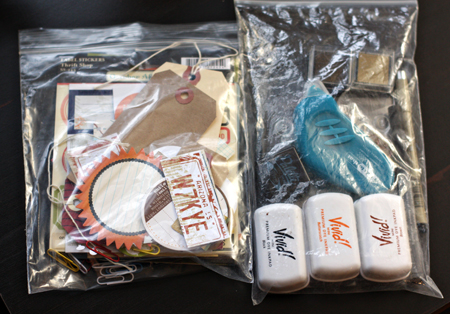
SuppliesToGo

I’m not taking the album covers with me, but I have the pages tucked into a plastic baggie as well as these two little bags of embellishments and supplies. I hope to pick up a pile of memorabilia to add to the book as I go. I know I’ll take many more photos than I can possibly use in a scrapbook this size, but I have a nice album given to me by my last class that will work wonderfully for the photos, and I won’t have to spend much time when I get home trying to recreate our road trip. This really came together quickly, just an afternoon and part of an evening. Painting the covers definitely was the hardest part for me.



Team-up Thursday: Yellow & Kim’s Texture Link-up

  • by

Teamup

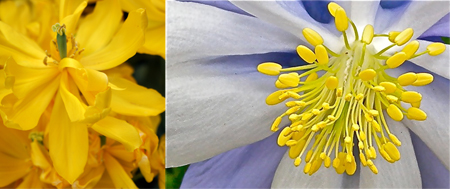
Nancy and I are back again with a Team-Up Thursday diptych. This week’s theme was yellow, and we both went for flowers. Neither of us took them outside in Rochester, though, as it was still snowing here this morning. We’ve gotten lots of rain and several days of snow showers recently. Fortunately, not enough to cover the ground, but still . . . it’s April!!! Mine (on the left) was taken at the Highland Park Conservatory and Nancy was lucky enough to visit Longwood Gardens outside of Philadelphia on her recent trip.

YellowDiptych

I’m playing along with Kim Klassen’s texture link-up again this week. Playing with textures always seems to end up low on the list of thing to do, so this is a good incentive.
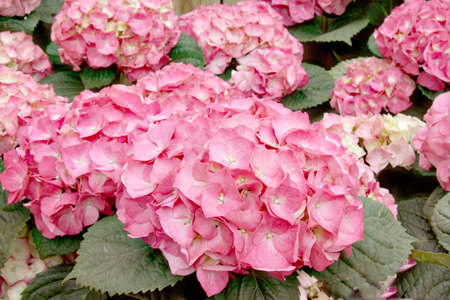
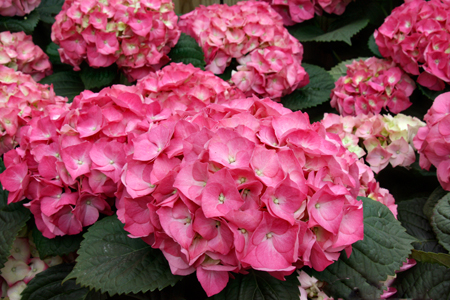
PinkHydrangeasTexturew

I actually used the recipe Kim listed on her blog last week for this:  Silence/Soft Light at 100% opacity, SweeTreat/Soft Light at 100% opacity, and a very slight adjustment to the midtones in Levels.  Here’s the original. The texture seems to do more to the saturation of the image than anything else. Just a softer look.
PinkHydrangeasw

90 Sensational Years

  • by

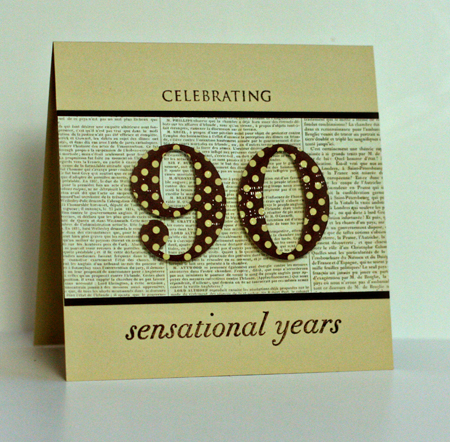
Today is Tracy’s stepfather’s 90th birthday. We’re celebrating Bill’s birthday on Easter when we’ll all be together at Tracy’s brother’s. We decided to make a donation to his favorite charity for his birthday since he doesn’t want any gifts. I was appointed to make the family birthday card, but I already had it done. I love this Papertrey Ink set and the number dies. They work for nearly any birthday. It’s safe to post the card today as Bill definitely does not read my blog!

90SensationalYears

Cardstock: Fine Linen, Dark Chocolate (Papertrey Ink); Patterned Paper: Turning a New Leaf (Papertrey Ink) & Conservatory (7 Gypsies); Stamps: Big Birthday Wishes (Papertrey Ink); Dies: By the Number (Papertrey Ink)