Skip to content

Black & White Graphic Cards

  • by

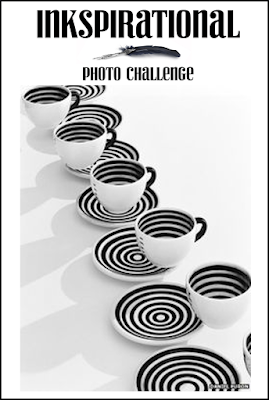
My inspiration for both cards today came from the Inkspirational: Challenges blog. You’ll see why my first idea wasn’t quite right, but I’m happy with both cards, and think they’ll be a good addition to my stash of masculine cards. Here’s the inspirational photo:
Challenge246

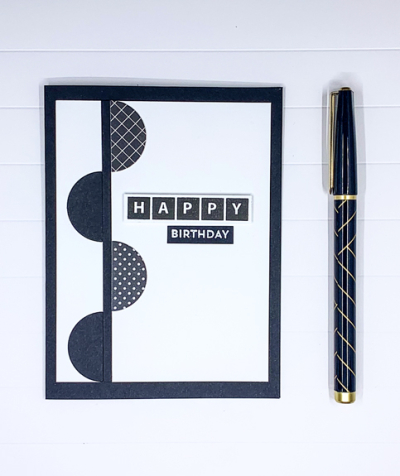
I’m a big fan of black and white cards so this photo called out to me. I also have the relatively new Simon Says “Geometric Builders: Circles” which I haven’t used so it seemed like perfect timing. I did not, however, have this photo in front of me when I created the first card.
B&W2

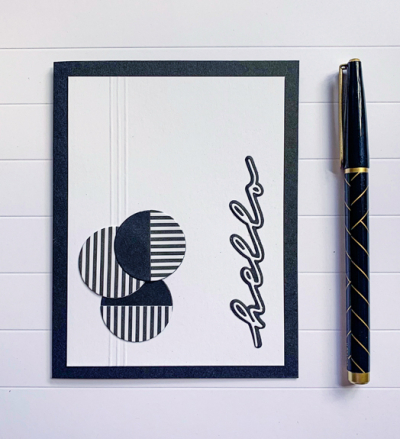
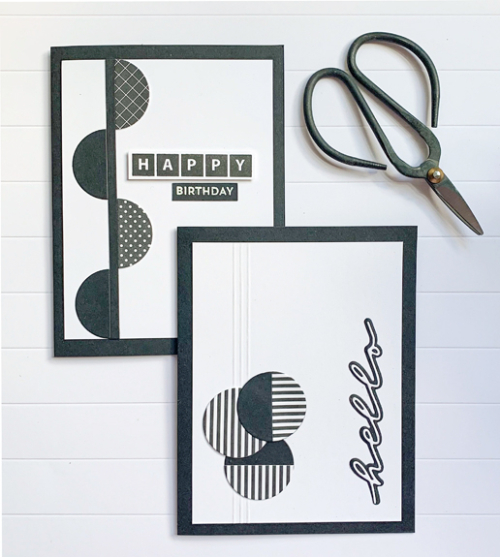
Although I like the card, it’s clearly missing the stripes and there are half circles rather than whole circles. So today I made a second card more in keeping with the photo.
B&W1RCool

A better representation of the photo inspiration and I like this one, too. Photographing the scored lines, however, turned out to be a challenge, but I finally managed that. I couldn’t, however, seem to get consistent, good lighting without shadows this morning. I finally gave up so the card for the challenge could be posted before I leave for the afternoon.
B&WX2


The patterned papers for these cards are all from My Favorite Things. The sentiments on the first card were stamped with Papertrey Ink’s “Birthday Bash” set and MFT’s “Bitty Birthday Wishes.” The sentiment on the second card is from The Stamp Market’s “Handwritten Hello.”

We’ve been on the road every day this week going back and forth to the cottage Tracy’s family rents every summer on Honeoye Lake. After all the hot, humid days, we’ve got cool temperatures this week. Yesterday came close to chilly at the lake. The sun’s out today, though, so hopefully that will help. We’re trying to stay outside as much as possible and masking indoors since we’re being extremely vigilant about our behavior having five unvaccinated grandchildren. I must admit, it’s frustrating to return to this kind of restrictive behavior after having seen the light at the end of the tunnel earlier this summer. But until the more contagious variants disappear, it’s a necessary change.
 

Happy 1st Anniversary to the Color Hues Challenge

  • by

Despite the many challenges of 2021, the year is flying by, and here we are at the first anniversary of the Color Hues Challenge! To celebrate there are prizes this month—see below! The other great news is an addition to our Design Team: Tracey McNeely. Some of you may already be familiar with her beautiful work on her blog and for a variety of companies. We’re so lucky to add her to DT. Welcome, Tracey!

I was the lucky DT member who got to choose this month’s colors and my choices were Yellow and Orange–a good combination of a summer vibe (yellow) and the coming autumn (orange) for those of us where the seasons change. 
CH #25 Anim.

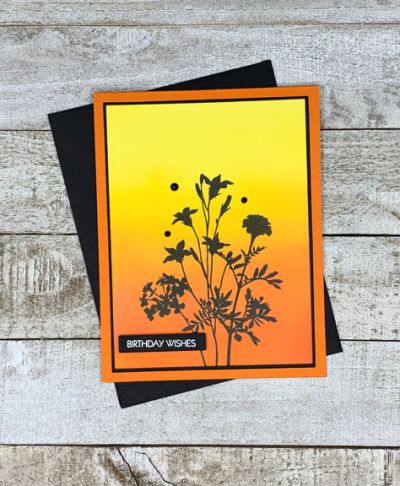
My card design is one I created quite some time ago. I never posted the card, and when I found it recently, I was amazed at how much my ink blending had improved since I’d created the first one. There’s no way I’d post the original card now, but I’m much happier with the ink blending this time around. I’m quite sure that in addition to practice, some new tools contributed to the improvement as well. I really like the Taylored Expressions ink blending brushes as well as the Altenew brushes—particularly the larger one. It took me awhile to invest in both brushes as they are more expensive than the ones I purchased originally.

YellowOrange2

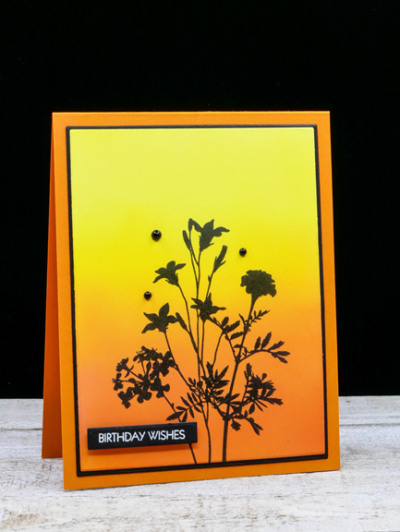
I used a combination of Distress Oxide Inks for the background: Squeezed Lemonade, Mustard Seed, Carved Pumpkin, and Spiced Marmalade. I added a touch of Concord & 9th’s Marmalade ink which is a bit deeper to the very bottom of the panel. 

YellowOrangeFlat

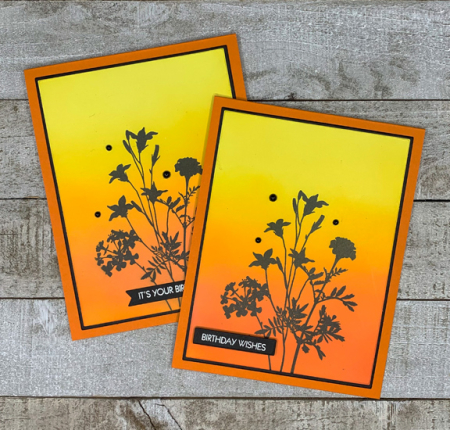
I die cut the ink blended panel with the smaller of Gina K’s Master Layout dies, and stamped the floral silhouette is Obsidian Black (Altenew) from Gina K’s “Natural Silhouettes” set. Next was to use the larger of the dies in the layout set to cut a narrow frame of black. The sentiment is from Pink & Main’s “Special Day” set. Finally, it was all assembled and added to a card base of Orange Zest (Papertrey Ink.)

Since I had ink blended a couple of panels, I made a second card–it’s always good to have a stash of birthday cards!

2YellowOrange

To celebrate the Color Hues anniversary, there will be TWO winners chosen for this challenge both of whom will receive a $25 gift certificate to Simon Says! Hope you’ll join in the fun, and be sure to check out the DT and Guest Designer, Angie’s, card right here. And at each individual blog here:

 Nancy

Hannelie

Cindy

Julie

 Sheri

Kristie

Lindsey

Tracey


Altenew’s Pair a Flower Contest

  • by

Contest

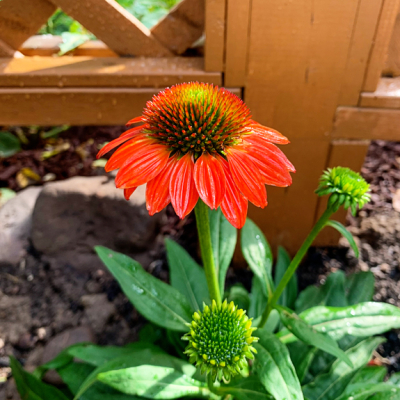
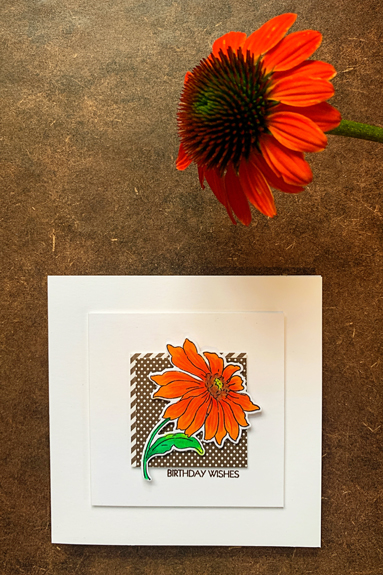
The time frame for Altenew’s Pair-a-Flower contest is narrowing, and I’ve had an idea for it for several weeks. Here are the details about the contest:  Challenge: Create a project with any Altenew floral design. Pair it with the same flower in real life or a similar floral design and photograph the two side-by-side. My initial idea was to take a photo of a coneflower at the garden center since none of mine came back this year, but when I was there on Saturday, I found this bright orange coneflower and brought it home. Hopefully, it will thrive along our new fence.

Coneflower

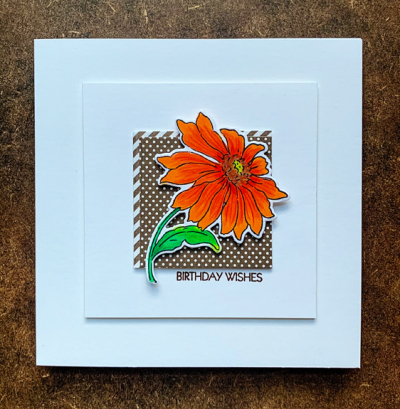
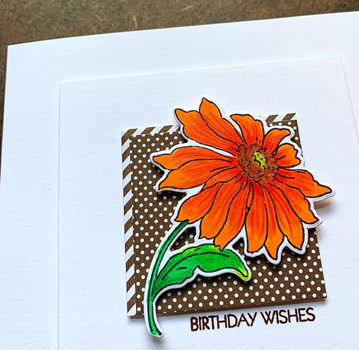
There are actually multiple blooms, but I focused this photo on just one bloom as a reference for coloring the Altenew: “Build-a-Flower: Coneflower.” Here’s the card by itself. It was colored with Copic markers and detail added using my Lyra Rembrandt colored pencils. I’ve had this set for years and years and rarely think to use it. Today neither the Polychromos or the Prisma colored pencils sets had a dark enough orange pencil. I do have a more extensive set of the Lyra’s and should remember to use it more often.

Card

CardClose2

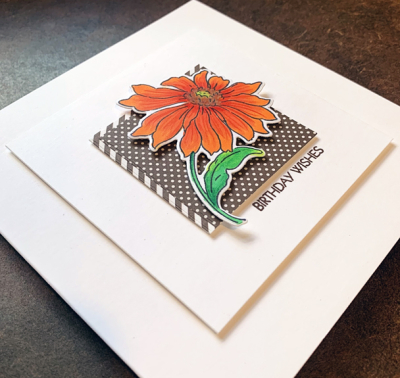
I added some dimension between each of the layers, using dimensional tape for some and extra layers of cardstock under the patterned paper square..

CardDimension

Here’s the photo of the card and the flower together which I’ll be posting on the Altenew Contest site.

Card&Flower


Tic-Tac-Toe

  • by

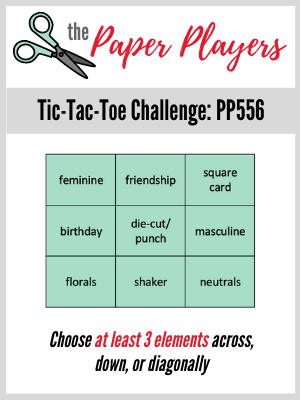
There is at least one card challenge out there that does a different Tic-Tac-Toe challenge each time. I’m alway curious about them, but somehow rarely participate. One of my favorite challenge sites, The Paper Players, has a Tic-Tac-Toe challenge this week. This is a weekly challenge, and I frequently miss those too. This time I was determined to play along.

Pp556

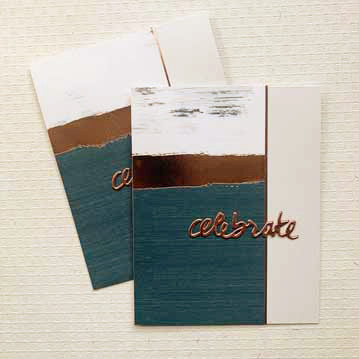
When I recently went through and purged nearly half of my 6X6 papers, I found some old favorites. One pack was a My Mind’s Eye set with gold accents which I loved when it came out. I found this blue and bronze combination which I thought would make a good masculine birthday card. I need two of them in September, and I chose the row across the middle: birthday/die-cut/masculine. 

Celebrate

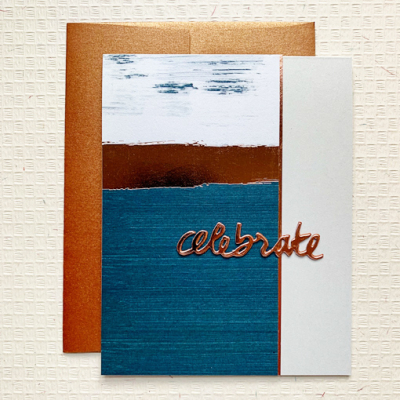
The 6X6 paper gave me two 3″ pieces. I adhered it to the left side of the card, and used another piece of paper from the pack to die cut the word “celebrate” and cut a narrow strip of bronze metallic paper along the side. 

CelebrateX2

The die cut sentiment is from Papertrey Ink’s “Wet Paint II” set.

CelebrateFlat

Thanks for visiting. I hope you have a great week!


The Paper Players Sketch

  • by

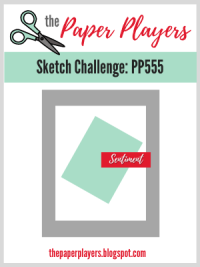
When thinking about creating a card, I rarely think to use a sketch. I’m usually more inspired by a photograph, a set of colors, a theme, or a design element. This time, however, when I saw the sketch on The Paper Players, I knew it would be perfect for a piece I colored as part of the 30 Day Coloring Challenge. Here’s the sketch:
Pp555

In a recent reorganization project (more on that to come later) I found some patterned papers I thought would go well with the small stamped piece I had created earlier. 

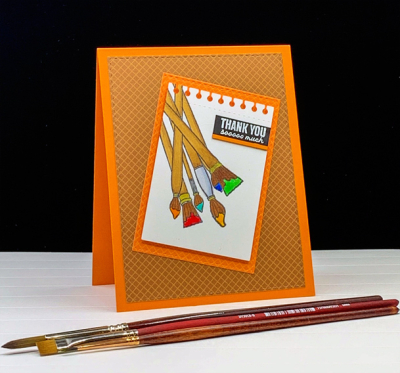
Paintbrushes

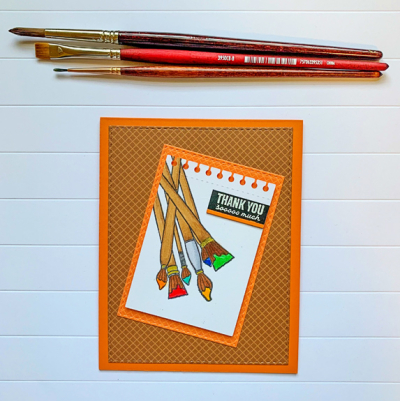
The paint brushes come from a very old Papertrey Ink set, “Friendship Jar Fillers.” The Friendship Jar sets have long been a favorite, and I come back to them over and over. This card is for my nine year old grandson who gave me two handmade gifts when he came to visit. He’s a budding artist, so the paintbrushes seemed appropriate. The patterned papers come from an older 6X6 pad by Sunny Studio, “Gingham Jewel Tones.”

PaintbrushesFlat

The paintbrushes were partially stamped to fit on the PTI die, “Spiral Notebook Page,” and colored with Copic markers. I used some Glossy Accents to add some dimension on the paint. The sentiment is from The Stamp Market. I embossed it on black and added a narrow cardstock strip to the bottom of it. 
My crafting time seems to get divided between my reorganization efforts and card making. Hoping to get more of both done this weekend.


Smile!

  • by

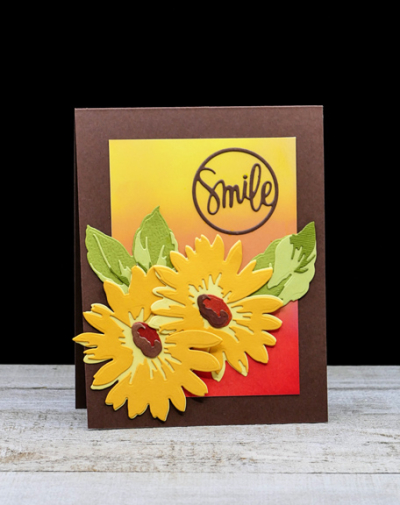
Thanks to a friend who cut and shared some of her daisies from the Altenew “Daisy Layering Set,” I have a card for the current The Flower Challenge—use a die. The entire card was created with dies.

Smile

The first step was to create an ink blended background for these pretty daisies. I added that to a Dark Chocolate (PTI) cardbase and then set about creating the daisies. 

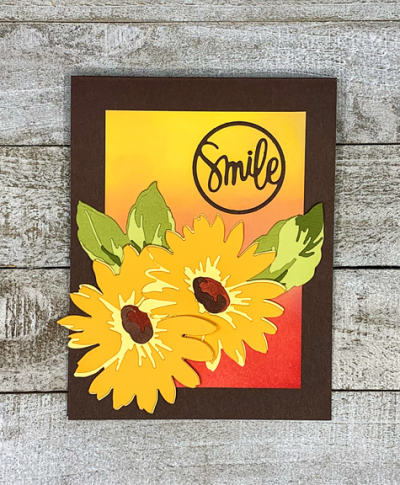
SmileFlat

Getting the daisies and leaves arranged on the card took a bit longer than I expected. I wasn’t sure what to do about a sentiment, but found this “Smile Circle” from Simon Says which worked out perfectly. It was die cut from Dark Chocolate cardstock as well. 

It’s good to be back in the craft room. I’m in another purge and organize phase. Sometimes I think that’s as much a hobby as card making! But, in fact, I found a few things which inspired some cards. Off to link up with The Flower Challenge which ends this afternoon.

TFChallenge#59

Pretty in Pink

  • by

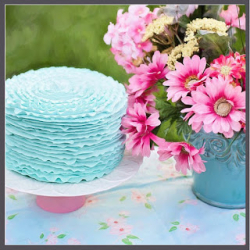
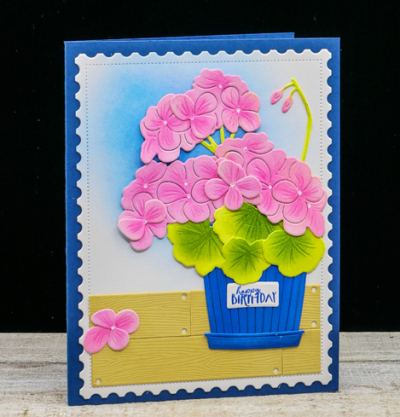
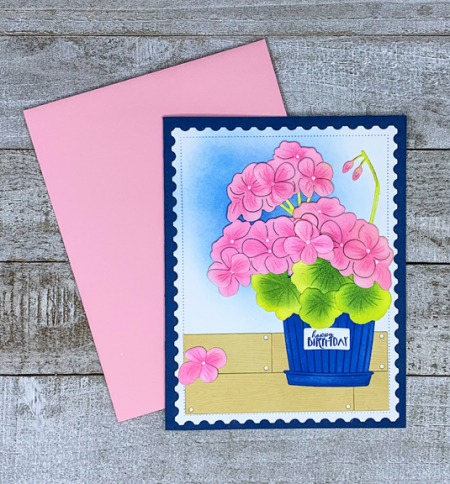
The pretty pink geraniums on today’s card were created for a blogging friend, but I wanted to be sure she received the card before I posted it. She’s a huge fan of pink so there was no choice about what color these geraniums would be. Luckily, the photo inspiration for AAA Birthday also features pink flowers.

AAA#28 #28 photo

When The Greetery introduced this most recent BotaniCut, I knew I would have lots of opportunities to use it. Geraniums come in so many colors, and they are a favorite of mine.

Geraniums

I added a soft ink blended background to one of The Greetery’s “Postal Frames” that matches the blue pot in the photograph, but my blue pot and the card base are a much brighter hue. I grounded the pot on some ink blended “Shiplap Builder” dies, also from The Greetery.

GeraniumFlat

The geraniums and the “Pretty Pot” die were all cut from Bristol Smooth cardstock and colored with Distress Oxide Inks. I added some details to the dies with Polychromos pencils. The cute sentiment and label is from an earlier set by The Greetery, “Market Baskets.” Betsy Veldman definitely excels in designing the most beautiful floral dies and containers. 

I always hope I’ll get some crafting done while we’re away. I managed to do a little watercoloring one morning, but it’s a bigger piece so I don’t think it will get finished until we get home. I do have a couple pieces I colored for the current 30 Day Coloring Challenge before I left, so hopefully I’ll get those posted in the next couple of days. Thanks for visiting!

Shades of Blue

  • by

I have another card I’ve colored for Kathy Racoosin’s 30 Day Coloring Challenge

30Day_challenge_Aug2021-01-3-768x769

And, for me, this is a late night post, but one of the two challenges looking for blues ends in just a few hours. First up is the Less Is More Challenge looking for Shades of Blue. The second challenge is Simon Says Wednesday Challenge: Summertime Blues. I’m also popping this in the CAS on Friday Challenge to use a Favorite Stamp.

ShadesOfBlue

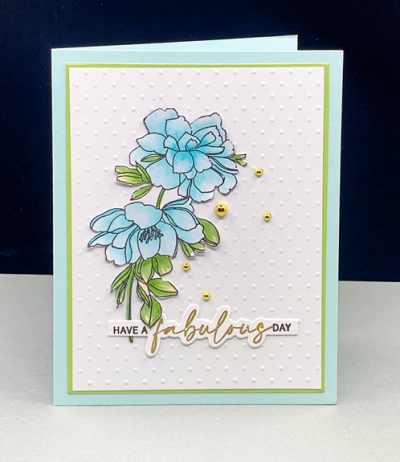
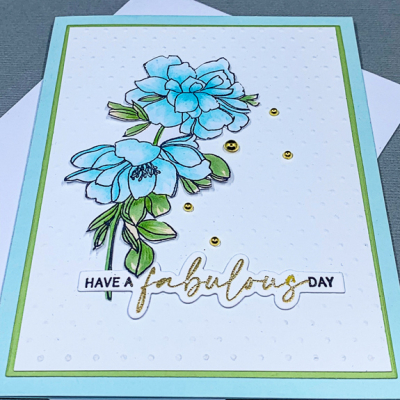
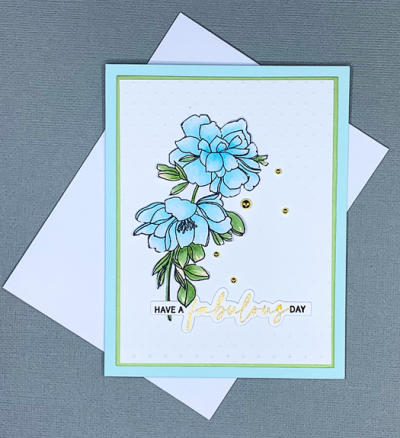
This is one of my favorite florals. It’s from Pinkfresh Studios–“Keep Going.” When I was fussy cutting it once again, I realized that investing in the die might be an appropriate purchase. I chose to color it with Copic Markers in soft blues and greens, adding some shadows with my Polychromos pencils.

ShadesOfBlueClose

After fussy cutting it, I added it to an embossed polka-dot white panel that was in my box of panels and die cuts that I’ve stashed away. I die cut a thin green layer with the Gina K Master Layout dies and added it to a light blue card base. 

ShadesOfBlueFlat

Once again the “Easy Expressions: Birthday” stamp from The Ton worked out perfectly. I tucked it under one of the leaves, and then added some gold gems from The Paper Studio. 

I’m just managing to keep up with the 30 Day Coloring Challenge, although I need to do a major catch-up post for Instagram. Today was the first day since Sarah and her family arrived that I managed to get in a full hour of crafting time. Tomorrow looks much less likely. If the weather’s good we’re headed to the zoo, then the beach for a picnic and a ride on the carousel, and finally pizza with friends for dinner. 


Color Hues #23

  • by

July passed in a blur. We were away most of the first two weeks, and I’ve been recuperating from my fall for the last two weeks, but here we are at the beginning of August. August is likely to pass by in a blur as well since my daughter and her family will be here for a week, we’ll share a cottage on a lake in Michigan for a week, and then spend the last week traveling back and forth to a cottage in the Finger Lakes to spend time with Tracy’s family. Fortunately, I’m back in the craft room and playing with some new (as well as some old) products.

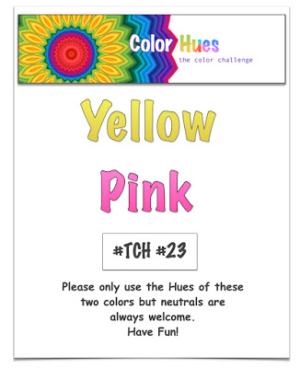
The new Color Hues combo is such a pretty one:

Color Hues23

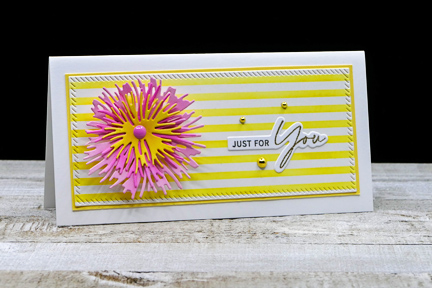
I knew right away I wanted to use my new Altenew “Classy Stripes” stencil which I saw Laurie Willison use during the recent Cardmakers Summit event. I already had some of the Ink to Paper’s “Into the Blooms II” dies cut from pink paper so it was just a matter of adding a yellow layer and doing some ink blending with my (also new) Detail Blending Brushes from Altenew. 

YellowPink

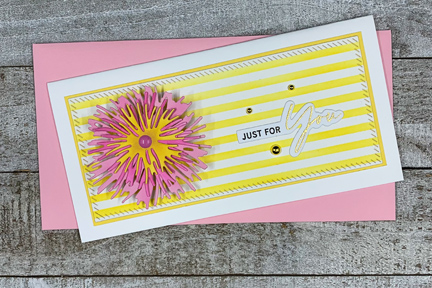
I settled on a mini-slimline format which I like a lot. Once I had the stenciled background prepared, I die cut a piece of it with one of the Pinkfresh “Mini Slimline Essentials” dies. I cut a narrow yellow border and then added it to a white cardbase.

YellowPinkFlat

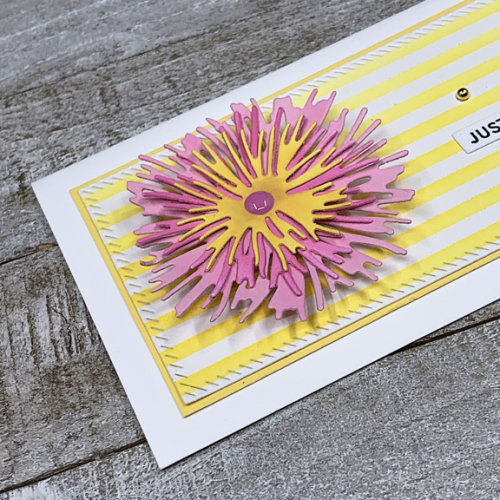
I shaped the floral pieces with the Tim Holtz “Shaping Kit,” (another new product,) added a pink enamel dot to the center, and adhered the flower to the card front with some dimensional tape. The sentiment is from The Ton’s “Easy Expressions Birthday” set stamped in black and embossed in gold. To pick up the gold accents, I added three gold dots from The Paper Studio. 

YellowPinkClose

I hope you’ll hop over to the Color Hues Challenge and join in the fun, checking out the cards made by my awesome Design Team members and our Guest Designer, Conil.


Nancy

Hannelie

Cindy

Julie

 Sheri

Kristie

Lindsey

Citrus Inspired

  • by

I’ve seen quite a few new stamps sets featuring citrus fruits and some lovely cards created with them, so I wasn’t surprised to see Happy Little Stampers CAS come up with this month’s challenge: Citrus and Zing.

HLSCAS

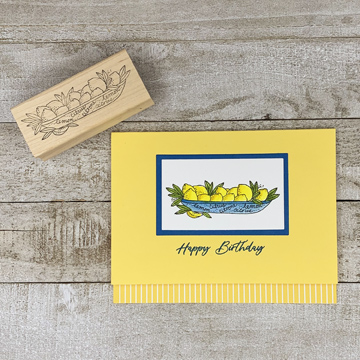
I don’t have much in the way of citrus stamps, but a wooden stamp with a lovely image of lemons in a bowl has survived my multiple purgings. It was one of the few things I watercolored while we were away. It’s taken me some time to get it onto a card–more about that at the end of the post.

Lemons

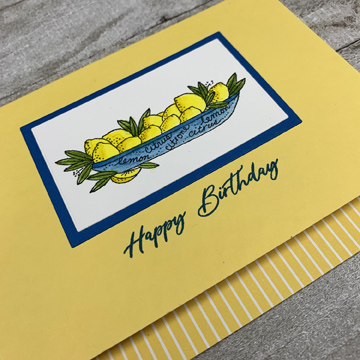
Finding a blue cardstock to match the blue watercolor I chose for the bowl turned out to be the most time consuming part of creating the card. I finally found a scrap in my scrap folder that worked perfectly. Luckily, I had an Altenew mini-ink pad that matched the blue as well for the sentiment.

LemonsClose

I have a stash of prefolded cards on my shelves and generally, that’s the first place I look when I need a card. This yellow was the perfect color and was folded leaving a border at the bottom. I found a piece of yellow-striped patterned paper that worked well there.

I’m also throwing this in the ring at Simon Says Monday Challenge: Food or Drink.

Last week after spending a week with Sarah and Adam, and two days exploring Cleveland and visiting with cousins, we drove to the Cuyahoga Valley National Park, about 30 minutes south of Cleveland. We spent the day exploring the park, taking photographs, and hiking. Our last hike of the day was at The Ledges. As we were hiking along, a woman emerged from two of the large rocks, and suggested we go inside. It was beautiful, and as I started climbing up a group of rocks, some folks started down the route. I stepped to my right to make room for them and my foot landed on a wet rock and down I went! I was able to walk back to the ranger’s table and get some ice, but my right shin was really scraped up. I’ve been keeping it elevated and icing it regularly but there hasn’t been a lot of improvement. 

Today I decided it was time to seek some medical attention. Luckily, it is not broken, but I’m going to have to continue with the elevation and icing. Sad to say, there’s not much beside reading and working on my laptop that can get done with one leg elevated! I have a huge list of ideas, and new stamps and dies to play with, but it’s going to be slow going. My brother-in-law recently commented that most of our health complaints are a result of “AR disease.” When I asked for a translation, he said it stood for “age-related.” The recovery from this might be, but the accident was clearly not. Could have happened in my 30’s! Mostly, now, I’m just annoyed.


Just Because

  • by

Whenever I travel I pack a few crafty items to create with while I’m gone. I rarely accomplish much, and this trip was no exception. I did a bit of watercoloring, but haven’t had time to do anything with it yet. It’s good to be back in the craft room, although the “to do” list is pretty long. There’s been a lot going on, both here and while we were away, and I hope to have a catch-up post written by the middle of next week. (I’m waiting for one of the big projects to be completed.)

For now, I have a card for the current Flower Challenge: Add Spots or Stripes.

TFChallenge#58


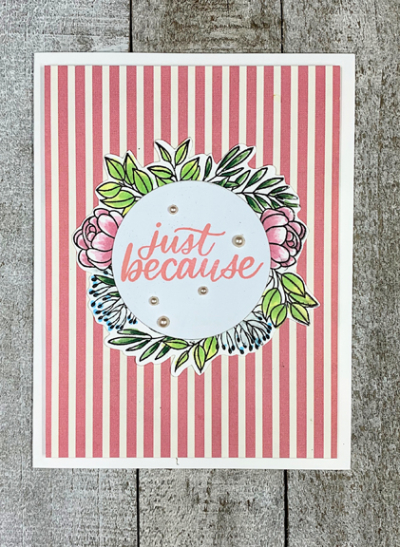
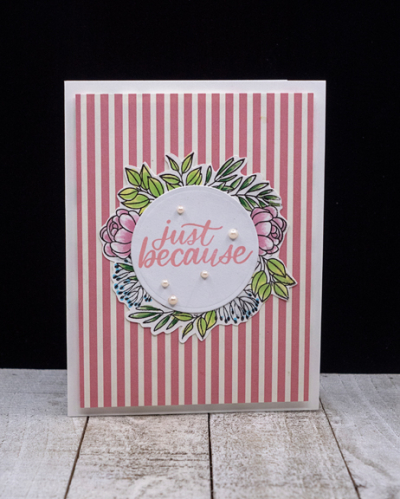
This was a quick card to create. All the stamps are from Simon Says “Leafy Frames,” a card kit set from some time ago. I stamped and colored the wreath with Copics, and then die cut a circle to hold the sentiment from the same set.

JustBecause

The pretty striped paper is from a Carta Bella pad, “Botanical Garden” which I added to a die cut panel slightly smaller than the card base and popped it out with some foam.

JustBecauseFlat

I added a few A Muse pearls and that was it. 

Hope your weekend is off to a good start. We’re expecting a lot of rain tomorrow, but we’ll have plenty of entertainment since the three girls are coming for the afternoon. We’ll be making cupcakes for Maddy’s fifth birthday celebration. She turned five while they were on Nantucket and we were in Wisconsin, so this is birthday dinner #2!

Seize the Birthday–Framed, or Reversed Framed

  • by

The topping at Seize the Birthday Challenge now is “Framed.” This pretty coneflower (again!) is definitely framed, but framed from behind the coneflower. I noted the same technique among some the designers for the challenge as well as some of the current entries. Even if it doesn’t qualify as “framed,” there’s always the option at Seize the Birthday to use the “Anything Goes” prompt. 

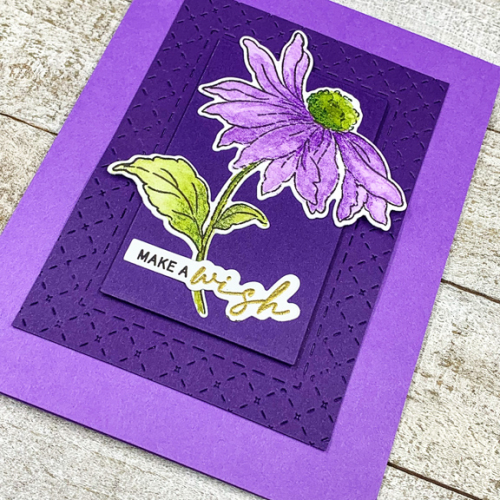
2021-07-08-Framed

This is the last of the Altenew Coneflowers that I watercolored a week or so ago. I didn’t want to post it until my friend received it for her birthday.

PurpleConeflower

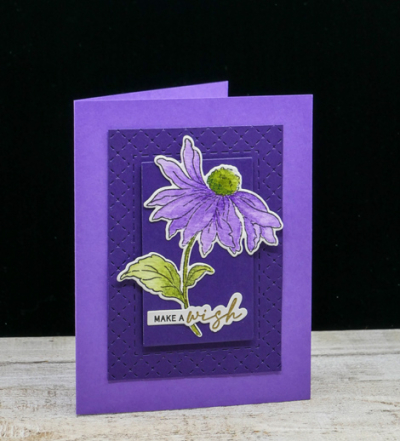
This is my favorite of the cards because of the framing which came about in a rather haphazard way. When I went to dry emboss Papertrey Ink’s “Border Bling: Tin Stiched” it slipped in the die cutting machine. I didn’t want to throw it out so I cut it down and then used the center piece to add some dimension for the coneflower.

PurpleClose

I added both to a card base of Amethyst Allure and then added the coneflower that had been die cut as well as another sentiment from The Ton’s “Easy Expressions: Birthday.” I’m quite sure I’ll cut down more of the Border Bling frames in the future. 

I’m throwing this in the Happy Little Stampers: Die Cuts and Watercolor Challenges, both of which are Anything Goes.

HLSWatercolor HLSDies

Just Us Girls: Word Week-Script

  • by

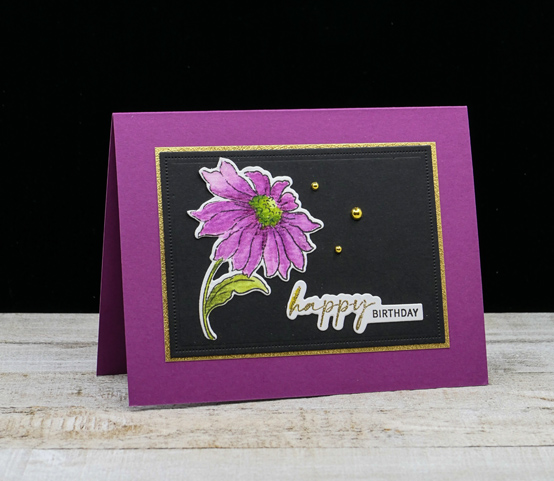
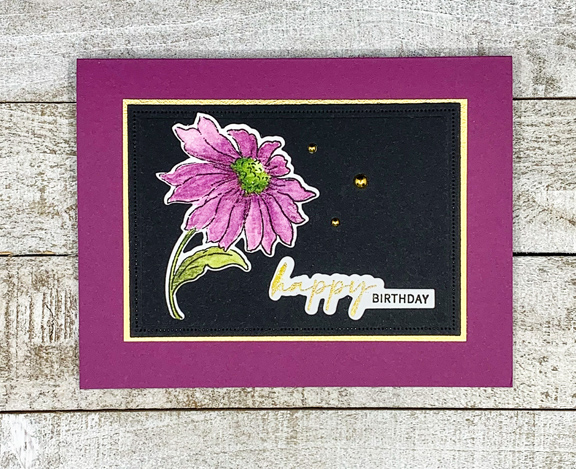
 A quick post to enter a card in the Just Us Girls current challenge: Script. Many of my favorite fonts are script, but my newest sentiment set from The Ton combines print with a lovely script that you can highlight thanks for The Ton’s innovative “grouped layering” stamps. You won’t be surprised to see another Altenew Coneflower, either. (There’s still one more to come.)

MagentaConeflower

This is one of the coneflowers I watercolored, using my Daniel Smith watercolors. The card base was created with a piece of cardstock that had already been cut. Sadly, I can’t find a match for it anywhere in my cardstock collection so I can’t tell you where it came from nor can I order any more of it! It’s  a little brighter than most of the magenta cardstock I own.

MagentaFlat

I do like these sentiments from The Ton, Easy Expressions: Birthday, and recently ordered “Easy Expressions,” which includes sentiments for many other occasions.  I added a thin gold mat and three gold embellishments to finish the card. 

I’m also entering this in the Happy Little Stampers: Watercolor challenge for July which is “Anything Goes.”

JUGS HLS Watercolor


Color Hues #21-Red and Blue

  • by

Independence Day is just three days away, and I’m guessing that Carol’s color choices for this round of Color Hues was influenced by the holiday. It’s always a great combination, and I have two cards to share.

ColorHues#21Anim

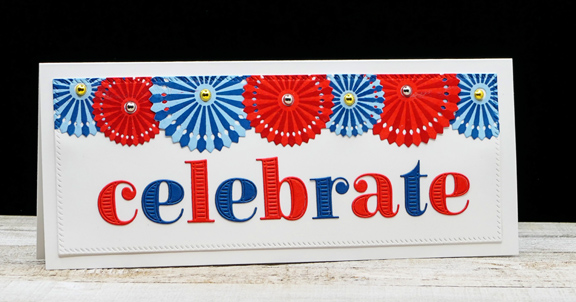
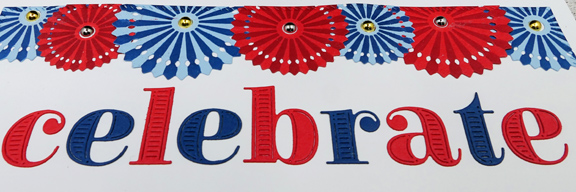
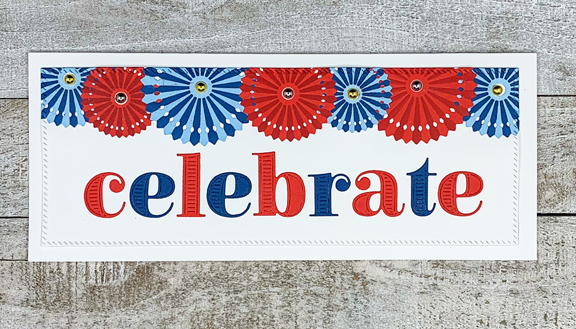
The first was the card design I had in mind, but the die cut letters (on #2) were too tall, so I had to substitute another alpha which I ended up liking even better. Luckily, I have two perfect occasions for these cards. The first one is going to my mother-in-law for her July 5th—92nd birthday. I had previously made a birthday card for her, but my husband thought this one was perfect the minute he saw it.

Pinwheel

With the exception of the Slimline Diagonal Stitched Rectangle from Pinkfresh Studio, everything on the card came from The Greetery. I die cut the pinwheels in Blueberry Sky (Papertrey Ink) and Cherry Kisses (Gina K) and then stenciled the darker colors onto them. 

PinwheelClose

The letters are cut from the recent release of Bold Alphabets, die cut from Cherry Kisses and Enchanted Evening cardstock. I added some gold and silver gems to the center of the pinwheels. 

PinwheelFlat

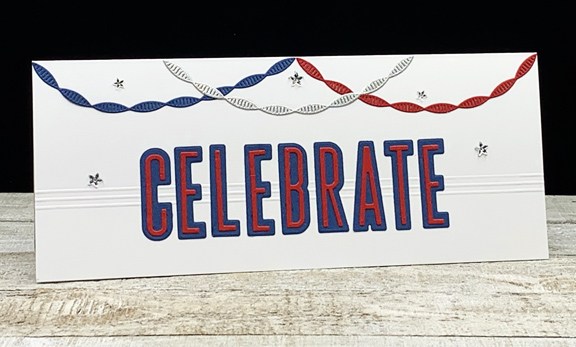
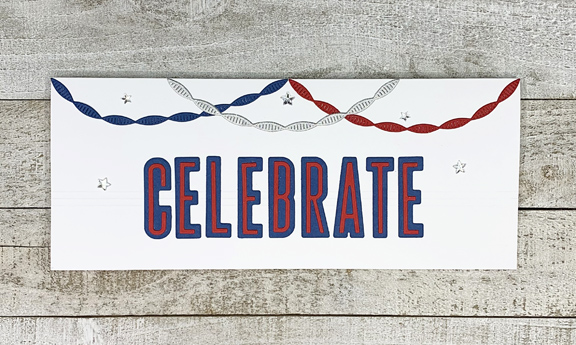
The second card is a congratulatory card for one of the sweetest, hardest working young ladies I know. I’ve been working with her for the last five years. I started helping her with her homework at a community center in the inner city. After two years there, she won a scholarship to the local Catholic all-girls school here. We’ve continued to work together at the school, Paneras, and at our house for the last three years.  During the pandemic we met much less frequently and virtually. She just graduated from 8th grade and is headed for high school at Mercy next year. Her grade point average is amazing, and she’s played soccer, run track, and been involved with other activities. I couldn’t be happier for her.

CelebrateStreamers1

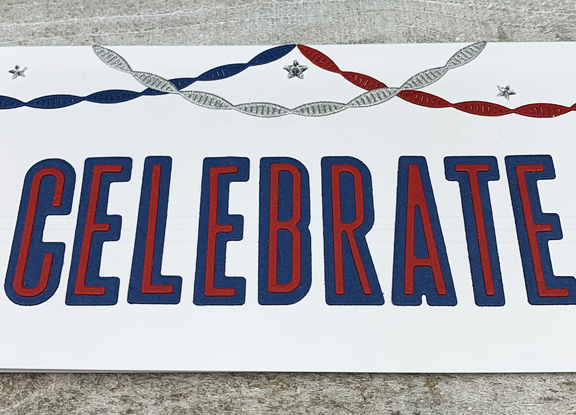
The letters from the Waffle Flower “Tower Outline Alpha” dies were cut from Pure Poppy and Enchanted Evening (Papertrey Ink) papers. I’ve been in the habit recently of using score lines for interest, and once again, I pulled out my scoreboard to add some dimension behind the letters.  I borrowed the “Twisted Crepe” dies (The Greetery) from a friend (thanks, Michelle!) and die cut those with red, blue, and silver glitter paper.

CelebrateStreamersClose

I think 8th grade girls are pretty interested in sparkly, so I added a few glittery stars to finish it off.

CelebrateStreamers Flat

I hope you’ll check out all the Red and Blue creations by my talented Design Team members, and our special Guest Designer, Carol.


 Nancy

Hannelie

Cindy

Julie

 Sheri

Kristie

Lindsey

And if you’re in the U.S. have a safe and fun Fourth of July! We’ll be arrived just in time to celebrate with Sarah and her family after an early birthday celebration here for Tracy’s mom.


Another Coneflower

  • by

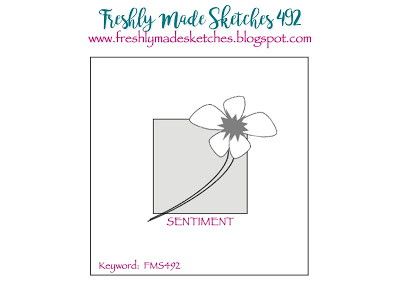
I’m really enjoying my new Altenew “Build-a-Flower: Coneflower” stamp set, and when I saw the Freshly Made Sketches Challenge come up with this sketch, I knew exactly what I wanted to do. I’m also entering this in the AAA Birthday Challenge: Flowers.

FMS Final 492-001AAA#26

I colored this image with Copic markers last night while I listened to a video (no need to watch!) Finding the patterned paper I wanted was the most time-consuming part of the process, but when I remembered my folder of (very old) AMuse papers, the card came together quickly.

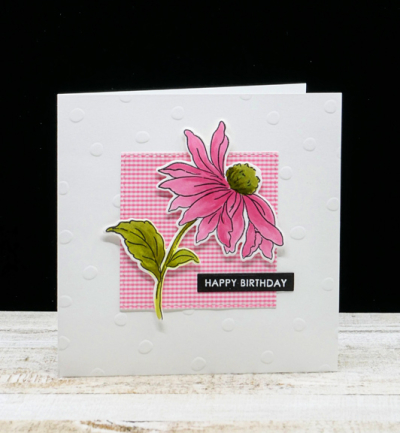
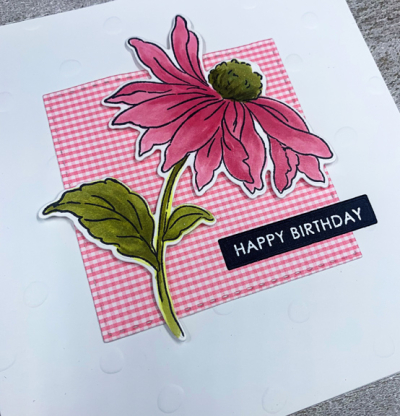
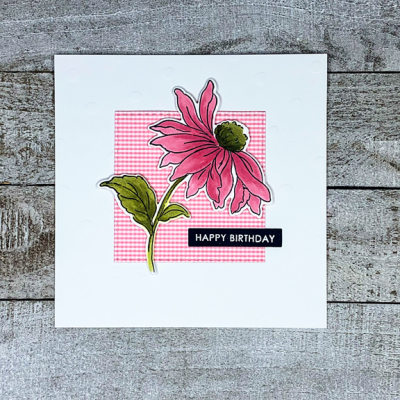
PinkConeflower

I die cut the gingham paper with a Simon Says “Stitched Square” die and added it to a pre-embossed square card. I added the coneflower with some dimensional tape.

PinkConeflowerClose

The sentiment came from my favorite Pink & Main “Special Day” set.

PinkConeflowerFlat

Off to tackle the HUGE pile of things on my desk that need to be dealt with. I’ve been super busy with church business the last few days, but think I tied up most of the tasks for that today.