Skip to content

Addicted to CAS: Congratulations

  • by

This week is the Addicted to CAS challenge site’s 4th birthday, and appropriately, they’ve chose Congratulations as their theme for the current challenge.

ATCAS - code word congratulations

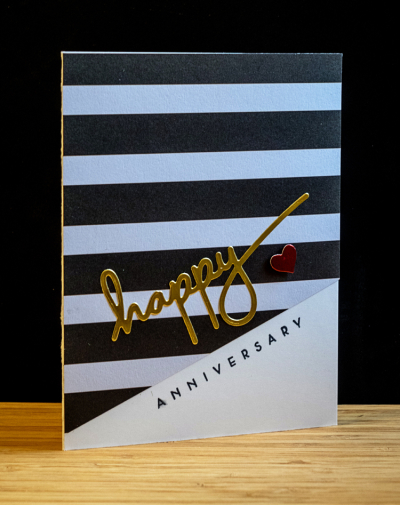
Long time friends of ours are celebrating their anniversary this coming week. It’s definitely an occasion for “congratulations.”

S&EAnniversary

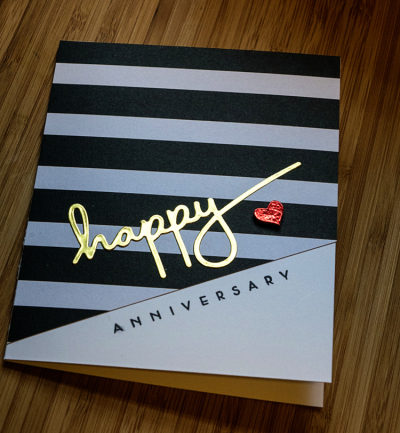
This one came together quickly:  a piece of patterned paper cut on the diagonal, the happy die cut from PTI’s gold adhesive paper, one stamp, and a punched heart.

AnniversaryE&S

Hope you’re enjoying a good weekend! We’re being blessed with sunshine, and unusually warm temperatures for the end of November.

Memorandum Monday

  • by

It was a very unusual weekend. It began with a record high temperature on Friday of 72°. This morning we woke up to nearly a foot of snow and very windy conditions. We’ve definitely been spoiled, and I’m definitely not ready for this kind of winter!

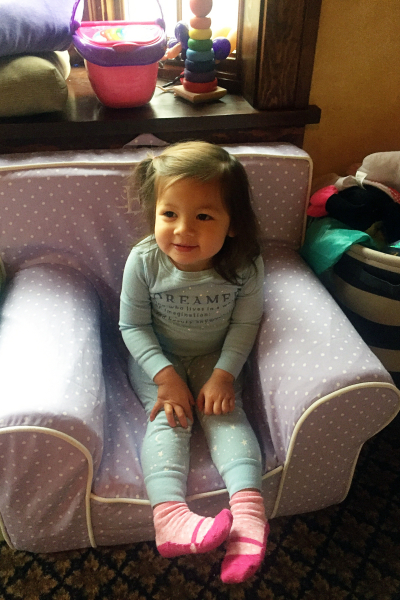
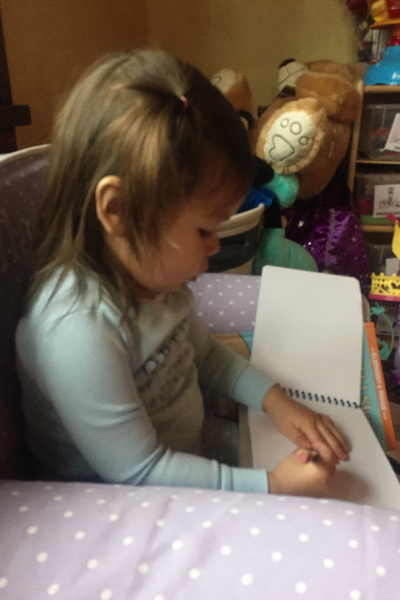
The big event this weekend was celebrating Ella’s second birthday. Her birthday falls on Thanksgiving this year, and most of us will be traveling. We went over after church to give her our gifts. Several years ago, we bought Skylar her own chair from Pottery Barn Kids. This year it was Ella’s turn and she was delighted to get her own personalized chair.

IMG_4235ed

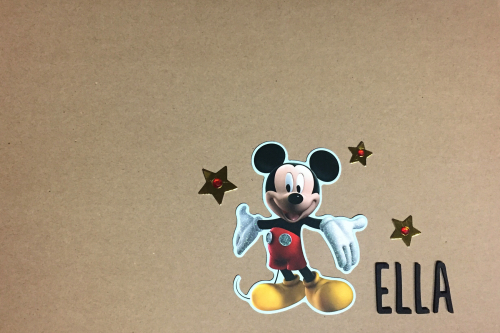
We also gave her a box filled with notepads and pencils. Her favorite character is Mickey Mouse, and that was the theme for her party in the afternoon. I found some cute stickers to decorate the box where she can store her pads and pencils.

IMG_4229ed

IMG_4245ed

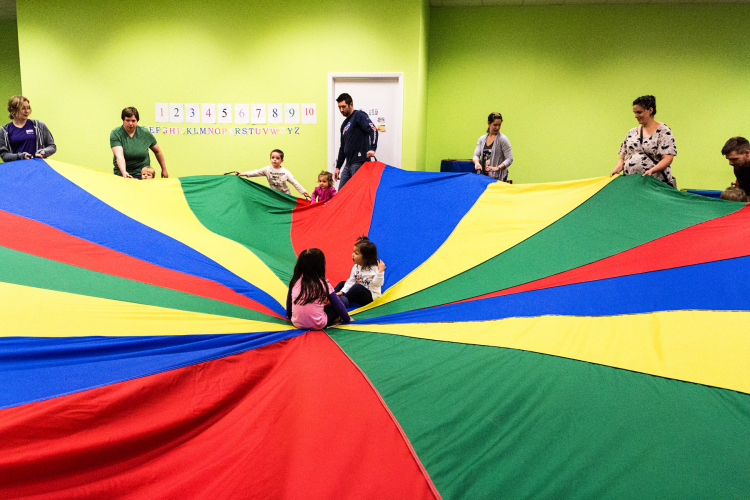
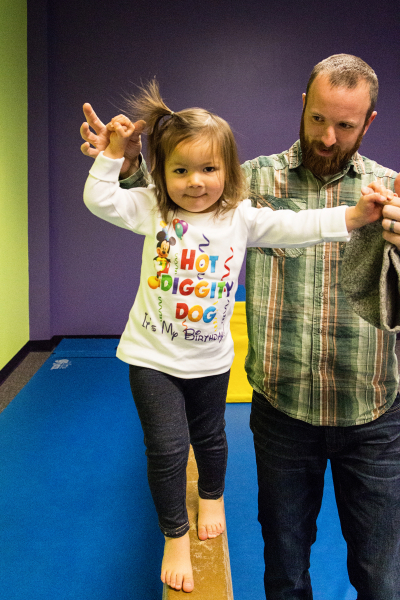
Later in the afternoon there was a party at “The Little Gym.” It was the perfect place for toddlers and some of their older siblings to run around and play. The staff there was fabulous and there was just the right mix of activities and free play.

IMG_0350ed

IMG_0341ed

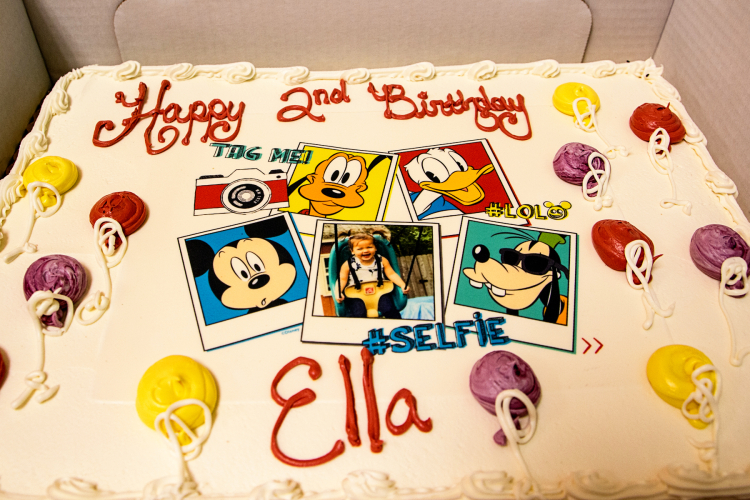
Of course, there was cake. Wegmans, our local grocery store extraordinaire, creates the most amazing and delicious cakes.

IMG_0369ed

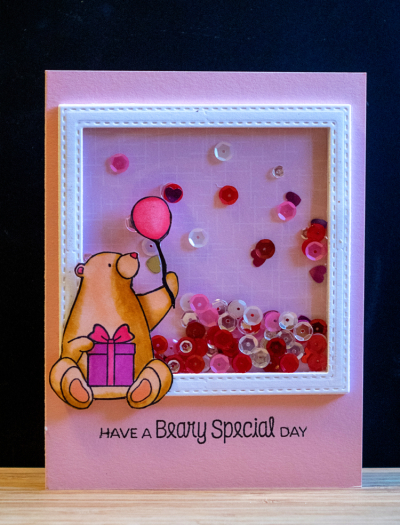
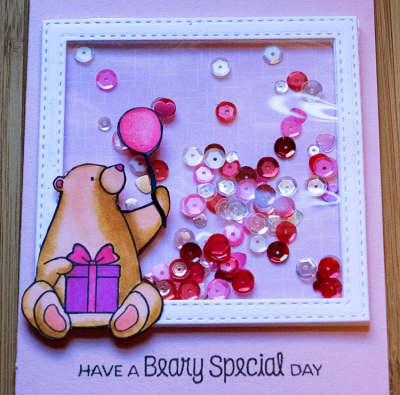
I made Ella a shaker card for her birthday, which she promptly pulled apart to get at all the sequins. Later on, we pieced it back together again.

Ella

EllaClose

Waving to Sian and other Memorandum Monday folks! Here’s to a great week.


Virginia’s View: Stripes and Plaid #2

  • by

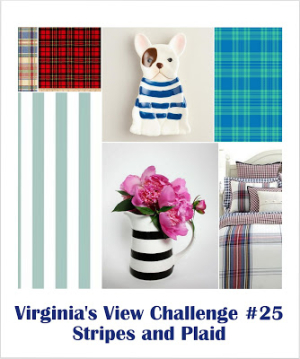
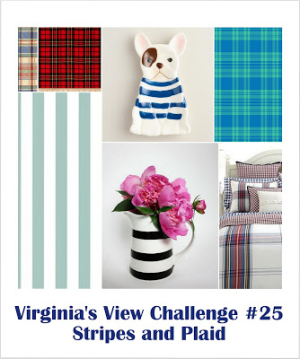
As promised, I’m back with another card for Virginia’s View Challenge: Stripes and Plaid.

Stripes and plaid

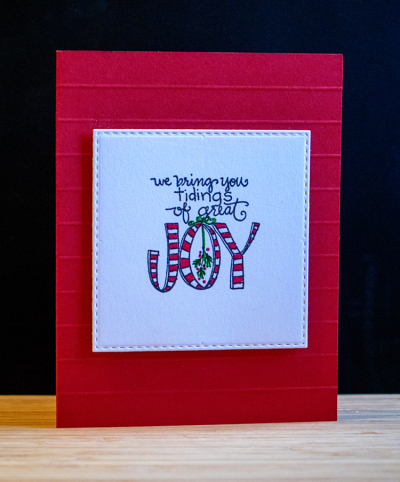
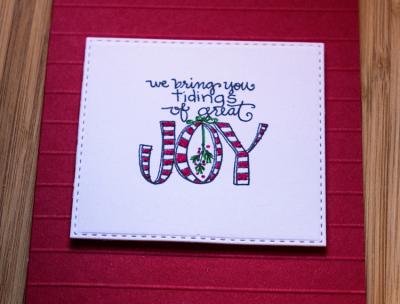
On our way home from Chicago in September we stopped at Buffalo Stamps and Stuff. I found a really cute stamp set from Impression Obsession called “Tidings of Joy.” I specifically purchased it for the image of a cute little car with a Christmas tree on top, although I haven’t used that image yet. When I finished my granddaughter’s birthday card (coming soon on a post) I had a series of stitched rectangles left over from cutting frames. I didn’t want to waste them, so I looked for a Christmas image that would fit nicely into it. This sentiment fit the bill.

JOY

In addition to the stripes on the sentiment which I colored with my Tombow markers, I created some tone-on-tone stripes with my scoring board. 

JoyClose

I don’t usually share my Christmas cards online until after they’ve been mailed. There are six of these, and there are nearly 50 total (several designs.) They are all done except for the inside greeting which I hope to finish over the Thanksgiving holiday so they’ll be in the mail early next month. I can thank the World Series for being so timely with my cards this year. I set up a card table in the living room and worked on them while I watched the games. Hope next year’s games interest me as much as this year’s. It’s a great way to get a head start on the holiday card making!

Virginia’s View: Stripes and Plaid

  • by

Stripes and plaid

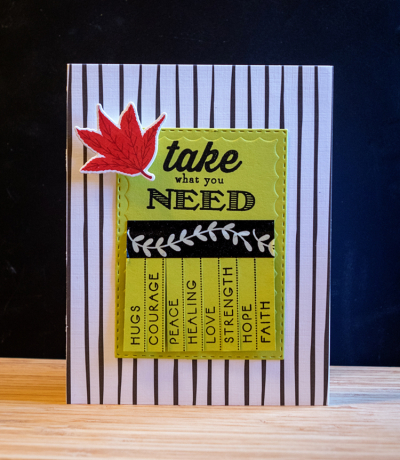
Somehow I always seem to be late to Virginia’s challenges; sometimes I miss them altogether despite the fact that I always have ideas for them. This time I’m down to the last two days for Virginia’s View Challenge:  Stripes and Plaid. I’ll have one today to share and another tomorrow. Both were done a week ago, but I just didn’t get to posting them. This card was made for a dear friend who just had a mastectomy. She got through the surgery well, and is recovering at home. Last alert said all was going well.

TakeWhatYouNeed

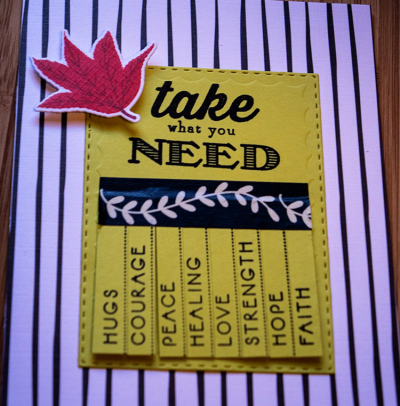
The striped paper is from Maile Belle’s “Black and White All Over” pad. I love these designs, and will need to order more next time I order from Papertrey Ink. the cute stamp is from Papertrey’s “Inside and Out: Well Wishes.” I stamped it on Limeade Ice paper and then attached the tear-off strips with a piece of Washi tape. The rest of the sentiment was stamped on a die cut from the A2 Noted die set. The leaf is from the Mini Market Kit: Color Pop Autumn.

TakeWhatYouNeedClose

I’ll be back tomorrow with a Christmas card for the challenge.

A Trio of Pink

  • by

CardConcept61

The current challenge at The Card Concept is “Pretty in Pink.” One of the things that’s interesting about this challenge is the categories they’ve set up for card designs. I have a trio of cards for this challenge:

Hugs

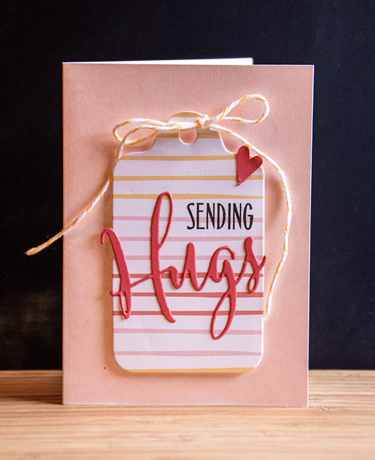
A simple CAS card—the tag was die cut from Maile Belle’s Ombre cardstock by PTI, and the the Hugs die cut & stamped sentiment are also Papertrey Ink. I adhered it to a premade Memory Box card (A4) size and tied it with a bit of yellow & white twine.

JustANote

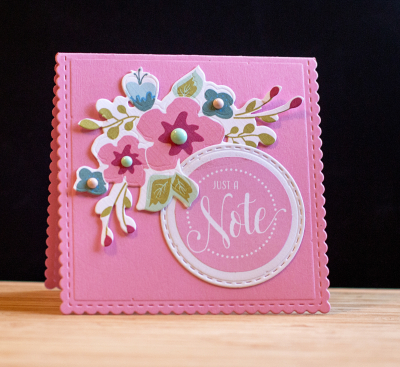
Everything about this card came from the “Don’t Forget to Write” Make-it Market Kit by Papertrey Ink, without a doubt the best kit purchase I’ve made. The cardstock is Hibiscus Burst, and I added four enamel dots by MME to the center of some of the flowers. I think this one fits the Clean and Layered category.

ThankYouRose

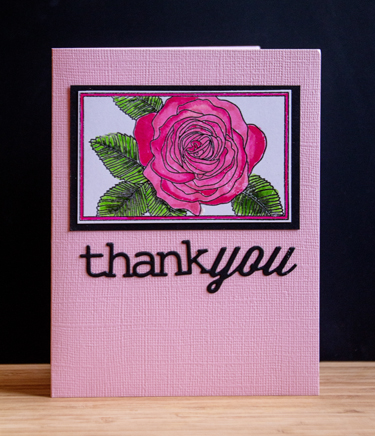
Last, a “Botanical Blocks” rose (PTI), colored with Copics, and layered with Raspberry Fizz, white, and black cardstock and adhered to a Bazzil card. The die cut is also Papertrey Ink–“Wonderful Words Thank You.” Another CAS card, I think.


CASology “Welcome”

  • by


Week 222 - Welcome

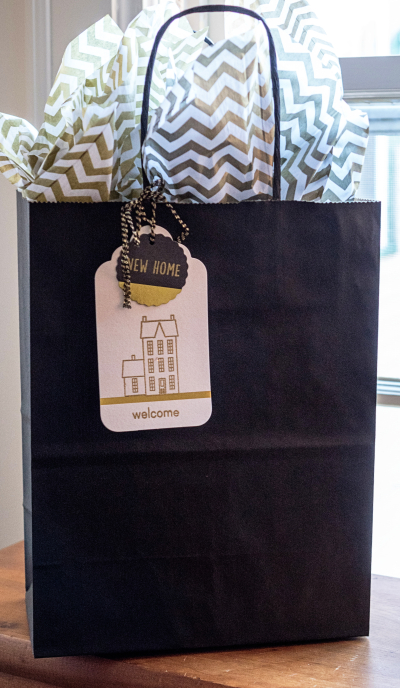
I’d hoped to have two entries to this week’s CASology Challenge, “Welcome,” since we have not one, but two, friends who have just moved into new homes. But the weekend was particularly busy, and only one is finished. It’s a tag attached to the house warming gift we’ll be taking this Friday when we go for dinner.

GiftBag

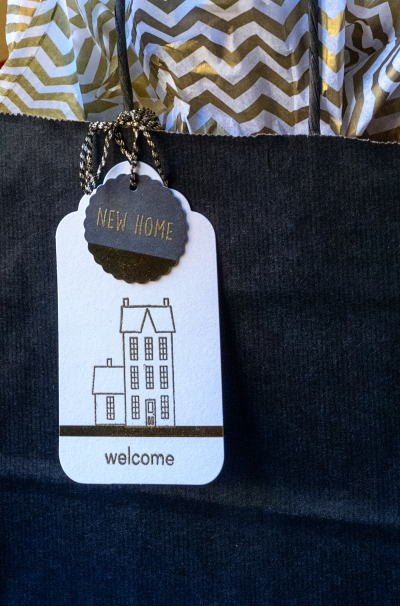
I used the house from Papertrey Ink’s “Winter Hills,” “welcome” from “Wonderful Words: Baby,” and “new home” from Reverse Confetti’s “Whole Lotta Happy.” I was thrilled to find that last set in my box of stamps, having forgotten that I picked it up a few months ago because it had so many versatile sentiments. They were all gold embossed to match the strip of gold on the tag. Both tags are from a set by Jen Hadfield for Pebbles. The black bag and tissue are both from Paper Source. There’s a Paper Source store within walking distance from Sarah’s house in Evanston, so I almost always make a visit. The fact that it’s several doors down from Caleb’s favorite bakery doesn’t hurt either!

GiftBagClose

The gift inside is a beautiful winter candle holder which I was thrilled to find at a local gift shop. I picked up another one as a birthday gift for a friend.

Thanks with a Grateful Heart

  • by

A quick post to enter a card in the TIME OUT challenge:  “Give Thanks with a Grateful Heart.” This is the first time I’ve entered one of their challenges, but the challenge has popped up a couple of times lately, so I went to check it out.

ManyThanks

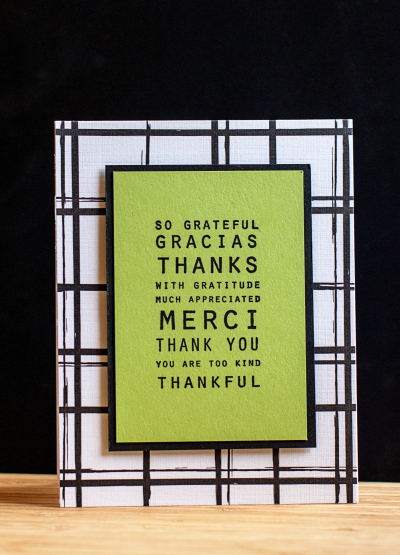
This is a quick and easy one; great for when you need a thank you note in a hurry! The patterned paper is from Maile Belle’s collection “Black and White” for Papertrey Ink, and the stamp is from Papertrey’s “Sentiment Signs,” backed with a piece of True Black card stock. This was for one of our male friends so I wanted to be sure it was a CAS design.

Happy Halloween & Memorandum Monday

  • by

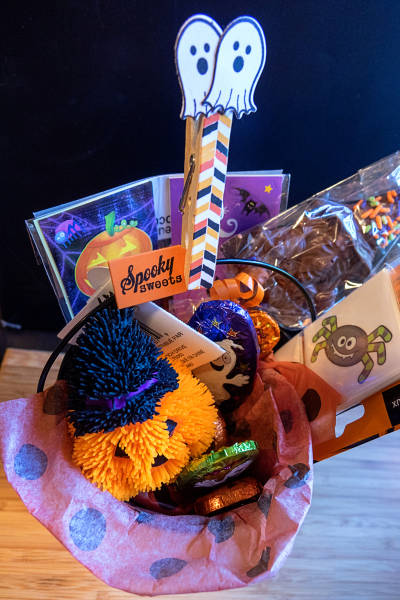
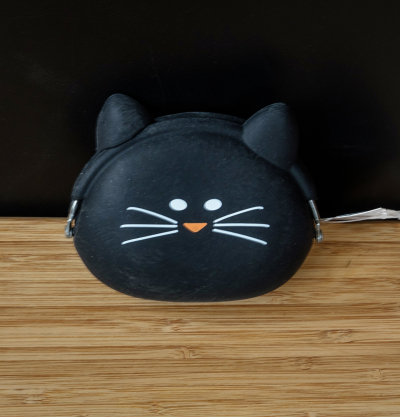
As an elementary school teacher for 37 years, I was never a great fan of Halloween. Being the grandmother to several youngsters has changed my tune a bit, and I enjoy crafting for all of them. I made little tins filled with some Halloween goodies for three of them. They all got stickers, fake tatoos, a squishy little pumpkin that lights up when you toss it, and some chocolates from a local candy shop. Caleb got a little ball that looks like an eyeball, and the two little girls got black cat coin purses. I took a photo of Caleb’s which I left with Sarah when we visited in September, and decided since the girls’ look just the same so there was no need for another photo.
CalebHalloweenBucket1

The clothespin on the top was made with some patterned paper and little ghost stamps, and tag from an old, but fave, “Friendship Jar: Fall” stamp set by Papertrey Ink. Here’s a look at the little coin purses which I thought were just adorable.
CoinPurse

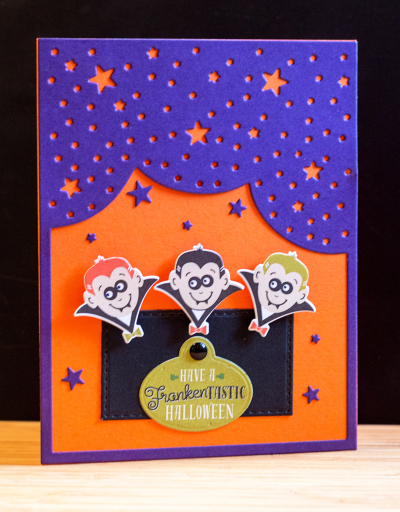
They each got cards, too, of course. I had quite a few reward points at Papertrey and decided about a month ago, I’d really like the Halloween Pin-Up Make It Market Kit. Glad I did, as both these cards were made much easier with the preprinted images and dies.

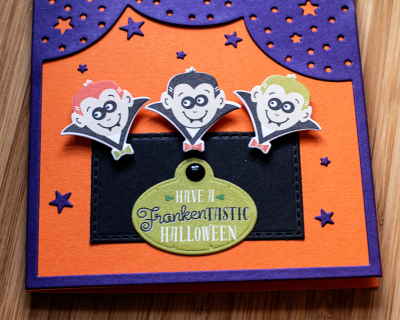
Here’s Caleb’s. I’m not sure he knows anything about Frankenstein, but I know he likes monsters and super heroes, so I figured he’d like the images.
CalebHalloween

CalebHalloweenClose

The “Night Star Cove”r plate is the perfect frame for the card. It’s cut from Royal Velvet cardstock which is such a great contrast for the Orange Zest.

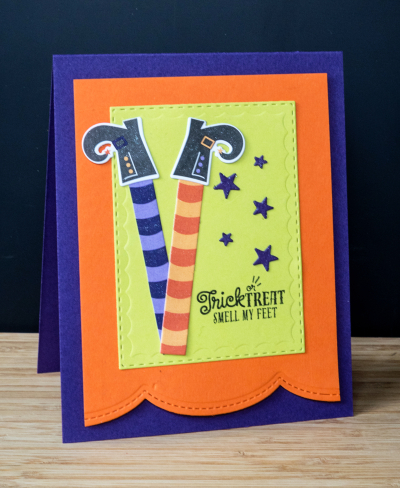
The card for Skylar and Ella uses those colors as well as Limeade Ice. Not my usual combination, but great for Halloween. Ella’s a little young to get the humor from the sentiment, but Skylar certainly did!
Feet

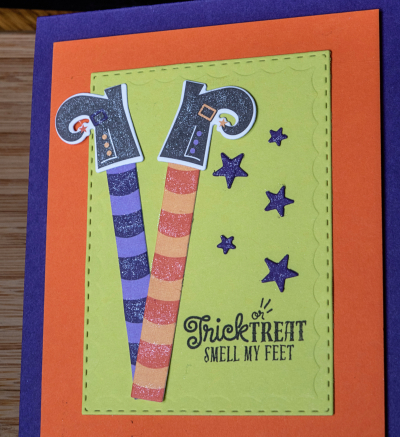
She also appreciates the glitter on the shoes and socks. I bought a couple Spectrum Noir glitter pens for Christmas cards, and the “Crystal Clear” one is becoming a favorite.
FeetClose

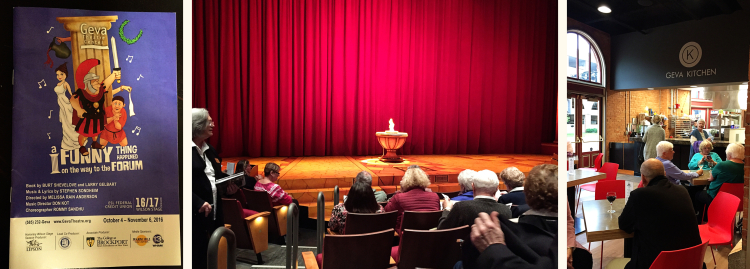
It was a busy weekend. My father was a music professor and I grew up on musical theater, but I’d never seen “A Funny Thing Happened on the Way to the Forum.” We saw it on Saturday at the newly refurbished Geva Theater. The musical was terrific, and the renovations are quite lovely.
GEVACollage

On Sunday, Skylar came over and we made Halloween cookies, also a first. She’s really very adept with a rolling pin, and can cut out the cookies with no supervision.
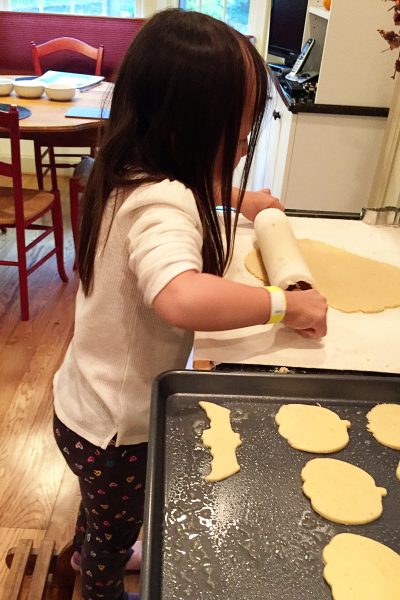
IMG_4053ed


For a five year old, she’s also pretty good with frosting the cookies as well.
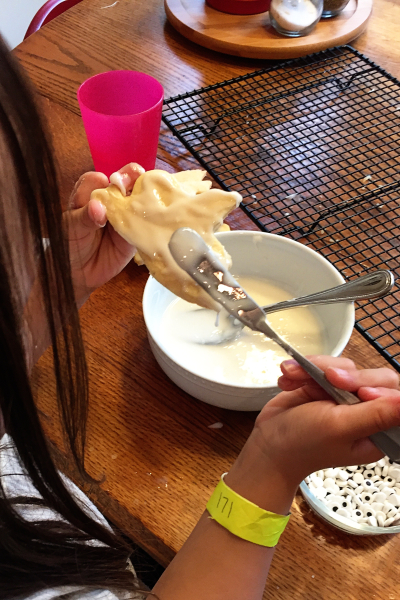
IMG_4060ed

Her mom, dad, and sisters came for dinner, and we had cookies and ice cream for dessert.
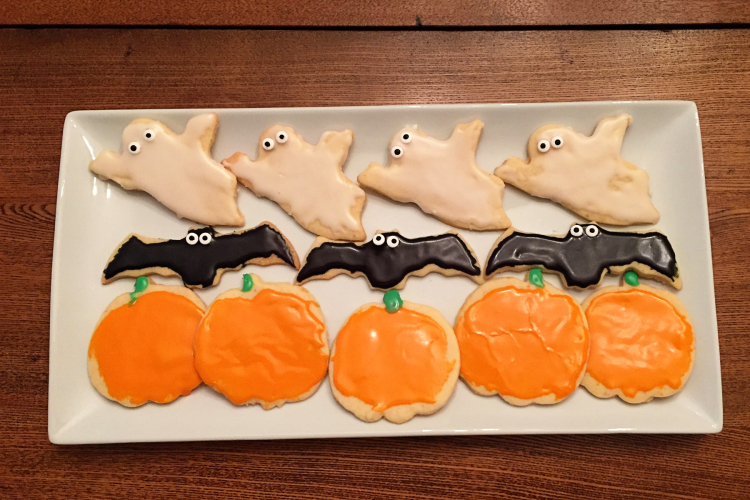
IMG_4063ed

And a quick look at the little girls out for trick or treating tonight. Skylar started out very hesitant about the event, but Ella quickly caught on and was a very eager trick or treater! There’ll be more for SNAP on Wednesday.
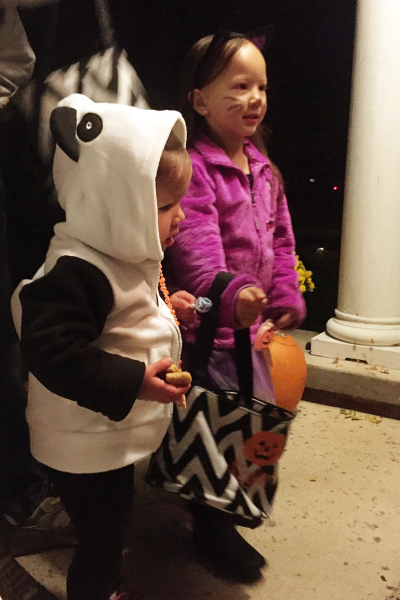
IMG_4110ed

A very late wave to Sian and the Memorandum Monday crew!
 

Card Concept: Chevron Pumpkin Challenge

  • by

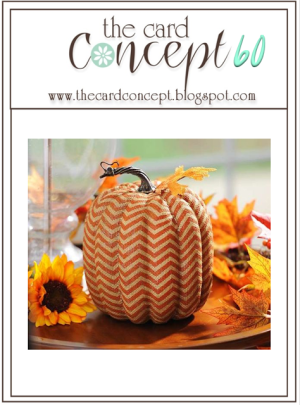
When I spotted the inspiration photo for the Card Concept Challenge this week, I knew I had the perfect stamp set for it.

CardConcept60

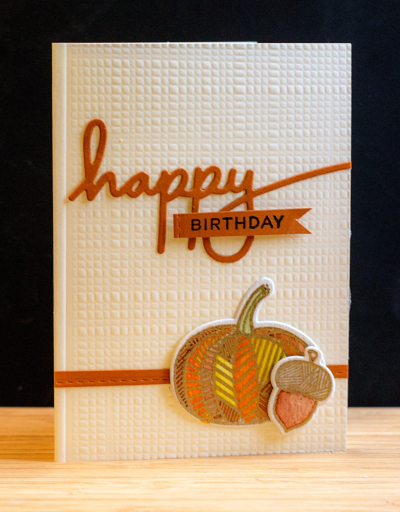
I recently bought the Hero Arts set, “Autumn,” which I had yet to use. The design of the pumpkin reminds me of the recent coloring book/doodling craze. Included in the set are several leaves with the same kind of patterns.

PumpkinChallenge

I gold embossed the images and colored them with my Kuretake watercolors. Papertrey Ink’s burlap coverplate added just the right kind of texture for the background. I added a stitched strip from a rejected piece from yesterday’s crafting session. The sentiment is also from an used set which I’ve had for quite some time. Papertrey sent it as a thank you awhile ago, and it turned out to be perfect. I die cut the word from Canyon Clay paper and then made a banner with a stitched edge for the rest of the sentiment. 

PumpkinClose

One of the interesting features of the Card Concept Challenge is the ability to make a card in any style. I’m sticking with my usual “Clean & Simple” for this one, and I’m happy to have another birthday card ready to put in the mail next month!

Papertrey Ink October Blog Hop

  • by

The 25th of the month snuck up on me, and I didn’t get started on this card until this morning. I love the inspiration piece of this month’s Papertrey Ink Blog Hop, so I was determined to create a card for it.

PTI

I’d like to report that it came together quickly, but alas, not so much. There are all kinds of scraps on my desk, and at least two versions of the card are in the circular file. I am happy with the end result, but would have preferred to have posted it an hour or so ago!

PTI

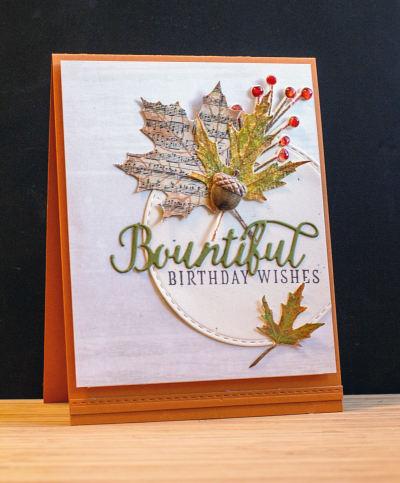
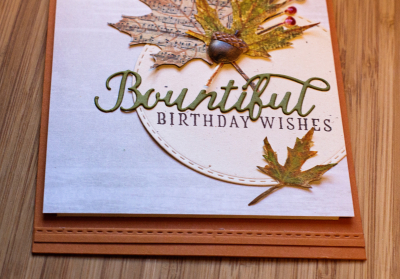
I started with the fall leaves and the music in the inspiration piece, stamping and fussy cutting some Leaf Prints, one on a musical themed patterned paper (Theresa Collins, perhaps) and the others with Distress Inks on watercolor paper. Then the red berries from Spruce and Sprigs with some Glossy Accents. The acorn sticker is from Little B. I die cut a stitched circle from Rustic Cream paper and mounted it on a piece of woodgrain (again from the inspiration piece) paper from MME. The die cut (from Ripe Avocado) and stamped sentiment are from the Color Pop Autumn Mini-Market Kit, which is turning out to be a great purchase. Then I popped it all up with some fun foam and added it to a Canyon Clay card (to pick up the orange in the inspiration piece) and added a stitched strip to the bottom of the card for a little added interest. 

PTIClose

Off to see what inspiration is linked up for the hop. There are 12 birthdays in November on my calendar, and I need to make a lot of cards.

Virginia’s View Focal Point Challenge

  • by

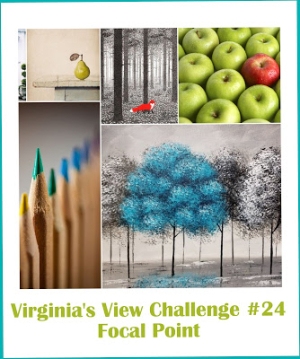
I’m getting in just under the wire for Virginia’s View Focal Point Challenge.

VV'sfocal point

I actually have two sets of cards ready for the challenge, but only time enough to post one of the them. I was inspired to make these cards by the beautiful fall card Alexandra posted a week or so ago.

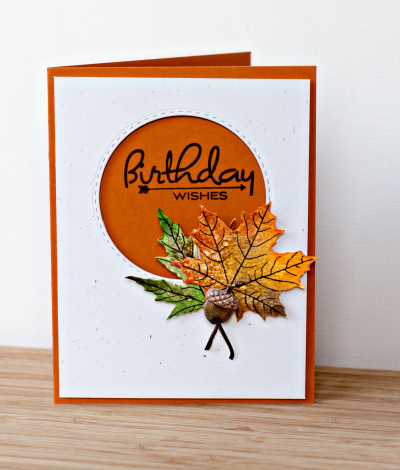
BDWishes

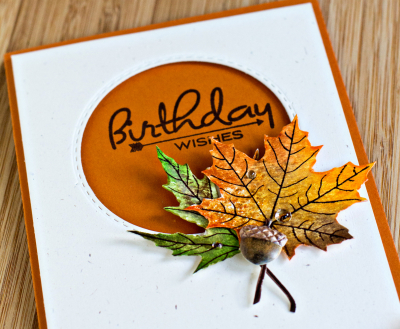
I used a Simon Says Stitched Circle die to cut a circle in a piece of Rustic Cream cardstock by PTI. The leaves are from Paptertrey’s Leaf Print set. I stamped them with a variety of Distress Inks, and then spritzed them with a bit of water before stamping them on watercolor paper. I don’t own the dies for this set so they were fussy cut by hand. The three-dimensional acorn is by Little B and was included in the October Simon Says Card Kit. The sentiment from Birthday Style (PTI) was stamped on Canyon Clay cardstock, and then I layered the Rustic Cream with leaves on top with dimensional tape. Three rainstones finished it off.

BDWishesClose

Of course when I finished I had a circle of Rustic Cream, and it seemed a pity to let it go to waste.

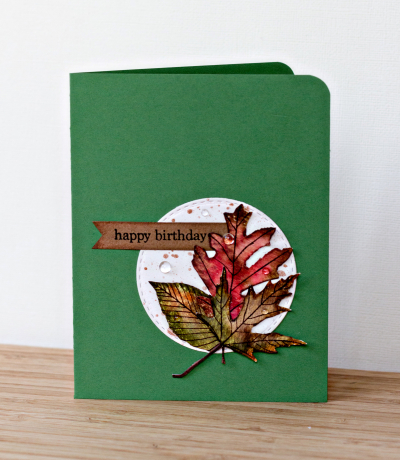
BDLeaf

The only differences here are the cardstock (not sure where I got it) and a few splatters of Tim Holtz’s Distress Mica Spray in bronze on the circle before I added the leaves which are stamped with the same process.

HBDLeafClose

The sentiment here is a partially inked one from Simon Says “You Matter” set which was sitting on my desk at the time. I edged the hand-cut banner with Chai Tea ink from Papertrey. Off to link up with the challenge before it closes!

Papertrey Ink September 2016 Blog Hop Challenge

  • by

As soon as I saw Nicole’s inspiration piece for the PTI September Blog Hop, I knew I wanted to play along.

PapertreyBlog Hop

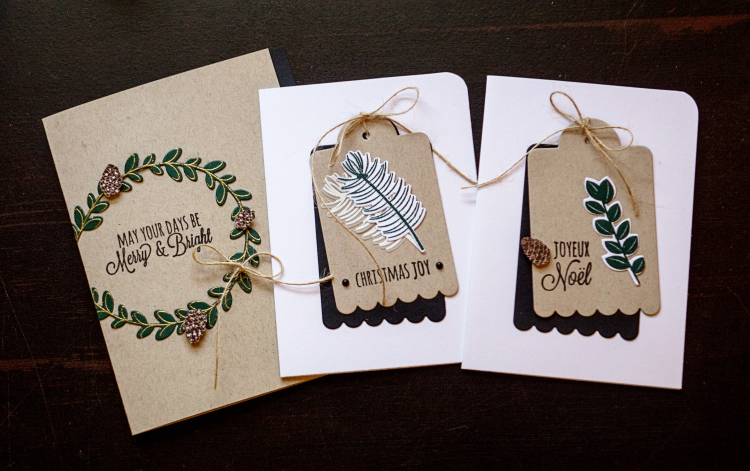
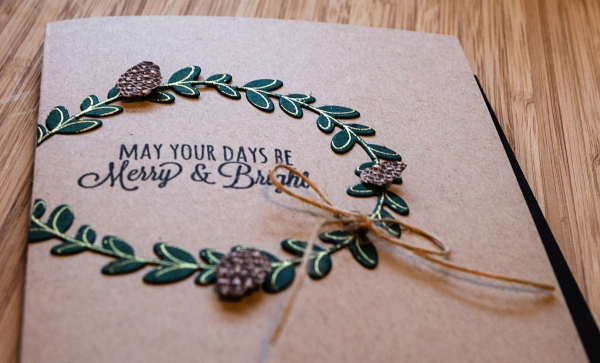
Kraft, black, white, green, and twine—what’s not to like about that? So, I set aside some time to play. I hoped to come up with one card for the hop, but ended up making three. Only one can be linked to the hop, but I’m sharing all of them here.

PTIBlogHop

The card on the left is the one I started out to create. When I was waiting for the white to dry on the pinecones, I came up with two other cards using tags as the focal point.

MBNew2

MBNew1

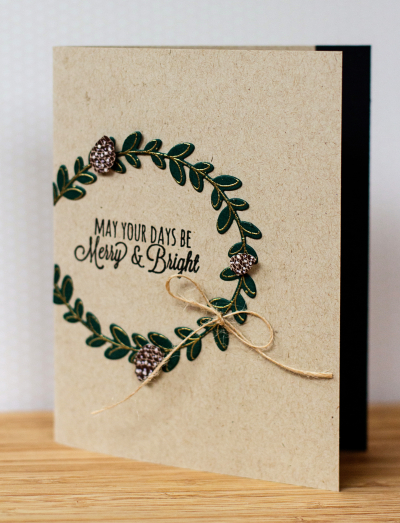
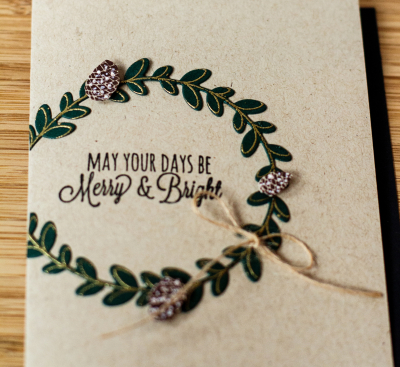
I trimmed off the top edge of the kraft card, and layered a piece of True Black on the inside of the card. The wreath and sentiment are from “Rustic Wreath,” and the pinecones came from Avery Elle’s “Winter Wreath.” Much to my surprise I could not find a pinecone in any of my PTI sets. A bow was tied to the wreath with Rustic Jute Button Twine (PTI.) 

MerryBrightClose

I used White Enamel Accents to add some “snow” to the pinecones, and used some clear foam tape to add some dimension to the wreath.

JoyeuxNoel

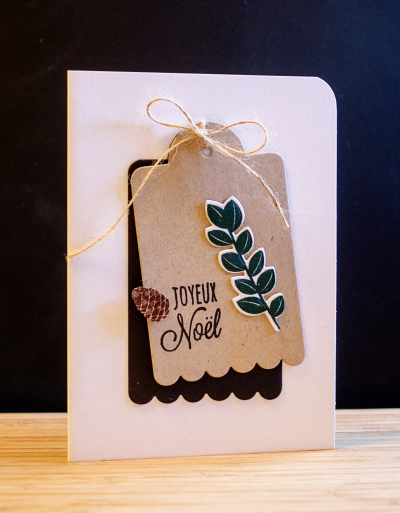
I used Tag Sale #9 to cut two tags, one each from kraft and True Black cardstock to mimic the tags in the inspiration piece. The branch is from last year’s “Spruce and Sprigs” stamped with Pinefeather ink. Once tied together with twine, I added the tags to the Select White cardstock and rounded one corner. The sentiment is from “Rustic Wreath.”

ChristmasJoy

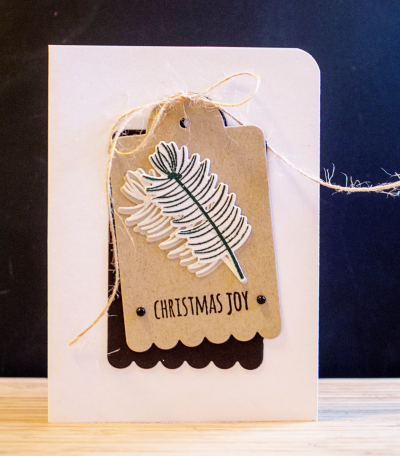
This card is essentially the same. I added a second pine bough cut from vellum to place behind the one stamped with Pinefeather, and used two AMuse black pearls instead of the pinecone. I’m posting this before church, but won’t be able to link it up with the blog hop until afterwards. I’ll be anxious to see all the other creations based on this inspiration. Glad, too, to have a few Christmas cards created!

FUSION Birthday Bash Challenge

  • by

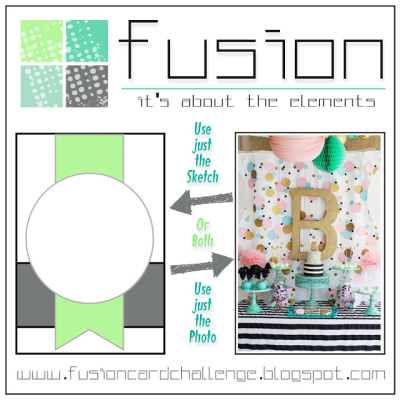
Although my goal of participating in a challenge every week has been only partially successful, the Fusion Challenge is one of my favorites. They offer up a sketch as well as an inspiration piece, and I combined aspects of both for this week’s challenge.

New Banner-017Fusion

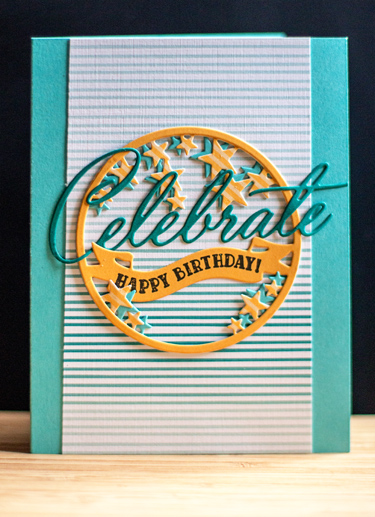
I took the circular design for the focal point, and used some of Maile Belle’s Ombre Stripes paper from the inspiration piece as well as a few of the colors. I think there’s enough elements from both the sketch and the inspiration piece to fit the challenge.

Celebrate

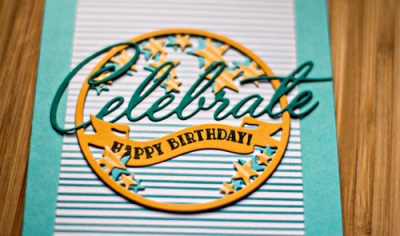
All the elements of the focal point are from Papertrey Ink’s “Scene It: Celebration” stamps and dies. I die cut the circle element three–once in Summer Sunrise, once in Summer Sunrise Patterned paper, and once in Hawaiian Shores and off set them. Celebrate was die cut with Tropical Teal paper.

CelebrateClose

I love the layered look of the three die cuts, and appreciate how Papertrey Ink develops cardstocks that complement one another.

SNAP: The Birthday Party

  • by

Skylar turns five today, and there’ll be a dinner tonight with just family. On Saturday she hosted a birthday party for her friends and classmates (and their parents and younger siblings). It was a wonderful event, and everyone, including the birthday girl, had a great time. Coming up with a SNAP collection for Helena’s meme was easy this week!

SNAP38

Skylar greeting friends at the front door, the birthday girl getting her face painted, Ella and her dad with Ella’s balloon “dolly,” and blowing out the candles on the cake.

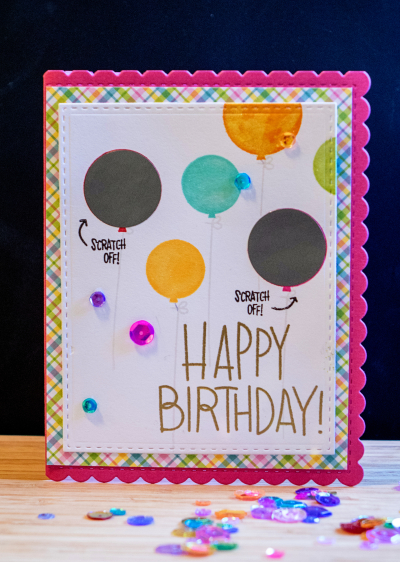
Of course, there had to be a special birthday card, and the September Simon Says Kit was just perfect for it. It arrived with scratch-off stickers, bright patterned papers from Doodlebug, and the perfect birthday balloons and sentiments in the “It’s No Secret” stamp set.

Scratch

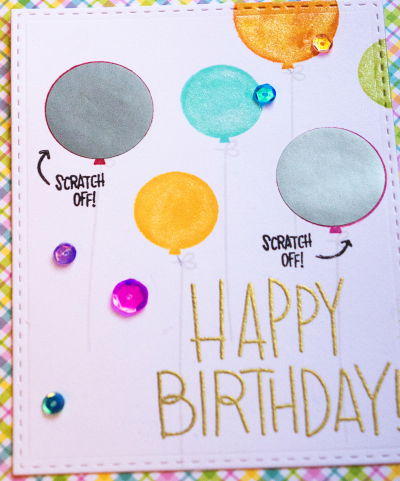
I totally forgot to take a photo before I added the scratch-off stickers, but under one it says “Love You” and under the other “You Rock.” I colored the balloons with Copic markers and added glitter to each one with a Spectrum Noir Clear Sparkle pen. 

ScratchClose

The colorful sequins are also from a previous Simon Says Card Kit. Hope your week is going well; mine is going by much too quickly!


CASology: Stitch

  • by

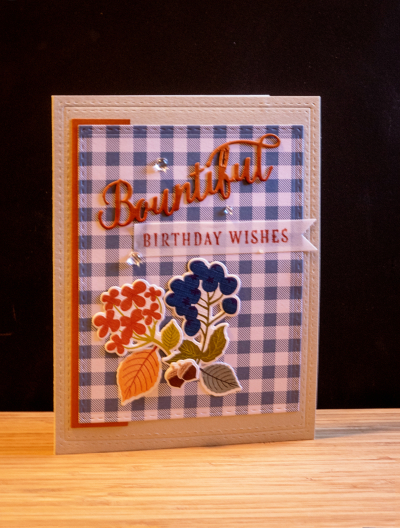
It’s a very rare occurrence, but I didn’t make a single card in August. The cards I posted were all made in July before we left on our vacation. So when I sat down on Thursday to made a couple September birthday cards, it had been awhile. Luckily, I won a $25 gift certificate to Papertrey Ink during their Stamp-a-Faire event, so I had ordered the new Mini Market Kit: Color Pop Autumn which arrived just before we left. 

When I was making the first of the birthday cards, I felt it needed just something extra, so I tried a technique I saw recently on Jennifer McGuire‘s blog using die cuts as embossing plates. It worked beautifully and I was very happy with the results. The card itself, however, is too busy for the CASology challenge which focuses on very clean and simple, so I made a second card for the challenge with the same technique, but no patterned paper. 

Here’s the first card:

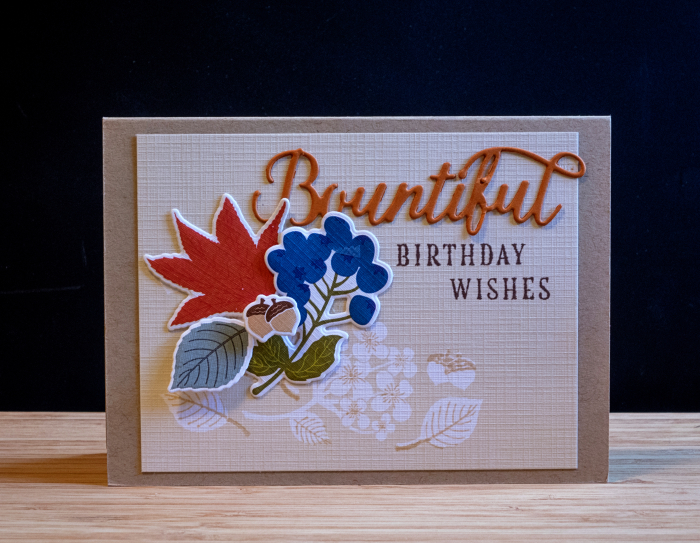
Bountiful3

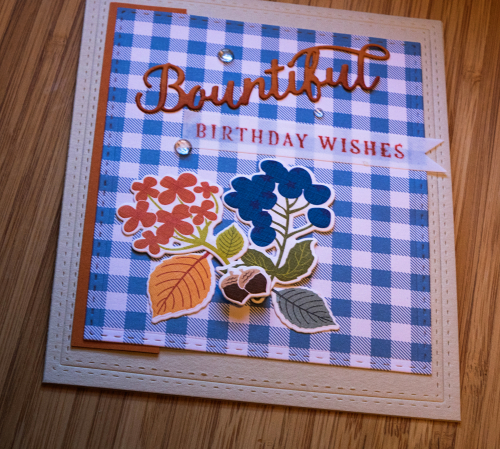
And a closer view, since the light was better when the card was laying flat.

BountifulClose

Everything for the card except the gingham patterned paper (My Favorite Things) came from the Color Pop Autumn kit. I added a few rainstones at the end as well. I love the preprinted die cuts which come with these kits which make for some quick and easy cards.

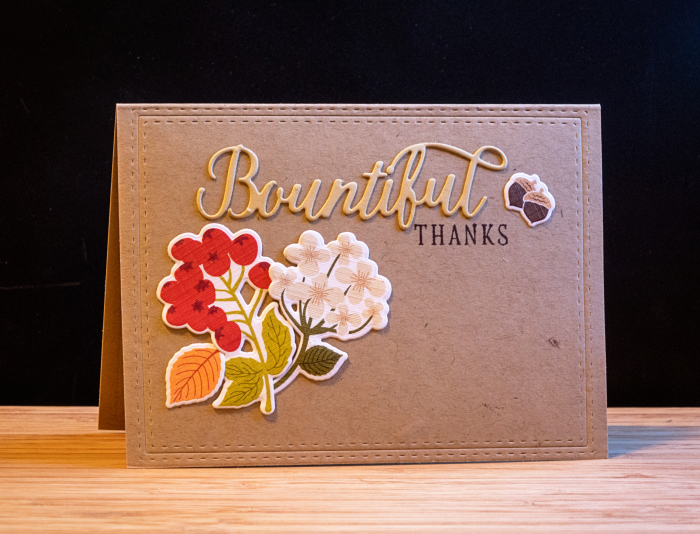
Here’s the card for the challenge. Everything in this card came from the kit.

Week 213 - Stitch

Bountiful2

The stitched edge is embossed with Simon Says Stitched Rectangle dies which I used twice on the first card—to cut the patterned paper and then emboss the edge of the card.

And finally, the other birthday card I needed. For this one, I cased Betsy Veldman’s card when she used one of the patterned papers from the kit and just stamped the outline images.

Bountiful1

No stitched embossing on this one, although in retrospect I think it could have used it. 

It’s a holiday weekend here, and we have a few plans, but mostly a lot of free time and a long list of projects to work on. Hope your weekend is going well.