Skip to content

Purging and Creating

  • by

I’ve been on another purging expedition in my studio, and have made some remarkable progress in handing off some supplies that I’ve had for just too long to a friend who is delighted to get them. In the process, I’ve done some reorganization as well. As I was going through the embellishment drawer I came across a couple of tags I thought would make quick and easy cards.
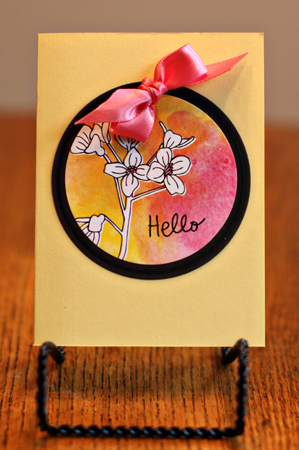
Hello

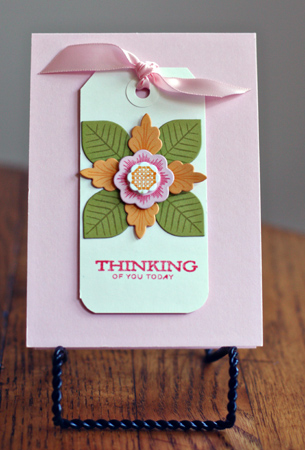
The tag is from American Crafts (Amy Tangerine). I die cut a circle from the Nestabilities Small Circles dies, tied a Pink Hibiscus ribbon (PTI), and attached it to a ready-made Paper Source card.

(This card is off to a friend who was diagnosed with a brain tumor last week. I saw her yesterday, and was amazed at her positive spirits. She’s been feeling nauseous for over a year, and seeing specialist after specialist. Finally her new GI sent her for an MRI and this is what they found. The expectation is that surgery will occur early next week, but they won’t know for sure until further tests are completed today. She’s the second of my very good friends to have received this diagnosis in the last six months. I find that really hard to believe. My other friend is stable right now. Her tumor was inoperable, but they were able to shrink it with radiation.) 
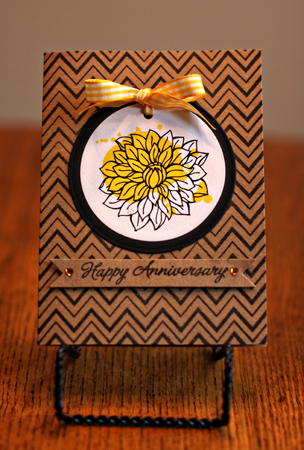
AnniversaryFlower

One of the things that got reorganized during the purge were the non-PTI acyrlic stamps and cling stamps that were housed in a notebook. I now have them in CD boxes on my shelf and can easily flip through them so I’m sure they’ll see a lot more use. I stamped the background on this Hero Arts kraft card with the chevron background stamp (Hero Arts). The tag is another one by American Craft (Amy Tangerine). I cut another circle with the Nestabilities and a double ended banner from Papertrey. The sentiment is from Everyday Sayings (Hero Arts) and the ribbon is from my stash. It’s hard to tell in the photo, but the little gems are heart-shaped (A Muse).
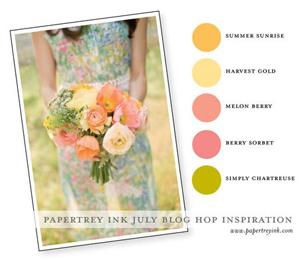
July Papertrey Ink Blog Hop

  • by

I got involved in another purging episode in my studio last night, so luckily I was up earlier enough this morning to get a couple of (needed) cards made for the Papertrey Ink Blog Hop. In August, I’ll be on the road when the Blog Hop comes, so I didn’t want to miss this one.

Here’s the beautiful inspiration piece. 

BlogHopJuly

It’s just perfect for the new Sweet Life stamp set, but I don’t have that, so I used Rosie Posie for the first card.

JulyBlogHop2

For some reason the Berry Sorbet looks more like Pure Poppy in the photo, but not IRL. I used Dawn McVey’s video from Stamp-a-Faire to tie the bow. 

The next card is my favorite of the two, and uses one of my all-time favorite stamp sets:  Lovely Layers.

JulyBlogHop1

All the supplies except the ready-made tag are from Papertrey Ink. I really need to put in an order for new inks as the Sweet Blush ink is no longer stamping images well. I had a similar problem with other ink pads last week. 

Papertrey Ink’s Stamp-a-faire: Limited Supply Challenge

  • by

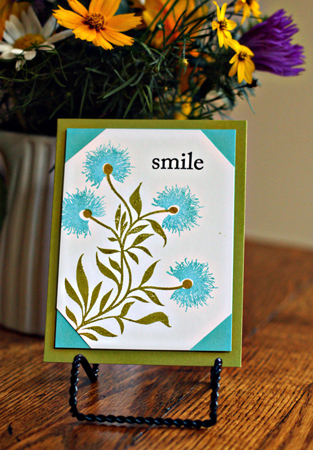
Well, this was not easy as my supplies for this challenge were exceptionally limited. I don’t own the right color buttons or the dotted ribbon, both of which I really needed. But I did what I could. I chose Four of a Kind for my floral stamp, and used the colors given: Hawaiian Shores, Select White, and Simply Chartreuse.

Smile1

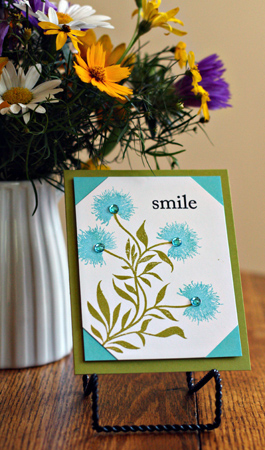
After I took this photo, I decided this card really had to have some embellishment. Lacking buttons I had some rhinestones that were very close to Hawaiian Shores. I’m happier with this version.

Smile2

Papertrey Ink’s Stamp-a-faire: Make & Take

  • by

I was hoping I’d had lots of crafting time today, but it hasn’t turned out that way. Today is the Papertrey Ink Stamp-a-faire with loads of inspiration and videos for projects. Fortunately we have until Monday to get projects completed and uploaded. Although we’ll be at a baptism and luncheon tomorrow, I’m hoping to get some serious crafting time in the late afternoon and evening. But I did get the Make & Take project done this morning. The card Nichole posted used Raspberry Fizz ink and cardstock—one of my favorites, but my ink pad is no longer making good impressions, even with reinking, so I had to go to another pink. I don’t have the new floral set (yet) so I went to one I haven’t used in a long time: Beautiful Blooms II.

PTIMake&Take

Creating a background isn’t something I do often either. It took me awhile to figure out placement, but I’m happy with it. The vellum strip is scored at the top and bottom, and the sentiment is from In Bloom. I’m off to see if I can get another project done before I need to finish up the dinner plans for company tonight.

Happy Hexagons

  • by

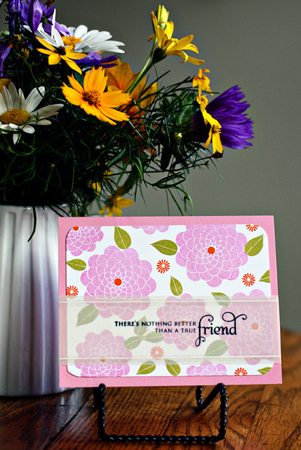
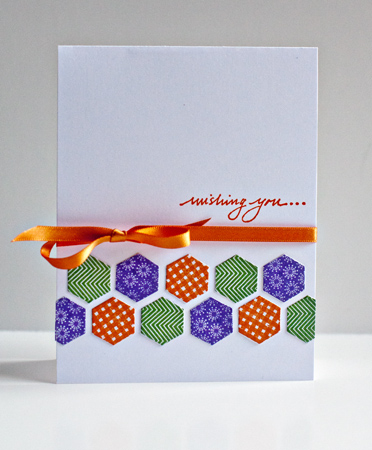
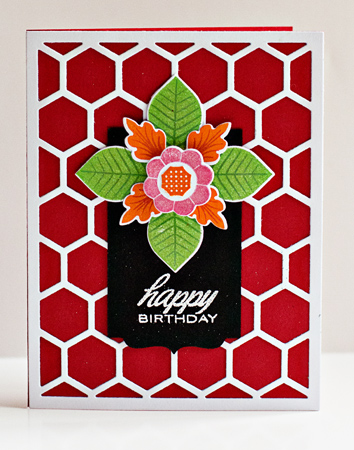
Last week a group of us got together for lunch and a bit of crafting afterwards. I had just received my June order from Papertrey Ink so I die cut a couple sets of hexagons with the Happy Hexagon Cover Plate and went to town stamping them with different colors of ink. I had a lot of fun putting together the cards once I was done.

FriendshipHH

The sentiment is from We Go Together and the twine is from Papertrey Ink as well. Once I saw this photograph I realized I needed to put some dimensional tape behind the hexagon that covers the twine. It looks better now!

WishingYouHH

For this card, I added some Paper Source ribbon and stamped the outside and inside sentiments with Impress stamps I’ve had for years.

HappyBDEllie

On this card, I used the cover plate, a tag cut with one of the Half and Half dies, and embossed the birthday greeting (Inside and Out: Birthday). Then I stamped the focal point with the Lovely Layers dies and stamps. I think these set will get a lot of use!
Papertrey June Blog Hop Challenge

  • by

Bloghoplogo

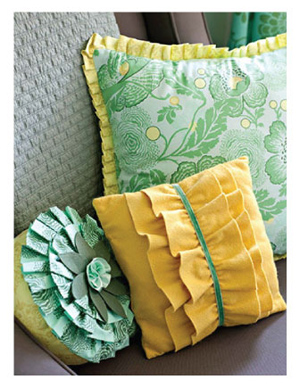
It’s already the 25th of June, and time for the Papertrey Ink blog hop. Here’s the inspiration photo:

JunePTIBlogHop

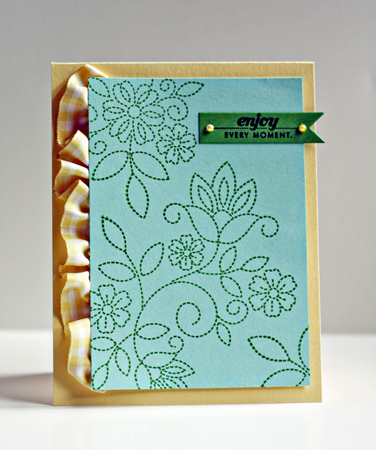
My first thought when I saw this photo was to use Papertrey’s “Stitches and Swirls” which hasn’t seen enough use. I kept true to the colors, using aqua mist, new leaf, and lemon tart cardstocks. I added a ruffled gingham ribbon to mimic the ruffles on the pillows, and a sentiment from Everyday Classics. One of my best friends just retired, so this card is for her.

EnjoyPTIJune

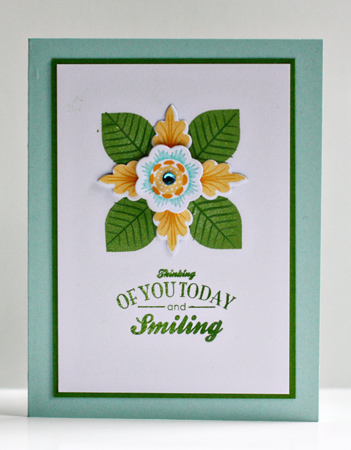
And then, because my June order had just arrived I had to give “Lovely Layers” a try. This stamp set is going to get a workout, I’m quite sure. This time I stuck to the same color combinations, but stamped on Select White. The sentiment is from “We Go Together.” I love cards like this that can be used for so many occasions.

SmilingPTIJune

Card Lifting and Purging

  • by

As I travel around blogland, I frequently save images of cards and layouts I love to vi.sualize.us. I started using it long before Pinterest arrived, and although I also save to Pinterest, I use vi.sualize.us a lot more. One of the best things about it is tagging the images so they are easier to use. Recently I’ve started adding tags for the specific stamp set as well as manufacturers, design, and occasion.

Before either of those internet resources appeared, I clipped ideas for projects from magazines and put them into binders. I realized recently that I never use those binders anymore so I emptied two huge binders and combined two binders that housed articles and class notes from photography classes and blogs. I kept the photography inspiration binder because I want to start making better use of that. Several online photography classes I’ve taken suggest that keeping an inspiration folder is a great way to help you identify what images draw you in, and suggest possible projects. Going through mine is one of next week’s projects.

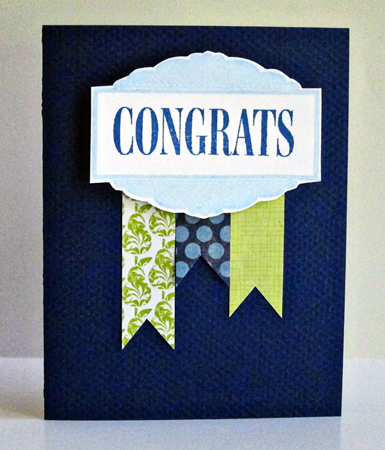
All of this to say, I used two images from my vi.sualize.us collection to make three cards this week. Two are nearly identical. I needed a couple of retirement cards, one for a man and another for a woman. I was pleased with how they came out. You can see the original inspiration piece here.

CongratsBlue

CongratsBlack

Both cards use the “Celebration” stamps from Papertrey Ink. The blue cardstock came from my stash (I’m guessing it’s Bazzill), and the patterned papers are from Cosmo Cricket, Lime Twist (MME), Martha Stewart, and Papertrey Ink (Pretty Pastels, Vintage Holiday).

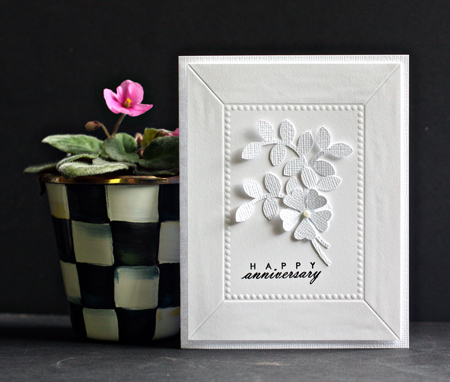
The next card is for dear friends of ours who are celebrating their 60+ anniversary next week. I loved this card by Debby, and used the white on white and cluster of leaves and flowers from her design.

HappyAnniversary

I never purchased the Turning a New Leaf dies from Papertrey Ink, but found both the leaves and the flowers in my Silhouette files. The frame is an embossing plate from Lil Inkers which turned out to be a bit more difficult to use than I thought. I still like it a lot, and hopefully next time I’ll find it a little easier to use. The sentiment came from Fillable Frames (Papertrey Ink)

Today is another busy day, but both little blocks for Saturday and Sunday are empty on our calendar. I’m hoping to get a lot of crafting and computer cleaning-out done. Hope yours is a good one!

Runway Inspired Challenge #14

  • by

I took a break from scrapbooking today to get a few cards made. I’ll be back later with some more, but I wanted to post my card for the Runway Inspired Challenge. This is the first time I’ve ever participated in it, but I was so inspired by all the designers’ creations, I decided to give it a go.

Here’s the inspiration:

Max-Kibardin-Fall-2012-4 (from fashionologie)

What stunning shoes! I’d barely make it across the room in heels that high, but I sure do like them. Here’s my card based on the colors.

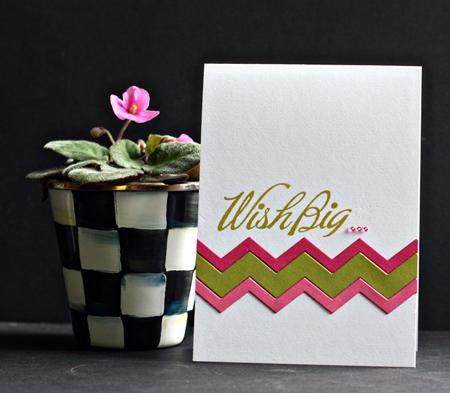
WishBig

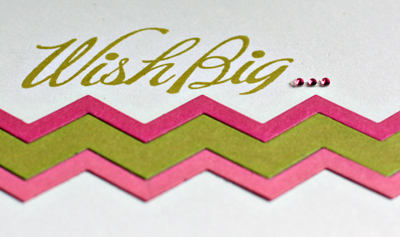
I love these colors together:  Raspberry Fizz, Simply Chartreuse, and Hibiscus Burst. I used the Papertrey Ink chevron dies to cut both a large and small chevron of each color and decided two small and one large looked best. The sentiment (stamped in Simply Chartreuse) is Think Big Favorites #3, also by Papertrey Ink. I added three tiny gems since the inside sentiment is a continuation of the sentiment on the front:  it’s going to be your best birthday yet!

WishBigDetail

The chevron dies are long enough that I was able to make two cards, so now I have two more summer birthday cards ready to send.

Three Cards

  • by

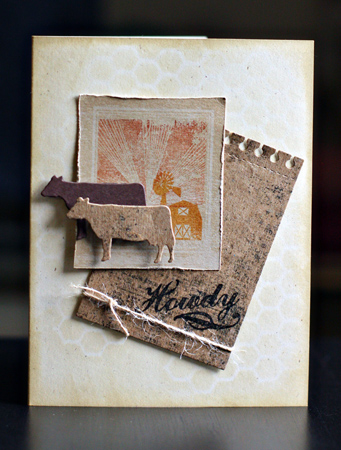
I’ve been having fun with the new Papertrey Ink stamps “On the Farm.” Like several other bloggers, I thought at first I wouldn’t use this set very much, but by the time the release posts were over, I realized there were a lot more ways to use a set of farm images than I imagined. The first one is cased from K and R Designs. I made it for our friend who celebrated his birthday over Memorial Day. The inside sentiment reads:  “Herd it was your birthday!”

HowdyBD

I finally used a 6X6 stencil “Mini Chicken Wire” from Crafter’s Workshop that I picked up awhile ago. I sponged Tim Holtz “Antique Linen” ink over it and distressed the edges of the card with PTI’s tea dye inks (my favorites for distressing.) The patterned paper is from MME’s “Everyday Fun Day” 6X6 paper pad, and the dies are “On the Farm” and “Spiral Notebook Page.” The twine is PTI as well.

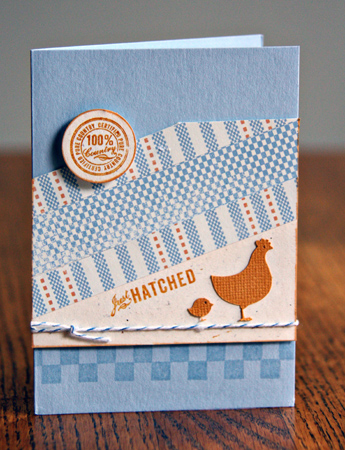
The next card uses the same set for a baby card that I based on Ashley Cannon Newell’s card posted during the release.  One of my best friend’s son and wife just had a 9.1 pound baby boy. I ended up cutting the hen and her chick with the Silhouette since the die and stamps were the wrong orientation for what I wanted. The card is from Paper Source and all the patterned paper were scraps from an old piece of Making Memories “Pitter Patter.”

JustHatched

I wanted a card for my friend and her husband which I tucked into a bag with some board books for the new grandson.

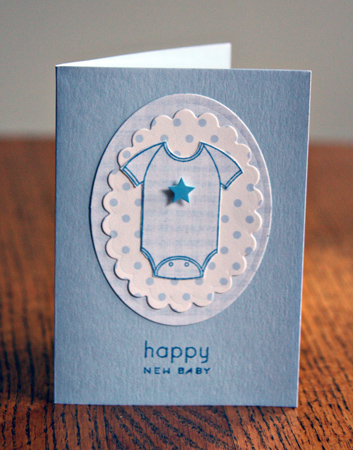
HappyNewBaby

This one uses PTI’s “Bitty Baby Blessings” set, always a good standby. I used two different Spellbinder dies for the mats and handcut the onsie. The card is from Paper Source and both of the patterned papers were in my scrap file.

Encouragement and Thanks

  • by

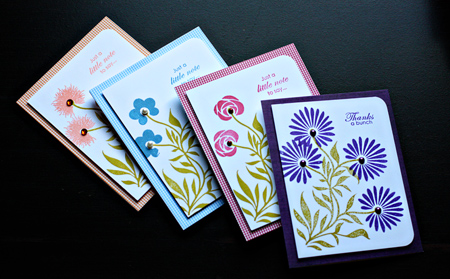
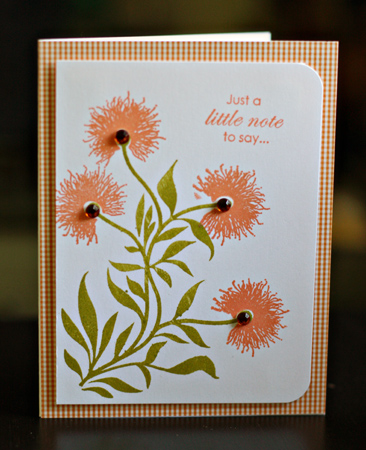
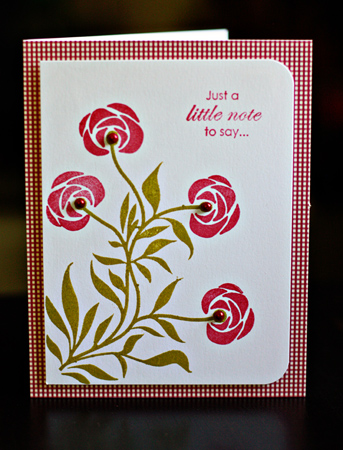
I needed some encouragement cards and a thank you note. When I got home from Oregon, I made a list of some of the stamp sets I haven’t used recently and decided to pull one of them out. All four cards were made with “Four of a Kind” (Papertrey Ink), a set that was available only to people shopping at CHA a couple of years ago. Some of the sentiments came from “Floral Frenzy,” another set on my list.

FlowerCardSet

OrangeEncouragement

RedEncouragement

BlueEncouragement

PurpleThanks

The patterned papers were from A Muse, Memory Box, and Basic Grey’s “Wisteria.” The pearls and gems from A Muse, Michael’s, and Queen & Co. 

All four cards are in the mail. It’s a sad fact that I have too many friends in need of encouragement right now. The thank you was for a very lovely birthday gift from a friend.

Papertrey May Blog Hop Challenge

  • by

Bloghoplogo

It’s time once again for the monthly blog hop at Paptertrey Ink. As soon as I saw the inspiration photo, I knew I wanted to participate. I love this color combination.

MayInspiration

Although I had a vague idea of what I might want to create, it wasn’t until late last night that it all came together. Luckily my May order with the On The Farm stamps arrived the day before so I had the perfect checked border for the cards. After I finished the first card, I had some reject pieces laying on my desk and reconfigured the card to make use of them. That’s good because I have two June 1st events for which I need cards. These will be perfect.

PTIMayCards

Both cards use Select White cardstock, Simply Chartruese ink, the Rosie Posie stamps and dies, a circle punch, and the On The Farm checked border.

PTIMay!

This card uses Simply Chartruese cardstock, a sentiment from the Fillable Frames Additions: 2 and two tiny gems from KaiserCraft

PTIMay2

Here I used True Black cardstock and a sentiment from Round and Round. 

You can find more inspiration here.

Back to the Crafting Table

  • by

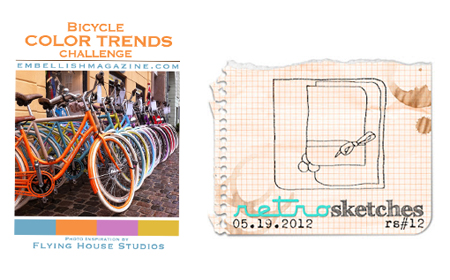
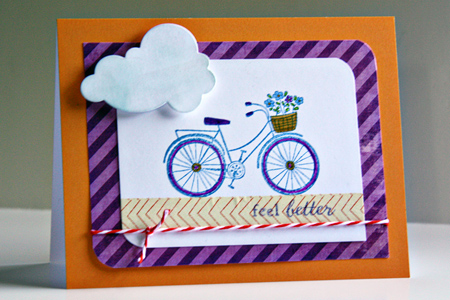
It’s taken us a few days to adjust to the new time zone and get settled in on our routines at home. It was a fabulous two weeks in Oregon, and there’ll be more to share here soon. But almost as soon as we got home I needed a “quick recovery” card for my sister-in-law who suddenly needed a pacemaker implanted. The surgery was yesterday, and she’s due home today. I took the opportunity to combine two challenges:  The Embellish Bicycle Color Challenge, and the most recent Retro Sketch Challenge. I rotated the sketch to fit my image.

2Challenges

And here’s my take on them. The inside message reads: Hope the road to recovery is short.

FeelBetter

Supplies:  Memory Box card; patterned paper:  Lime Twist Happy Go Lucky (MME); stamps: bicycle (Hero Arts), sentiment (Papertrey Ink); twine (Divine Twine); cloud die (Papertrey Ink); washi tape (Studio Calico kit)

A Cut Above: Silhouette Lessons

  • by

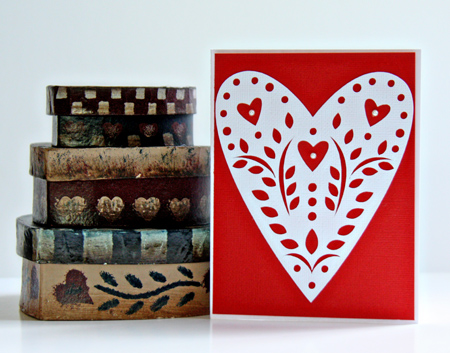
The emphasis has shifted in A Cut Above from regular die cutting machines to working with the Silhouette. Between this class and the Kerry Bradford class at Jessica Sprague, I’m seeing a lot more possiblities from a machine I already loved! Here are three I made this morning:

SilhouetteHeart

This was a simple one. The heart came from the Silhouette store and is backed with red American Craft cardstock and then adhered to a white card. The inside sentiment reads “Happy Anniversary.”

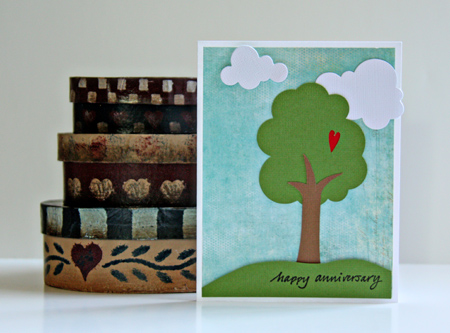
AnniversaryTree

This one started with two different Silhoutte shapes, both of which I altered. I originally thought I’d use a paper punch to cut out the heart, but it wouldn’t reach the place where I wanted it, so I found a heart in my library files and resized it to fit. (The tree is also resized, and I deleted the interior branch design.) I hand cut the grass, and the clouds are Papertrey Ink dies. The background paper is Basic Grey and the stamp is a very old Savvy one that I still love after many, many years!

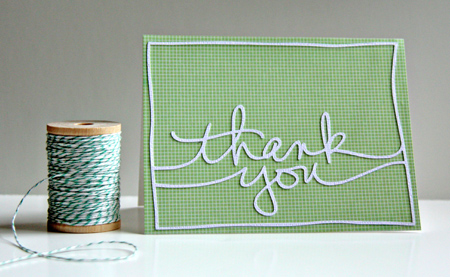
AEThankYou

I’ve seen Ali Edwards use these designs on her Project Life pages, but I didn’t really understand how easy it is to cut it from the Silhouette. As part of the class, Ali donated six phrases perfect for cards. I just love it! The paper is from the American Craft Neopolitan line. I adhered the die cut with a spray adhesive. Another tip from this class. I’ve had some for years, but rarely use it. That will change!

April Papertrey Blog Hop & More from A Cut Above

  • by

Bloghoplogo

Today’s the monthy PTI Blog Hop, and as soon as I saw the inspiration photo . . .

AprilBlogHop

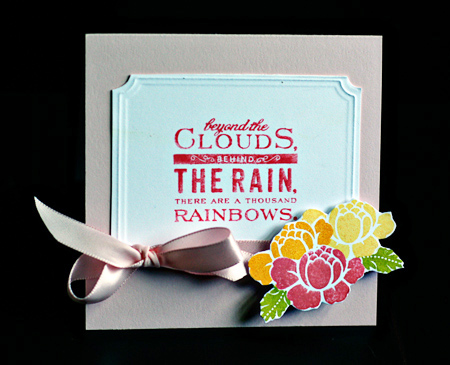
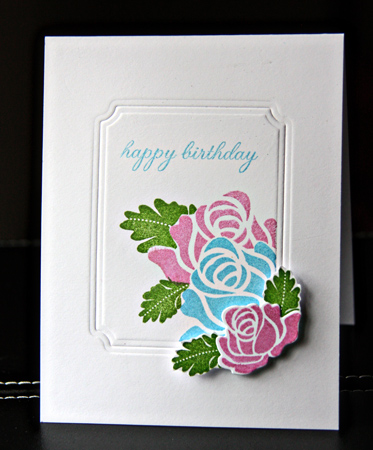
I immediately thought of the Rosy Posy stamp set. I had just watched Nichol Magouirk’s video on A Cut Above about stamping within an embossed frame, and thought the two would go together nicely. I reversed Nichol’s process and masked off the area for the frame first, did my stamping, and then embossed the frame around the image. It’s been a long time since I used masking to create an image, and I was surprised at how easily it went. I wanted to incorporate some polka dots as well, but couldn’t think of any way to do it without the potential of ruining what I had, so here’s another pretty CAS design. The sentiment is from Inside and Out: Birthdays. The frame was embossed with the largest of the Spellbinders Small Labels dies.

RosyPosyPTIBlogHop

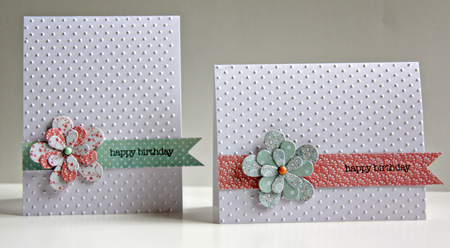
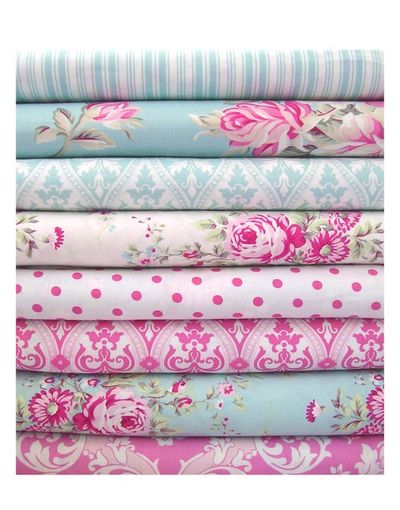
Then in my desire to use the polka dots I went in search of some quilt-like patterns as seen in the photo. I found several, but the colors aren’t as true to the inspiration photo as the first card. But that’s OK, it’s the patterns and polka-dots I’m focusing on here. I tried a whole variety of layouts, but finally ended up with two CAS cards:

HBDuow

In keeping with the focus on die cuts and embossing folders, I used the Beautiful Blooms 2 dies to cut the flowers and an old favorite Cuttlebug embossing folder, Swiss Dots. The brads are Basic Grey and the sentiment is again from Inside and Out: Birthday. I think I have all the cards I need now for the May birthdays. Just two more anniversary cards needed.

A Cut Above: Dry Embossing with Dies

  • by

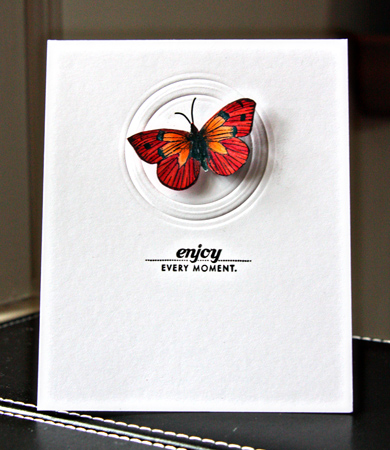
Yesterday’s lesson for A Cut Above was a series of four videos about embossing folders, Tim Holtz diffusers (I’d never heard of them), and dry embossing with dies. All the lessons are accompanied with pdf documents with the steps to creating all the sample cards. The best part of this class is that all the videos remain available to you after the class ends. This might be my favorite card yet, and certainly one of the simplest ever. The inside sentiment says, “Happy Anniversary.” I need four anniversary cards in May. Since we’ll be gone for the first two weeks, it’s good to get them completed now.

Butterflyw

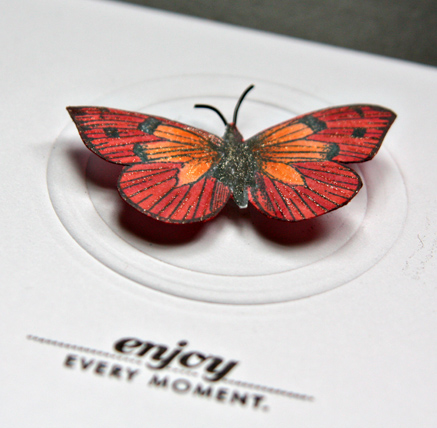
I used some black wire to create the antennae (another tip from an earlier lesson), and used Copic markers and glitter markers to color the Hero Arts “Antique Engravings” stamp. The sentiment is from Papertrey Ink’s “Pretty Poppies.” I embossed the circle with two Small Classic Circles by Spellbinders. Here’s a closer look at the butterfly.

ButterflyDetail

I’ll definitely be using this technique again.

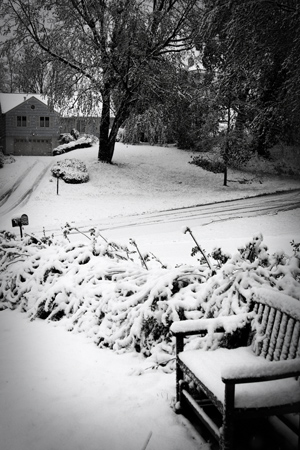
Here’s a view of our front yard yesterday morning:

4.23AprilSnoww

Luckily we didn’t lose any trees, though some of our neighbors lost large branches from the trees. It’s not that we haven’t had April snowstorms in the past, but this winter was so mild, this seemed really shocking. It’s just as windy and cold today (30’s), but the sun is out.

I spent a lot of time yesterday editing photos from our weekend in Washington. I’m doing it in Lightroom with the Visual Quickstart Guide right next to me. I watched the “Up and Running with Lightroom 3” videos at lynda.com so I knew some of the possibilities, but it’s impossible to remember where all the tools are, and exactly how to use them. It’s taking a long time, but I’m learning a lot in the process.