Skip to content

October Papertrey Ink Blog Hop

  • by

Bloghoplogo


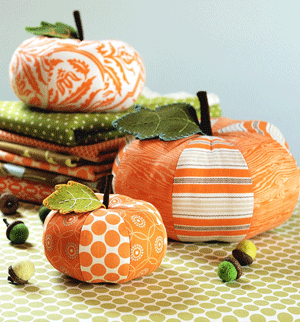
Once again, I nearly missed today’s Papertrey Ink Blog Hop. Early this morning I saw a reference to it on someone else’s blog and had time to create a card. I love this month’s inspiration photo.

October-blog-Hop-inspiration

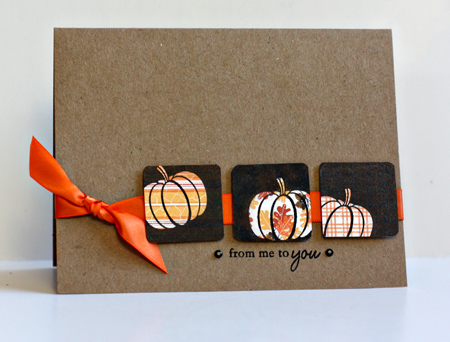
My first inclination was to paper piece some pumpkins, but as I went through my Papertrey collection, I came upon Take Three: Fall, and decided to stamp each of the three pumpkins on a different piece of patterned paper from the Autumn Abundance collection. 

Oct11PTI

Since I don’t have a recipient in mind, I chose a sentiment from Everyday Button Bits so it can easily become a birthday card, a thank you card, or just a thinking of you card. The ribbon is Orange Zest (PTI), and the black rhinestones are from Kaiser. I’m off to check out the other entries on the blog hop, always a great source of inspiration!

Pass the Book Inspiration Part 3

  • by

Here’s the last edition of the Pass the Book project. The other posts are here and here.

P.24

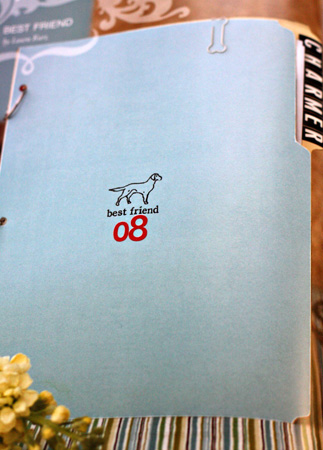
The cover of this album about a beloved dog inspired this card.

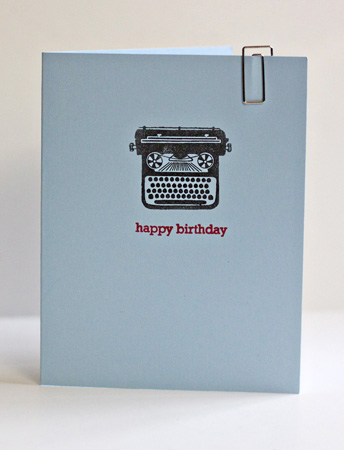
Typewriter

I followed the same color scheme, the same CAS design, and found a silver clip for the top of the card.

On page I found this.

P61

I loved the idea of using a journaling spot for the bottom half of the card. I have several books of the Making Memory journaling books so it’s a great use for them.

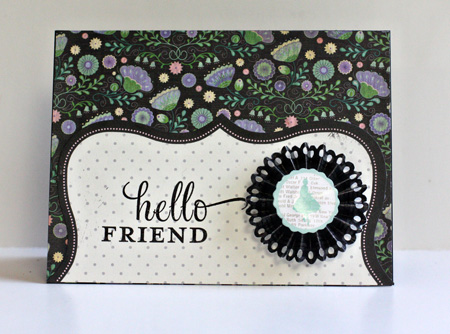
HelloFriend

I used some papers and a rosette from the new Pink Paislee line called Vintage Vogue, and a stamp from Papertrey Ink.

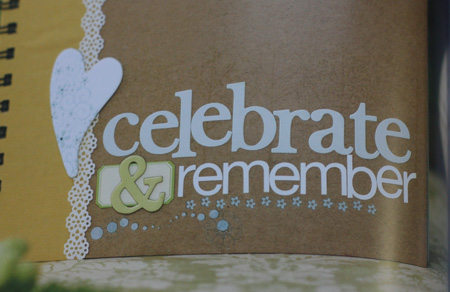
P82
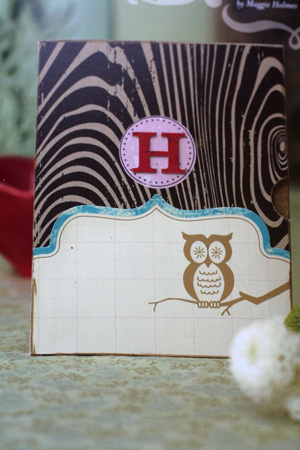
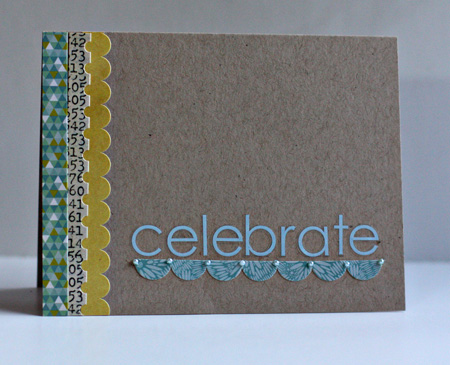
This cover prompted me to use some of my letter stickers for a greeting.

Celebrate

All the border stickers are from Studio Calico kits.

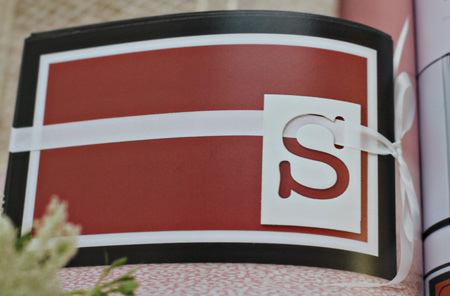
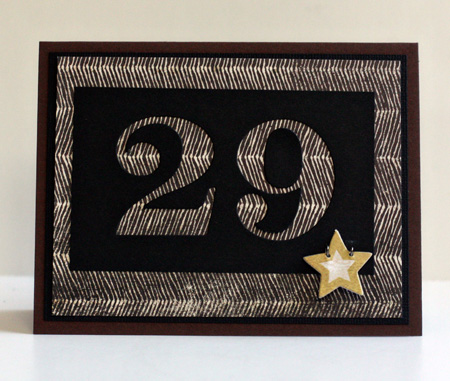
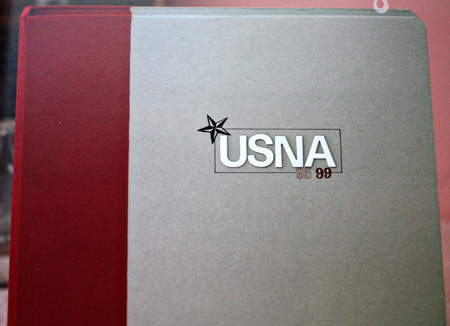
And finally, this cover inspired me to get Matt’s birthday card made way early. He won’t be 29 until February!

P100

29

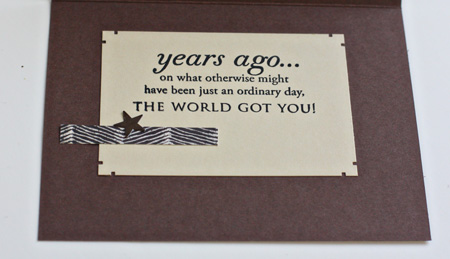
I die cut the 29 from black cardstock with number dies from Papertrey Ink, then layered them over a Basic Grey paper from the Granola line. The little star is also from Basic Grey (Life of the Party).  Here’s the inside:

Inside29

I just love this set from Papertrey Ink.

More Inspiration from Pass the Book

  • by

I made another layout today for the Pretty Paper Party, immediately after seeing Shimelle’s prompt, but I’m too tired to upload and edit the photo, so how about a few more cards inspired by Sharing Your Story.

On page 35 I found this:

P35

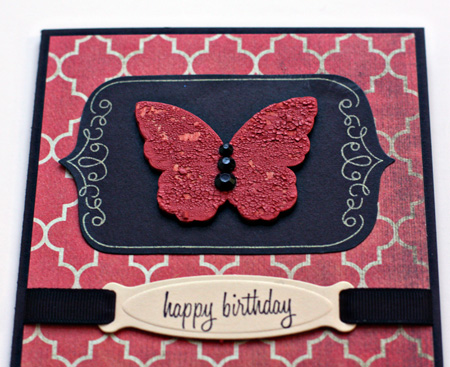
And created a birthday card (now addressed to a male friend for his November birthday).

HB2U

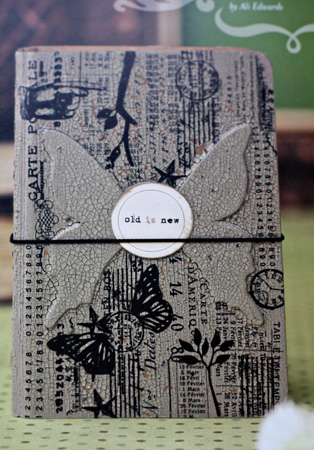
I loved this cracked paint butterfly on page 49.

P49
The front of this minibook prompted me to get out my crackle paint. I could only find one jar, and it was pretty old. It took several coats and a bit chipped off. I’m quite sure I have some more, but that will require cleaning the craft cupboard. But I like it enough to try it again.

CrackedButterfly

ButterflyClose

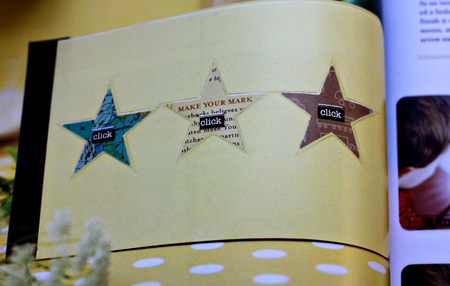
And lastly for tonight, this was found on page 52.

P.52

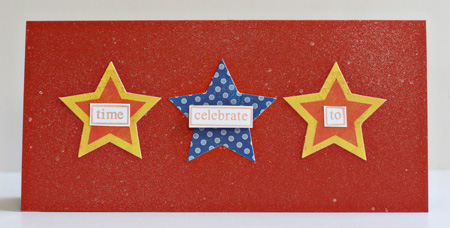
I like the design of this card a lot, but it’s my least favorite of all the cards I made. I used some old, old My Mind’s Eye die cuts and used some new Studio Calico “Shine” mist on the orange cardstock.

3Stars

We’ve had the best week ever with everyone here. Adam arrived from his conference in Virginia this afternoon, and we all went out to eat tonight. Baby Skylar slept through the whole dinner. She is one of the most contented newborns I’ve ever known. The days have flown by, and it will be hard to send everyone off during the next few days.

Pass the Book

  • by

It’s been very busy here, and I have lots to share, but first I want to send on the next installment of Pass the Book. Melissa sent it on to me last month, and it’s definitely time to send it on its way. You can read more about the Pass the Book project here.

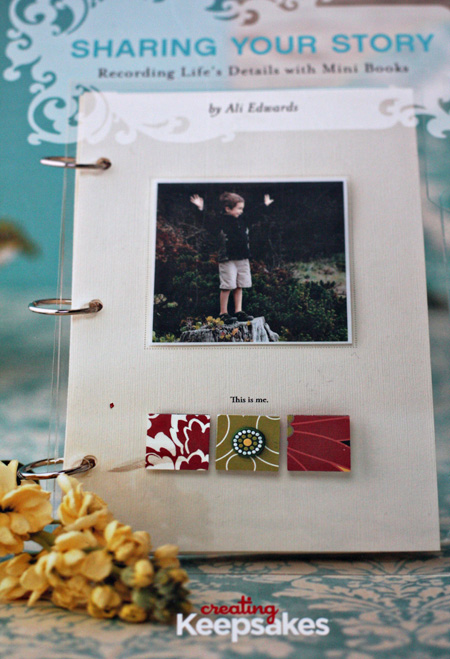
I have thoroughly enjoyed Sharing Your Story: Recording Life’s Details with Mini Books by Ali Edwards, and it has provided me with some amazing inspiration though not for mini books. As soon as I saw the front cover, I had an idea for a card. It didn’t take long to create, and I was quite happy with. That prompted me to go through the book looking at design ideas for cards. I ended up with quite a few new cards, and over the next few days I’ll be sharing them with you. I remember Mel did something similar with one of her Pass the Book reads.

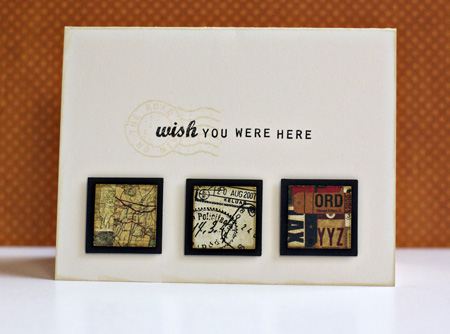
Here’s the cover and the card it inspired:

Cover

WishYou

On page 9, I found this:

P9

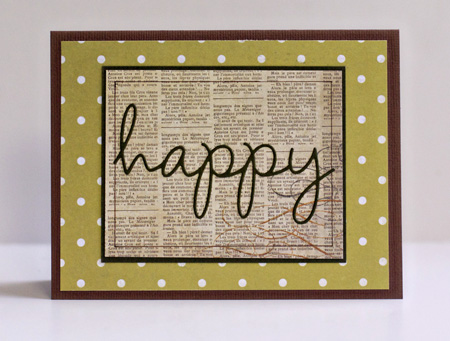
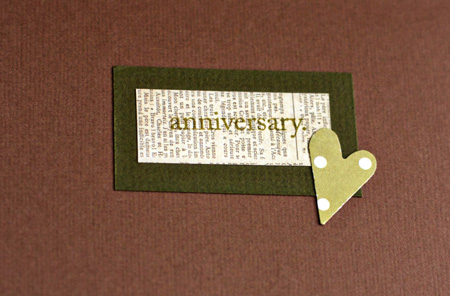
Which inspired an anniversary card for dear friends:

Happy

I liked the word overlayed on the text paper and repeated the polka-dot pattern as well. Here’s the inside:

InsideHappy

And one more for today. On p. 14 I found this:

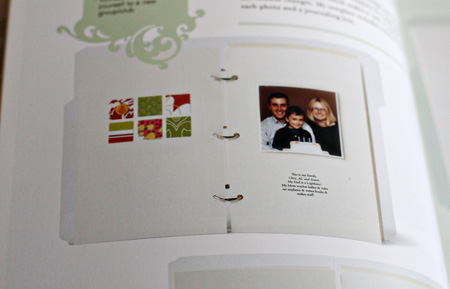
P14

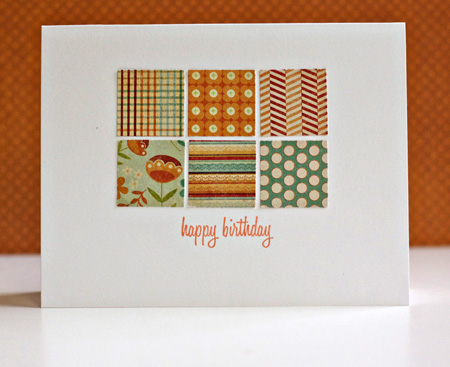
And created this:

6Squares

I’m quite sure this is a design I’ll use again and again when I need a quick card. Typically I list all my supplies, but both my kids are here this week so I’m going to cut this short. I do have a list of the supplies, so let me know if you’re curious about anything I used.

I’ll have more to share, but I’m ready to pass the book along. If you’re a fan of mini books, I’m quite sure you’ll enjoy the book. (I have jotted down ideas for several mini books as well.) And even if you’re not, you may find inspiration for layouts or other creative endeavors from the designs you’ll find here. If you’d like a chance to peruse the book, leave a comment here, and I’ll do a random pick on Monday, October 24th, and send it on its way.

Fall Birthday Cards

  • by

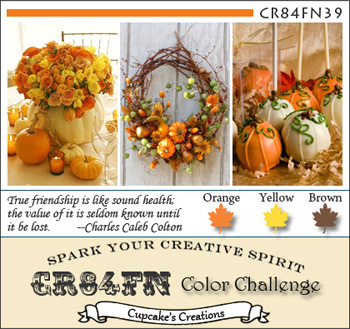
We have lots of friends and family with fall birthdays. Here are two cards ready to go. The first one is for two challenges. The CR84FN color challenge and the CPS Sketch Challenge. Here’s the lovely fall color combination at CR84Fn:

CR84FN39+Graphic

And the sketch at CPS:

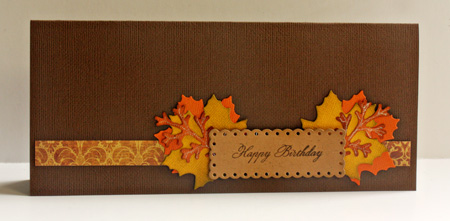
Here’s what I came up with:

SMLeavesCard

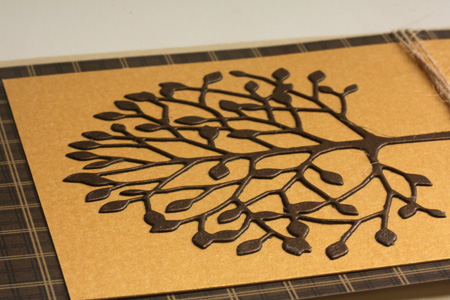
I made two of the following card, both for men with fall birthdays. I absolutely love this tree die by Memory Box. I hope you can see in the close-up the beautiful shimmer of the brown and gold cardstock.

Tree

TreeClose

Supplies
Leaves:
Cardstock: Autumn collection (American Craft)
Patterned Paper: “Sunshine” (My Minds Eye)
Dies: Nested Maple Leaves & Nested Eyelet Rectangles (Lifestyle Crafts) & Foliage (Spellbinders)
Distress Inks (Tim Holtz)
Stamps:  Birthday Basics (Papertrey Ink)
Tree:
Cardstock: Fine Linen and Bazzil Shimmer
Patterned Paper:  from the scrap drawer
Twine and Button:  Papertrey In
Die: Memory Box

A Trio of Get Well Wishes

  • by

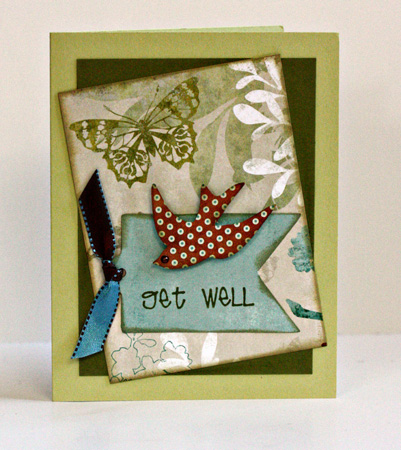
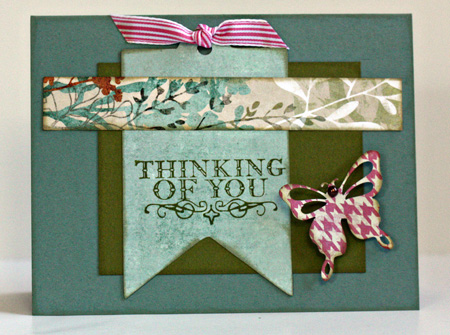
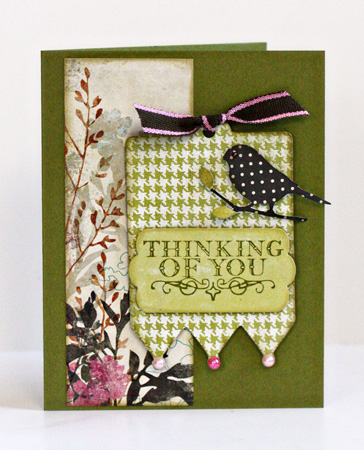
I’ve been inspired each time Sian posts her LSNED tags created with her Slice. I like my Slice, but am more apt to use a metal die cut or the Silhouette when I ‘m creating. But I decided I needed to get back to the Slice. I needed a few get well cards for friends and family so I chose a 6X6 paper pad, got out my Slice and decided to see what I could create in a hour or so. I have to say I don’t have Sian’s skill as grouping embellishments to create miniature works of art, but I had a lot of fun, and was reminded of how versatile the Slice can be.

GetWell1

GetWell2

GetWell3

The tags and all the elements were cut with the Vintage Findings Design card (my favorite, although I don’t have any of the newer ones.) The patterned papers are all from Six By Six Vanity Fair pad by My Mind’s Eye. Their two-sided paper pads are just the best! The stamps are both from Unity (“Stitched Greetings” & the August Kit of the Month), and all the cardstock is Papertrey Ink (Spring Moss, Ripe Avocado, & Ocean Tides.)

Papertrey Ink September Blog Hop

  • by

Bloghoplogo

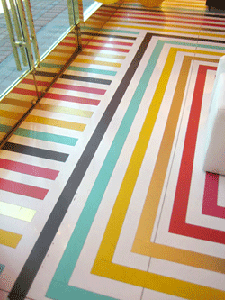
I’ve missed the last couple Papertry Blog Hops and I almost didn’t get anything made for this month although I’ve been thinking about it since I saw the inspiration post.

September2011-3-Blog-Hop-Inspiration

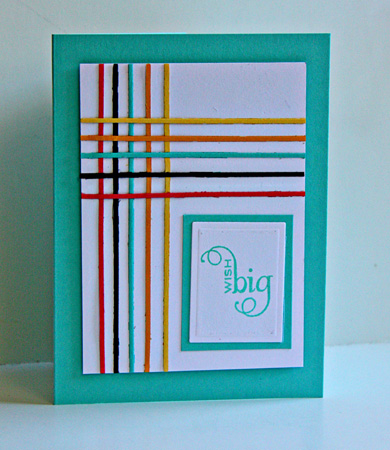
I knew right away that I wanted to mimic the strips somehow, but I don’t own the right inks. So I took a thin die from the pumpkin die (LifeStyle Crafts) and cut strips of Sweet Blush, Smoky Shadow, Hawaiian Shores, Summer Sunrise, and Harvest Gold and created a pattern that runs both vertically and horizontally. Then to mimic what appears to be a rectangular pattern on the right, I stamped my sentiment (Star Prints) and die cut it with Spellbinder’s Classic Rectangles. I hand cut the border for the sentiment, popped up the focal image and adhered it to a Hawaiian Shores card.

WishBigPTI

Another birthday card for the stash!

A Birthday Duo

  • by

We’ll be driving home today from my brother’s. I’ll be anxious to see what kind of progress has been made on the kitchen while we’ve been away. I nearly finished editing photos from our walks here, but Tracy and I decided to get our Alaska photo book finished while we were here and that took care of yesterday. Whew! Those photos are finally edited, and the book is ordered. I think I’m going to like it a lot, and although it took us the better part of a day working together on it, it is considerably faster than scrapping all those photos. I’ll still be doing some scrapbook pages, but I’m excited to have something to share much more quickly.

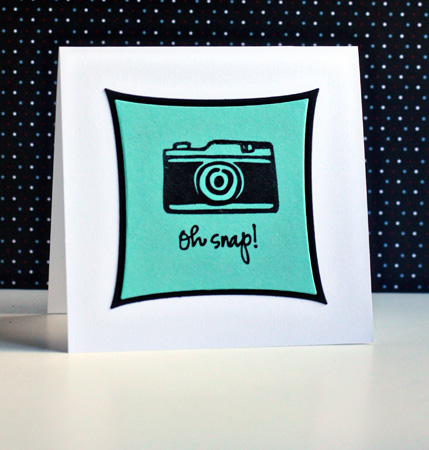
Before we left I needed a couple of birthday cards. The first one is a “lift” of one I saw on the Papercraft site (not the blog). The very day I saw it, my Studio Calico kit arrived with the perfect stamp.

OhSnap

The inside sentiment was generated on the computer and says “I missed your birthday!”

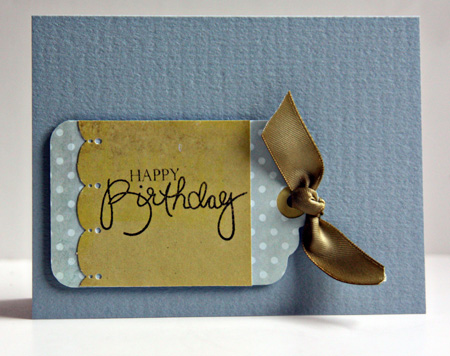
BirthdayTag

This was another super simple card that I made with a tag that was laying on my desk for another project and didn’t get used. I changed the ribbon and stamped a sentiment and it was done!

Supplies:
Oh, Snap:
Cardstock:  Select White, True Black, & Hawaiian Shores (PTI)
Stamps:  Studio Calico

Birthday Tag:
Cardstock:  Paper Source card
Patterned Paper:  Six by Six “Vanity Fair” (MME)
Slice: Vintage Findings design card (Making Memories)
Border Punch:  Martha Stewart
Ribbon from stash

Christmas Card Class

  • by

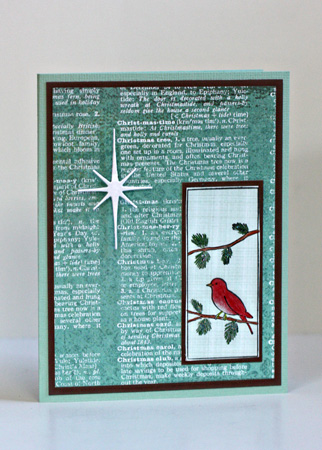
Saturday, my friend and I drove to Buffalo to take a Memory Box Christmas card class. The class is taught by the store owner, but the card designs are Dave Brethaeur’s, the owner and designer of Memory Box. I always like his stamps and designs, and we usually learn a technique or two while we’re there. We completed (for the most part) six cards in about an hour and a half. Dave has created some terrific new dies, and we learned some tricks for cutting a stamped image precisely. That alone was worth the trip, although Dave’s dies have some great little additions that you can mark with a pencil and line up for exact placement.
BirdStar

All the coloring on the cards was done with colored pencils. The star is one of the dies, and the background is a Memory Box patterned paper.
BirdCape

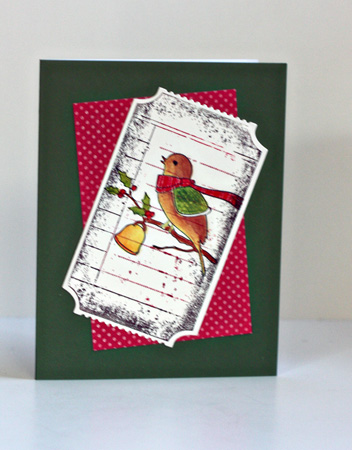
Now that I’ve taken a photo of this, I’m wondering if I assembled it incorrectly. Whatever, I don’t like the orientation of the bird, so I’ll be taking this one apart and putting it back together.
PolarBear

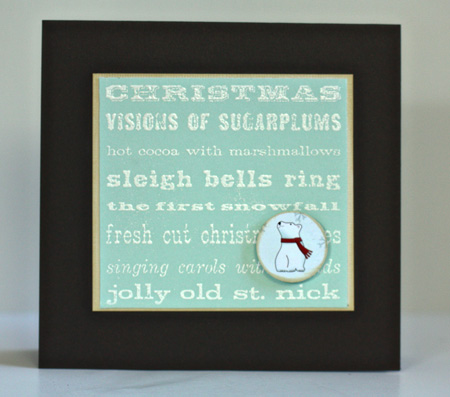
It’s impossible to tell, but the cardstock is a beautiful, shimmery brown. The polar bear was punched from a 12X12 sheet of patterned paper, and distressed around the edges.
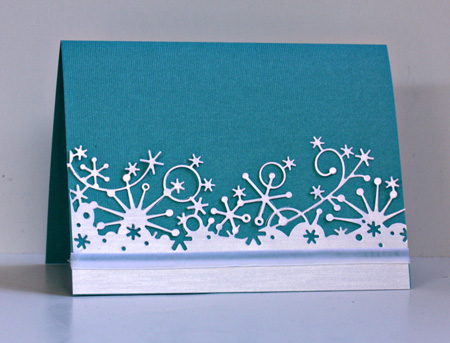
SnowflakeBorder

Also hard to tell from the photo is the fact that the ribbon on this card is a thick velvet, and that beautiful border is a die cut.
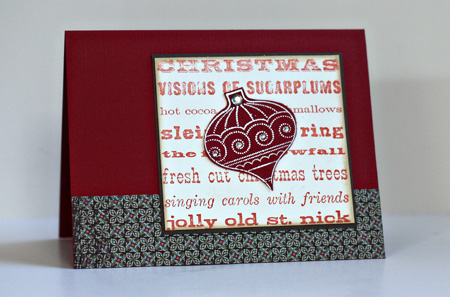
  Ornament

I liked the addition of the rhinestones to the ornament. Just the right amount of bling.
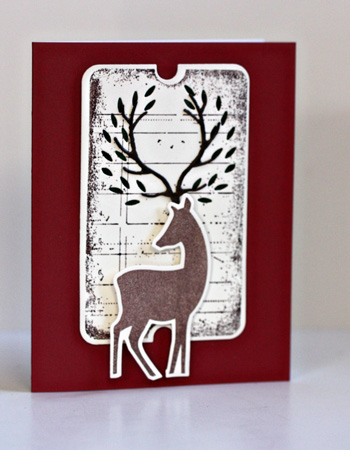
Reindeer

I love the way this one was created. We die cut the leaves from the stamped and die cut journaling card, and put a green piece of paper behind it. The antlers were die cut from the same shimmery brown paper we used in the earlier card. Then the stamped and die cut reindeer was “popped up” on the card. Here’s a close-up:
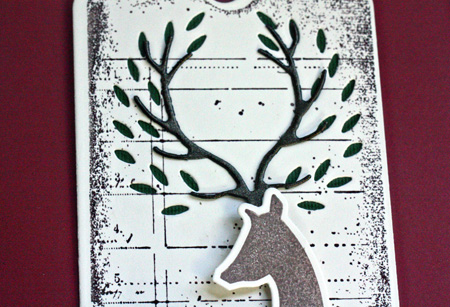
ReindeerClose

After our class, we met my niece, Grace, at a new restaurant called Mezza for lunch. The food was wonderful, and we had a lovely time. I totally forgot to take photos!!
Moxie Fab Tuesday Trigger: Garden Glory

  • by

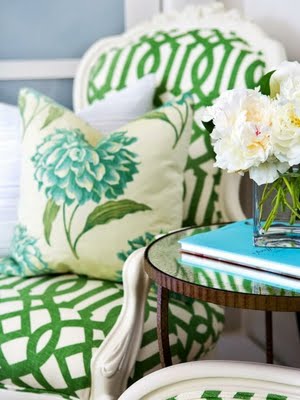
This week’s Tuesday Trigger at Moxie Fab World gave me an opportunity to use my new Bloom Builders #3 die. As soon as I saw this delightful image, I knew what I wanted to do.

Garden Glory

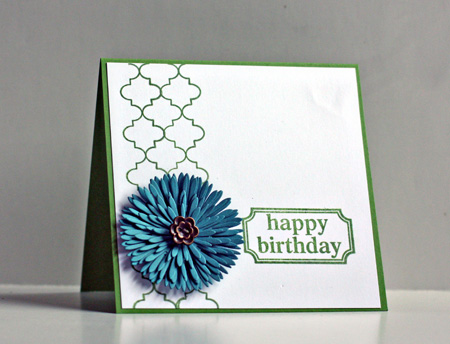
I used Papertrey’s Background Basics: Retro stamped in Brilliance Thyme to mimic the pattern in the chair cover and the color from the gorgeous flower pillow for the flower on the card. The center of the flower is an old button from La-Di-Dah. I often struggle to line up the background images, but this time it lined up perfectly the first time. A sentiment from Teresa Collins Celebrate finished it off.

TuesdayTrigger

Card Making

  • by

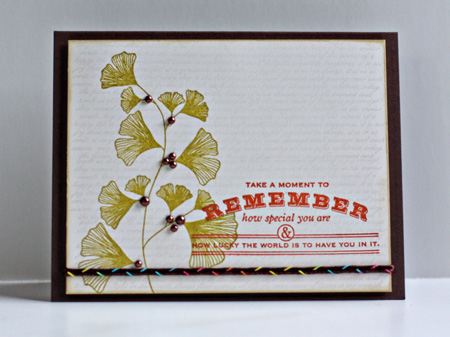
I’m not getting as much crafting time as I like these days. I seem so busy, but at the end of the day there doesn’t seem to be a lot of concrete evidence. I have, however, gotten some cards in the mail.

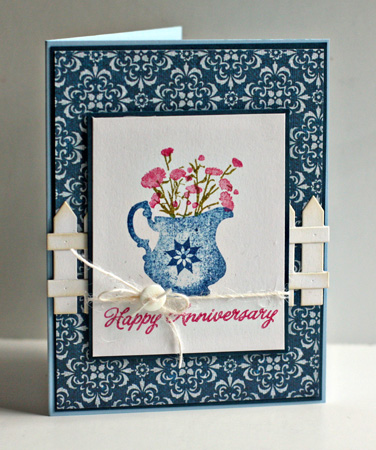
AnniversaryBJ

This was inspired by a much-more detailed card on Debbie Olsen’s blog.

HarvestBerries

I’m really happy with this card. I don’t often overstamp images, but I like how this came out. After I stamped the sentiment and the leaves, I overstamped with a background text stamp in Dazzle Versamark.

HarvestBerriesInside

I love how the sentiments from two different sets seem to complement one another.

HomeCard

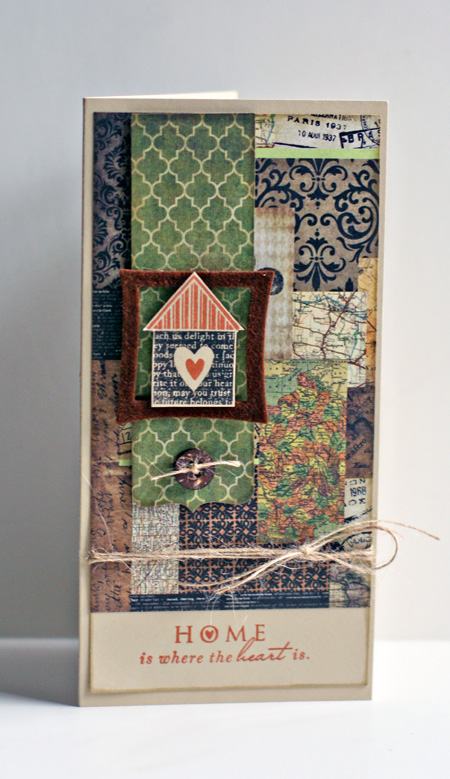
I recently got the Teresa Collins’ World Traveler 6X6 pad and couldn’t wait to use the gorgeous papers.

Notepad

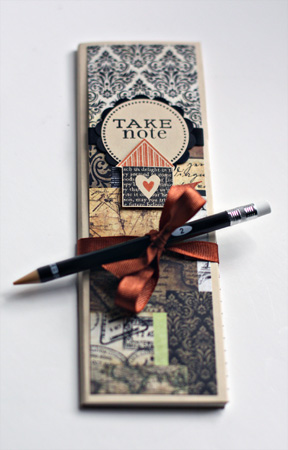
An accompanying notepad.

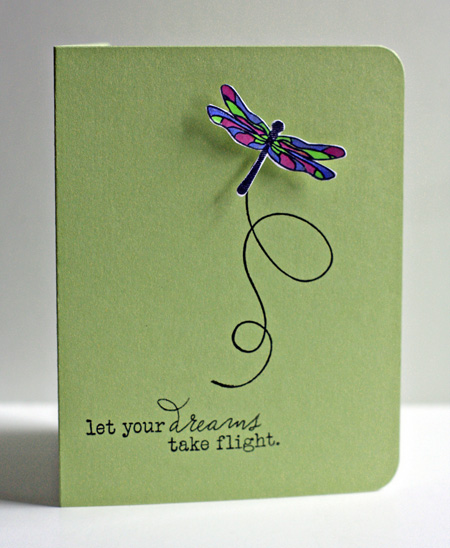
Dreams

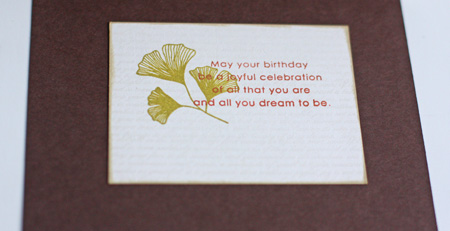
I finally inked up my new “Happy Trails” set for this quick and easy birthday card for a friend.

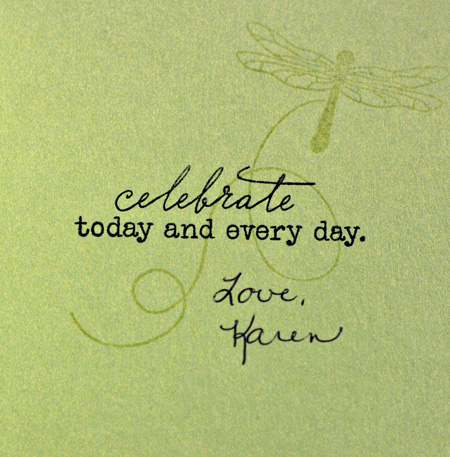
InsideDreams

The inside was inspired by this card.

Supplies:
Happy Anniversary:
Cardstock:  Spring Rain (PTI)
Patterned paper: from stash
Stamps: Everyday Sayings (Hero Arts); Iconic Images (PTI)
Dies: Garden Variety (PTI)
Twine and Button: PTI

Harvest Berries:
Cardstock: Vintage Cream & Dark Chocolate (PTI)
Stamps:  Harvest Berries, Birthday Basics, Background: Text Style (PTI)
Cord:  Beaux Arts

Home Is Where the Heart Is-Card and Notepad:
Cardstock: Fine Linen & True Black (PTI)
Patterned paper:  World Traveler (Teresa Collins)
Stamps:  Love Lives Here & Take Note (PTI)
Twill, twine, button, & felt (PTI)
Dies:  Inverted Square (Lifestyle Crafts) & Half and Half -trimmed lengthwise (PTI)

Let Your Dreams:
Cardstock:  Simply Chartreuse (PTI)
Stamps:  Happy Trails (PTI)
Copic markers, Sakura glitter pen, corner rounder

Wish Upon a Star

  • by

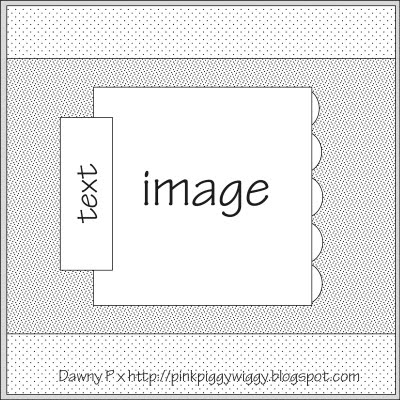
It’s been a long time since I’ve participated in a challenge. I really like the sketch on the Simon Says Challenge blog, so I decided to pull out some new papers as well as some new dies and give it a go. Here’s the sketch:

Doc9

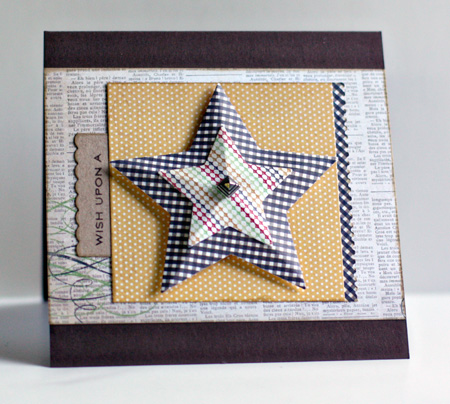
And here’s my card, ready for a September 5th birthday:

WishUpon

I used the new Lifestyle Craft Nested Stars for the main image, creasing them from the points to the center to give them a bit of dimension. For the sentiment, I used the LSC nested scalloped rectangle, and trimmed it to fit the sketch. The papers are all from MME “Lost and Found: Rosy” 6X6 paper pad. The sentiment is PTI’s “Star Prints,” and the cool “pyramid stud” is from 7 Gypsies that came in a recent Studio Calico kit.

Happy Birthday

  • by

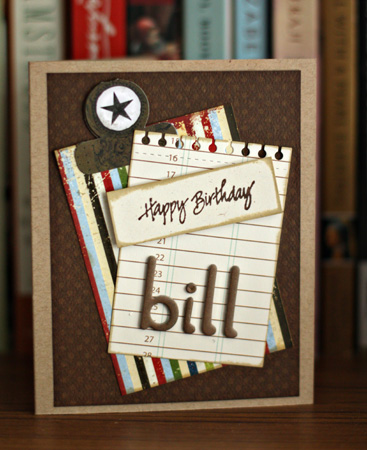
A quick post of a birthday card I made last week for a friend. They invited us for dinner to help Bill celebrate his birthday. We’re getting quite a few invitations for dinner now that we have just a sink in our kitchen. I’ll be posting some photos of the kitchen redo later this week.

BillBD

Supplies:
Cardstock:  Kraft (PTI)
Patterned paper: Library Ledger (PTI); others from scrap drawer (Bo-Bunny and Simple Pages, I think)
Chipboard alpha:  American Crafts
Stamps: old wooden mount stamp (can’t read the manufacturer’s name)
Dies: Spiral Notebook Page (PTI)
Tab:  Basic Grey

Baby Album

  • by

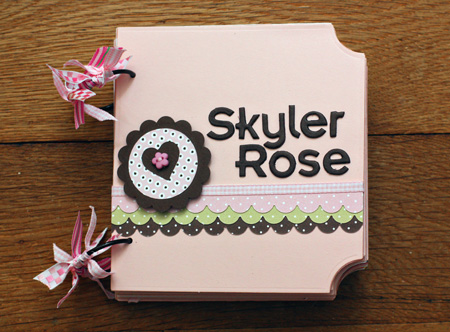
My son and his long-time friend, Betsy, are expecting a baby girl in October. Today was Betsy’s baby shower. Her name will be Skyler Rose and I decided to make a first year baby album, based on the one I saw here on “pine is here.” Most of the embellishments were stamped and cut out.I’m quite pleased with it, and I’m pretty sure Betsy is too.

I chose the papers based on the motif of the crib sheets and accessories Betsy chose on her registry:  brown with pink and green polka-dots. I’m a huge fan of polka-dots so I had lots of papers in my stash. The Nestability Label Eight is the perfect size for a wallet-size photo each month. I left the left-hand side empty so journaling or more photos can be added there. The pages that appear to be plain are actually white with tiny pink polka-dots. I didn’t realize that they didn’t show in the photos until I’d already put the album inside the gift box with the other presents.

Cover

1-2
3-4

5-6

7-8

  9-10
11-12

It’s hard to tell from the double photos, but lots of little pink pearls were used as embellishments. I haven’t had much luck recently with uploading bigger files so you can click on them for a closer look, so you’ll just have to take my word for it.

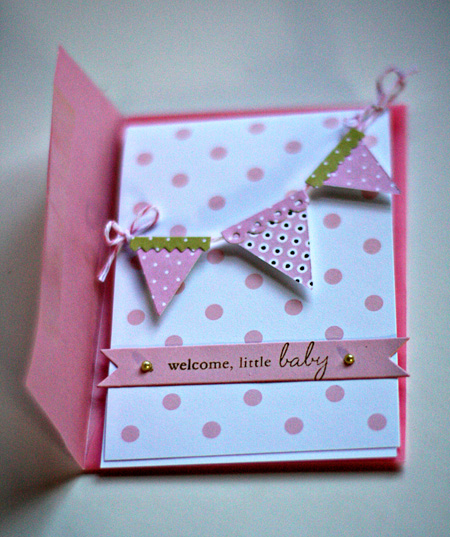
Here’s the baby card that accompanied the album. The card base is a card from Impress Stamps that I’ve had for years and years. I love the pale pink vellum envelope that comes with them.

BabyCard

Supplies:
Cardstock:  Sweet Blush (PTI)
Patterned paper: Bitty Dots (PTI); others from SEI, Basic Grey, and a couple          unknowns
Chipboard alpha:  Basic Grey Chocolate
Stamps: Bitty Baby Blessings & Baby Button Bits (PTI); Baby (Fiskars)
Dies: Small Scallop & Banner Builder (PTI); Labels Eight (Spellbinders)

Happy Birthday, Sarah!

  • by

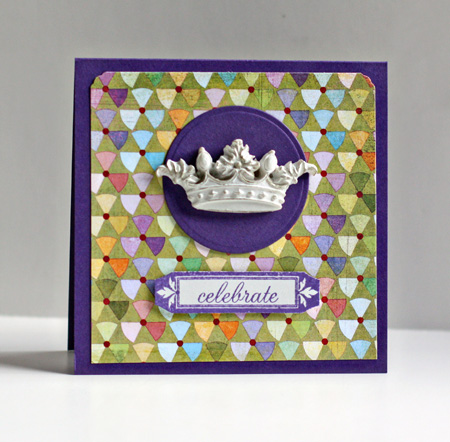
It’s hard to believe I have a daughter who turns 31 today, but it’s true. We’ll be leaving the cruise ship and beginning the land portion of our Alaskan tour today, but I’m hoping I’ll be able to get a phone call through to her. She knows I’m thinking of her, for sure! Here’s the card she’ll open today.

Sarah'sBD

And the inside greeting:

S'sBDInside

I found the Melissa Francis crown at CKC in June, so I knew I wanted to use that as the focal point. Sarah’s not a fan of fussy cards, so I tried to keep it pretty clean and simple.

Supplies:
Cardstock: Royal Velvet (PTI)
Patterned Paper: Kioshi (Basic Grey)
Stamps:  Mat Stack 1 & Mat Stack 3 (PTI)
Die:  Small Classic Circle Nestabilities (Spellbinders)
Resin Crown: Melissa Francis
Pearls:  Hero Arts