Skip to content

CASE Study #18

  • by

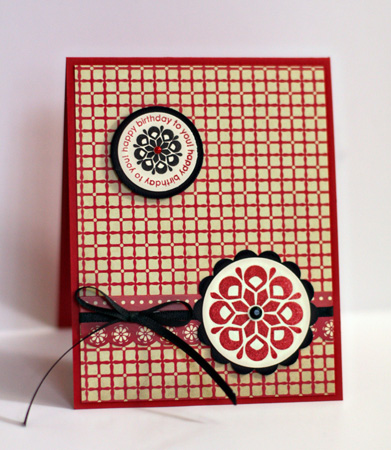
I needed to get several cards made for upcoming birthdays and decided I’d try the CASE Study challenge again for one of them. Frankly, I found this one very challenging. The two circles really caused me pause, and perhaps I should have gone with other elements of the card to case. Nonetheless, here is the card to case:

CaseStudy

You don’t really have to case the layout, but that’s what I chose to do. I’m not unhappy with the result, but it isn’t one of my favorites. I tried a lot of different things, paper flowers, felt flowers . . . but couldn’t seem to come up with anything that seemed to be balanced until I went with stamped images.

CaseBD

Cardstock: Pure Poppy (Papertrey); Patterned paper and cardstock border stickers: Circa 1934 (Cosmo Cricket); Stamps: Giga Guidelines, Guidelines two, Round and About Sentiments (Papertrey); Circle punches, plain and scalloped, ribbon (Michaels)


Caardvarks Final Challenge

  • by

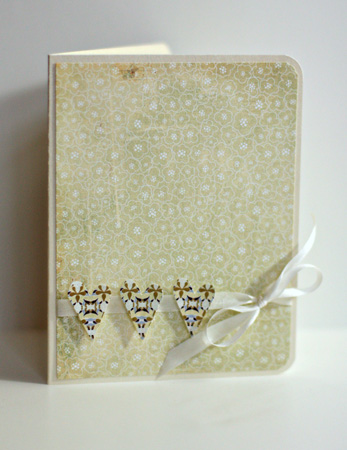
Although I haven’t participated in as many challenges this year, the Caardvarks challenge site was always one of my favorites. They’ve posted their final challenge to create a monochromatic card. I needed an anniversary card at the end of the month and think this fits the bill:

3Hearts

Cardstock: Shimmer cardstock; Patterned Paper: Wisteria (Basic Grey); Heart punch (EK Success) and corner rounder (Creative Memories); Silk ribbon (Papertrey Ink)

First Annual Scrap-Mart.com Blog Hop

  • by

Photobucket

Welcome to the First Annual Scrap-Mart.com Blog Hop! If you are just joining in please go to the Scrap-Mart blog to start from the beginning. There are 31 blogs participating in the hop and you will find some great prizes along the way. You must comment on THAT blog post to be eligible to win that prize. There are also some Grand Prizes posted on the Scrap-Mart blog. You must comment on EVERY blog throughout the hop to be eligible for the Grand Prizes. Comments will remain open until midnight CST on Sunday, December 5th.  Winners will be chosen at random for each individual prize and will be announced on the Scrap-Mart blog on Friday, December 10th. You may only win once. We’d like to thank our sponsors for generously donating all the prizes for this hop:  Making Memories, Spellbinders, JustRite Stampers, Sizzix, Heartfelt Creations, Lifestyle Crafts, The Stamps of Life, Boss Kut, Unity Stamps, October Afternoon, Copic, and Silhouette America.

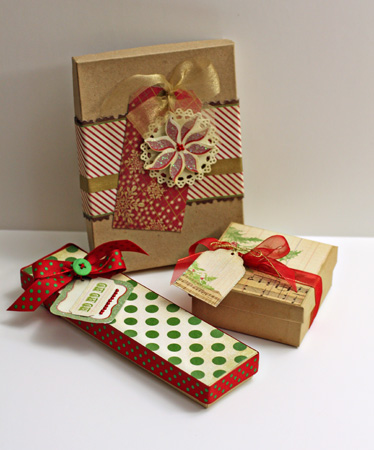
If you began at the Scrap-Mart Blog, then you are nearly finished. Just a few more inspirational stops along the way. One of my favorite things to do at Christmas is to wrap packages. I love to coordinate tags with packages, frequently color-coordinate my wrapping paper, and adore ribbon of all kinds. For this hop I thought I would take just one pack of paper, and some embellishments to recycle some gift boxes in my cupboard. I chose the Making Memories Noel collection along with a package of their Glitterter Die Cuts as my main product. I created three gifts and one card that opens to reveal a gift card. Here are the three packages.

Noel3Packages

For all three packages I decorated only the tops of the boxes, so they can be opened easily and reused by the recipient so they really get two gifts in one. These are easy to recreate and can be put together in about the same amount of time it takes to wrap a gift with wrapping paper.

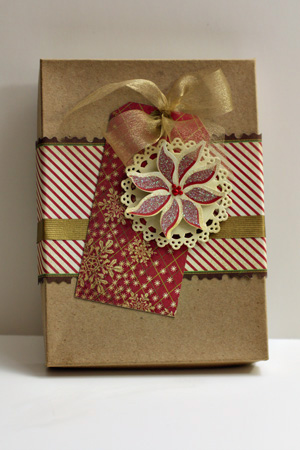
NoelPoisentiaTag

For the first package I wrapped a piece of patterned Noel paper around the box lid. The paper I chose was a shaped one and I wanted the borders on each side so I cut it, matched the stripes, and layered a strip of gold paper from my stash over the seam. For the tag, I covered a Jillibean shipping tag with some glittery paper from Noel. I distressed a Martha Stewart doiley with chalk ink, layered it to the tag, and attached a sparkling poinsettia from the Glitter Die Cuts with American Craft This to That dimensional dots. I tied a bow with gold Midori metallic ribbon from my stash.

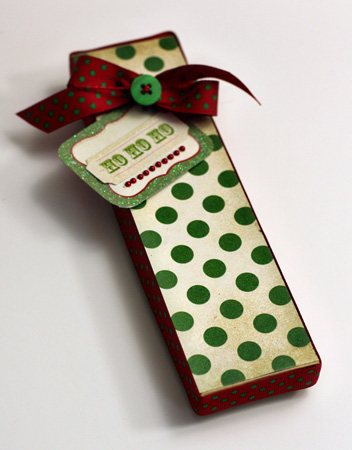
NoelDottedGift

For this package I wrapped a piece of ribbon around the edges of the box top. Then I adhered a piece of Noel paper to the top. To creat the tag, I layered two tags from the Glitter Die Cuts and added a row of red pearls to the bottom of the tag. Using the same ribbon I tied a bow, and added a button and some twine from my stash.


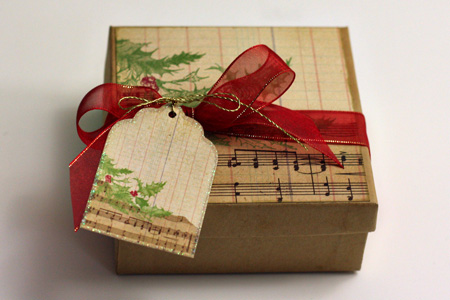
NoelMusicTag

For the final package, I cut a piece of Noel paper and edged it with gold metallic ink before adhering it to the box top. I tied a piece of ribbon around the box which slips off easily to open the gift and tied a beautiful matching tag from the Glitter Die Cuts to the bow with gold thread. “Easy peasy”, and so pretty.

I needed a gift card holder so while I had all my supplies out I decided to cross this item off my to-do list.


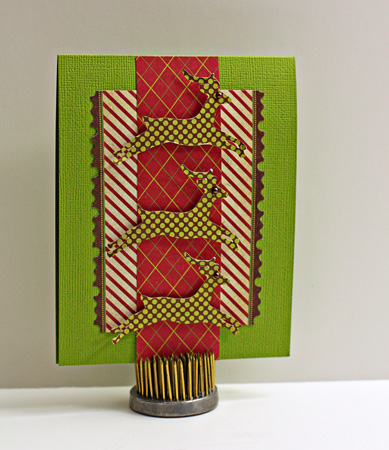
NoelCard
You can see a piece of the bordered patterned paper I used on the first package as the first layer on the green card base created from a piece of textured American Craft cardstock. I layered a second patterned paper strip on top of it, and cut three reindeers with my Slice Fa La La design card from a third patterned paper. One of the things I love about paper collections is how easy it is to find designs that look great together. I popped each reindeer out with American Craft This to That dimensional dots.
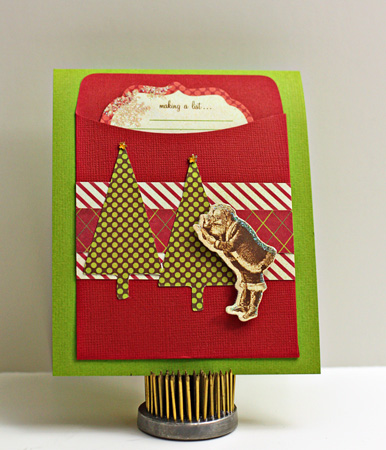
NoelInsideCard

For the gift card, I used a Bazzill library card holder that has been in my stash for years. It would be easy to create yourself with the new Quickutz Winter Wishes set. You can see a piece of another die cut peeking out from inside the pocket. I used the same papers to create a border on the library pocket, cut two trees from Fa La La with my Slice and added the cute Santa from the Glitter Die Cuts.

Leaving a comment today on my blog will give you a chance to win one of two 8X8 Campfire paper pads from October Afternoon. And if you’ve been commenting all along the way, you’ll be eligible for the Grand Prize drawings as well. Good luck!!! Now it’s time to hop on to Rosemary Dennis who has more inspiration on her beautiful blog for you.

Half Moon Bay and Card #4

  • by

Yesterday we drove to Half Moon Bay. It was raining when we left, the sun came out as we crossed the San Mateo Bridge, and then it rained some more. First on the agenda was brunch with Rinda! After introductions, the rest of the family went off exploring, and Rinda and I had a lovely meal together. It’s clear to me that we could easily spend a lot more time together. I never saw the text my family sent, and finally they had to call me to tell me it was time to go. We hope we can spend some time together shopping and/or seeing sights in Berkeley or San Fran on my next trip west. That would be a lot of fun. Here we are; so much fun to meet blogging friends in real time!
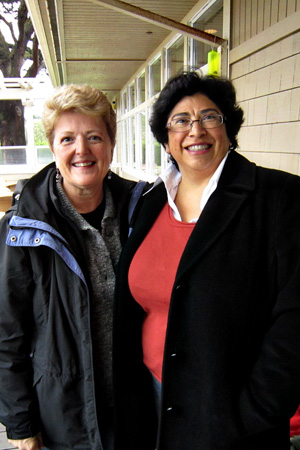
MariaKaren2w

After brunch we headed off to cut down a Christmas tree. Sadie loves to come on these outings and is a terrific traveler.
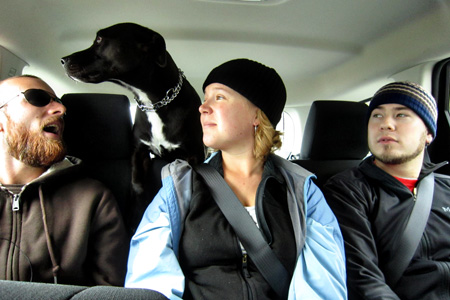
SadieCarw

By the time we got to the tree farm it had stopped raining and the sun came out. But it was incredibly muddy. I could hardly lift my feet for all the mud on my sneakers. The soil must be made of clay!
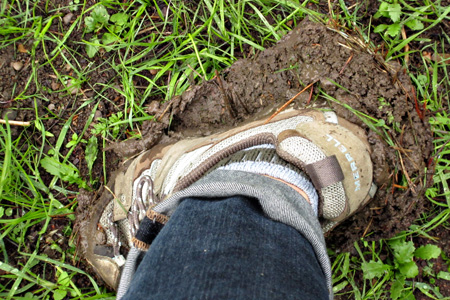
Muddyw 

Here are the troops deciding which tree will be the one to take home.
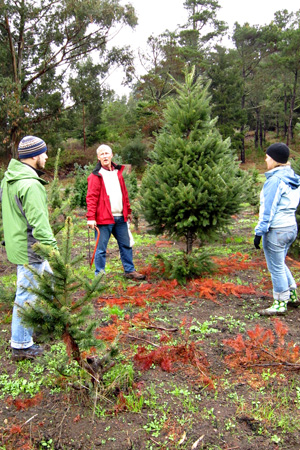
Consideringw
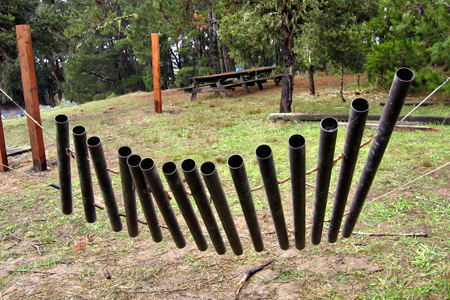
And a few of my favorite shots of Rancho Siempre Verde. Rather than pony rides, Santa visits, and carnival type attractions, this farm sports a marshmellow toasting bonfire, wreath making tables, swings, and xylophones hanging from trees.
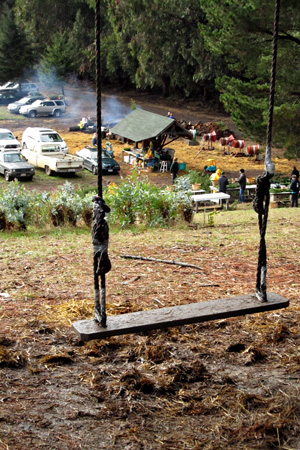
Swing1w
Xylophonew

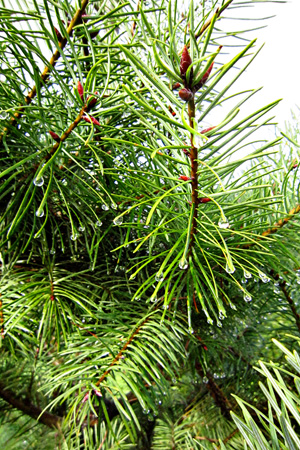
Waterdropletsw

I was pleased to get this shot of the water droplets on the pine needles with my little point and shoot.

On the drive home we passed the Pigeon Point Lighthouse. I never get tired of driving along the coast and envy Rinda her home so near the sea.

PigeonPoint2w

It was a delightful day. As I type this post the tree is going up in Sarah and Adam’s living room.

Here’s the last card we made at the Memory Box class. It would have been my favorite, but I wasn’t very happy with the way the alcohol inks went on at the end. I know I could do a better job and maybe could improve this card, but I’m not willing to invest in the alcohol inks as I’m not sure I would use them often enough to justify the purchase.
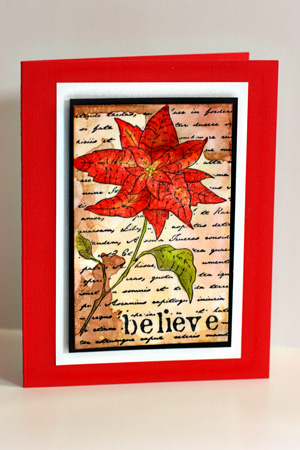
Believe

The poinsettia image was stamped and colored with colored pencils and then coated with Glossy Accents. After the Glossy Accents dried, alchol inks were dropped on to the card and rolled about. Then that piece was layered to the mats with dimensional adhesive. I was really pleased with the coloring of the poinsettia so I was rather bummed by the way the alcohol inks ended up. Oh well, I have to remember that the reason I go to these classes is to learn, not to end up with a given project.


Grateful

  • by

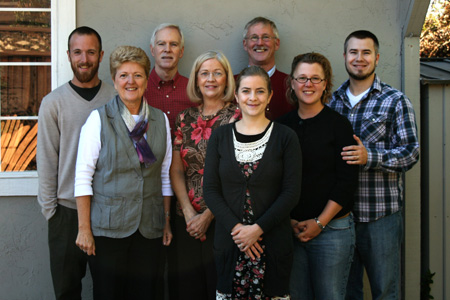
I am so grateful to be able to spend time with family this Thanksgiving. We had a wonderful feast and three days with both Adam’s and our families together. Adam and I took lots of photos and you’ll surely see them on some scrapbook pages but for now, here are the families.

AllOfUs1w

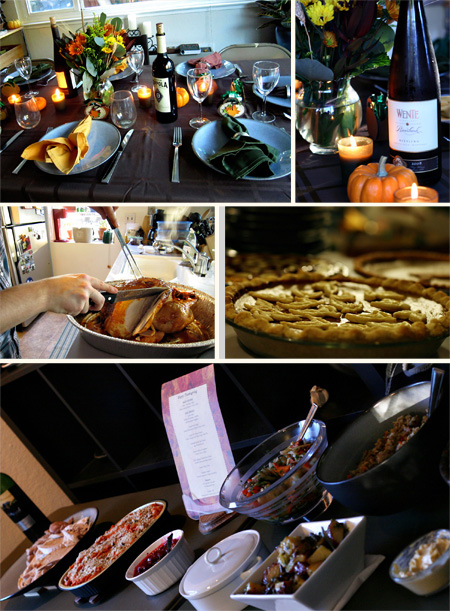
And the feast.

ThanksgivingCollagew

Yesterday it was fun to find this as I was browsing.

Today we’re off to Half Moon Bay in the rain (sadly) to cut down a Christmas tree. But for me, the most exciting thing is having brunch with Rinda! How lucky is that? It’s certainly not often you get a chance to meet a blogging friend and I’m so looking forward to it.


Papertrey November Blog Hop Challenge

  • by

Bloghoplogo

I wasn’t sure I’d have a project ready for this blog hop, but the last afternoon before we left for California I managed to get a tag created. Here’s this month’s challenge:

  TAG TIME

Recently the design team and I put together a variety of holiday tags that are perfect to keep on hand for quick wrap options.  Now it’s your turn to inspire us and the rest of the Papertrey community!  Design a holiday tag or two using all of your favorite goodies and share it with all of us!  We will all have plenty of inspiration to create a large stash and try to get ahead of the hustle and bustle of the season!

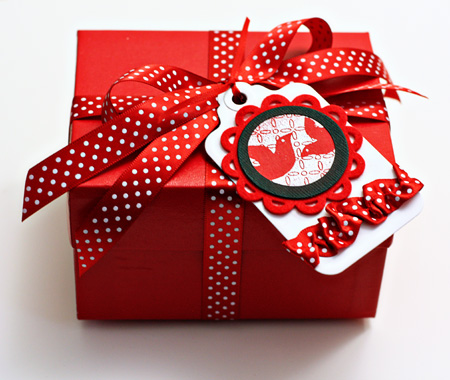
Here’s my contribution to the hop:

  PTINovBlogHop

I had this pretty red box from Talbots in my cupboard and tied a Pure Poppy Swiss Dotted ribbon around it. That dictated the colors for my tag. I started by die cutting a Tag Sale 1 die with Select White cardstock. Then I die cut a piece of Pure Poppy felt with a Limitless Layers die. I stamped on of my favorite images from the 2008 Holiday Tag set on Pure Poppy cardstock and embossed it with white embossing powder. I created the black cardstock frame but using two circle punches one inside the other. To finish off the tag, I gathered another piece of Pure Poppy Swiss Dotted ribbon and adhered it with Scor-Tape. Now I just need to find the right gift to put inside the box!

This is my second post for today, so be sure to scroll down for Thanksgiving wishes!


Happy Thanksgiving

  • by

ThanksgivingTreatBoxes

I made these little treat boxes to put on today’s table. They were posted yesterday on the Scrap-Mart blog. I was able to take them apart so they could lay flat in my suitcase, and put them together once I arrived in California. I filled them with Andes mints (they hold four), and I’m sure you’ll see them on photos of the table. We ordered our dinner and it arrived ready to prepare in two huge boxes from Wente Vineyards yesterday afternoon. I’ll have more details about all of that later. For now, if you celebrate Thanksgiving today, have a blessed day with family and friends. I am so grateful for my many blessings, but especially this year, am grateful to be here in California with all the family.

California and Memory Box #3

  • by

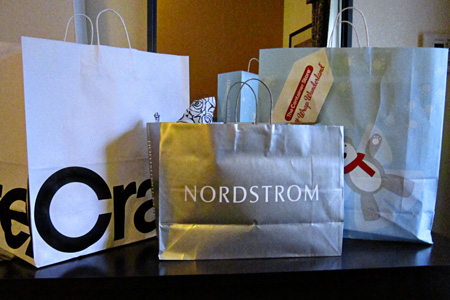
We had a very successful trip to Walnut Creek yesterday. I found all the gifts I wanted to purchase from Sarah’s wish list, picked up some great wrapping supplies from The Container Store, and a few goodies for myself. I only went into shops we don’t have access to at home. Sarah drove over after her class and was able to find a couple of pairs of comfortable shoes after our delicious lunch at Stanfords.

ShoppingBagsw

This morning Sarah and I had manicures and pedicures. After lunch we picked up the last of the groceries we needed for Thanksgiving so we can avoid the grocery store tomorrow.  Adam’s parents arrived on time despite awful weather in Washington with roads that were nearly impassable last night. Adam and his parents have gone to pick up his sister, Allison, who just arrived in San Francisco after a non-stop flight from London. It will be the first time both families have been together since Sarah and Adam’s wedding four years ago.

Here’s the third card we made in our Memory Box class:

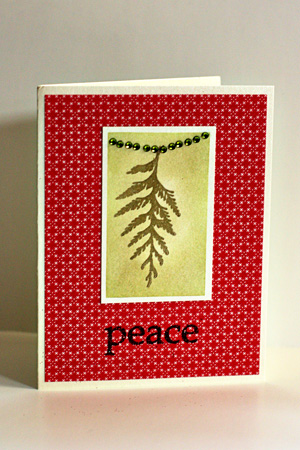
Peace

This card utilized the same blending technique as yesterday’s card. The simple line of rhinestones forms a sway across the top. The “peace” sentiment is another of the adhesive rub-ons and although it’s hard to tell, is covered with red glitter. I really like these and hope Memory Box continues to make them. I bought just one set of brocade designs. The rest were holiday designs and I knew I wouldn’t need them this year. All the patterned papers on these cards are by Memory Box as well.


California and a Card

  • by

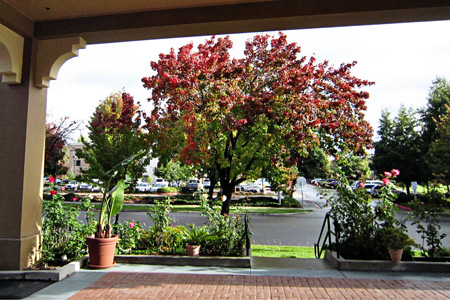
We’ve been in California for two days. The weather has been cool, frequently rainy, but the landscape is more like October in New York than November.

   HamptonInnw

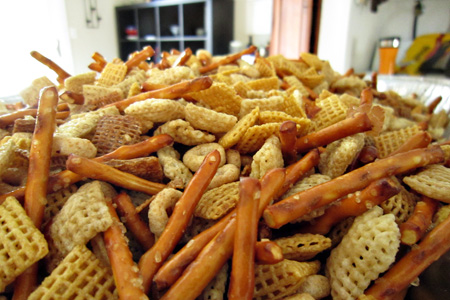
 We’ve been busy in the kitchen. Gingerbread cookies, sugar cut-out cookies, and double mint chocolate chip cookies are made and in the freezer.  This afternoon we made my mother’s snack mix, enough to fill four gallon bags.

  SnackMixw

 It’s so good, we finally put two bags in Sarah’s freezer and I hid the other two. Adam’s parents and sister arrive on Tuesday. It would be nice to have some left to share.

Today we’re off to Walnut Creek to do some Christmas shopping. I’ll get to browse two of my favorite stores:  Crate and Barrel and The Container Store. Sarah’s coming over after her class to have lunch with us, and we’ll do some clothes and shoes shopping then.

Here’s the second card we made at our Memory Box class a week ago.

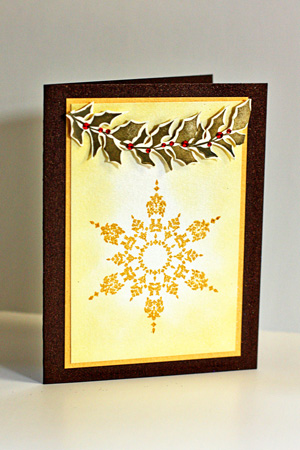
Snowflake

To create the focal image we rubbed distress inks in from the edge with sponge daubers. Then the snowflake was stamped with gold ink. The card was supposed to have a punched edge around it. I started on one side, but really didn’t like it, so I cut it off and cropped the rest of the image. It’s mounted on beautiful gold shimmer paper, and then on an even more beautiful brown shimmer cardstock. Neither show up well in the photograph. We stamped the swag with a single holly branch stamp, angling it as we stamped. Then it was cut out by hand and added to the card with dimensional adhesive.

Memory Box

  • by

Last Monday my friend, Mary, and I drove to Buffalo for a Memory Box class. All the cards were designed by Dave Breathauer, the owner of the company. We were lucky enough to take a class with him this summer. Sharon, the lovely owner of  Buffalo Stamps and Stuff taught the class, and we had a good time and tried out a few new techniques. I thought I’d share them over the next few days while we’re in California.

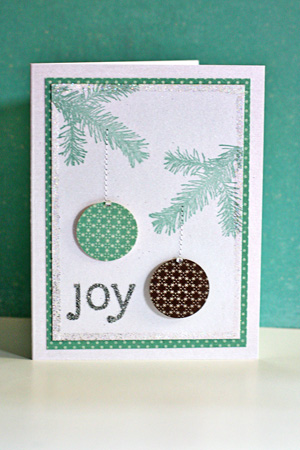
Joy

This was one of my favorites. I like the nontraditional color combination. We stitched two lines for the ornaments and bumped them out with dimensional adhesive. Adding the rhinestone and the glitter around the edges gave it a holiday feel. The sentiment is a new Memory Box product “Design Adhesives.” They go on like a rub-on, but have an adhesive surface so you can add glitter to them. I recently purchased a set of ornament stamps so you’ll probably see some elements from this card show up again.

Whirlwind

  • by

These past ten days at home have been a whirlwind of activity. I’ve had four meetings for my volunteer commitments, lots of projects to complete for Scrap-Mart and Christmas, as well as going to a musical revue at our local theater, playing with our bridge group, entertaining, and going out to dinner and lunch with friends. Yesterday I took down all the fall decorations, and today I started putting out the Christmas things since we won’t be back until December 1st. We’re hosting our book group two days after we return so there’ll just be time to cut down the tree and get it decorated. Everything else needs to be ready.

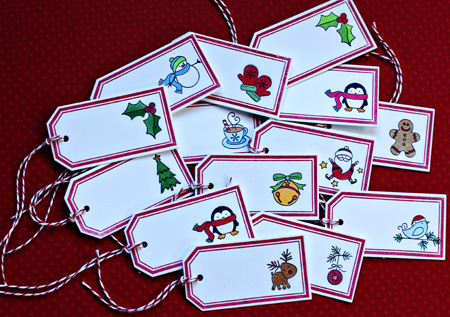
ChristmasTags

One of the projects I wanted to finish was this year’s Christmas tags, inspired by Heather Nichols. This is about half of the tags I made. I plan to get all the shopping done for Sarah and Adam while we’re in California, and leave their presents there all wrapped and ready. Last year I stuck to a red and white theme and really liked it, so I’m going with it again. I love these “Tiny Treat: Christmas” stamps by Papertrey Ink. They fit perfectly on the “Fillable Frames #9” tag. All of them were colored with Copic markers. You can’t see it in the photo but each little image has a bit of glitter added with the Copic Spica glitter pens. They make it so easy to add glittery detail to an image. A piece of Pure Poppy twine was tied to each tag.

Just three days more at home and we’re all off to California for a long holiday!


Take Care

  • by

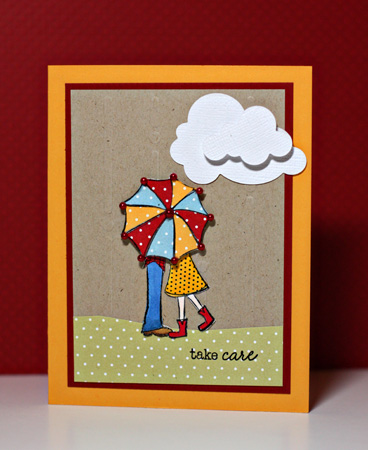
My mother-in-law had her hip replaced on Monday. She’s doing quite well, and moved from the hospital to rehab yesterday. Tracy’s been going up to “coach” her during her morning therapy sessions, and I wanted to send a cheery card with him today.

I first saw this Unity “itty bitty” stamp at CHA this summer, but it wasn’t for sale. When I was at Buffalo Stamps and Stuff in October I snatched it right up. It reminded me of the girl on the old Morton Salt containers when I was growing up. It’s hard to tell in the photo (I took this last night without available daylight) but the kraft layer was embossed with a Quickutz embossing folder–lines and dots–that made me think of raindrops. The umbrella was crying out to be paper pieced, and I ended up cutting out the bottom of the image as well.

TakeCare

Cardstock: Summer Sunrise, Pure Poppy & Kraft (Papertrey Ink); Patterned paper: Bitty Dots (Papertrey Ink); Stamps: “Rain or Shine” (Unity) & Vintage Picnic Sentiments (Papertrey Ink); Cloud dies (Papertrey Ink); Copic markers; Quickutz embossing folder; Pearls (A Muse Creative Candy)

CASE 14

  • by

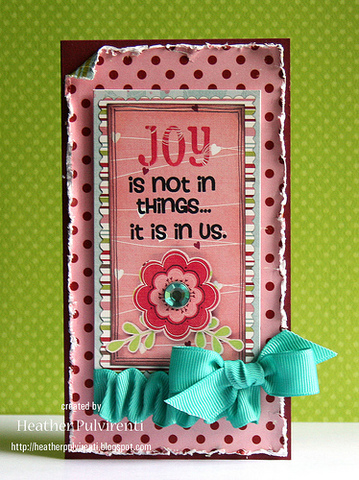
I’ve been following along with this challenge site for a few weeks now, but this is the first time I’ve played along. Here’s the card to case by Heather Pulvirenti:

CASE14
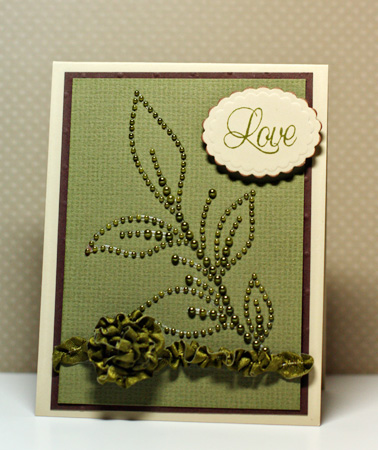
I loved the ruffled ribbons along the bottom, and stayed with the general orientation and layout of her card, but used one of my Zva Creative designs that I won several months ago for the focal image. I made the flower by tightly winding the ribbon and attaching it to a punched cardstock circle. The card will soon be off to good friends of ours who will be celebrating their anniversary next weekend.

       Love2 copy
Cardstock: Green textured (unknown), Fine Linen and Dark Chocolate (Papertrey Ink); Ribbon (from stash); Stamp (Hero Arts); Scalloped Oval Nestability (Spellbinders)


Celebrating Blog Friendship

  • by

Blogging-for-scrapbookers-r

Welcome to the Blog Hop Party for the “Blogging for Scrapbookers” reunion! You may have arrived here from Maya’s blog “Chronicles.” If not, you can start at the beginning by going to Lizzie’s blog “Lizzie Made.” Thanks to Jo and Lizzie for organizing this reunion. I’m looking forward to visiting everyone’s blogs.

I wrote my first blog post in June of 2005. My daughter, Sarah, had brought home her new boyfriend (and husband-to-be) who was an avid and popular blogger. He had encouraged Sarah to start a blog, and helped me set one up while he was visiting.  Here’s what I wrote about starting a blog on that first post:

So why start my own blog? I’m hoping it will encourage me to be more reflective about my life, attend to the daily instances of grace in my life, and to record significant events in my life. Stamping and scrapbooking have made me so much more attentive to design, light, and color; perhaps blogging will make me more attentive to journaling which I find so much more difficult.

Over time, things have changed a bit. Photography wasn’t even mentioned in that post because it wasn’t until March of 2007 that I took the BPS “Photography 101” online class that stimulated my interest in photography. I started categorizing my posts a year or so ago, and Typepad shows a visual representation on my sidebar of the frequency of each category. My most frequent posts are to share my passion for cardmaking, then photography, and then scrapbooking. Sprinkled in among those three hobbies are family excursions and events.

But it wasn’t until last year, while I was enrolled in Shimelle’s online class, “Blogging for Scrapbookers,” that I found an online community. And truly, that has been the very best thing about starting a blog. I have friends who just don’t understand the time I spend online, nor do they think online friendships amount to much. It is their loss!  The blogging community is a truly supportive one—supportive of creative endeavors, family celebrations and tragedies, challenges, and accomplishments.  I have learned so much as part of this community: from new vocabulary and cultural traditions in different countries to techniques I can use in my papercrafting. This post would be forever long if I tried to list them all. So in gratitude for all the many lessons learned and kindnesses extended, here’s to our very special blogging community.

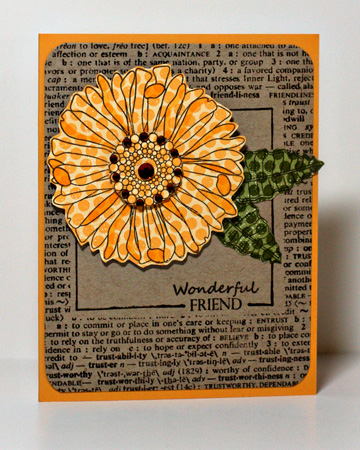
WonderfulFriend

Cardstock: Summer Sunrise & Kraft (Papertrey) ;patterned paper: Distressed Dots (Papertrey); stamps: Take Three: Summer; Friends To the End & Framed (Papertrey), Friendship Definition (Hero Arts); rhinestones: Kaiser

“P” is your letter for “secret” phrase, and now you’re off to Melissa’s “Daily Life—Bits & Pieces!” Enjoy the rest of the tour!


Just a Note

  • by

 . . . to thank all of you for your kind words of sympathy. The love and prayers of our friends and family has been a huge support to us, and to Adam and Sarah.

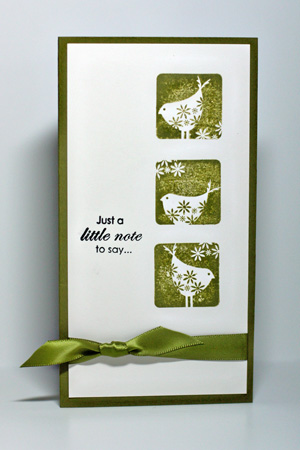
JustANote

Cardstock: Ripe Avocado & Vintage Cream; stamps: Take Three: Summer & Floral Frenzy; ribbon Ripe Avocado (all Papertrey Ink)

This is a card I sent off last week to a friend who is struggling with chemo. A couple of weeks ago I bought the Fiskars stamping press with a  50% off coupon. I wasn’t sure I’d like it, but Jennifer McGuire raved about it on her blog. It is as good as she says. To create this card, I lined up the three bird stamps on the stamping grid as well as the sentiment. Then I lined up the cardstock underneath and was able to stamp all of it exactly where I wanted it with one stamp.