Skip to content

CASology: Stitch

  • by

It’s a very rare occurrence, but I didn’t make a single card in August. The cards I posted were all made in July before we left on our vacation. So when I sat down on Thursday to made a couple September birthday cards, it had been awhile. Luckily, I won a $25 gift certificate to Papertrey Ink during their Stamp-a-Faire event, so I had ordered the new Mini Market Kit: Color Pop Autumn which arrived just before we left. 

When I was making the first of the birthday cards, I felt it needed just something extra, so I tried a technique I saw recently on Jennifer McGuire‘s blog using die cuts as embossing plates. It worked beautifully and I was very happy with the results. The card itself, however, is too busy for the CASology challenge which focuses on very clean and simple, so I made a second card for the challenge with the same technique, but no patterned paper. 

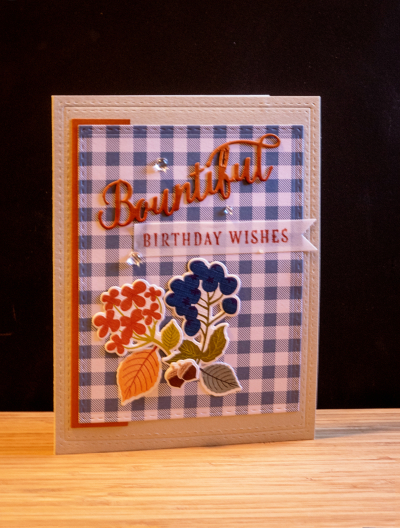
Here’s the first card:
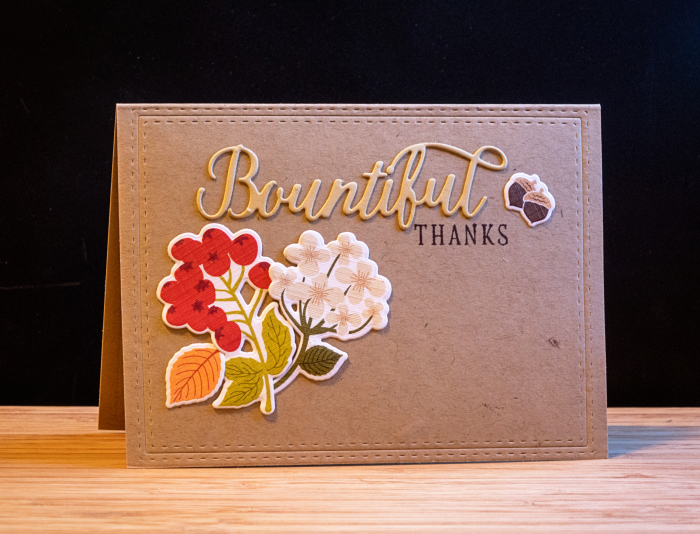
Bountiful3

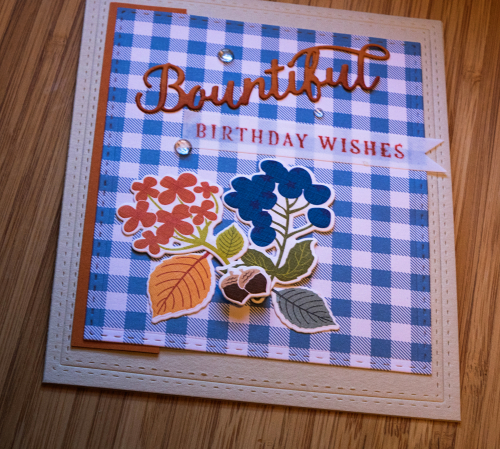
And a closer view, since the light was better when the card was laying flat.
BountifulClose

Everything for the card except the gingham patterned paper (My Favorite Things) came from the Color Pop Autumn kit. I added a few rainstones at the end as well. I love the preprinted die cuts which come with these kits which make for some quick and easy cards.

Here’s the card for the challenge. Everything in this card came from the kit.
Week 213 - Stitch

Bountiful2

The stitched edge is embossed with Simon Says Stitched Rectangle dies which I used twice on the first card—to cut the patterned paper and then emboss the edge of the card.

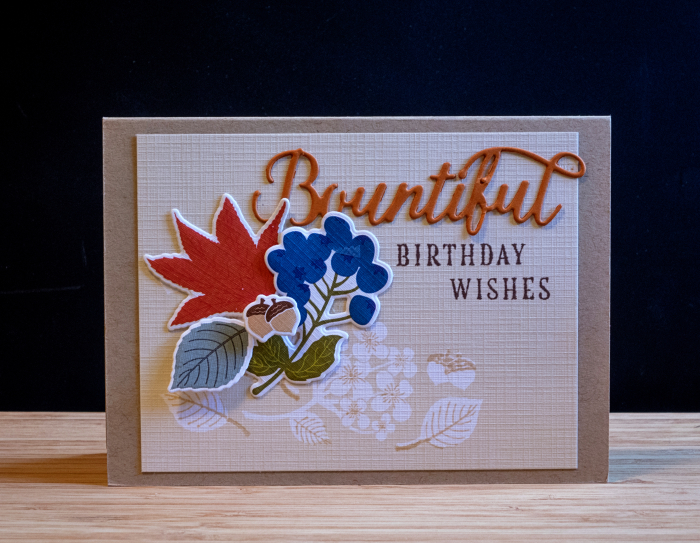
And finally, the other birthday card I needed. For this one, I cased Betsy Veldman’s card when she used one of the patterned papers from the kit and just stamped the outline images.
Bountiful1

No stitched embossing on this one, although in retrospect I think it could have used it. 

It’s a holiday weekend here, and we have a few plans, but mostly a lot of free time and a long list of projects to work on. Hope your weekend is going well.
Papertrey Ink Stamp-a-Faire

  • by

Papertrey Ink hosted a Stamp-a-Faire on Saturday. There were nine different challenges with video tutorials. I’ve watched all the videos, and they were all wonderful, but time constraints limited me to participating in just three of them. I picked the three I thought would be most challenging, since they involved brand new products (gold leaf paint) or techniques I often struggle with. The first was Gilded with Gold by Danielle Flanders. I didn’t start with any vision for a card, and ended up with four cards, none of which I’m thrilled with. Why four? So many attempts went south, I had bits and pieces all over my desk which ended up as cards. I definitely love the gold leaf paint (I purchased Martha Stewart’s), and learned quite a bit in the process. The next time won’t be so fraught with difficulties!

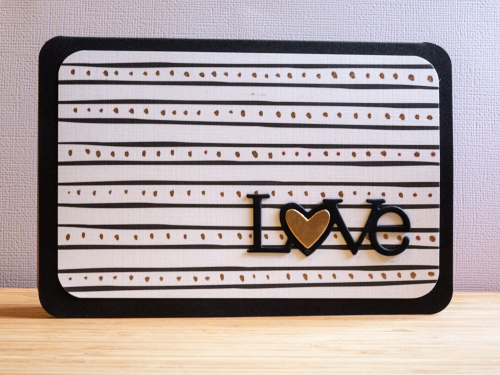
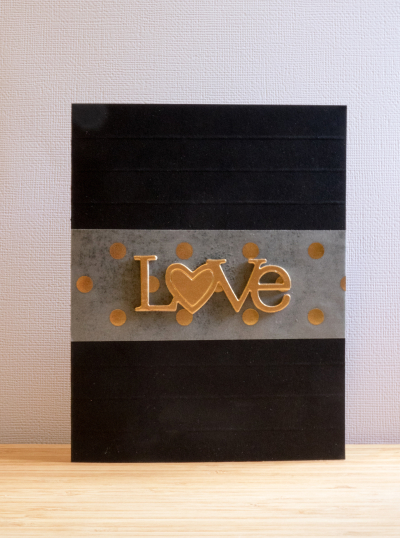
Here’s the first one, and probably my favorite.

Love

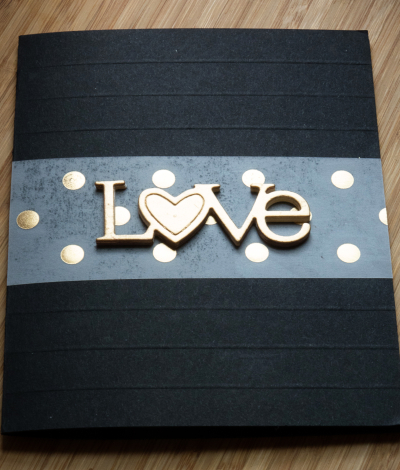
Looking for something else entirely, I came across a scrap of vellum with gold dots, and a card I had previously scored six times. The vellum piece fit in exactly right.

Love2

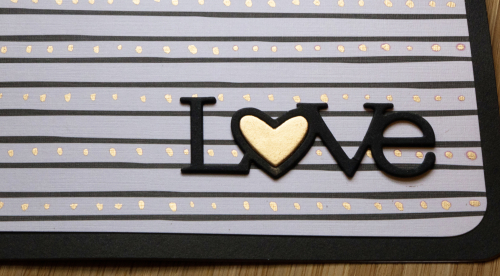
Next up, I tried adding gold leaf to a couple of Maile Belle’s “Black and White” patterned papers. The first time I dotted on some gold leaf between the black stripes.

StripesGilded1

StripedGilded

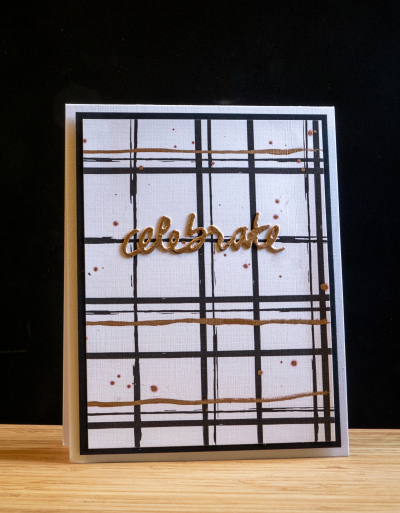
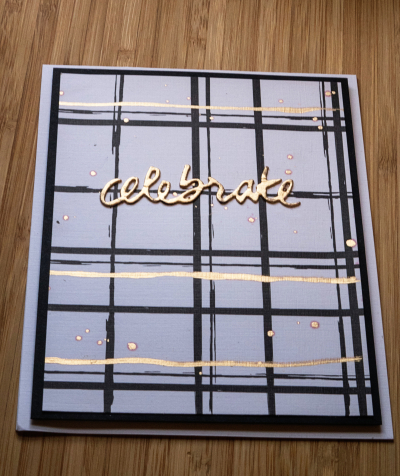
Then I tried adding some gold stripes to this design:

Celebrate

Celebrate2

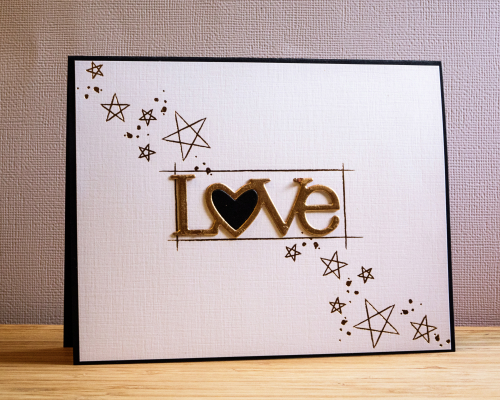
I ended up with one Love die cut (Wonderful Words) and it fit perfectly onto this piece of patterned paper from the “Star Scribbles” pack of papers.


StarsGilded1

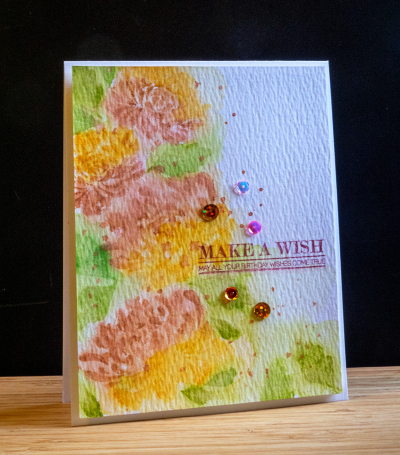
The second challenge I took on was Kay Miller’s watercolor challenge. She’s a master at watercoloring, and I was so interested in her technique which combines stamping with watercoloring. I ended up sticking very close to Kay’s design. I didn’t have the Berry Sorbet ink so substituted Melon Berry which is a much more subdued color. I think it worked out alright though, and it will make for a good fall birthday card.

Wish

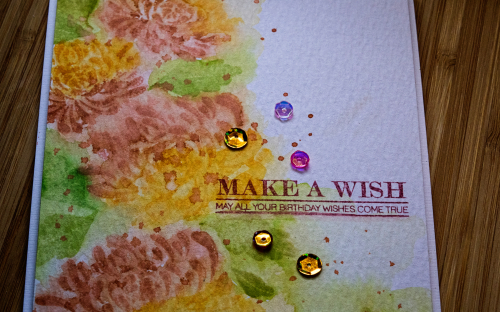
I was pretty happy with this one, and my husband who rarely comments on my cards, said he liked it a lot.

WishClose

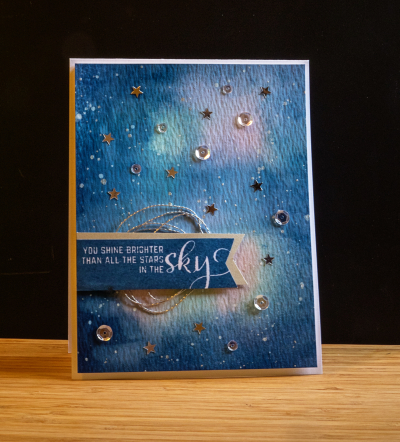
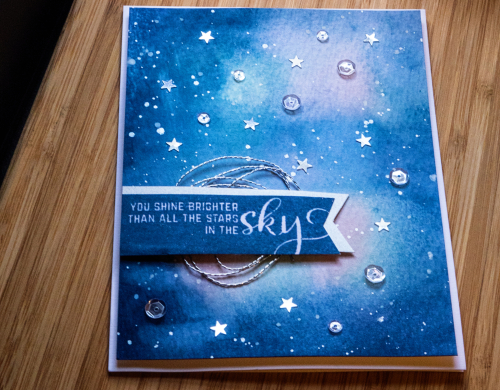
The last challenge I took on was Amy Sheffer’s Starry Night challenge. As soon as I saw it I was taken with it, but didn’t have high hopes that I could pull it off. My ink blending skills leave a lot to be desired, so when I finished this card, I was really pleased. For once, I took my time and let everything dry before moving on to the next stage.

Sky

It also gave me an opportunity to use the new sentiment set, Number the Stars. I stamped the banner with Enchanted Evening, and backed it with the same banner cut from silver paper. I had some silver thread which is one of the elements on Amy’s card, and added some sequins and silver stars in my stash.

Skyclose

I also splattered some white acrylic paint and some silver metallic watercolors. Finally got the splatter technique down! You can’t see it from the photos, but I added some Wink of Stella glitter to the banner as well.
I have a couple other challenges I’d like to try, but won’t have time to get to them until long after the galleries close. Given my schedule this weekend, I’m happy to have managed these three. 


Papertrey Ink July 2016 Blog Hop Challenge

  • by

It’s the 25th of the month and the day for the Papertrey Ink Blog Hop Challenge. No surprise, I’m still working on the Stamp-a-Faire projects, and hope I’ll be back later with another post before the galleries close tomorrow morning. I didn’t want to miss the chance to participate in this month’s blog hop, though, because the minute I saw the inspiration photo, I had an idea for the card.

Pti bloghopJUly

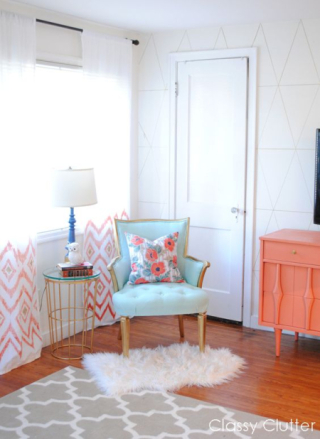
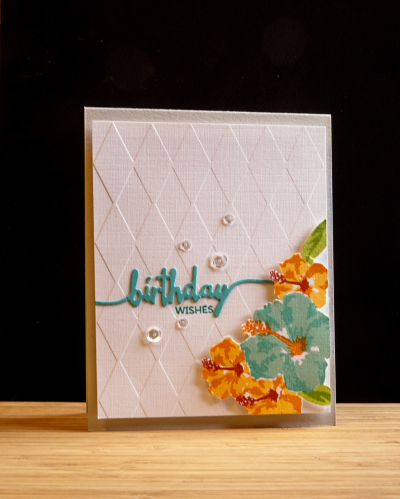
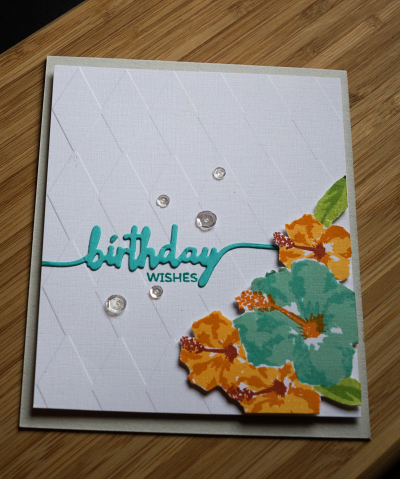
The idea was contingent on the Papertrey order arriving in time, which it did. I knew I wanted to use the new “Some Like It Hot” set which features one of my favorite flowers, the hibiscus. I used the colors in the photos–aqua and orange, the diamond pattern on the wall for my background, and the gray carpet as the card base. I would never have chosen gray had it not been for the photo, but it turned out to be a great choice.

BDWishes

It’s not often that a card turns out the way I envisioned it from the start, but this one did. I stamped the hibicus on separate card, masking them to group them together, and then fussy cut them out, and popped them up with some foam tape on the diamond embossed background. It’s been awhile since I pulled out an embossing folder (Quickcutz). I die cut “birthday” with the Swoosh die and the small stamp sentiment came from Swoosh as well. It just needed a few clear sequins to finish it off.
BDWishes2

Until I purchased a MISTI, getting the layers right for multi-stamped images was always a struggle. The MISTI solves those problems. I used three different inks for each of the flowers, and love the dimension you get with these. 

I’m babysitting for my new granddaughter this afternoon, but hope to be back in the craft room later today. You can see others’ interpretations of the inspiration piece right here.

A Happy Hello!

  • by

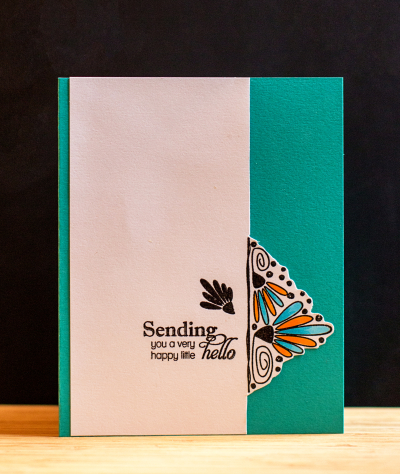
The Online Card Classes are among my favorites, and I’m currently enrolled in “Heat Wave,” a class on embossing. The first day was lots of quick tips for embossing with different inks, embossing powders, and different kinds of cardstock. I picked up a few tips, even though I’ve been embossing for nearly 20 years now. At the same time, Papertrey Ink is in the midst of their July release. They host a challenge, “Create Along with Us,” where you choose a card one of the designers posts to use as inspiration. I always love Maile Belle’s designs and had already pinned one of her cards. So here’s an embossed design, inspired by Maile Belles, and using one of her earlier stamp sets, “Splits:  Just a Note.”

Hello

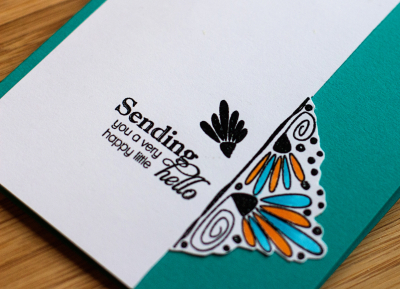
I used just half of the stamp design and turned it on its side, trimmed the white cardstock to the stamped design and fussy cut around it. I colored the petals with Copic markers, and added a sentiment from Papertrey’s “Delightful Dahlia Additions.” Then I adhered it to a Tropical Teal card. I’m pretty sure I’ll use this design concept again.

HelloClose


2016 Summertime Photography Scavenger Hunt & A Challenge

  • by

Today is the first day for links to Rinda’s 2016 Summertime Photography Scavenger Hunt. It’s a favorite summer activity for me, and usually by this time, I have quite a few of the items checked off. Not so much this year, but I do have three.

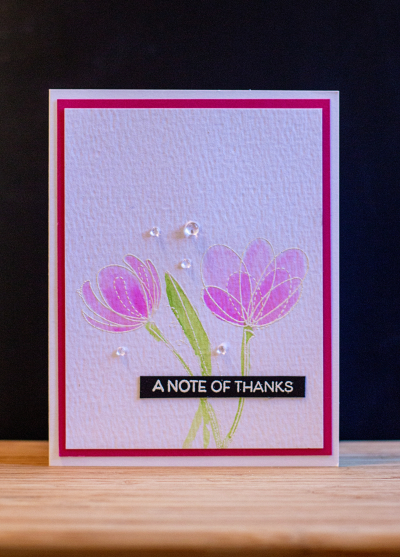
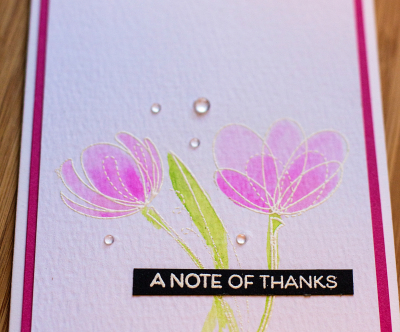
The first one is #8:  A drawing, art project, artistic photograph, greeting card . . . created by you. I’ve actually made quite a few cards since the beginning of June, but here’s my most recent one, and an entry to the Simon Says Wednesday Challenge: Anything Goes.

NoteofThanks

I used a new-to-me Simon Says stamp set called “Spring Flowers,” embossed in white and watercolored with my Zig Clean Color markers. The sentiment is from Papertrey Ink’s “Painted Petals,” white embossed on a scrap of black cardstock.

NoteClose

I added a few rainstones from Papertrey Ink, and mounted the watercolor piece onto some Raspberry Fizz cardstock and then onto a white card base. 

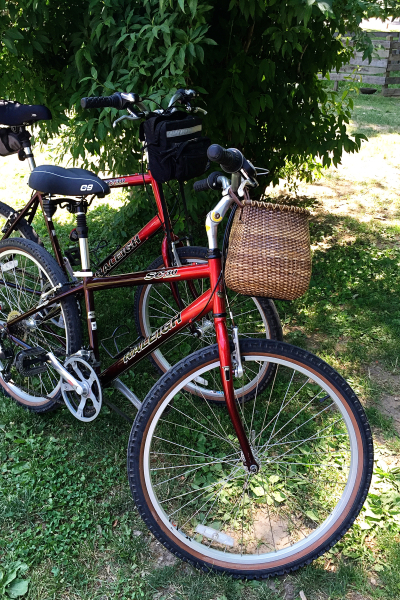
Next for the scavenger hunt is #10: a bicycle. We took our first bike ride of the season last week, riding 12.5 miles on the Erie Canal path from the Brighton town park to the Pittsford Dairy where we indulged in homemade ice cream cones. I had black walnut, and it was delicious!

IMG_2740ed

Check out my very cool basket which was a gift from Sarah last year. It’s made byt the Nantucket Basket Company, and I love the shape of it. I also have a new seat this year, also a gift from Sarah. Much more comfortable than my old one.

Last for June, is #20:  Someone laughing.

IMG_2745ed

Our friends, Pete and Arlene, were here for dinner Monday night. I wish you could hear Arlene’s laugh. It’s positively infectious! I’m not sure what the story was, but there was lots of laughing, and I quickly got in a few shots.

You can check out the other scavenger hunt posts right here.

CASology: Congratulations

  • by

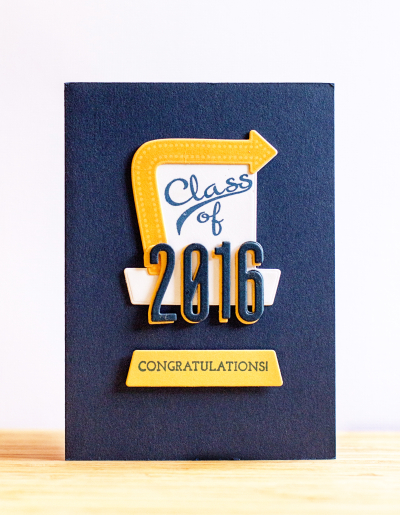
This week’s challenge at CASology is perfectly timed for high school graduations. Today is the graduation ceremony for Brighton High School (our local school), and I needed to make a card for one of the graduates. Brighton’s colors are navy and gold so that determined the color combination. I originally bought Papertrey Ink’s “Retro Style Graduation” because I wanted some of the stamps for the addition set, “Retro Style Birthday,” but I was grateful to have the set for this card which came together pretty quickly.

Graduation

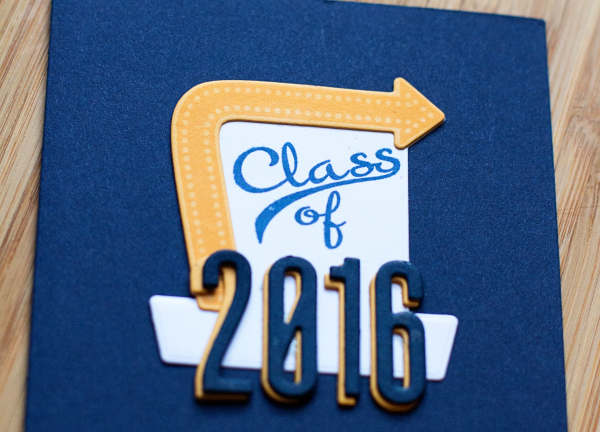
Everything except the numbers came from the stamps and dies for “Retro Style Graduation.” Stamping the die cuts is so much easier now that I have figured out the best way to use my MISTI. Papertrey Ink’s die are usually solid dies so they can be a bit more challenging (to me, anyway) to place correctly on the stamped image. The MISTI solves it perfectly. The numbers were all die cut twice from the Headline Alphabet in navy (WPlus9) and twice in Summer Sunrise and then layered to create a shadow effect. 

GraduationClose

Brighton’s graduation ceremony used to be held at the Eastman Theater, quite an elegant setting. Now it’s at the Rochester Institute of Technology’s field house, which I don’t think I’d like as much.

I’m linking to CASology’s challenge for Congratulations.

Week 203 - Congratulations

Sending Sunshine

  • by

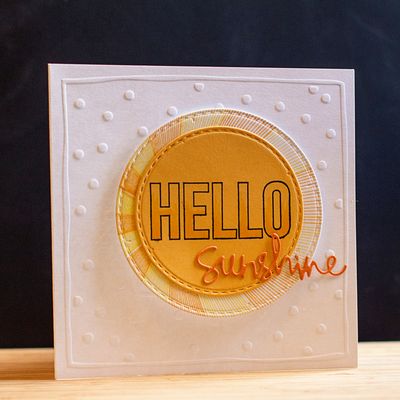
CASology’s challenge this past week was “Sunshine.” As soon as I saw it I knew I had some stamp sets that hadn’t seen much use that would be perfect for the challenge. This afternoon was the first opportunity I’ve had to sit down to play with them.

Week 201 - Sunshine

I pulled out two stamp sets, one from Papertrey Ink and one from Simon Says (last year’s August card kit which included a stamp set and a die.) 

Sunshine

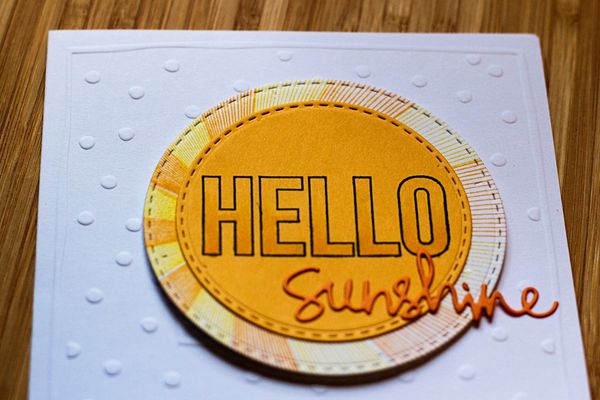
I used both stamp sets to stamp the background circle (“Hello, Sunshine” Papertrey Ink), and the HELLO (“Flip Flop Season” Simon Says), and added some Copic marker to the sentiment. The die cut is also from Simon Says. It’s all mounted on a pre-embossed square card by Lasting Impressions that’s been in my stash for years.

SunshineClose

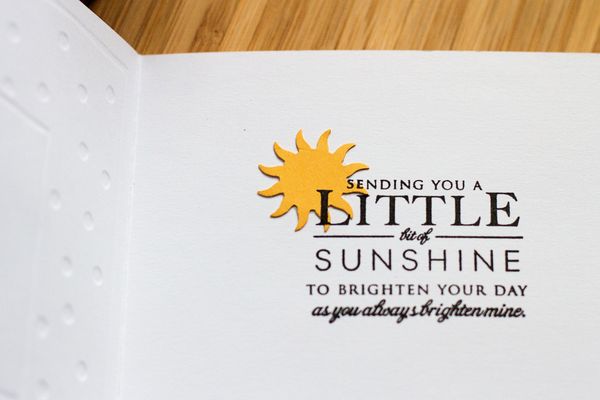
The inside sentiment is also from “Hello Sunshine,” and I added a punched shape (that’s been in my stash as long as the card!)

SunshineInside

I’m always in need of encouragement cards, so I’m happy to add this to my card box. And I’m happy to say we’re enjoying days of ample sunshine here!


Addicted to CAS: Petals

  • by

A last minute post and entry for the Addicted to CAS challenge, Petals.

ATCAS - code word petals

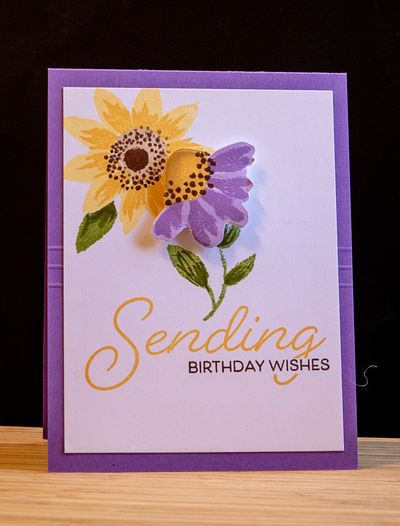
I have several new floral stamps and was determined to get another card made for this challenge. I won’t even begin to tell you how many mistakes I made before I finally got a grip on the process and finished the card. It was just one of those days. But I’m pretty happy with the final result, and it’s good to have a birthday card on hand.

Petals

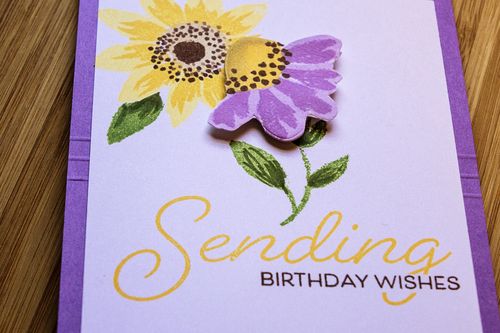
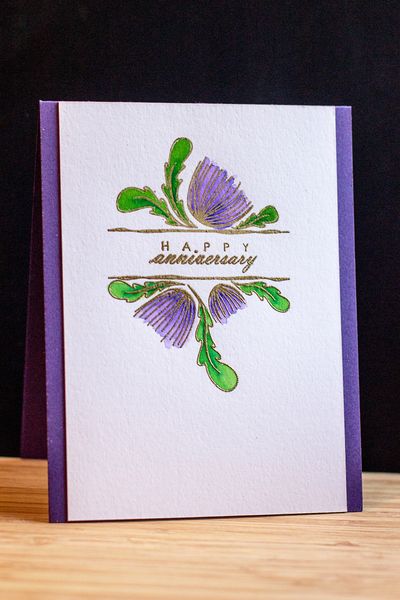
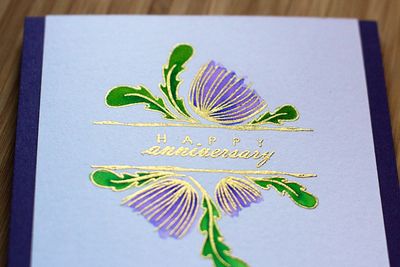
The new-to-me stamp set is Papertrey Ink’s 2016 Anniversary set. You can only purchase it with points, so it took awhile to accumulate the ones I needed. One of the draws of this set for me, was the unique sentiment which allows you to insert the smaller sentiment into the larger one. I also like the multi-step stamping, and the stamps in this set are clearly marked in the order in which you stamp them. Ought to be easy-peasy, but I didn’t separate the die cuts correctly the first time, and got totally confused. There are a pile of die cuts in the garbage, and in the end I only used one of them anyway. The cardstock is Amethyst Allure, a new favorite. 

PetalsClose

The card needed a “little something,” so I made three score lines in the middle to add just a touch of dimension. Although this certainly isn’t as CAS as some of my cards, I think it qualifies for the challenge. 

Hope you have a great weekend!


Happy Anniversary!

  • by

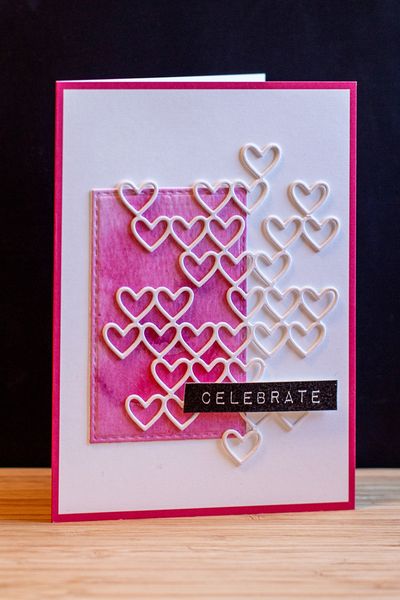
Sarah and Adam celebrated their 10th wedding anniversary on Saturday. I forgot to take their card to them, so it got to them a bit late, and I didn’t want to post it until I knew they’d received it. 

CelebrateAnniversary

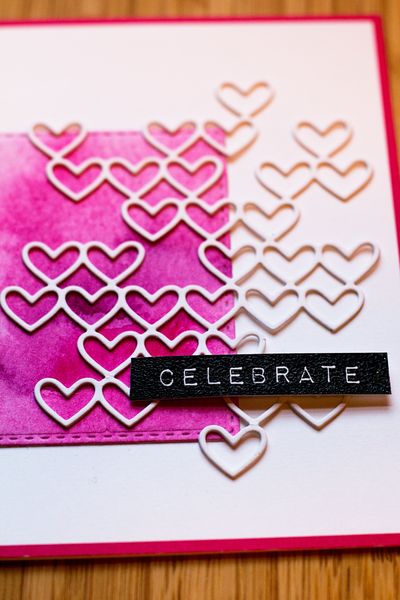
I started out thinking I’d use a watercolored background, but I wasn’t happy with it so I used a Simon Says “Stitched Rectangle” and cut a piece from it. The “Stacked Hearts” (SS) was a Christmas gift, and it’s the first time I’ve used it. I layered two of them together to get some dimension. The card is really old, from Current Company and had the perfect pink border.

CelebrateClose

Today is a another kind of anniversary. I started blogging eleven years ago today. My then future son-in-law thought I should have a blog, and set it up for me on Typepad. I had NO idea what I’d do with a blog, and would have never guessed that I’d still be blogging eleven years later. I’d have been even more surprised to know that I would find a supportive and friendly blogging community, many of whom I’ve now “known” for many years. Even more amazing is that I’ve met several of them in person. It turned out to be a very satisfying and rewarding experience and I’m grateful for the impetus to get started and for the many friends who stop, and especially those, who comment regularly and frequently engage me in email exhanges as well. This post represents the 1, 673 post I’ve written. Who knew?
This week I made an anniversary card for friends who celebrated their anniversary yesterday. While we were away, I got a package from Papertrey Ink with this $5 stamp, “Splits: Thank You.” The nice part about the stamp (aside from the price) is that you can use multiple sentiments instead of the thank you. This time I used one from an old, often used, set called “Fillable Frames #4.”

SplitsAnniversary

I got the ideas for embossing and watercoloring the images from Dawn McVey who used that technique during the release. 

SplitsClose

This card works for the current challenge at Addicted to CAS: Petals:

ATCAS - code word petals


Memorandum Monday

  • by

It’s a crafty Memorandum Monday! Having been away so much, I needed to make a lot of cards for a busy month of May. In addition, I had a couple new stamp sets I hadn’t played with yet, so I spent most of yesterday making cards. So far I have eight made, and still need 5 more before the beginning of June. That doesn’t include any unexpected events, or the thank you notes I know I’ll need in the middle of the month.

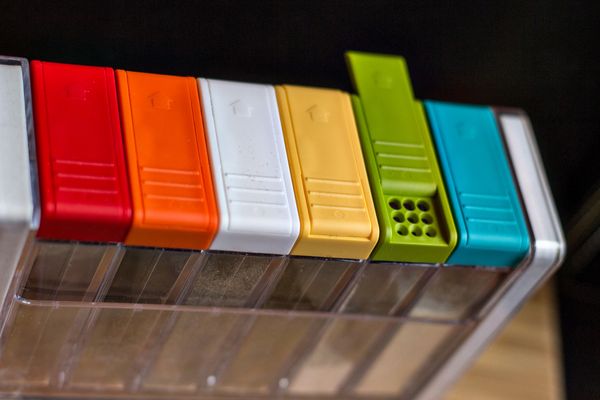
I also have a new storage container for my embossing powders. I’ve seen it several times on different card-making videos, but hesitated to invest in it. I finally broke down last week, and it was definitely worth the investment. It holds all my most used embossing powders, and is so much easier to apply to the cards.

EmbossingStorag

It’s the shaker top that makes it so efficient. This is meant for spice storage, but works great for embossing powders.

EmbossingTop

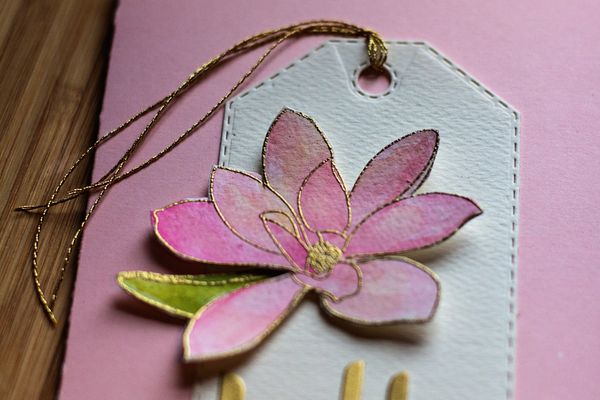
I have two cards to share today. Both of them will be hand-delivered tomorrow when I get together with the recipients. The first is for a friend who recently had a stroke. She’s in rehab now, and doing really well. I used Alt&New’s “Magnolias for Her” stamp, inspired by this video I watched Saturday night. I’ve had this set for awhile, but haven’t had much success with it until yesterday. Later, you’ll see two more cards made with the same set. I’m linking this card up to a challenge at The Card Concept, choosing Clean and Layered for the style.
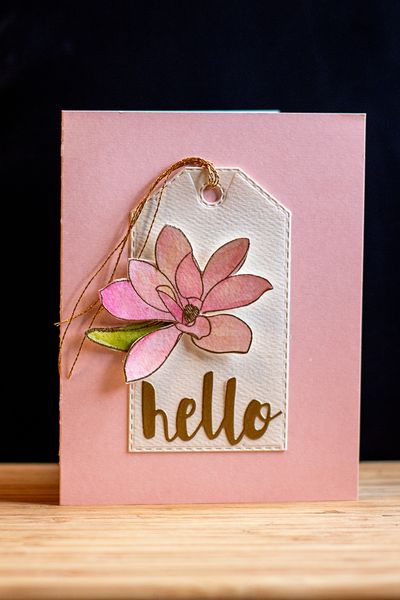
MagnoliaHello

The flower and leaves were embossed in gold and then watercolored with Daniel Smith watercolors, and hand cut. The tag was cut with the “Stitched Dress-up Tags” by Simon Says. It’s a new die that’s never been used, even though it was a Christmas gift!

MagnoliaHelloclose

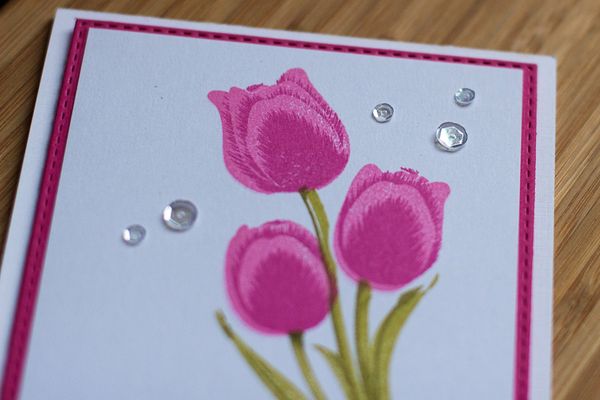
The second card is for a mutual friend of my friend in rehab. We’ll be going to visit Peg tomorrow, and it’s Jean’s birthday on Wednesday. I have a cake to take along to celebrate. I purchased “Tulip Time” from Papertrey Ink two months ago, but this was my first opportunity to pull it out. I was pretty sure I’d like it, and I do!

Tulips

The stamped piece is layered onto Raspberry Fizz cardstock cut with Simon Says “Stitched Rectangles.” It makes a perfect frame.

TulipsClose

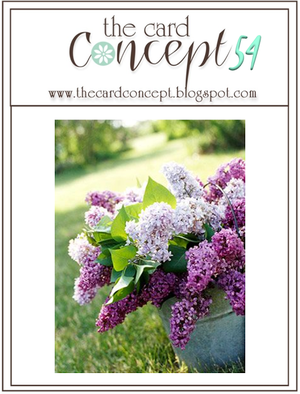
I’m linking up with Sian and waving to all the other Memorandum Monday folks who found something new to do this weekend! I’m also linking up with The Card Concept challenge of “Spring Flowers.”

CardConcept54

I have finally figured out how to upload images with a full-size pop-up window, so if you’d like a closer look, it’s now possible.


Inlaid Dies–Addicted to CAS Challenge

  • by

ATCAS - code word inlaid die

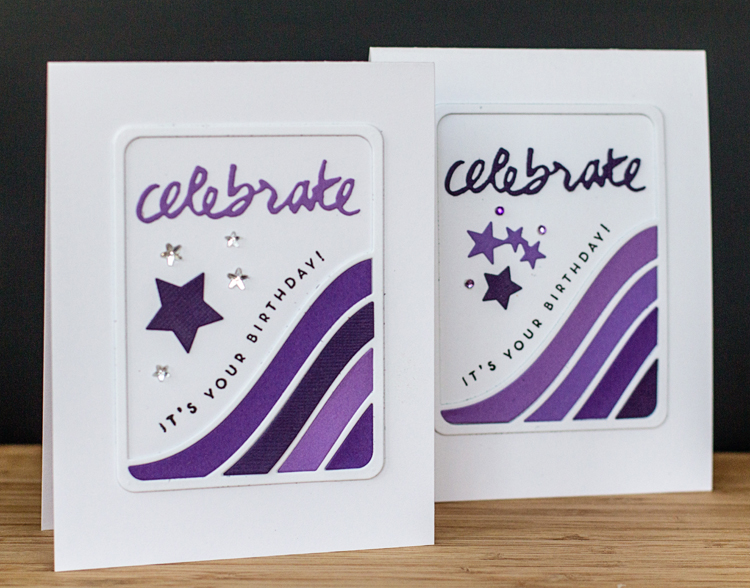
This week’s challenge at Addicted to CAS is inlaid dies. I made an earlier version of this card for two guys in grays with one red stripe, but today’s are for two female friends who celebrate their birthdays later this month.

CelebratePurple2

CelebratePurple1

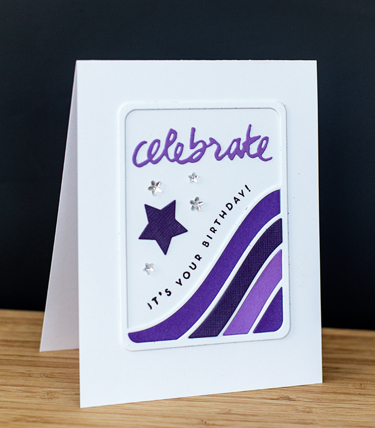
This “Stars and Stripes” die from Frantic Stamper takes care of any design questions. It’s just a matter of choosing the colors and the orientation of the die. All the purple papers came from my scraps file—a good way to use up perfectly good paper that’s left over from earlier projects. I keep a file folder labeled by color for my scraps and that’s my first “go-to” when I’m looking for paper. Although the die comes with a die cut for the “celebrate” sentiment, I substituted Papertrey Ink’s “Wet Paint” die. The star rhinestones are from Michael’s.

CelebratePurple_2

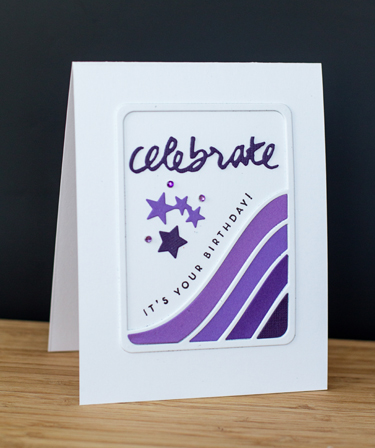
A slightly different version with some Simon Says star dies and some tiny enamel dots. I love the look of inlaid dies, so I’m off to check out the other contributions to the challenge.

Less is More: White Space That’s Not White

  • by

It’s good to be home, despite the 4 inches of snow we got as a welcome home gift from Mother Nature. This week’s challenge at Less is More is an interesting one. One of their designers questioned whether or not my dotted backgrounds for the last week’s challenge constituted “white space,” and she was probably correct. This week the challenge asks for colored “white space,” and I have a birthday card that fits the bill.
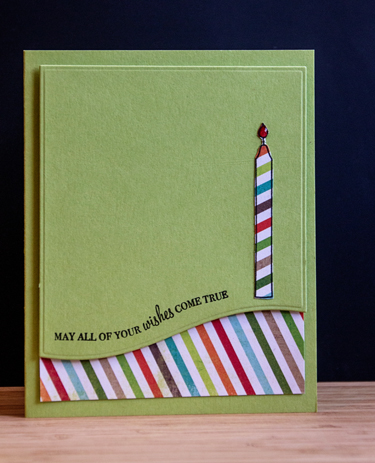
CandleBD

The cardstock is from Simon Says and the patterned paper from an old MME’s paper pack, “Go Fly a Kite.” I used Papertrey Ink’s “Sentiment Splits” die to create the curved bottom of the top layer, and the candle and sentiment both come from Papertrey’s “Wishes Come True.” I added a bit of Glossy Accents to enhance the flame of the candle.
I spent most of the first day home unpacking and organizing, and sadly, I think there’s still at least one more day for the organizing piece. I took some projects to Chicago to work on, and got a good start, but have more to do. Hope your week is a productive and happy one!

Polka Dots: Round Two

  • by

I have another card for the Less is More Challenge, “Polka Dots,” this week. It uses the same paper pack as the last card, but a different design.

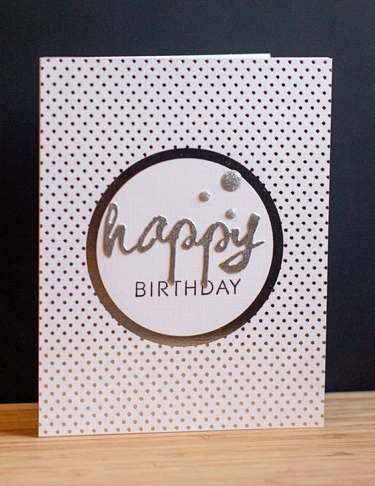
CircleSilver

So, once again, a piece of Silver Luxe paper from Papertrey Ink, this time with a sentiment in silver, die cut from the Wet Paint series (the stamped sentiment as well.) I finished it off with three enamel dots from My Mind’s Eye. I love these card size paper packs which make for a quick, but lovely, card.

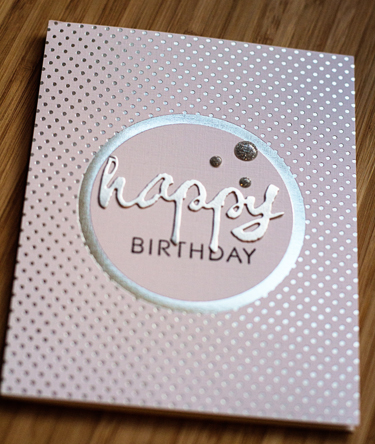
CircleSilverHB

This angle gives you a better view of the shimmer of the card stock and the die cut. 

Less is More: Polka Dots

  • by

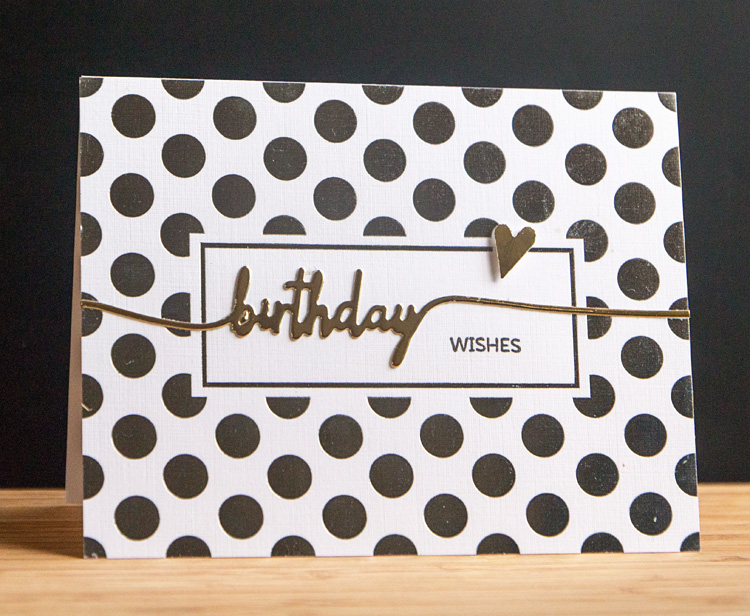
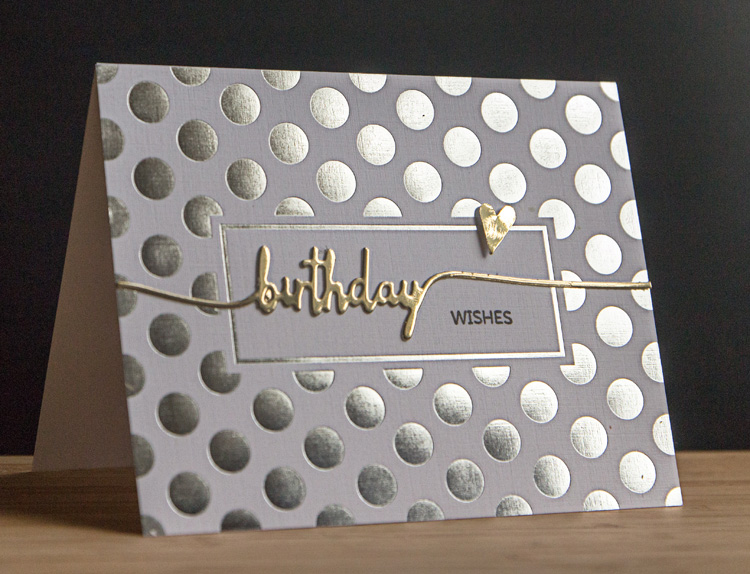
This week’s challenge at Less is More is Polka Dots. I’m a huge fan; I just bought a cute hat in Florida and the initial draw was the black and white polka-dotted ribbon on the band. I’m also a fan of Papertrey Ink’s Silver Luxe patterned paper pack, which makes for a quick and easy card:

SwooshBD

A gold die cut of “Swoosh” and one stamp from the same set, a little heart from an old punch, and it’s done. It’s hard to see the silver from this angle, so here’s another look.

SwooshBD1

Hope your Easter weekend was a good one! We got sunshine and warm temperatures for the egg hunt after church, but it turned cloudy and rainy around dinner time. I’ll be back with pics later this week.


Easter Crafting

  • by

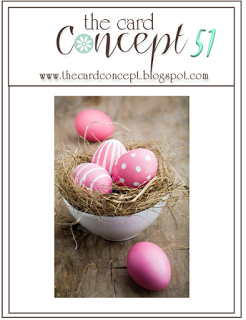
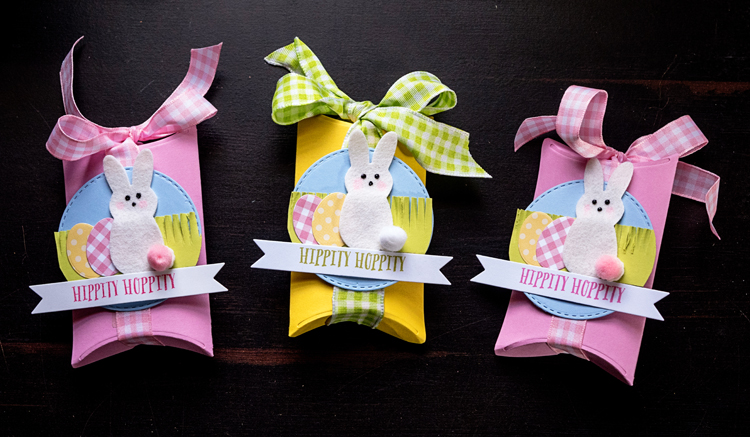
Before I had grandchildren, I don’t think I did much Easter crafting, but now it’s lots of fun. Two of these cute bunny boxes work for the current Card Concept Challenge, “Naturally Pink,” so I thought I’d post them a couple days early. All three of them are too young to be visiting my blog, so no surprise will be ruined.

Cardconcept51 copy


BunnyBoxes

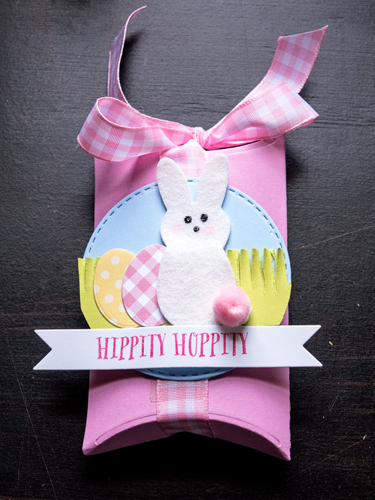
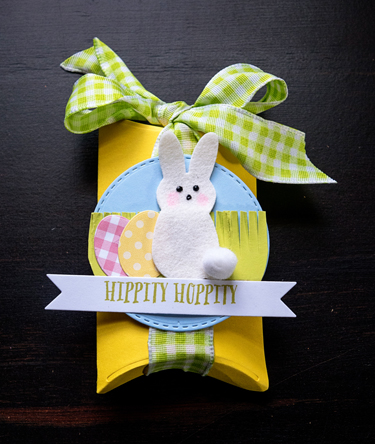
When I saw the cute projects done by the design team at Papertrey Ink for this set, “Bunny Basket,” released in February, I couldn’t resist. I die cut the bunny from felt, used some Black Enamel Accents for the eyes, a Copic marker for some pink cheeks, and pom-poms from Michaels for the tails.

Bunny2

The sentiment is also from “Bunny Basket” stamped on a “Double-ended Banner” die. The patterned paper for the Easter eggs came from the Simon Says March kit from Carta Bella (“Spring.) The “grass” was cut with Martha Stewart Fringe Scissors from Simply Chartreuse paper. Everything was layered on a Spring Rain circle cut with Simon Says “Stitched Circles.” It all got put on a pillow box made with the Papertrey Ink die from Lovely Lady (a great new pink paper) and tied with ribbons from my stash. Inside I put some chocolate eggs and some cash. Two of the grandchildren are definitely old enough to appreciate a little spending money.

Bunny1

Two pink boxes for the little girls, and a yellow one from another new Papertrey color, “Bright Buttercup,” for Caleb. 

Not very springlike here today. There’s a strong wind blowing, and snow flurries are in the forecast. Later this week, temperatures in the 60’s are forecast. Typical western New York spring weather.