Skip to content

Happy St. Patrick’s Day Birthday

  • by

Today is Tracy’s birthday, and we had lots of fun celebrating tonight. I thought I’d share Tracy’s birthday card first since I’m linking it to the new (and timely) Addicted to CAS challenge: Lucky!

ATCAS - code word luck

It’s another inlaid die with a shamrock sticker I found at Michael’s.

T'sBD

Both the die cut and the sentiment underneath are from Simon Says, “Happy.” Papertrey’s New Leaf card stock is the perfect color for St. Patrick’s Day, and I’m always drawn to a bright green and black combination.

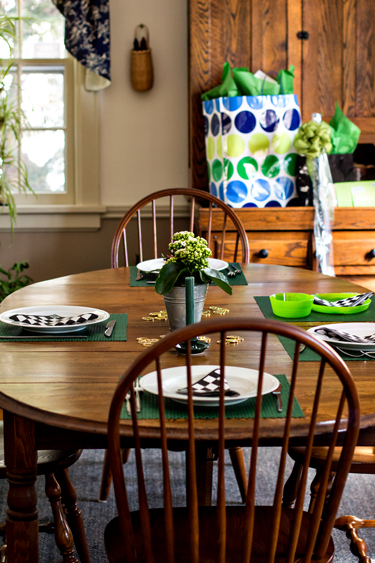
When I went to set the table I was surprised to find I had no green placemats. The last couple of years we haven’t been home for Tracy’s birthday, but I found great bright green ones on sale at Bed, Bath, and Beyond.

IMG_3572ed_blog


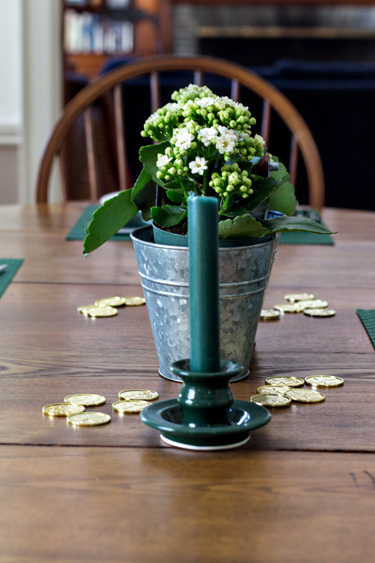
I found some lucky gold coins at Michaels. Skylar gathered them all up after dinner and put them in the toy box! 

IMG_3560ed_blog

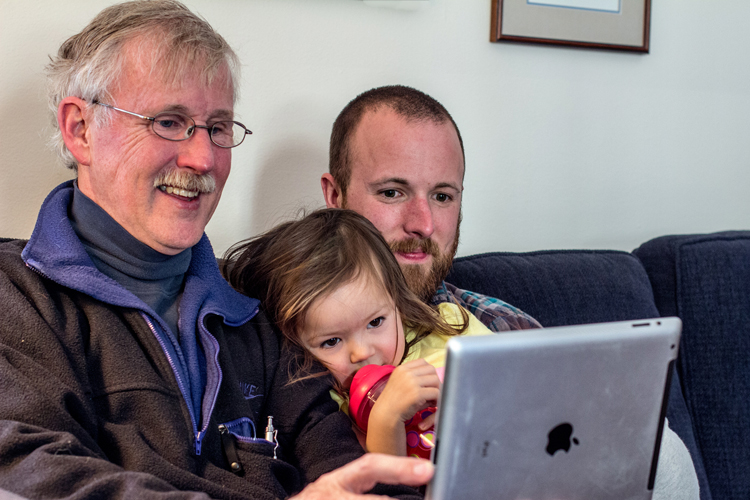
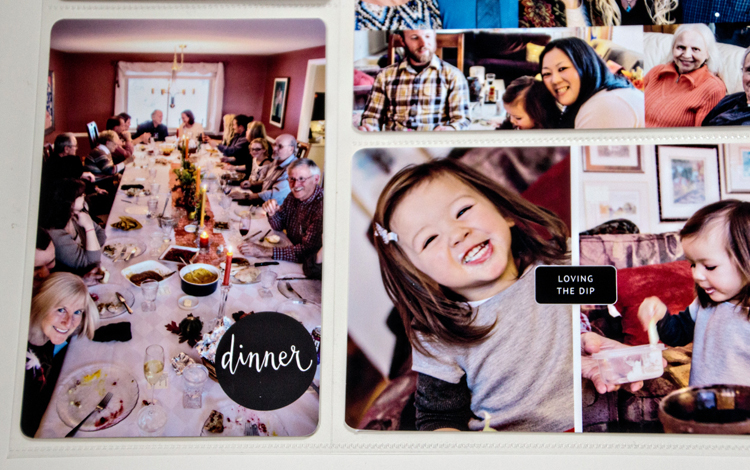
Matt, Betsy, and Skylar came for dinner. After we ate, we did Face Time with Sarah, Adam, and Caleb on the iPad. Technology is just the best!

IMG_3590ed_blog

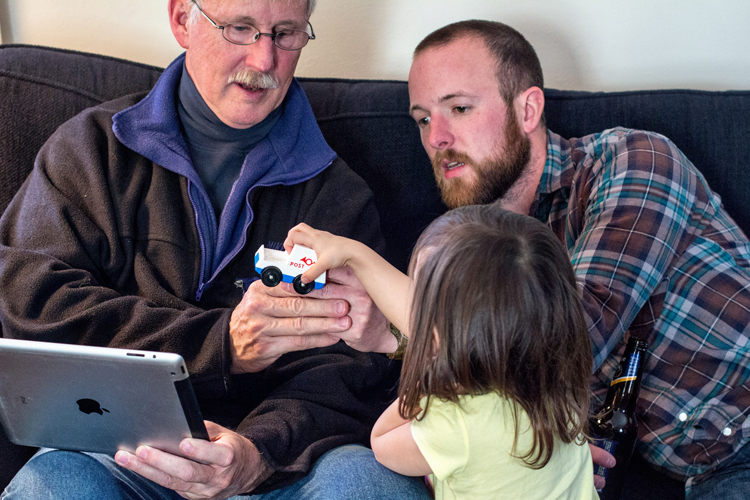
Skylar and Caleb started showing one another their cars. It went on for quite some time.

IMG_3594ed_blog

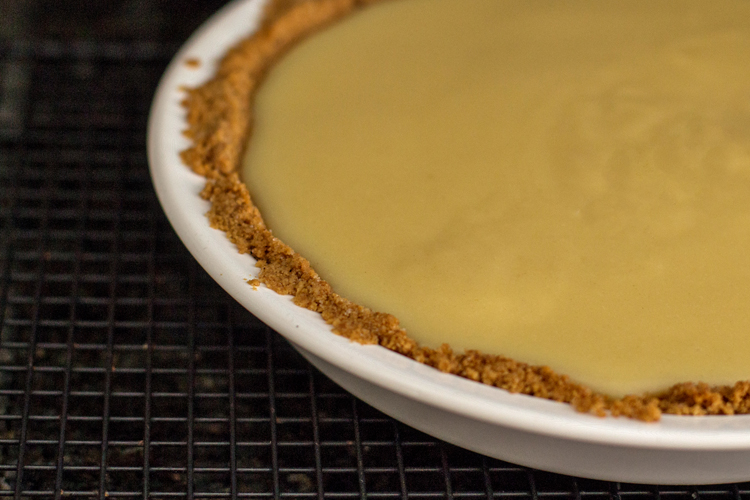
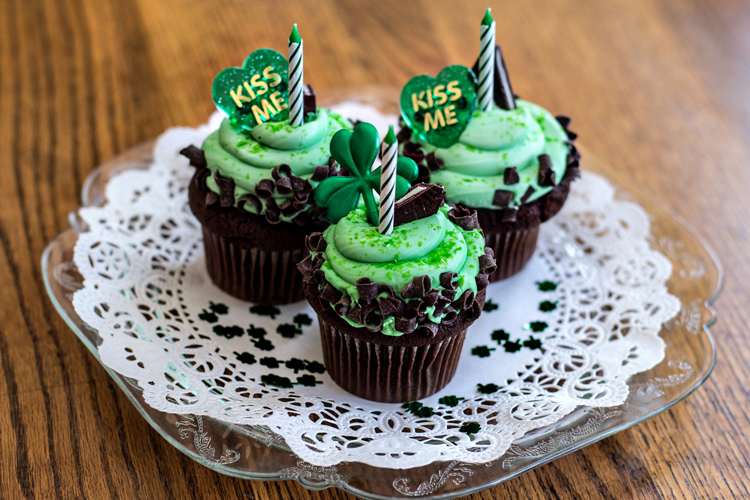
Afterwards we had dessert. Tracy had banana cream pie (his favorite) but I also bought some cupcakes for the rest of us so we’d have something to put birthday candles on. I was holding the cupcakes for the blowing out of candles so there are no photos of the event.

IMG_3575edblog

IMG_3581ed_blog

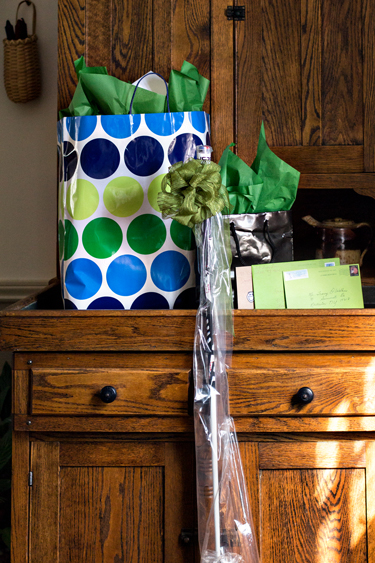
And opened up gifts.

IMG_3565ed_blog


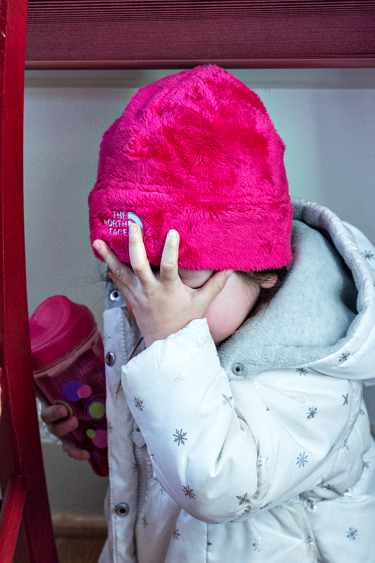
Initially Skylar wanted no photos on the way out.

IMG_3606ed_blog

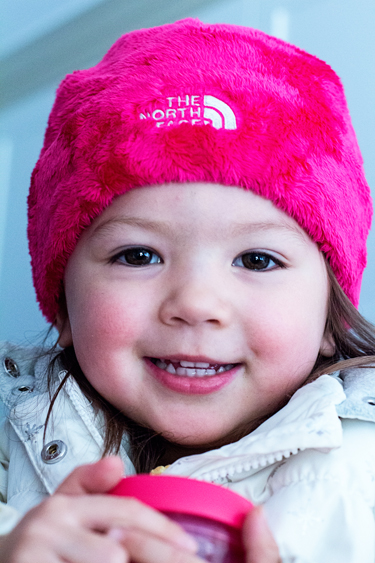
But she relented, and Grandma was grateful!

IMG_3610ed_blog

Watercolor: Part 2

  • by

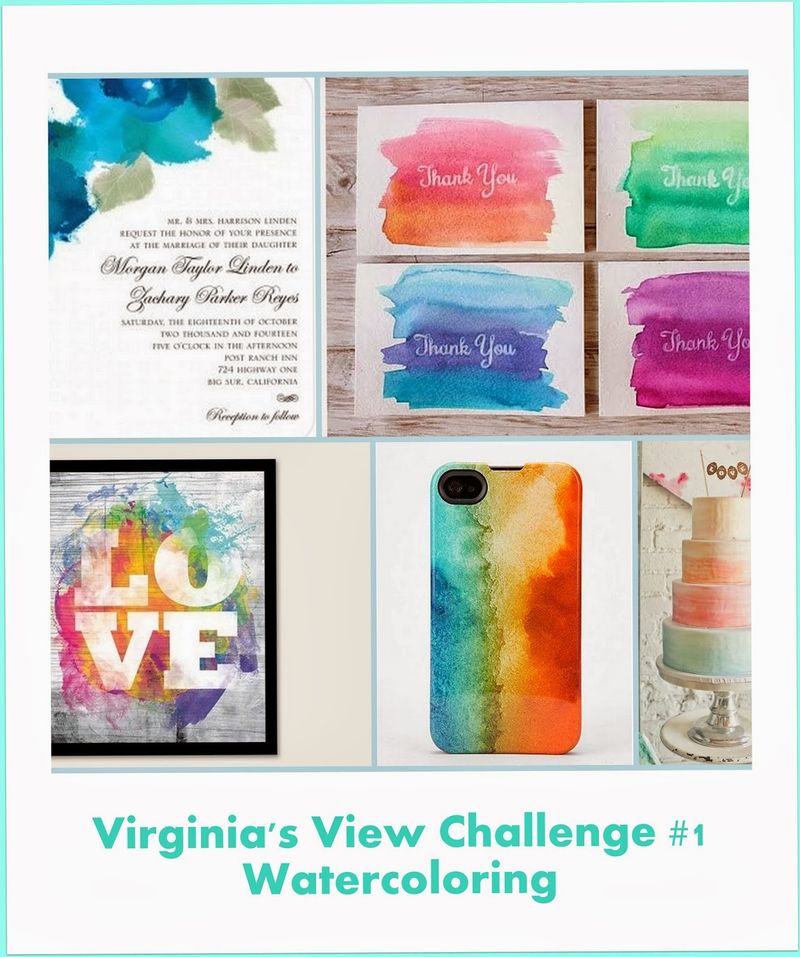
I’m back with another card created with my gelatos and some watercolor paper. And another entry to Virginia’ Water Color Challenge which closes today.

Watercoloring challenge

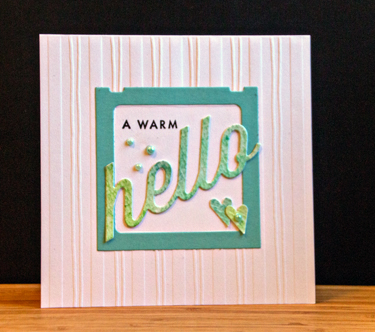
This time I die cut the sentiment from the watercolor background. I used the “Wonderful Words: Hello” stamp and die by Papertrey Ink.

Hello

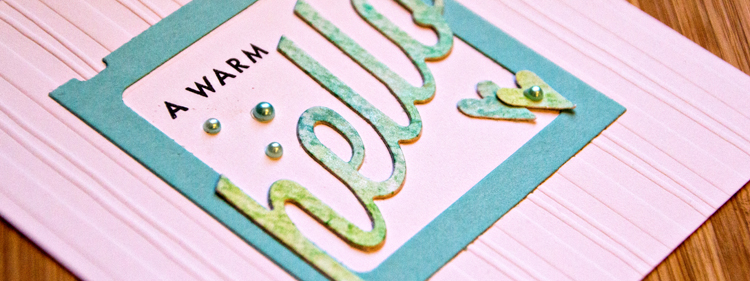
I also die cut the Slide Frame (Papertrey) and adhered both to a pre-embossed card by Lasting Impressions I’ve had in my stash for years and years. I loved the cards, and still have several versions of them. I punched two hearts from the watercolor paper and added some Doodlebug pearls.

HelloClose

Today is my sweet husband’s birthday, and I’ll be back tonight to share his card, and hopefully, some photos of our family dinner as well. 

Watercolor: Part 1

  • by

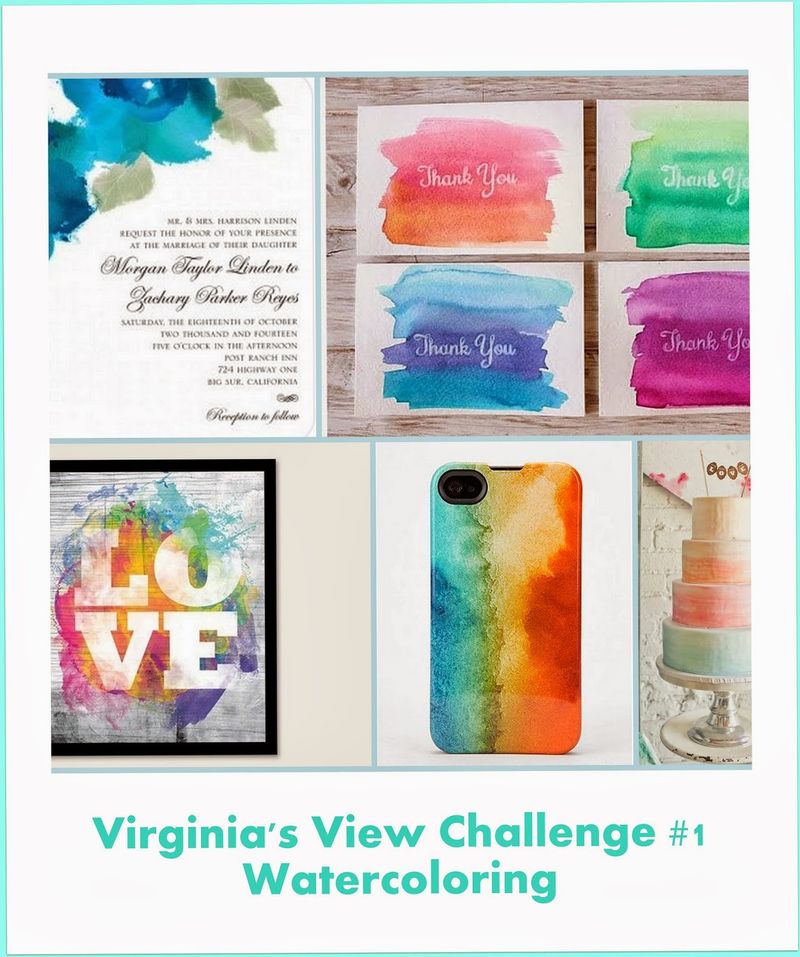
The use of watercolor for card backgrounds has been really hot for several weeks now. I finally sat down on Friday night with some watercolor paper and played around. After seeing a video today by Julie Ebersole, I would do this differently next time, but I’m pretty happy with some of the samples I created. There’s also a new challenge for watercolor by Virginia Lu that I’ve been wanting to play along with. 

Watercoloring challenge

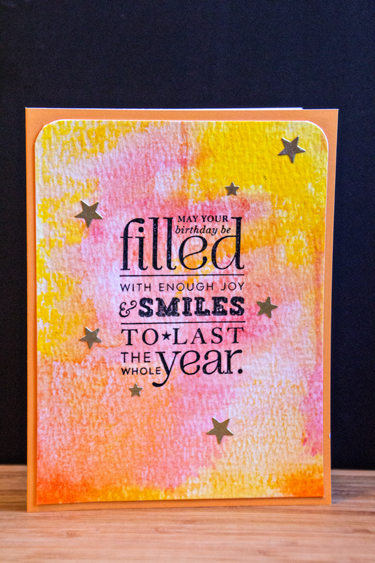
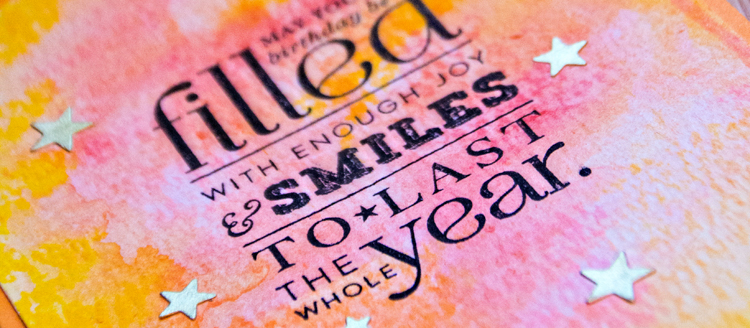
I started out with some Tim Holtz Distress Watercolor paper and my gelatos. I’ve hardly played around with them at all, and although it’s hard to see in the photographs, the gelatos create a wonderful sheen to the watercolor background.

Filled

After stamping the sentiment from Papertrey’s “Stylish Sentiments: Birthday,” I die cut some stars from a scrap of gold metallic paper with the Simon Says “Holiday Shapes” and “Large Holiday Shapes” to use as confetti. I rounded the top edges and adhered it to a Memory Box card I’ve had in my stash for a long time.

FilledSmilesClose

This is the first of two cards I made today, and I have a couple more watercolor backgrounds to play with and a lot more ideas to try!

Retro Sketch 105

  • by

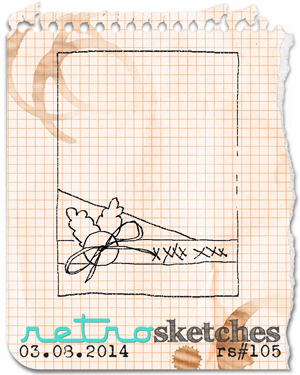
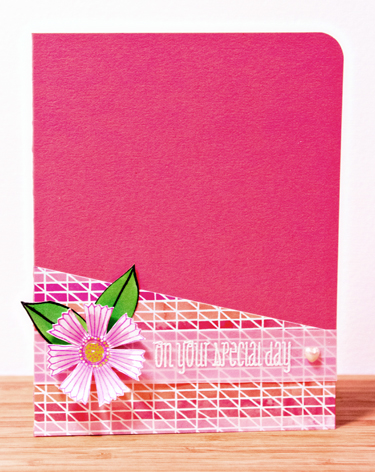
It’s been awhile since I’ve had the chance to play around with some of the many card challenges. One of my favorites is Retro Sketch, and every week I think I’ll find time to get a card done. Tonight I was playing around with a couple of the Simon Says card kits, and made this card based on the Retro Sketch challenge.

Rs105

Only when I finished, did I realize the linky for the challenge closes in just three hours. I have to say trying to get a decent photo when it’s dark outside is the real challenge here!

RetroSketch

The cardstock (Bazzil) and patterned paper (Basic Grey “Fresh Cuts”) are both from the February 2014 Simon Says card kit, but I couldn’t get any of the stamps from that kit to work with the sketch. I pulled out one of my favorite WPlus9 sets, “Fresh Cut Florals” for the sentiment, and an old Hero Arts set “Big and Small Flowers” for the flower and leaves. I added a tiny pearl heart by Hero Arts as well. There are lots of April birthdays on my calendar, so I’m happy to have one card ready to go.

One Photo & Twenty Words

  • by

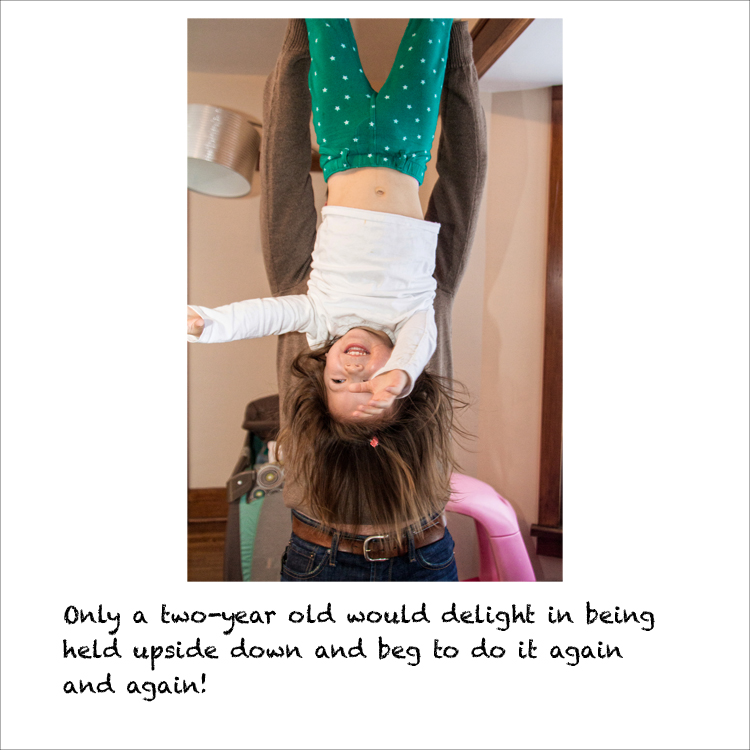
Abi at Creating Dreams has been hosting a monthly meme for a while, challenging you to find a photo and tell about it in twenty words. I loved this photo of Skylar from Matt’s birthday and thought I’d play along this month.

UpsideDown

Two Cards, Two Challenges

  • by

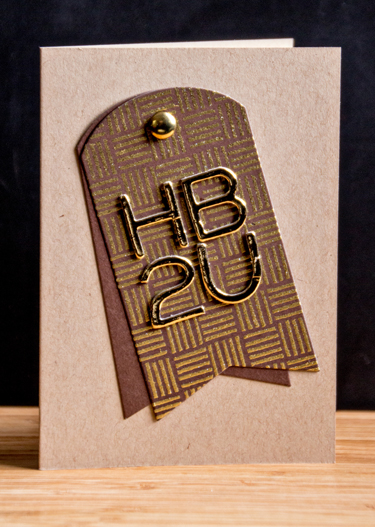
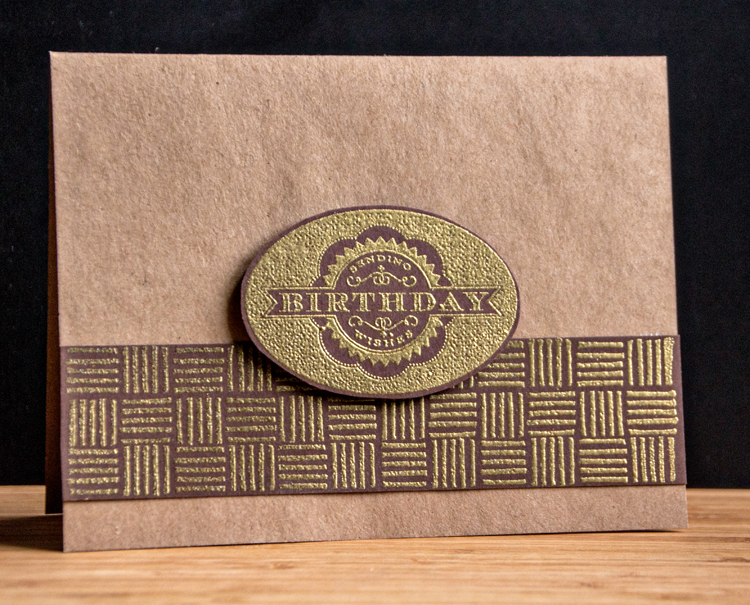
The Hero Arts blog is having a big birthday celebration with a five category challenge for birthday cards. I recently purchased the Hero Arts “Five Line” Background stamp and made two masculine birthday cards from one piece of paper embossed in gold. I’m entering both into the “metallic birthday card” challenge.

BDTag

The first is a simple card made by punching two tags from the Tag Sale #5 one in chocolate brown and one from the stamped piece embossed in gold. I added some American Craft Thickers for the sentiment and a simple gold brad to connect the tags. I’m also linking this to the new Simon Says Wednesday Challenge: Tag It!

Wednesdayblog-logo

BDWishes

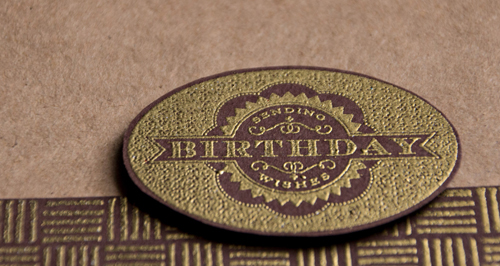
For the second card, I cut a strip of the stamped piece and adhered it to a Hero Arts kraft card. I embossed a tag from Papertrey’s 2012 Birthday Tags in gold for the sentiment. Here’s a closer look:

BDWishesClose

My brother-in-law and my niece’s husband both celebrate their birthdays this month, so now I’m all set for both occasions.

Welcome, Baby!

  • by

BabyClose

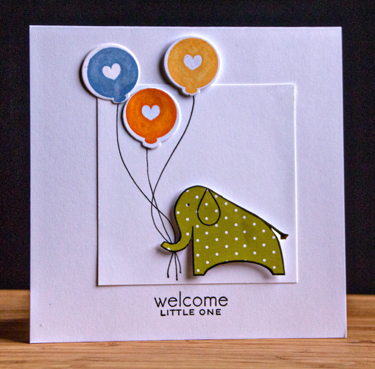
It’s not often I have reason to create a baby card, and even less frequent that it corresponds with a current card challenge. But this week’s challenge at Addicted to CAS is “BABY,” and the daughter of a good friend of ours has just had a darling baby boy.

Baby

I used a premade Archivers square card for the base. The paper-pieced elephant and sentiment are from “Bitty Baby Blessing” by Papertrey Ink, and the balloons and die from “Heart2Heart: 2,” also by Papertrey. Clean and simple, for sure.

CASE Study Challenge & February 2014 PTI Blog Hop: Take 2

  • by

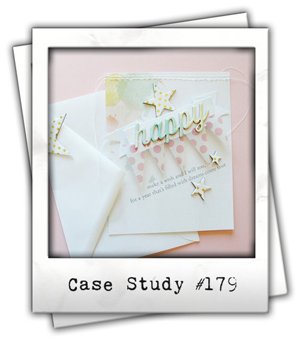
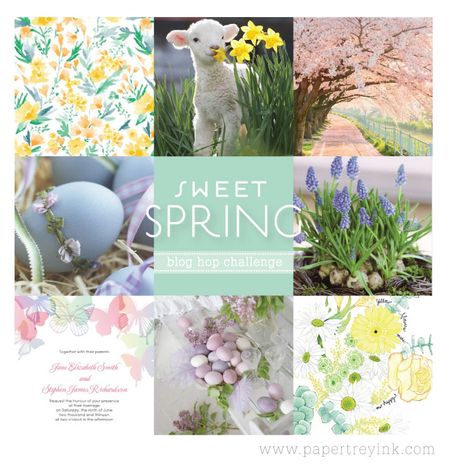
I’m back with another post today for the Papertrey Ink February 2014 Blog Hop and the current CASE study. Danielle Flanders is the muse this month, and I’m a big fan of her work. She has a real talent for combining embellishments on a card that is always so pleasing to the eye. Here’s the inspiration piece for CASE Study and then the inspiration for the PTI challenge.

CSC179_zps1d9e6da8

PTI

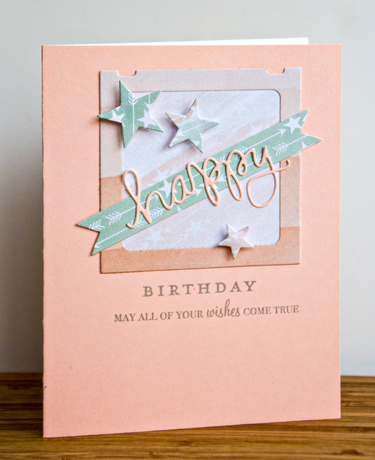
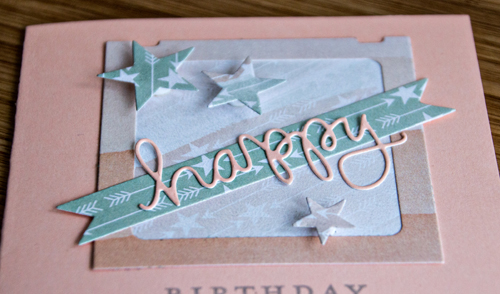
I used the same pad of paper as I did on the earlier card I posted—Pink Paislee’s “Colorwash,” but this time I took my inspiration from the starts and “happy” die cut on Danielle’s card, as well as the sentiment stamped below the focal point.

CASEPTI

 I used my new Slide Frame die from Papertrey as well as two different stamp sets for the sentiment: “Everyday Happiness” and “Wishes Come True” by PTI. The cardstock is from Memory Box, and the “happy” die cut and stars are from Simon Says. The banner is my trusty “Double Ended Banner” die by Papertrey Ink. You can’t see it in the photo, but all the starts are coated with glitter with the Wink of Stella pen.

Here’s a closer look:

CASEPTIclose

I’m off to check out the other entries to these challenges. Always a lot of inspiration to be found! 

A Challenge, and Feeling Lucky

  • by

Wednesdayblog-logo

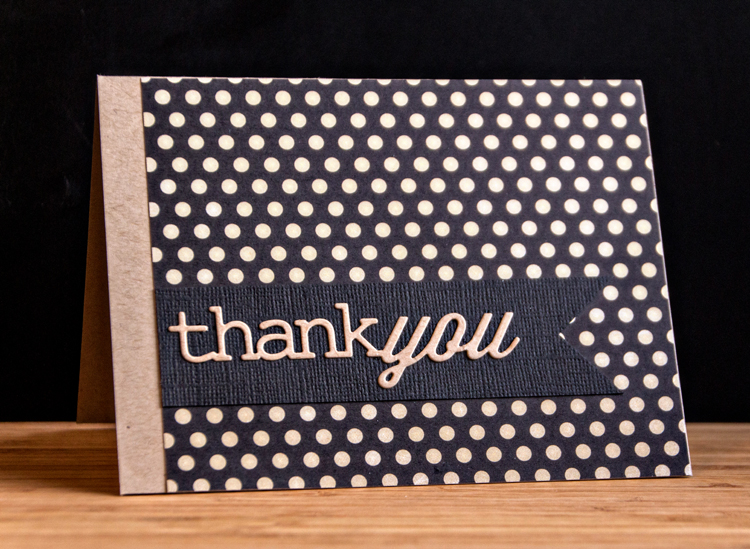
I have a thank you note to share for the Simon Says Wednesday Challenge: Get Krafty. As I was looking through some paper pads for a piece of patterned paper, I came across this polka-dot pattern from Fancy Pants’ “Ectera.” As soon as I saw it I remember the “Get Krafty” challenge. I wanted it to be CAS and this is the result:

ThankYou

After I’d glued down the banner, I wished I had die cut the “thank you” from it as well, and done an inlaid sentiment, but I wasn’t willing to try to pull it off. 

It’s not often that I win anything, but recently I’ve been lucky enough to win not one, but three, awesome prizes through blogging and the internet. The first was a seat in the BPC, Organizing FUNdamentals on the Simple Scrapper site. This class was the impetus to totally purge my studio. I didn’t participate in the class actively after the purge since I’d already given a lot of thought to how I work and how I wanted my supplies to be organized. Their excellent worksheets simpy confirmed my decisions.

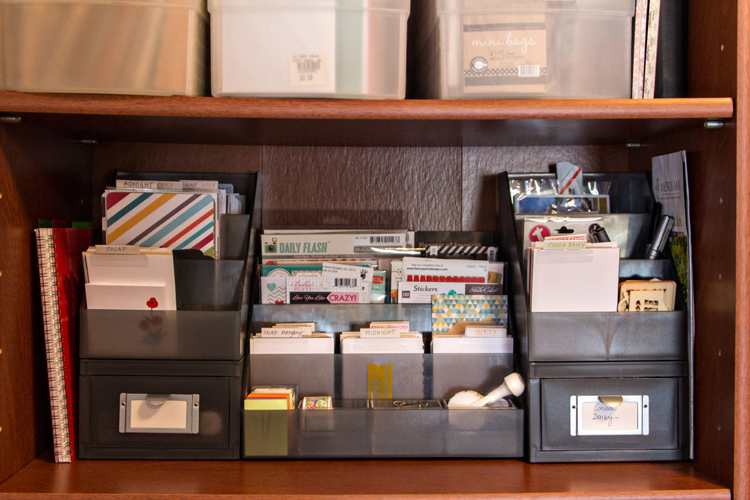
Now that I’ve purged so many of my supplies I have some empty drawers and a lot of empty containers, so I was able to make better use of my space. For example, my acrylic blocks for stamping used to be in a basket (which occasionally dumped itself onto the floor), and now they’re in a drawer right under my work table. Perfect! I’ve been working with the new organization for a week or so now, and I’m really happy with it. I was able to make better use of some of my empty containers, and  the only products I bought were these from The Container Store. 

PLStorage

I had the drawer and top unit on the right, and knew that I could organize everything I have for Project Life by adding the middle unit and another small “shelf” and drawer unit. It holds all my Project Life supplies, some office supplies, and memorabilia I may want to add to the album. As an added benefit,  each component is easy to move to my desk while I’m scrapping.

My second lucky win was on Melissa’s blog where I won a lovely new die from Simon Says. I quickly made a card with it to send to her, but didn’t take the time to photograph it as we were leaving for Florida the next morning. 

Then Saturday I scored a big win on the Papertrey Ink site during their big anniversary release party. I love making cards for their anniversary challenges, but we were away for nearly the whole party. Nonetheless, one of my comments was randomly drawn for a $70 gift certificate. So now I have a few new goodies that should be arriving by the end of the week!

In the meantime, I’m continuing to purge. This month’s project is our guest room. I’ve cleared out one cupboard and two drawers. This month is flying by, so I’m going to have to dedicate some serious time in there!

Happy Valentine’s Day: Frugal Still Life #6

  • by

Happy Valentine’s Day! It’s cold, but sunny so no complaints here. This week Cheryl McCain challenged us to do some food photography for our Frugal Still Life assignment. Registration for this self-paced class opens tomorrow (check her side-bar). I can highly recommend it. It’s been lots of fun, and encouraged me to try some new things.

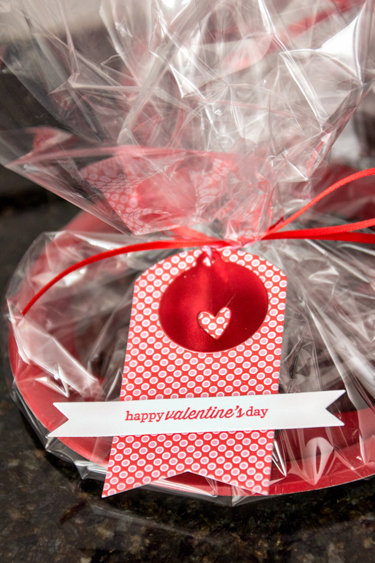
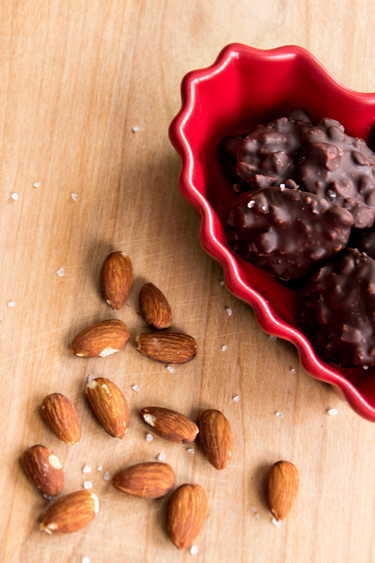
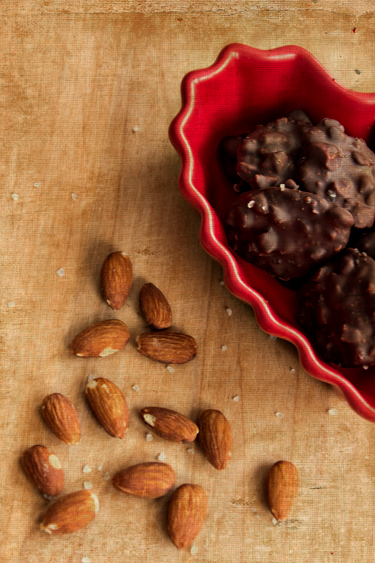
I made some dark chocolate salted almond clusters to take to some friends, and thought I’d try using them for the still life. Here they are ready to be delivered with the tag I created using some Papertrey Ink patterned paper (“Simple Valentine”), two Papertrey Ink tag dies, and my favorite double-ended banner die. The sentiment is from a new Reverse Confetti set:  Crushin’.

IMG_3280ed_blog

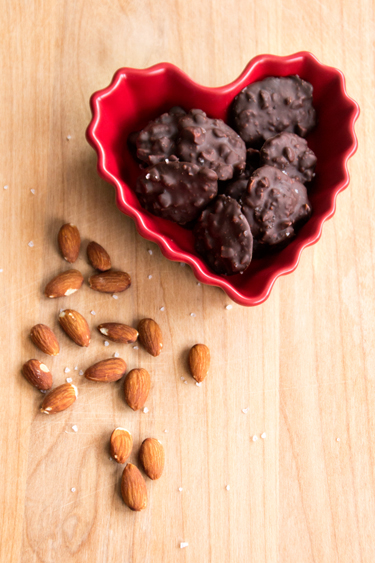
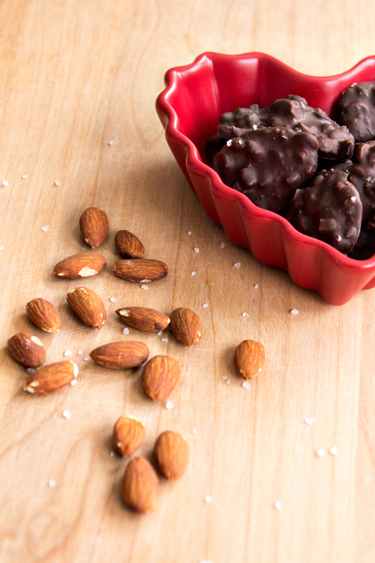
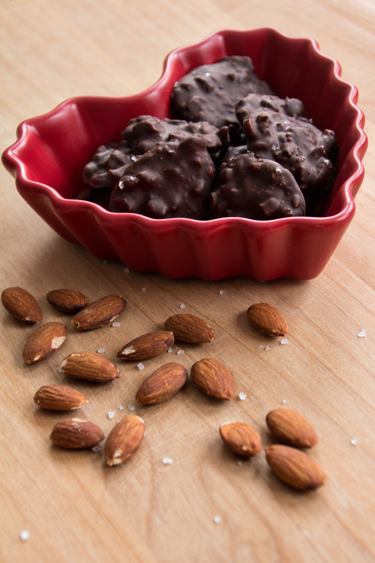
 As always, I played around with some different perspectives.

IMG_3265ed_blog

I scattered some unchopped almonds and some coarse sea salt, two of the only three ingredients in the candy.

IMG_3270ed_blog

IMG_3271ed_blog

IMG_3266ed_blog

I loved Cheryl’s photo with the texture. I usually don’t think to even play around with these, but I think I like this shot the best. It’s a Kim Klassen texture called “Scrapit.”

IMG_3266edTexture_blog


Here’s the recipe. Easy as pie.

1 bag dark chocolate chips (I used Ghiradelli’s)
1 1/2 c. coarsely chopped unsalted roasted almonds
a pinch of coarse sea salt

Melt the chocolate chips in a double boiler (you could use the microwave), stir in the almonds and a pinch of salt. Drop by small teaspoonsful onto parchment paper lined cookie sheets and sprinkle with a bit more salt. Refrigerate until firm. 

I’ll be back tomorrow with my Zoom In, Zoom Out shots. It’s been a crazy week, but I had some good photo opportunities.


Valentines

  • by

It’s just a week now to Valentine’s Day, and typically I’d wait until then to post these, but since there are not one, but three, heartfelt challenges going on right now, I’ll post them early. All of them meet the requirements for Simon Says Monday Challenge: Love Notes,

Mon-challenge-badge_zps05647c53

the Simon Says Wednesday Challenge: Have a Heart,

Wednesdayblog-logo

and finally, the Addicted to CAS challenge: LOVE.

ATCAS - code word love

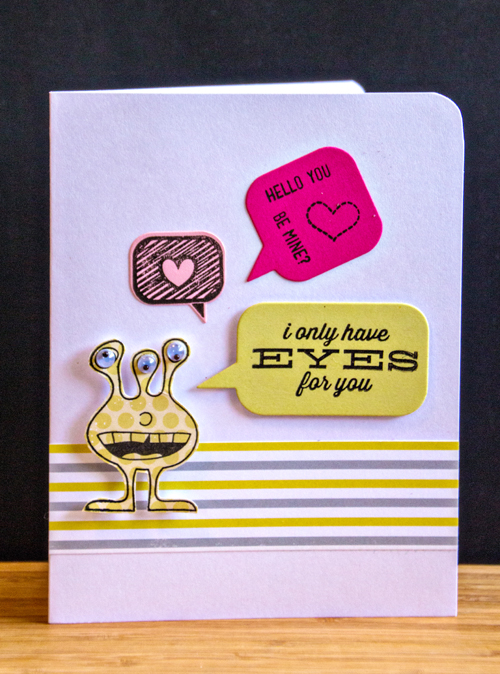
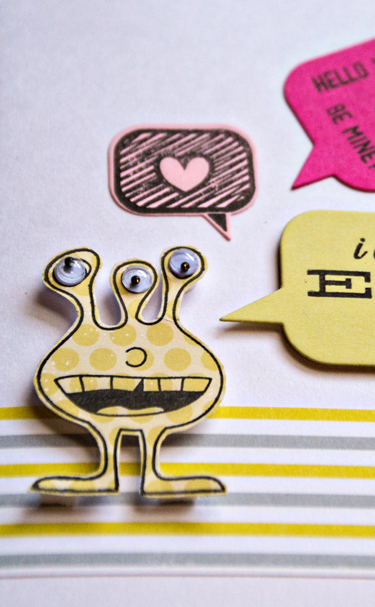
When I opened the January Simon Says card kit, I didn’t think I’d ever use the main image, a little googly-eyed monster. Then I remembered I have a two-year old grandson who loves monsters. Tracy wonders what he’ll think of it. I hope he likes it. All the materials for the card except the “Bubble Talk” dies and stamps by Papertrey Ink are from the January kit.

Eyes

EyesClose

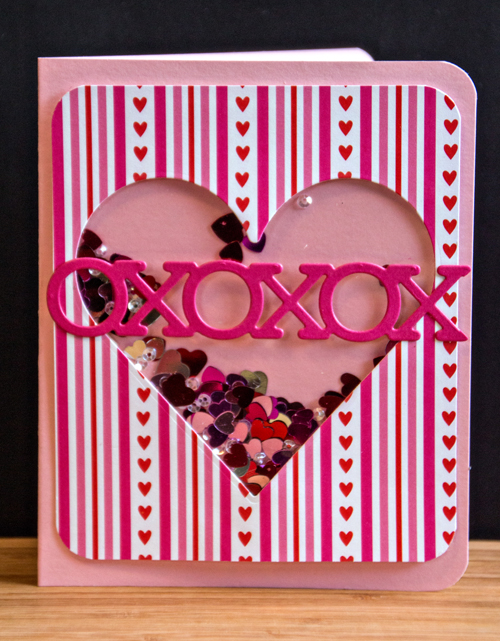
I didn’t think Skylar would be particulary charmed by a little monster, but I did think she’d like a shaker card. I followed the directions Laura Basson gave in her video here. It wasn’t anywhere as near difficult as I expected, and I’m really pleased with it. I used the Spellbinders “Nested Hearts,” and a new die from Simon Says “XOXO Border.” The patterned paper is from the “Simple Valentine” paper pad by Papertrey.

Shaker

ShakerClose

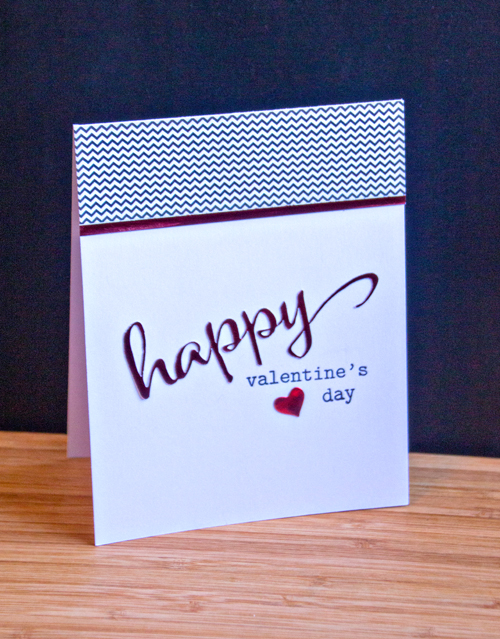
Last, a card made with my newest stamp set by a new company Winnie and Walter. As soon as I saw “The Big, The Bold, and The Happy” set I knew I get a lot of use from it. They offered free cut files with the stamp set and I used both for this card. It was really hard to photograph, but I hope you can see the beautiful metallic red paper I used to cut “happy.”

Happy

HappyFlat

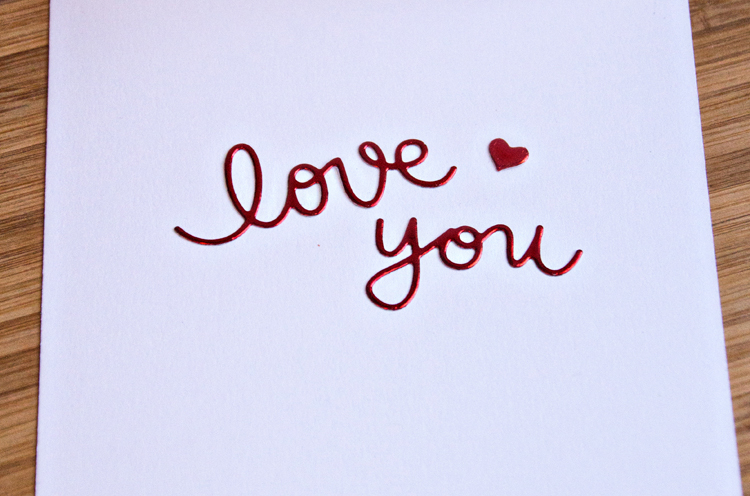
I used another new die from Simon Says for the inside sentiment.

HappyInside


And since each of these cards uses a new product (#1 stamps, #2 XOXO die cut, and #3 stamps and cut file), I’m linking up to the new Simon Says: Work It Wednesday Challenge: use something new.

Thanks for stopping by!

Watching the snow . . .

  • by

I was just sitting at the computer and looked over to see the snow falling and blowing once again. A winter storm watch has been in effect since last night at 10:00. It wasn’t too bad early this morning when I ventured out to an ENT appointment, but by noon when I met a friend for lunch the driving had gotten pretty dicey. I’m glad to say I’m home with no intentions of going out again until at least noon tomorrow. Depending on how long this lasts, it may be longer!

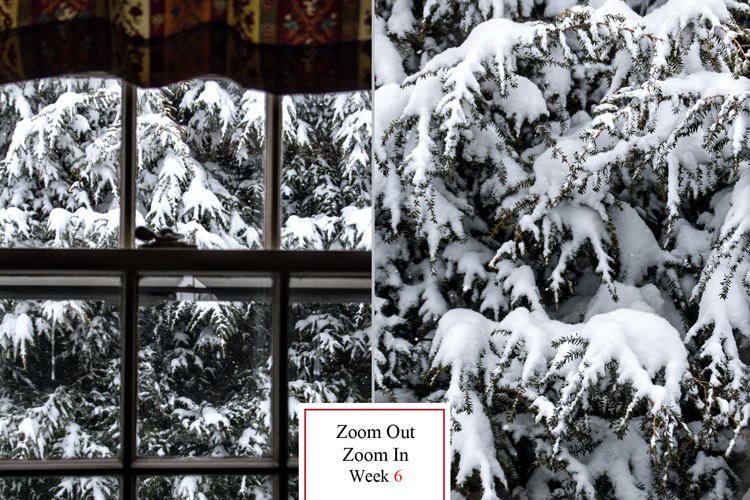
I wasn’t able to catch the blowing snow (so much more dramatic) from my studio window, but I did decide that the scene made an appropriate Zoom In, Zoom Out subject for Helena’s meme.

ZIZO6_blog

Ali Edwards Photo template

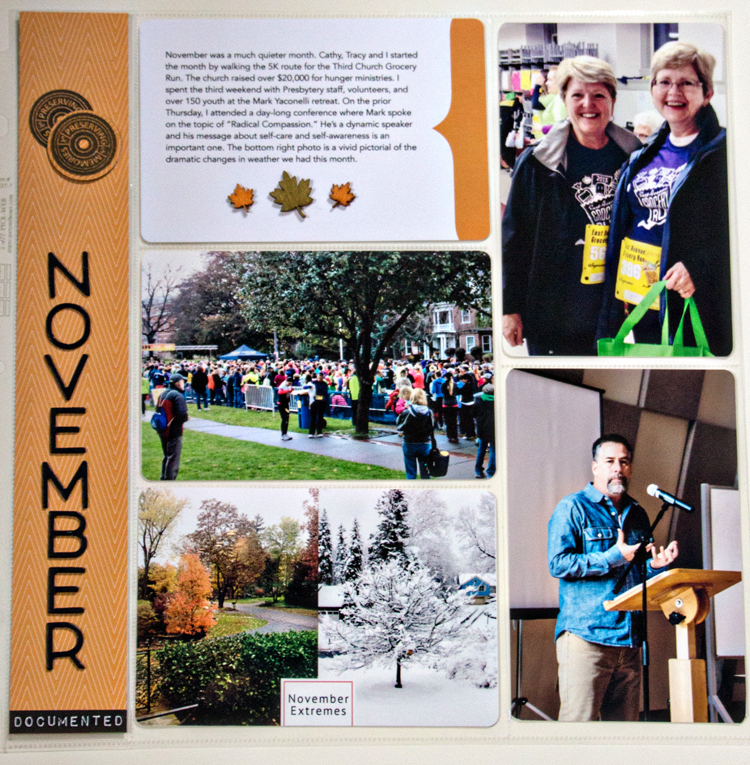
I’ve spent quite a bit of time this week working on my December Project Life layouts. Given our schedule this year, it’s turning out to be quite a few pages! I thought I ought to get the November ones posted (they’ve been done except for the journaling for ever so long), before I start sharing the December ones. I must say it’s a joy to work in a cleaned-out, well-organized studio. All that hard work really paid off.

NovPg1

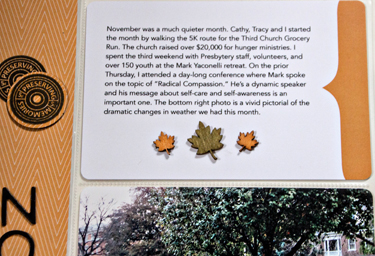
I used the same Ali Edwards photo template on this layout as the Zoom In, Zoom Out to show the extremes in weather we had in November. The circles at the top of the title were stamped with a Pink Paislee “Sentiment Series.” I inked the wood veneer leaves directly on the stamp pad.

NovJournaling

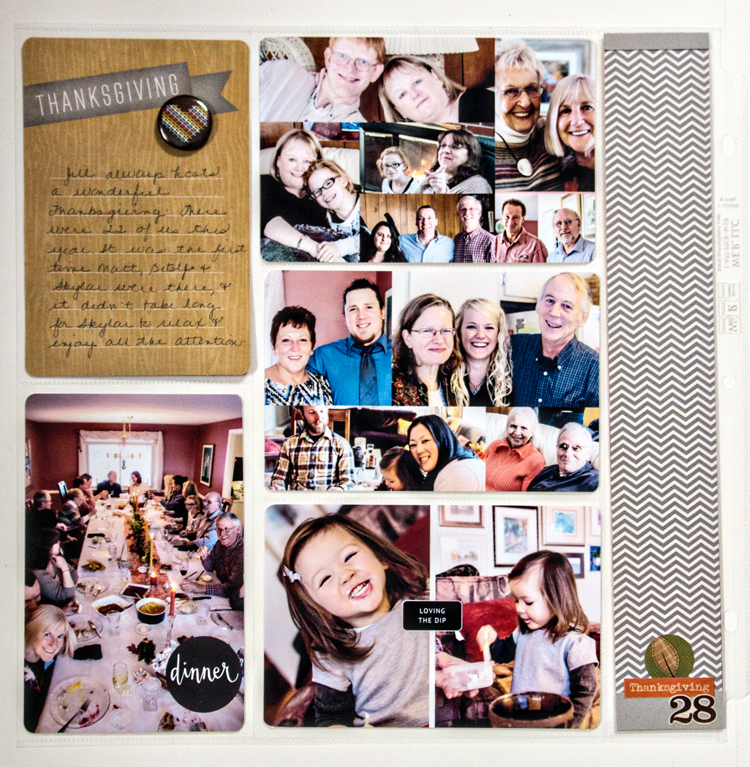
Page two documents Thanksgiving. The two top pockets on the right-hand side were originally one large photo collage that I cut apart. I’m not sure who created the collage. A long time ago I separated a lot of my digital photo templates into folders by the number of photos they hold. It works well except not all of them have the designer information still attached to them.

NovPg2

The digital stamp on the bottom left photo is from Paislee Press, and the photo template with the pictures of Skylar is on of Cathy Zielske’s “Labeled Photo” sets.

NovPg2Detail

Hope to be back tomorrow with this week’s Frugal Still Life.

Stenciled with Some Challenges

  • by

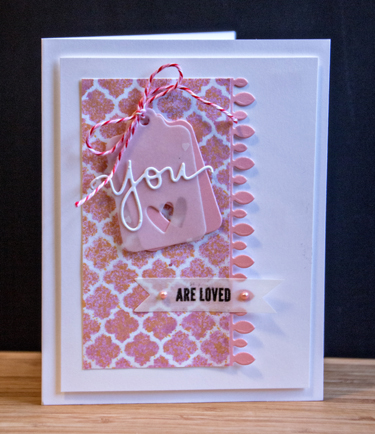
The Online Card Classes are always excellent, and “Stenciled” is no exception. It’s been a long times since I used stencils on a card, but I’ve had them on hand for awhile, and recently purchased a few new ones. In addition to many techniques using stencils, I’ve picked up some other handy card-making tips as well. These classes are always well worth the fee!
Wednesdayblog-logo

My first card uses a Simon Says stencil that came with one of the monthly card kits. I used a mist to create the stenciled pattern. I’ll be linking this card up with Simon Says Wednesday Challenge: use twine or string, and the Addicted to CAS: Love. 
ATCAS - code word love

Stenciled1

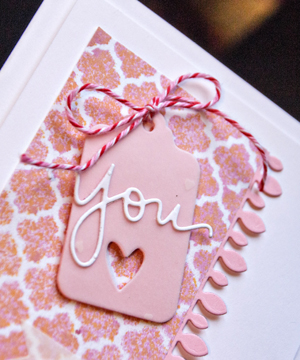
I cut a double tag because I had this darling vellum with tiny hearts on it that I wanted to use. The vellum alone just didn’t look right so I backed it with a pink cardstock tag. It’s still hard to see the hearts in the photograph, but they’re there.
Stenciled1Detail


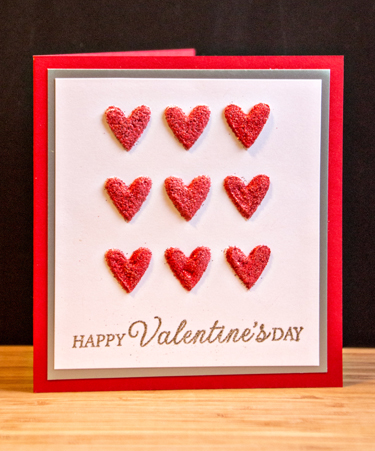
The next two cards meet the new Addicted to CAS challenge: Love as well. The first one was made with a DIY stencil. I used a Papertrey Ink coaster and die cut it with the Tic Tac Toe die from Simon Says. I wanted to create rather thick hearts using embossing paste.
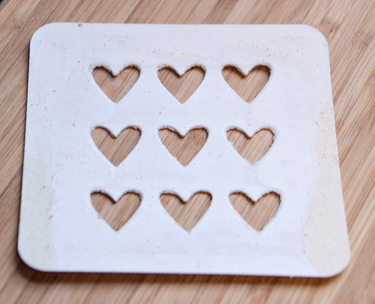
DYIStencil

Here’s the card:

DYICard

Although I let the embossing paste dry for well over an hour, it still must have been damp because I got some bubbles in the hearts when I embossed them. (Jennifer did warn us about this!) The hearts were covered with red Zing embossing powder. Here’s a close look at the dimension. 

The last card for the Addicted to CAS challenge: Love used Gesso and the Falling Hearts stencil by Simon Says. I stayed with white on white for this one and cut down a vellum envelope for the stamped heart that I cut out by hand. I finished it off with a strip of patterned paper and a Doodlebug heart pearl. 
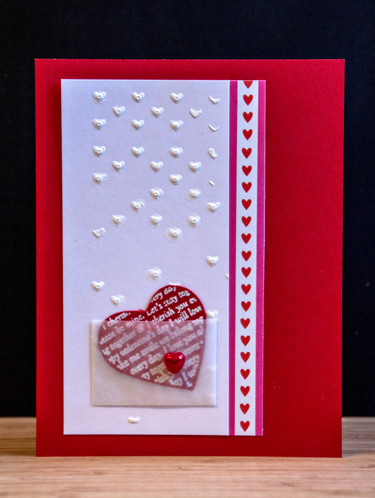
Stenciled4


Here’s a peek at the inside of this card.

Stenciled4Inside


I created the last card for this week’s challenge at CAS(e) This Sketch:
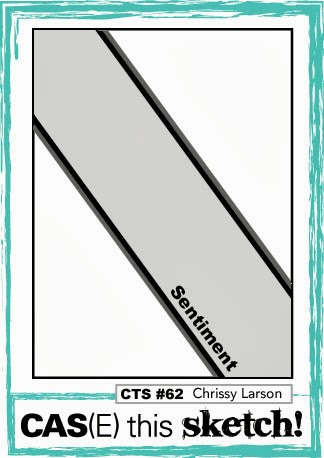
CTS_Sketch_62

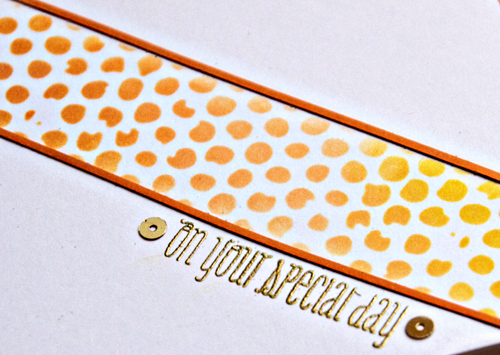
I masked off the diagonal stripe with post-it notes and used three different Distress Inks to ink up the Tim Holtz “Bubble Stencil.” Then I laid down two thin strips of cardstock along each edge. (Another trick I learned from Jennifer McGuire in an earlier Online Card Class.) The sentiment was embossed in gold and I added two flat sequins by Kelly Purky.
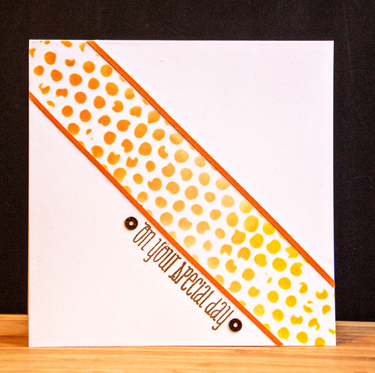
Stenciled2

Although I meant to use a slightly different technique on this card, I like how it turned out. I’ll try out that technique next time.
Stenciled2Detail

It’s been fun to have a day to watch class videos and play at my desk. The great purge turns out to have added benefit—I found all kinds of supplies I’d forgotten about, and I knew just where to find them!

Card Recipes:

Card #1:
Cardstock: Neenah Select, and pink from the scrap folder, vellum from stash
Stencil: “Moroccan” (Simon Says)
Mist: Creme de Rouge (Tattered Angels)
Dies: Vine Border, Tremendous Tags, & Double-ended Border (trimmed down) (Papertrey Ink), “You” (Simon Says)
Stamp: “You” (Simon Says)
Twine: Valentine collection (Doodlebug)
Pink pearl: Michaels

Card#2:
Cardstock: Select White & Pure Poppy (PTI), silver (Paper Source)
Stamp: “Celebrate Everyday” (Hero Arts)
Embossing powders: Zing (American Craft), silver (B Muse)

Card #3:
Cardstock: Select White & Pure Poppy (PTI)
Patterned Paper: Simple Valentine (PTI)
Vellum envelope: Impress
Stencil: “Falling Hearts” (Simon Says)
Heart pearl: Doodlebug
Die (inside card): Nested Hearts (Spellbinders)

Cartd#4:
Cardstock:  Select White and Orange Zest (PTI)
Stencil: “Bubble” (Tim Holtz)
Stamp: “Fresh Florals” (WPlus9)
Sequins: Kelly Purkey
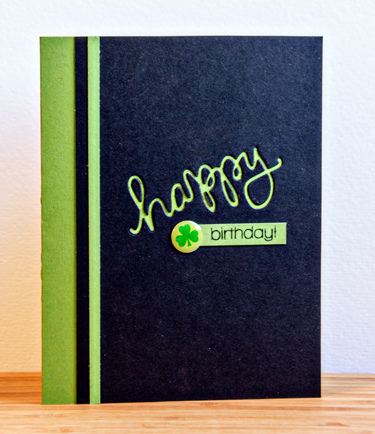


January 2014 Papertrey Blog Hop and Stenciled!
  • by

Last week was one of the busiest weeks ever, and I totally forgot that today was the 25th and the Papertrey Ink Blog Hop. Before I left for Dining Room Ministry this morning I got this card started, and finished it when I returned. I combined one of the techniques from the Online Card Class “Stenciled” Day 1 with the blog hop inspiration. The very first day of class featured several techniques for using stencils, and I have tried almost none of them. It’s going to be a great class.

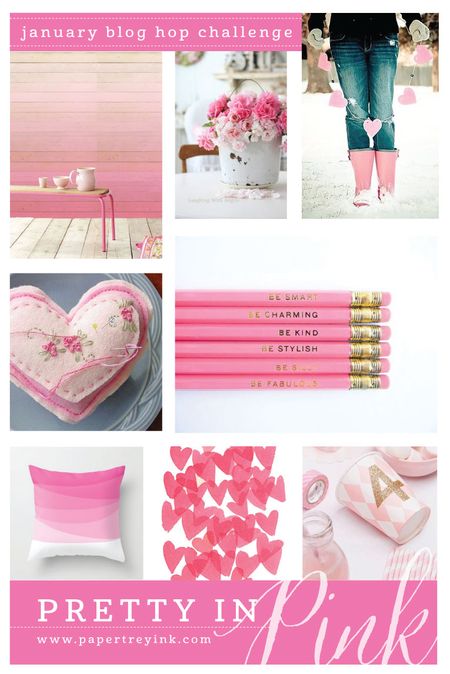
Here’s the inspiration piece for the Papertrey Blog hop. The charge was to create a card using just a variety of pinks. Neutrals like white, black and silver are allowed.

Pti January Blog Hop

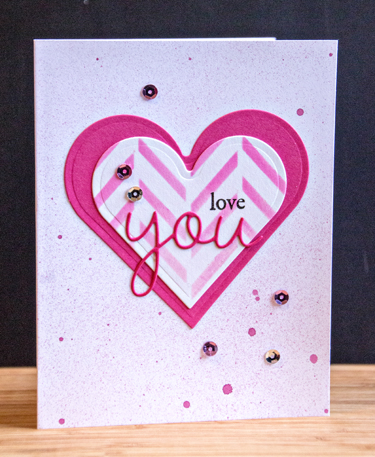
I first cut a mask with my Spellbinders Nested hearts, and used it to apply both Spun Sugar and Picked Raspberry Distress Inks over the Hero Arts “Tweed Pattern” stencil on my heart which I then die cut. 

PTIBlogDetail

Next I cut the next size heart from Raspberry Fizz and layered them. I tried a variety of card bases and didn’t like any of them. So finally I pulled out my Tattered Angels Glimmer Mist in Creme de Rouge. For once I got the spray just the way I wanted it. 

PTIBlogHop

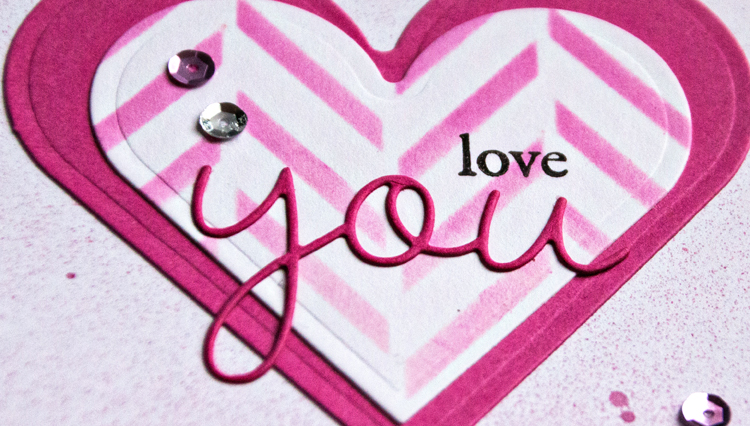
The sentiment combines the stamped word “love” from Rustic Branches and a die cut “you” from Wonderful Words. A few scattered pink and silver sequins and it was done. The first of the valentines completed!

Card Recipe:
Cardstock: Select White, Raspberry Fizz (PTI)
Stencil: Tweed (Hero Arts)
Stamp: Rustic Branches (PTI)
Dies: Wonderful Words (PTI), Nested Hearts (Spellbinders)
Sequins: Michael’s

Frugal Still Life: Week 2

  • by

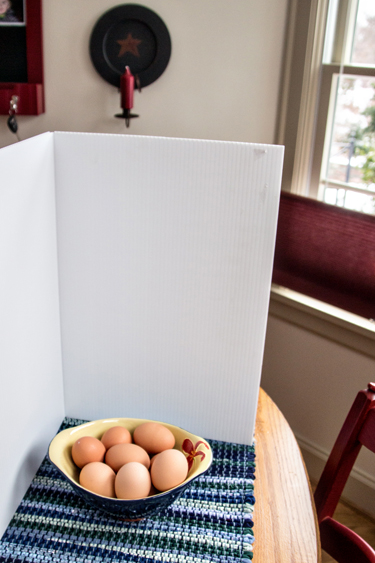
It’s getting toward the end of Week 2 at Cheryl McCain’s Frugal Still Life class. I’ve know all week what I wanted to use for my subject, but time is just slipping through my fingers here. Finally, today I got it all set up. 

IMG_2934ed_blog

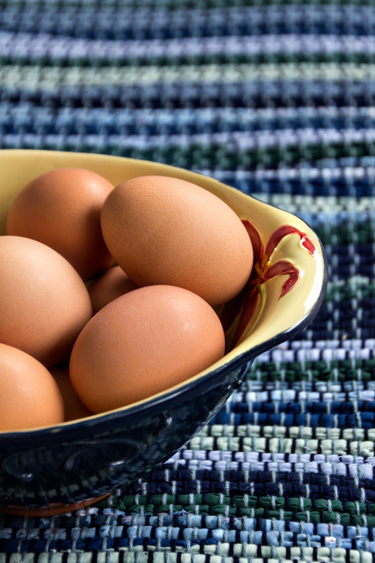
I’ve become a big fan of organic brown eggs. I looked around for the right size container to hold a dozen eggs, and decided on my berry bowl. It’s navy blue on the outside, so I pulled out my handloomed table runner as a background. One of the considerations for this week was to leave some “white” or negative space in your photo. That’s a technique I like quite a bit. 

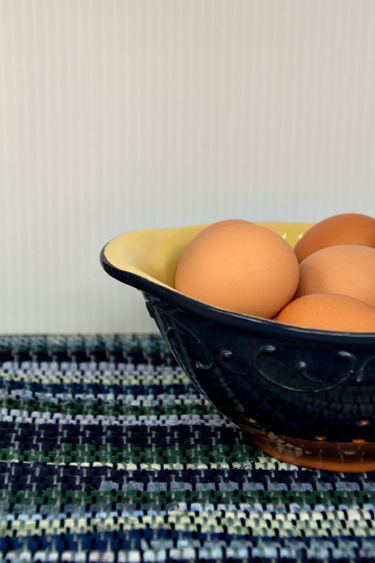
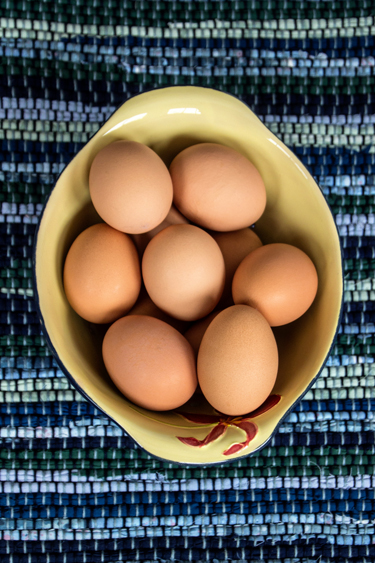
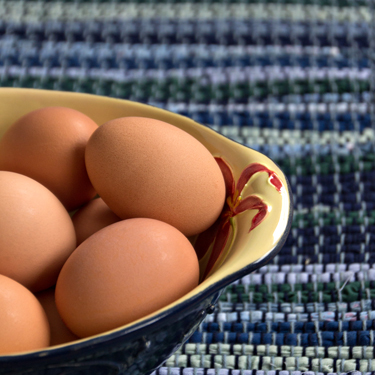
I used my 18-270 Tamron lens for all the shots, and ended up with four I liked. Which one most appeals to you?

IMG_2925edb_blog

Usually when I shoot a half shot, I have the subject on the left-hand side rather than the right-hand side. This wasn’t thought through completely, and I think I’d prefer it if it were reversed.

IMG_2926ed_blog

This top down shot might be my favorite.

IMG_2931ed_blog

I decided on a square crop for this one.

IMG_2930ed_blog

And here’s one on the left-hand side, but with a different point of view. I have to admit I like taking the time to try a lot of different shots. These are the four I liked best, but I took quite a few more.