Skip to content

Playing with Vellum

  • by

I enjoy using vellum in my card making so when I saw the latest Online Card Class, Sheer and Clear, I signed right up. The first lesson dealt with different ways to attach a vellum piece to your card. This can be quite tricky at times, but Yana Smakula demonstrated 11 different ways to consider in the first video of the class. Some I knew, some I had forgotten, and a few were new to me.

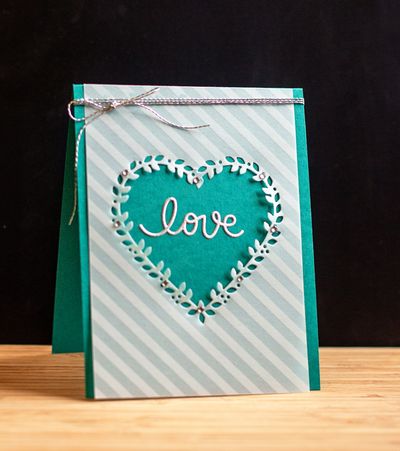
The first card is one I actually made before class begun and gave to my niece and her husband at their wedding. I attached the vellum piece with a thin line of matte adhesive under the silver thread and then added a dot or two under a few of the rhinestones.
Love

This card uses a new die I purchased recently from a new-to-me company called Concord and 9th. There are several other pieces to the die set as well as an accompanying sentiment set which I didn’t use. The striped vellum is from Papertrey Ink as is the Tropical Teal cardstock. The die-cut sentiment is from Simon Says, and the silver thread is from a spool that’s been in my stash for years.

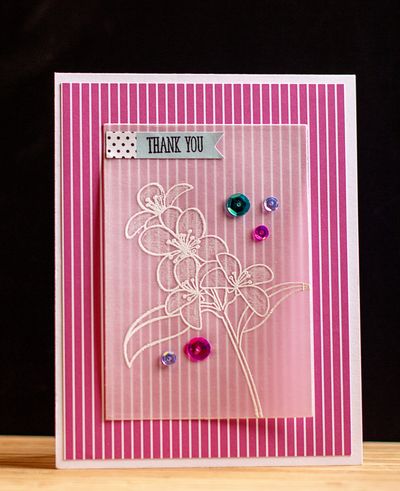
Next up is the first card I made for class. I needed a couple thank you notes, so it was a good opportunity to try some new things. 
Thanks

I embossed the beautiful flower from Clearly Besotted’s “Fresh Flowers,” and then colored them in with some white Prismacolor pencil, and added some Wink of Stella. I’ve never tried this technique, but Jennifer McGuire demonstrated it in a Day 1 video, and I like the extra oomph it gives the card. 
ThanksClose

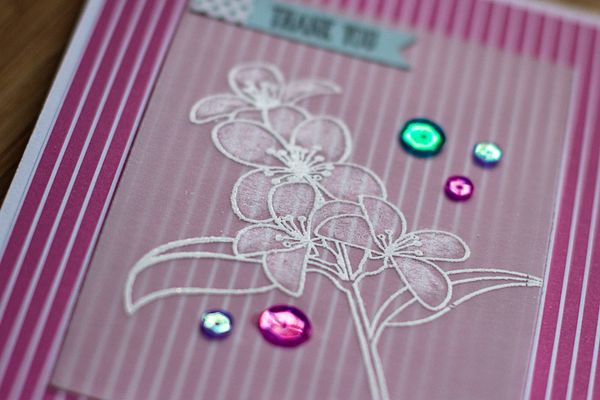
This time, I attached the vellum piece behind the Simple Stories, “Life in Color” tag, and underneath the sequins from Simon Says.

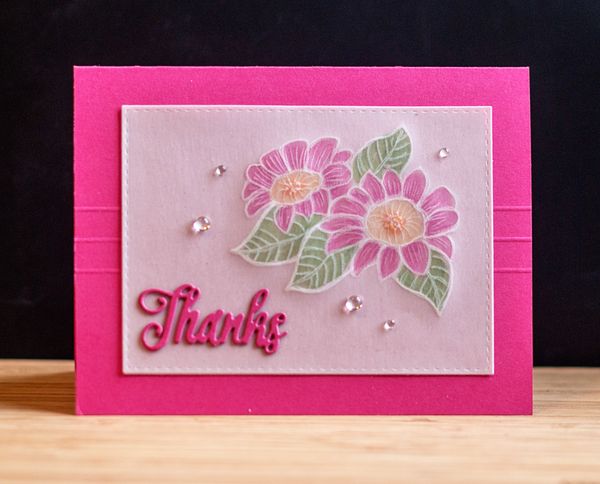
Last is a card I made last night after seeing a video by Dawn Woleslagle. Her cards almost always blow me away, and the card she presented in class was truly elegant. My first attempt leaves a LOT to be desired, but I’m posting it in hopes that a later attempt will show some improvement. For this technique, you trace a stamp’s outline in white on the back of a piece of vellum and then dry emboss it. It creates a raised white line on the front of the piece. Dawn recommended using parchment paper, which I don’t have, so maybe one part of the problem is that I used vellum. Then the design was colored with Copic markers from the backside. The stamp I traced is one from Penny Black’s “Blooming Garden.”
DryEmbossVellum1

In looking for some spray adhesive to attach this piece, I found a can of vellum spray adhesive I’d totally forgotten about. It would have saved me a lot of frustration with the wedding card if only I’d known I had it. (I’ve started a new purge of my workspace, and this would be one reason why I need to do a good clean-out every year or so!) I scored three lines on the Raspberry Fizz card, and die cut the vellum piece with Simon Says “Stitched Rectangles.” The die-cut sentiment is from Papertrey Ink’s Mini-Market kit, “Still Life: Summer.” Finally I added a few Rainstones from Papertrey to finish it off. Not a fave, but I can live with it.

CLSH_participant

Online Card Class: Exploring Watercolor Mediums

  • by

One last post with some cards for the current Online Card Class. This one has been very interesting, and I spent quite awhile yesterday playing with different kinds of watercolor mediums and different techniques. A few ended up on cards, and more than a few ended up in the wastepaper basket, but that’s to be expected. I learned quite a bit in the process, and enjoyed it, regardless of the outcome.

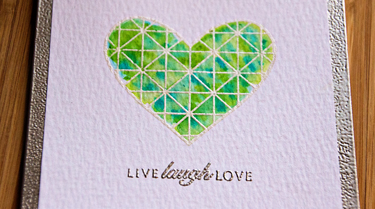
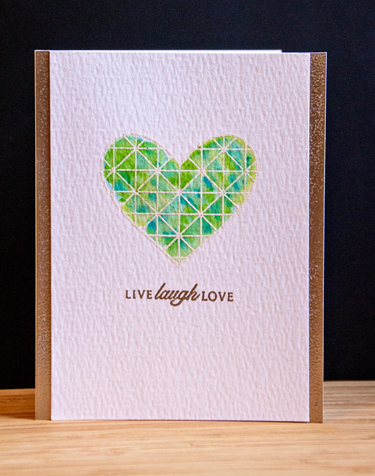
The first card ended up being one of my favorites despite the fact that about half-way in to watercoloring the heart, it was simply awful. Instead of tossing it, I started dropping in more color and it ended up totally different (and much better) than what I expected. This came from the Day 1 lessons using watercolor markers. I played around with Akashiya Sai Watercolor Brush pens which I received as a Christmas gift last year. Because I owned those, I was reluctant to order any Zig Clean Color markers, but I’m glad I did as I find them much easier to use. Both were ultimately used on the card below.

Heart

I white-embossed the heart from the new Simon Says card kit stamps, ” Here’s Looking at You,” and then watercolored it. The sentiment is from Papertrey’s “Round and Round” set embossed in Liquid Platinum. Since none of my metallic cardstocks matched, I used a technique Jennifer McGuire showed in a Day 1 video—edging a piece of cardstock with Versamark ink and then sprinkling on the embossing powder. Voila! A perfect match.
HeartClose

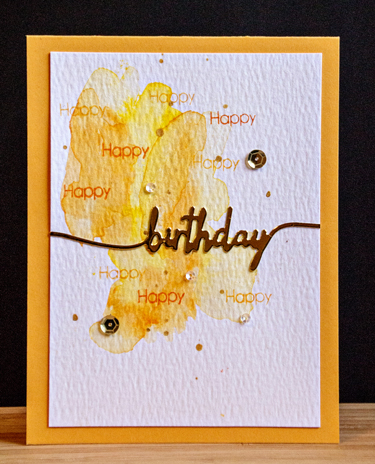
The next card uses the traditional watercolors in pans or palettes (Day 2.) This time I used the Kuretake Gansai set which I love for it’s bright colors. The card itself was inspired by one that Debbie Hughes created for this month’s Simon Says card kit.
BirthdayWatercolor

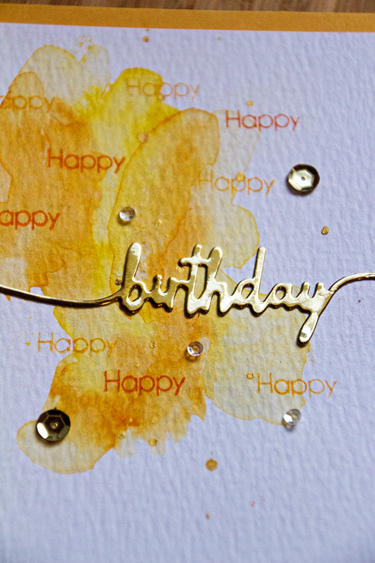
The stamp is from a free set sent to me by Simon Says called “Your Birthday,” and the die cut is from Papertrey’s “Swoosh” set. I carefully (learning from earlier in the week), dropped on some Heidi Swapp gold spray and added a few sequins.
BirthdayClose

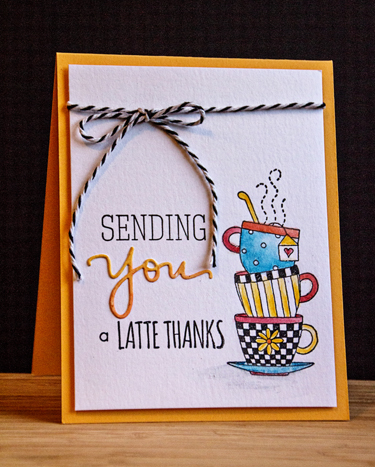
There are actually two cards (just different embellishments) for the Day 3 technique of using watercolor pencils. Most of them were Inktense pencils, but a few are from a set I bought years ago by Staedtler. It was a bit of a challenge to find the kind of image I wanted, but I found this old wooden stamp by Stampington which worked out perfectly.

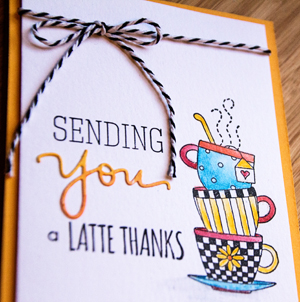
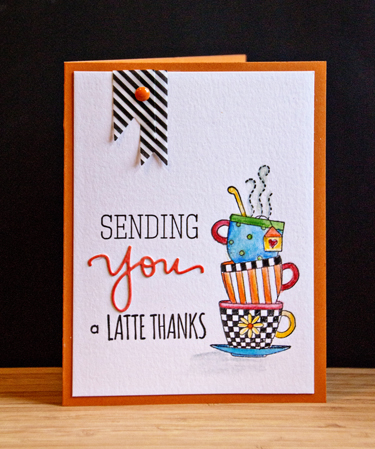
Teacups1

The sentiment is from Simon Says (another favorite card kit set) called “What’s Brewing?” The die cut (also Simon Says) was cut from a failed watercolor background. (Actually there are no failures with that technique. I save them all for exactly this purpose!)

TeacupClose

I started the last card first, and abandoned it, but finally decided I could “save” it. The only change from the first card is that I die cut some banners (Papertrey’s “Sketched Shapes”) from some DCWV vellum I picked up at Michaels. I adhered a MME enamel dot on top.

Teacup2

Now I need to get back to Project Life, and our trip!


Papertrey September 2015 Blog Hop

  • by

When I first saw this inspiration piece ten days ago, I was determined to participate in the blog hop this month. It’s been quite a few months since I’ve been able to.

PTIBlogHop

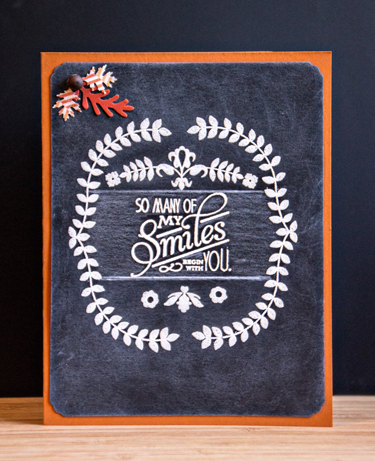
Nicole challenged us to try Betsy Veldman’s chalkboard technique, and that’s one I’ve never tried. It took awhile to find appropriate stamps and to get the design the way I wanted it, but after that it went pretty quickly. I used stamps from the “Wee Folks” Mini Market kit, “Modern Wood Mats”, and “Natural Beauties.” It’s definitely not my CAS style, but I’m pretty happy with the end result.

Chalkboard

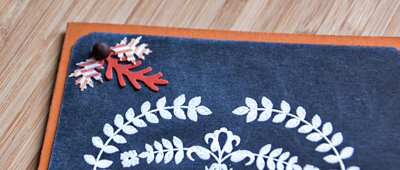
To keep with the fall color scheme, I mounted it on a Canyon Clay card, and added three small leaves punched from scraps. A wooden button from MME holds them together.

ChalkboardEmbellishment

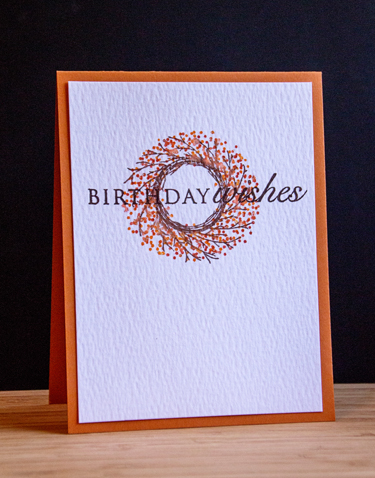
While I had my supplies out, I decided to try a much more traditional card, using one of the techniques from the Online Card Class on watercoloring. I tried a couple of things, but finally inked the image, then spritzed it with water before stamping it on the watercolor paper. The wreath didn’t really bleed that much, but the berries did enough to give them a sense of dimension. 

FallWreath

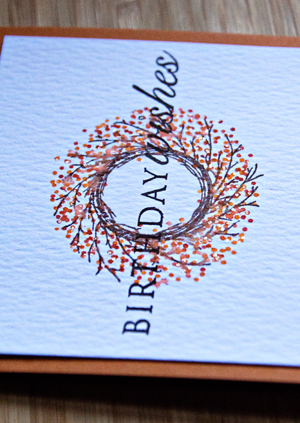
This card is very much CAS, and definitely my style. I added a bit of Clear Star gelly roll pen to the berries which give them a nice shimmer.

FallWreathClose


This card uses one of my favorite sets:  “A Wreath for All Seasons”, and “Think Big Favorites #16.”

I also spent quite a bit of time trying to create a card with this week’s Make It Monday technique. I finally gave up for today, but may be back if I can find a sentiment that will work better than I one I wanted to use.


More From the Watercolor Card Class

  • by

I haven’t quite finished watching all the videos from the last day of the Online Card Class:  Exploring Mediums, but I have two more cards to share. The first one is another from Day 1, using gold embossing and watercolor markers.

WatercolorLeaf

I’ve become a fan of Simon Say’s “One With Nature” set. I die cut the solid leaf shape from a piece of Memory Box paper in my scrap pile. After embossing and watercoloring the leaf on Tim Holtz watercolor paper, I mounted it behind the green layer and bumped it out onto a white top-folding card. The sentiment is from Papertrey’s “Petite Pots.” A rather artsy interpretation of a fall leaf.

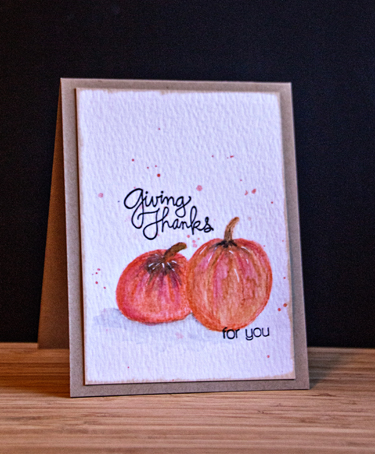
When I was watching Jen Razsa’s video yesterday for Day 3 on using colored pencils, I had no intention of trying to draw a design for a card. Later, though, I came upon a pumpkin image on the internet, and thought I’d give it a try. Like most new techniques, I learned a lot doing this, and would make some changes the next time. 

GivingThanks

I drew and colored the pumpkins with a combination of Inktense and Staedler watercolor pencils. The sentiment came from two Simon Says sets, “Giving Thanks,” and “Happy.” I’m a little happier with the splatter on this card than I was on the last one.

I tried a couple of other techniques but didn’t come up with anything that was worthy of including on a card. There’s still a lot to try. All of the Online Card classes include a lot of content!

Online Card Class: Watercolor-Exploring Mediums Day 2

  • by

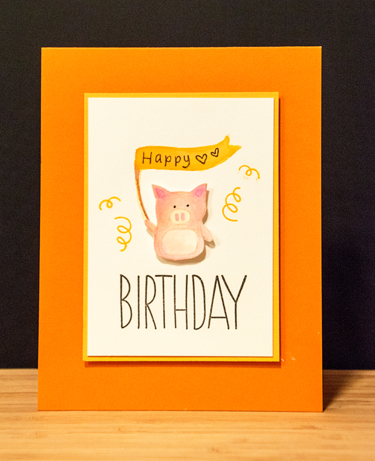
Let’s just say that Day 2 of the Online Card Class on watercolor was a lot more challenging than Day 1. I’m a huge fan of the no-line watercolor technique, but find it nearly impossible to execute. I must have watercolored ten little animals tonight before I finally got one I was willing to use on a card! Not that I think it even looks easy to do, but it never looks as difficult as I find it to be. But eventually I ended up with one little piggy and made a birthday card.

PiggyBD

I used a combination of tube watercolors and Zig Clean Color markers that I swiped onto my craft mat and picked up with a watercolor brush. The stamp set is Baby Party Animals from Simon Says which has the cutest little animals, and a font I like a lot for the sentiment. I used a piece of Summer Sunrise card stock to mat the watercolor piece (Fluid Hot Press) and then mounted it with some fun foam to a top-folding card made from Orange Zest.

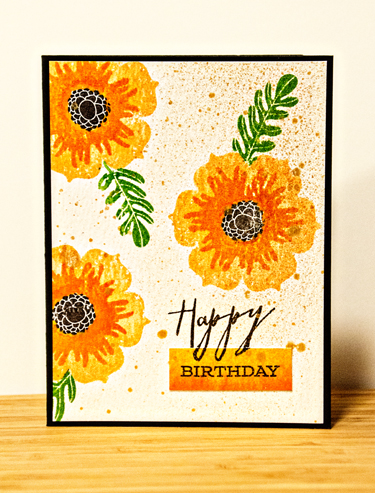
In the midst of watercoloring baby animals, I got so frustrated I pulled out Papertrey Ink’s Happiness in Bloom to try Jen Rzasa’s technique of swiping your stamp with Distress Inks and then misting them before stamping on the watercolor paper. I’m not a huge fan of the end result, but like the little animals, it was a learning experience.

WatercolorFlowers

I used Dried Marigold, Spiced Marmalade, and Mowed Lawn Distress Inks on a piece of Tim Holtz watercolor paper. Then I sprayed the card with some Heidi Swapp gold Color Shine. That’s another technique I could use some practice with. The “birthday” sentiment was stamped on a piece of watercolor paper that I’d use to create an ombre effect. It just happened to match perfectly.


Online Card Class: Watercolor-Exploring Mediums

  • by

I’m in the midst of Liz Steel’s new online sketching class, Edges, which is (no surprise) very thorough and very challenging. So it’s probably not in my best interest to have enrolled in a second, concurrent, course. But since my biggest challenge in the sketching class is watercolor, this has applications for both cards and sketching.

Today was the first lesson in the Online Card Class, and it focused on watercolor markers. I loved Jennifer McGuire’s first card, and after watching the first few videos (there are five today), I took some time to try out the techniques she demonstrated.

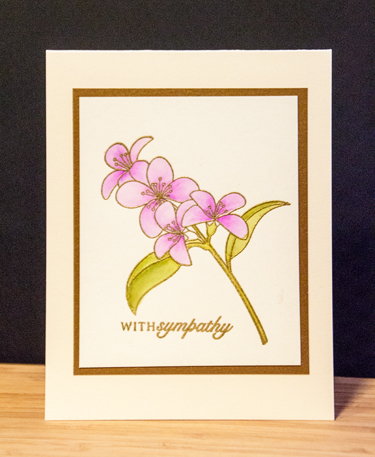
I used some new watercolor markers, the Zig Clean Color markers, and like most of the reviewers, I like them very much. After embossing the flowers in gold, I used just three markers to watercolor the flowers and leaves.

Floral

The flowers seemed appropriate for a simple sympathy card, and I never seem to have one on hand when I need it. 

FloralClose

I used some new Fluid hot press watercolor paper which I love. It’s a lovely, very pale cream color and very smooth. I matted it with some gold card stock by Paper Source and mounted it on a top-folded Vintage Cream card. The floral design is from Clearly Besotted’s “Fresh Flowers,” and the sentiment from Papertrey Ink’s “Round and Round.”


Two More for Class

  • by

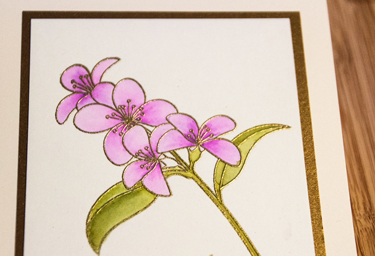
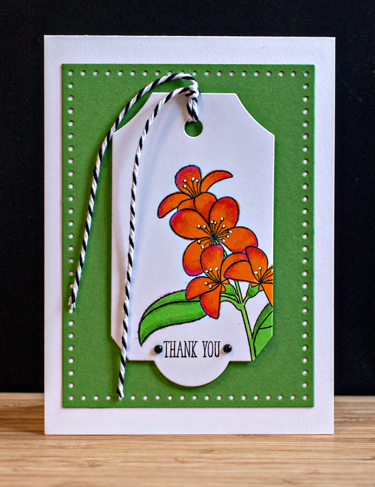
Today is the last day you can upload cards to the galleries for the Online Card Class:  Stretch Your Stamps 2. I have a LOT more things I want to try, but this morning I took time to try two more. The first is a card based on a tag created by Laura Basson using a technique, “over the edge.” The stamp itself is quite a bit bigger than what is stamped on the tag, but it works perfectly. I love just about everything Laura Basson creates and her tags (using watercolor for one, and Copics for the other) are no exception. I decided to go with the Copics this morning as it’s been awhile since I colored an image.

FloralThanks

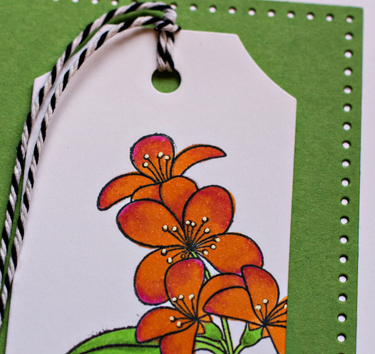
I didn’t have the same Copics Laura used so I ended up blending a bright orange with a bright pink—never tried two such different colors but it worked very well. The Sakura Gelly Roll white pen really made the flower centers pop.

FloralThanksClose

I used a new Papertrey Stitched Rectangle die cut with New Leaf cardstock (PTI), and mounted it on a top-folded white card. The twine is from a large roll I bought at a gift shop earlier this spring. Both the floral stamp and the sentiment are from Clearly Besotted “Fresh Flowers.” It’s a gorgeous set. I’m linking this up to the Fusion Challenge: Floral Brights, and the Simon Says Monday Challenge: Anything Goes.

Floral brights copy


Mon-challenge-badge_zps05647c53

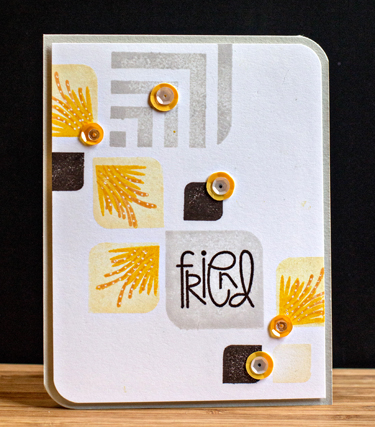
The second card uses a new (to me) Avery Elle set called “Rounded Diamonds.” It took longer to find three ink pads I could layer than it did to create the rest of the card. This one follows very closely the design of Nicol Magouirk’s card in class. She die cut a window into hers, but I don’t have the dies for this set so I stamped on a white card, and mounted it on a card made from Simon Says’ Smoke cardstock. It’s another gray/yellow combo.

GraphicFriend

The sentiment from Paper Smooches “Sentiment Sampler” fit right onto one of the rounded diamonds. Some Studio Calico and Pretty Pink Posh sequins were layered to finish off the card. 


A Trio of Rainbow Cards

  • by

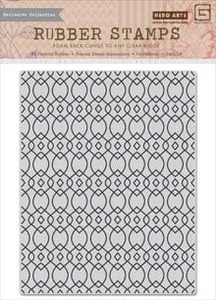
Kristina Werner produced the first video for the Online Card Class: Stretch Your Stamps 2 , and demonstrated how to create a watercolored background using the Hero Arts Highline Ironwork stamp.

Highline

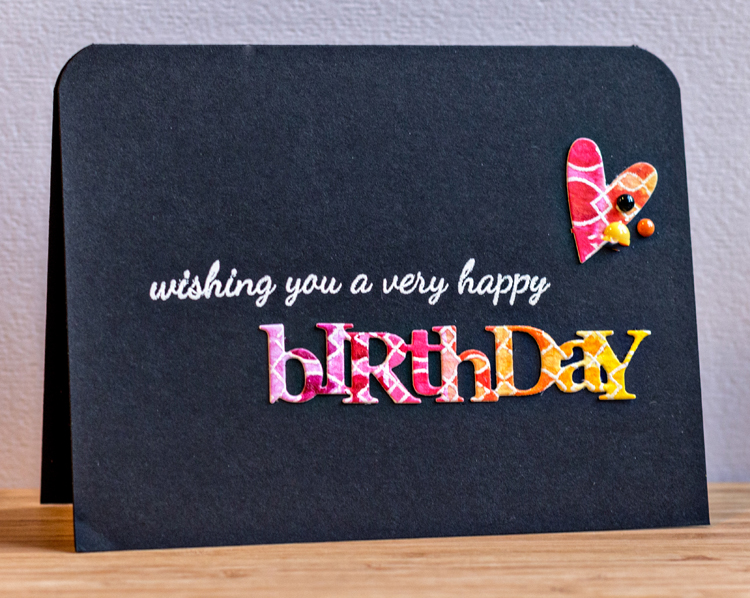
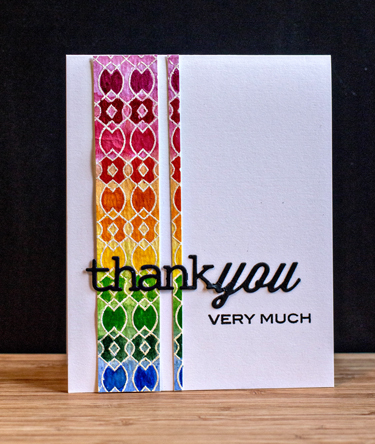
I photographed my piece when I was done, but didn’t check the photo carefully, and it was too out of focus to share. Unusual, but it happens when you’re in a hurry. You may be able to get the idea from the cards that follow. After watercoloring the piece, I cut it apart in strips and with several die cuts, and managed to create three cards. I still have a couple of hearts left over.

RainbowBD

I used the Wonderful Words: Birthday stamp and die from Papertrey Ink for this as well as a four hearts die from Simon Says.

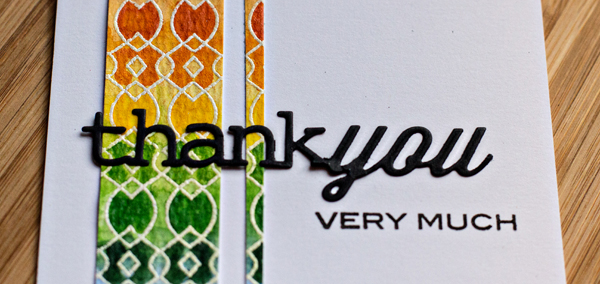
RainbowThankYou

This one uses a couple of the strips I cut, and Wonderful Words: Thank You from Papertrey.

RainbowThankYouClose

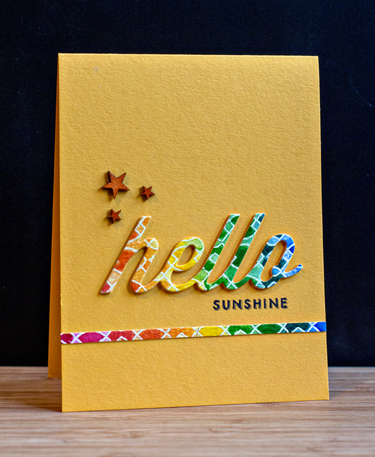
I love the bright rainbow colors against both black and white, but they work with bright cardstock as well. Here’s the last card with Sunshine cardstock from Simon Says.

RainbowSunshine

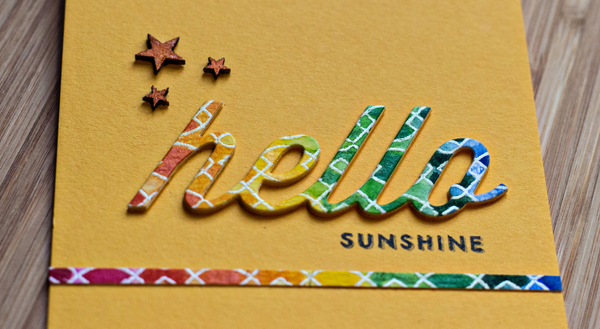
It’s another Wonderful Words stamp and die (“Hello”), along with a few wood veneer hearts from Studio Calico that I colored with a Copic marker and highlighted with a bit of Wink of Stella glitter. I stacked the die cut again with several words cut from the Sunshine cardstock.

RainbowHelloClose


Watercoloring the white embossed piece took a bit of time and patience, but it was well worth the effort to get three cards into the file!

I’ll be linking these up to the Simon Says Monday Challenge which is “Anything Goes.”

Mon-challenge-badge_zps05647c53

Online Card Class: Stretch Your Stamps 2

  • by

It’s not the first time, nor will it be the last, but I’ve overextended myself with online instruction once again. This week I had lessons in two drawing classes, the phone photography class at BPC, and the new Online Card Class. Since neither of the drawing classes have lifetime access, it’s been critical to keep up with them. I’m definitely a newbie to the sketching/drawing world, so it’s also been very time-consuming. Add Sarah, Adam, and Caleb’s visit plus daily trips to Conesus Lake this week, and it’s really quite amazing that I have a card to share! 

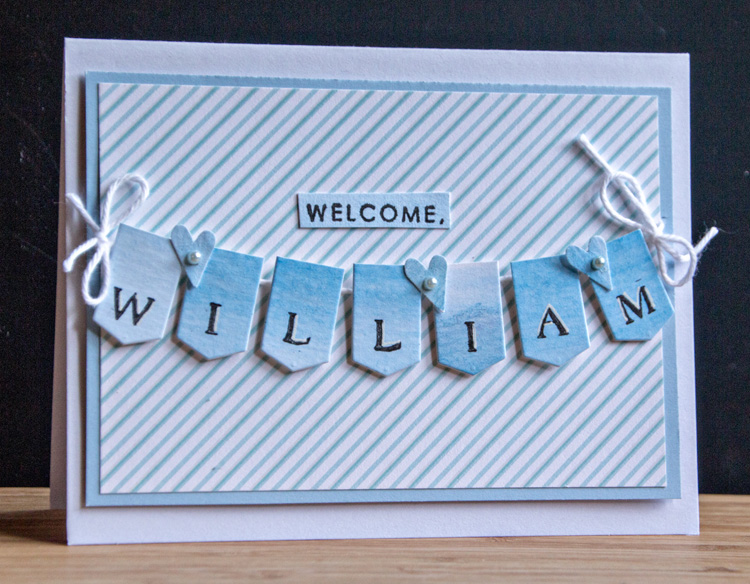
Two of Sarah and Adam’s friends have just adopted a beautiful baby boy. We were lucky enough to meet William the day we were in Chicago earlier this month. I wanted to send a gift and card back when Sarah and Adam left today, so it was a good opportunity to try one of the techniques from Days 3 & 4–using alphabet and sentiment stamps.

William

This is a take on Tami Hartley’s class on Day 4 where she created a banner for her sentiment by using alpha stamps. At first I thought I must have purged all my small alphas, but finally found an old Technique Tuesday one that fit on the banner from My Favorite Things Blueprints 5 die set (another item that’s seeing it’s first use.) The striped paper is a left-over from the other baby card I made recently, and the banners were cut from a piece of paper I watercolored. Three little hearts (using an old paper punch) with little pearls from AMuse finished it off. The “welcome” was selectively stamped from a sentiment in the “Baby Button Bits” set by Papertrey Ink.

I’m linking this up with the Simon Says Work It Wednesday challenge which is BLUE this month.

Workitwedbanner

Sarah, Adam, and Caleb headed back to Chicago this morning. We’ve been blessed by such a nice long visit, and I’m going to miss that two-year-0ld voice (as well as his parents) every morning for quite some time. FaceTime is fabulous, but it sure doesn’t replace the real deal! 

Watercolor for Card Makers & A Challenge

  • by

Today is the last day participants in the Online Card Class can post their work to the galleries. Today I found time to finish two cards I had already started and create a third one. Each one uses a different medium for the watercolor.  I’ve taken several of the Online Card Classes and loved them all, but this one rates an A+. Each lesson was loaded with content and inspiration, and the techniques varied from beginner to very advanced. I’ll be working on the techniques for weeks to come, but I’m already more comfortable with many of the watercolor mediums now than I was when we began. One thing I’ve learned (which is not easy for me) is that you cannot hurry watercolor. It takes time!

All three cards qualify for the new CAS-ology Challenge: Flowers, so I’ll be linking them up there.

Week 96 - Flower

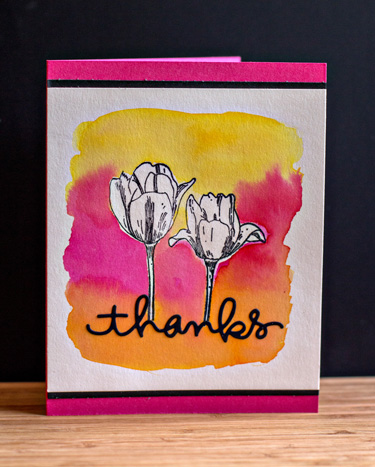
My first card is based on a lesson for Day 2. Jennifer McGuire demonstrated how to use art masking fluid (or rubber cement) to seal the stamped image. Once it dried, it was easy to add a water color wash over it.

Thanks

After the watercolor dries, you can easily rub the masking fluid off the stamped image. I added a die cut from Simon Says and put the watercolor panel on a card of Raspberry Fizz (PTI) and added some thin pieces of black card stock to set it off.

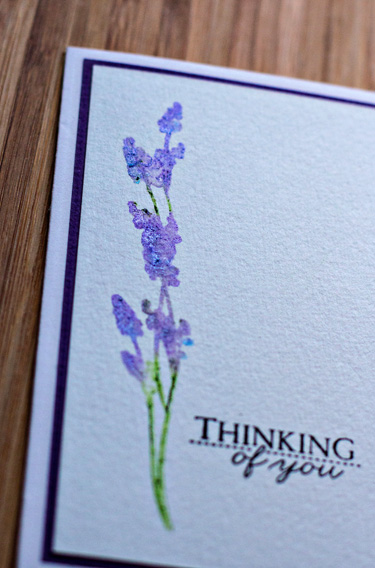
On Day 4, Shari Carroll used Gelatoes directly on a stamp. She used a red rubber stamp, so I wasn’t sure how it would work on a clear acrylic stamp, but my test sample came out just as I hoped, so it ended up on the card! My purple Gelato is one of the metallic ones, and so the flower has a subtle sheen to it.

Thinking

The stamp is from a rather neglected set by Papertrey Ink called “Life.” I do believe this class will breathe new life into some of my older, less used stamp sets. The sentiment came from “Winter Hills,” also by Papertrey. Here you can see the subtle shine of the Gelato.

ThinkingClose


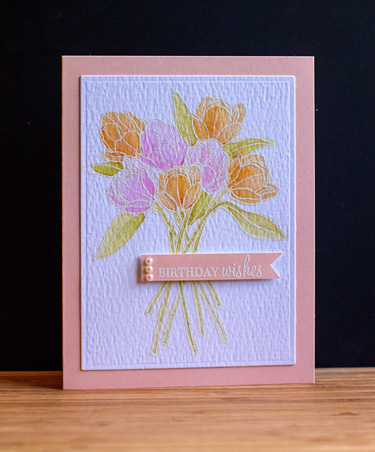
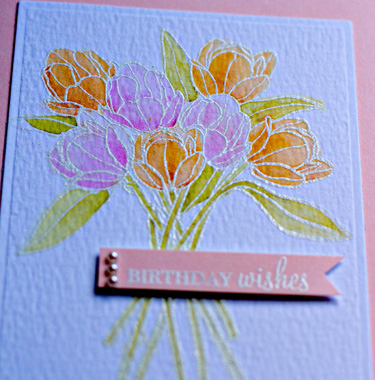
The last card was based on another of Jennifer McGuire’s cards on Day 6 where she watercolored a white embossed stamped image. She used some Sparkle mist as her water, but I didn’t feel the tulips were a great subject for that, so I stuck to water. This one took a lot of time. It was very difficult to see the white embossing on the watercolor paper. I taped it down on a clipboard and by tilting the clipboard to the light was able to get it watercolored. I used Tim Holtz Distress Markers for this one.

BDWishes

I do love these soft colors, and it was worth the time it took. 

BDClose

The tulips are from Friendship Jar Spring Fillers, and the sentiment is from “Wishes Come True,” both Papertrey Ink sets. 

More Watercolor

  • by

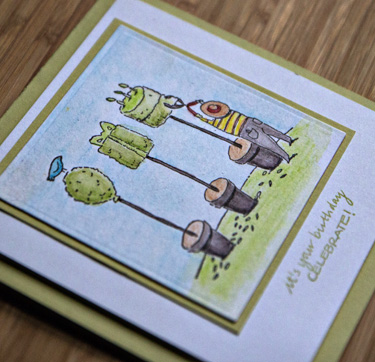
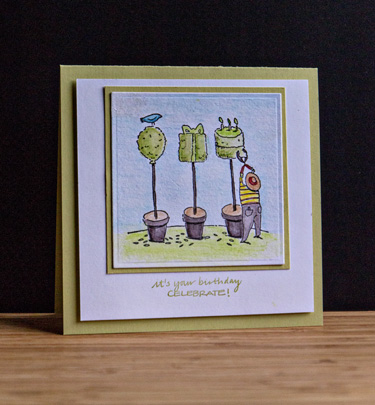
I’ve fallen behind in the Watercolor for Cardmakers class. The featured cards just get more and more beautiful every day, and I’m a bit overwhelmed by all I want to try. I do have a couple cards to share. The first one is watercoloring a stamped image from Jennifer Razsa’s lesson on Day 5. In my desire to use some of my older wooden stamps I chose “Happy Birthday Topiaries” by Uptown Rubber Stamps. I don’t even know if they’re in business anymore. Every time I purge my stamp collection, this one makes the cut. It’s whimiscal nature gets to me every time. 

I used my Inktense watercolor pencils for this one, and it was definitely a learning experience. I’ll be giving it another go once I’ve tried some of the other techniques.

BirthdayTopiaries

TopiariesClose

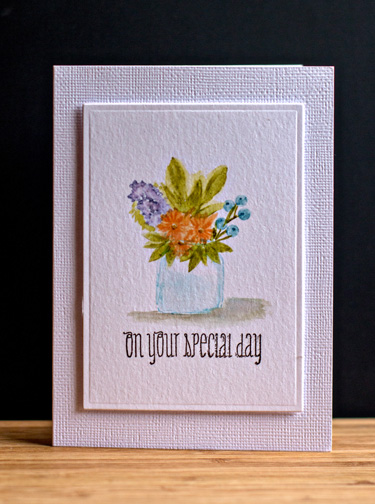
The next card was also a learning experiences from the lessons on Day 3:  watercolor stamping. This involves applying ink directly to the stamp and then adding water to the stamped image. I followed along with a video by Dawn Woleslagle on her WPlus9 blog to create this card. She’s one of the instructors for the class, as well.

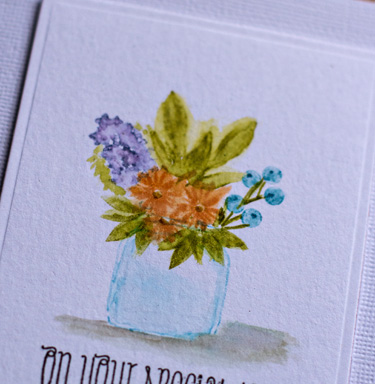
SpecialDay

I used another older wooden stamp by Judith for the mason jar. It’s a bit bigger than I would have liked so I’ll search through my acrylic stamps next time for a better choice. The flowers, foliage, and sentiment are all from Dawn’s “Fresh Cut Flowers.”

SpecialDayClose

I’m anxious to try this again soon, as I think I know what I what’s needed to improve the watercoloring here. I’m hoping to find time today to watch the last three days worth of videos for class so tomorrow I can give another technique a try. I’ve always thought these classes were well worth the money, but this one far exceeded my expectations. I’ll be working on these techniques all summer!


Happy Mother’s Day & Watercolor #4

  • by

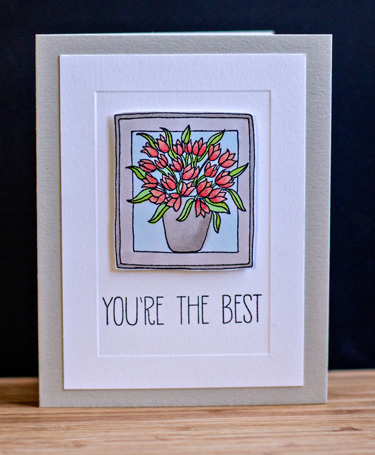
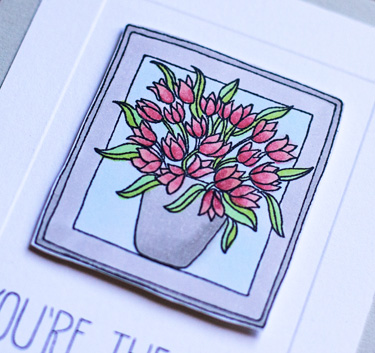
Today is Mother’s Day in the States, and I’ve had quite a lovely one. Before I share a little bit about my day, I thought I’d share the cards I sent to my daughter and and gave to my daughter-in-law. Sarah’s been spending a lot of time in her yard, so I sent her a gift certificate to a lovely nursery around the corner from their house. A floral card seemed appropriate. One of my goals this year is to use some of my older stamps and decide if they are ones I want to keep. The stamp collection is the one thing I really didn’t spend a lot of time purging in January, although I did give a nice sized box to the charity shop. I decided this stamp of tulips by Lockhart is a keeper.

MothersDay2

I colored it with Copic markers, adhered it to a Paper Source embossed flat card, and then to a card made with Simon Say’s new Fog cardstock (a new favorite.) The sentiment is from Avery Elle.

MD2Close

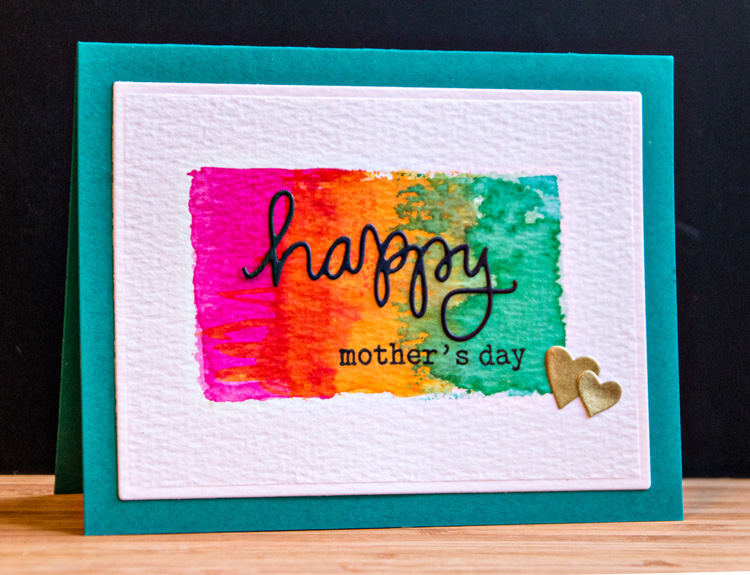
Betsy’s card is another card for the Watercolor for Card Makers class. I posted another card using this technique earlier. This time I was quite happy with the way the Distress Inks stamped off the acrylic block.

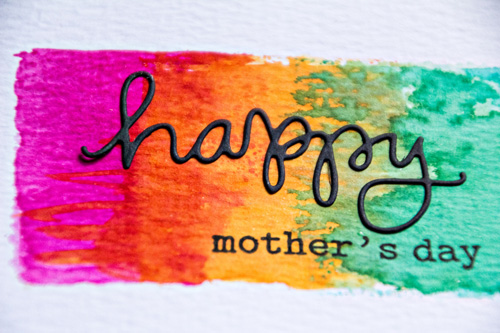
MothersDay

The die cut is from Simon Says “Happy,” and the rest of the sentiment from Winnie and Walter’s The Big, The Bold, and The Happy. After mounting it on Papertrey Ink’s Tropical Teal card, I added two gold die cut hearts left over from a previous project. 

HappyMothersDayClose

This is also the week of my birthday, and I took some money I’ve been saving and purchased a fixed aperture 17-50mm lens for my camera. We’re finally having some splendid spring weather, and the Lilac Festival in Highland Park opened on Friday. This morning Tracy and I walked through the park and I had a chance to try out the new lens.

IMG_4549ed_blog

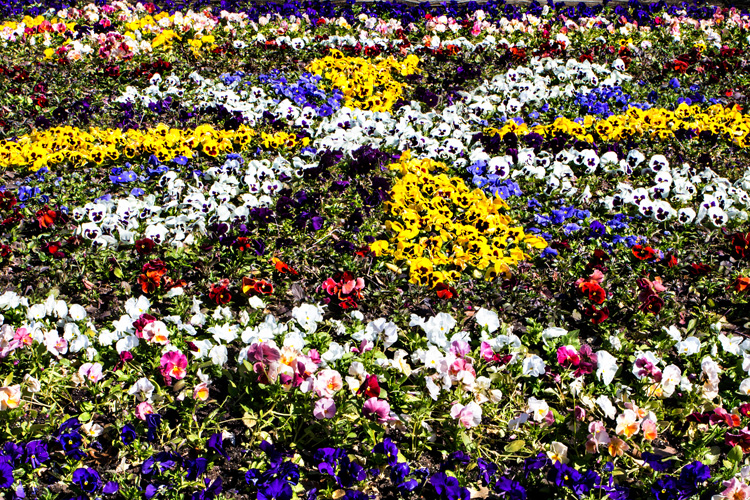
This is just one section of a huge pansy bed they plant for the festival each year. The design is always different.

IMG_4553ed_blog

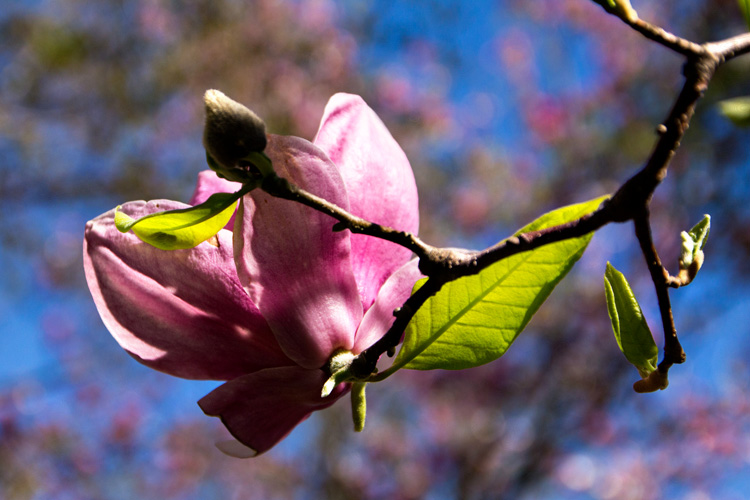
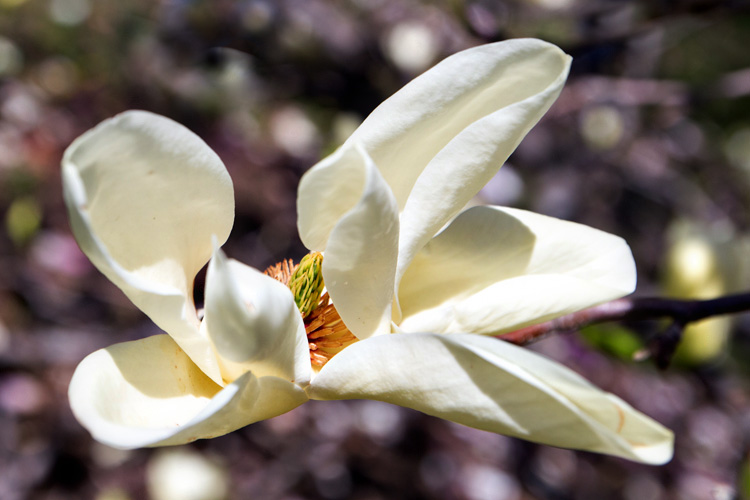
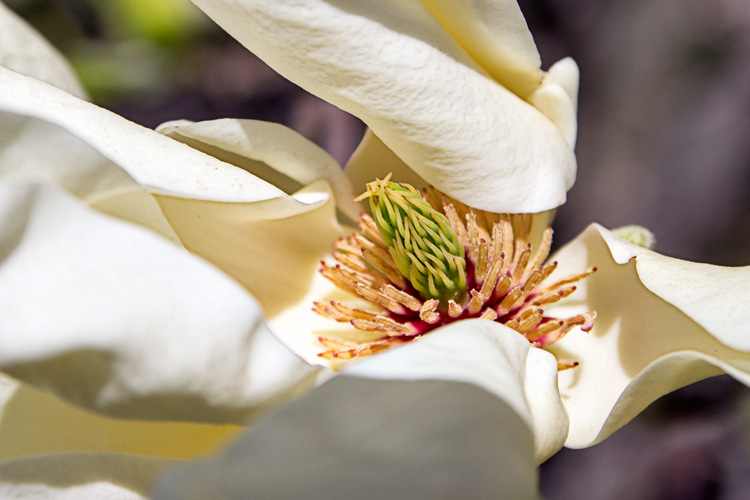
Despite a lot of rain Friday night and some pretty strong winds (we were in the park for Tracy’s brother’s band performance), the magnolias have survived rather well.

IMG_4568ed_blog

IMG_4561ed–blog

IMG_4562ed_blog


My main motivation for purchasing the lens was to improve my ability to take photos in low light situations. I’m asked pretty frequently to take photographs at Presbytery events, usually in a church where I’m uncomfortable using my flash. And then, more importantly, I’d like more consistently good shots of grandchildren indoors. But I have to say, I’m pretty pleased with the way the lens performed outdoors today. It’s the heaviest lens I own, but wasn’t a problem during our three mile walk.

After lunch, we went to the nursery and purchased the geraniums for our patio bed, and a flat of marigolds to plant along the driveway. Tracy bought me a beautiful hanging pot of geraniums, vinca, and lobelia which is hanging by the front door. (Forgot to take photos of these!)

Matt, Betsy, and Skylar came for dinner, and we had a nice long Face Book session with Sarah, Adam, and Caleb. I couldn’t have asked for a nicer day!


Watercolor: Part 3 & CAS(E) This Sketch

  • by

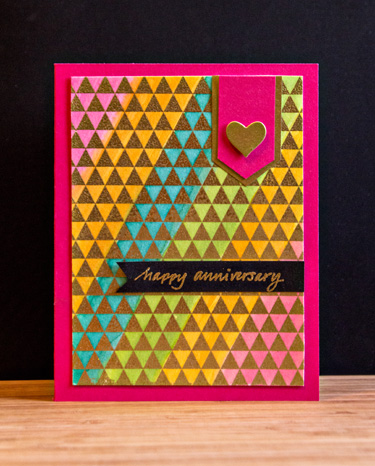
Back again with yet another card from the techniques introduced on Day 1 of the Online Card Class. This time it was the embossed resist technique which I’ve done before on a smaller scale. I didn’t have a background stamp with the open spaces they recommended but I thought this one called “Tiny Flags” by Hero Arts might work.

Anniversary

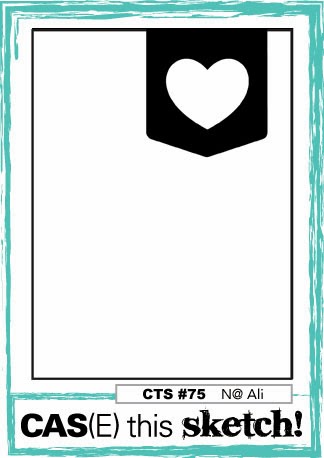
I embossed it with gold on the smooth side of Tim Holtz’s watercolor paper, and used Distress Inks to watercolor diagonal stripes, and adhered it to a card made with PTI’s Raspberry Fizz cardstock. The stamp is a very old wooden one by Savvy Stamps. I needed an anniversary card for my brother-in-law and sister-in-law and this looked appropriately festive. The card design is based on this week’s sketch from CAS(E) This Sketch. It couldn’t have been more perfect!

CTS_Sketch_75 (1)

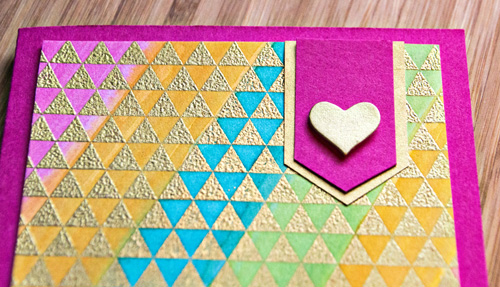
Here’s a closer look at the watercoloring.

AnniversaryClose

We’re off in just an hour or so to celebrate Mother’s Day with Tracy’s mom and siblings. We’re celebrating a day early since his brother, Greg, who’s band was inducted in the Rochester Music Hall of Fame last week, flies back to Texas tomorrow.

Watercolor for Card Makers 2

  • by

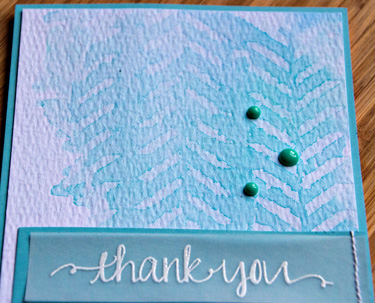
This was the first technique taught in the Online Card Class on watercolors. Once you’ve painted a watercolor background, you lay a stencil down on it, press it in, and when you lift it up here’s what you see.

ThankYouStencilClose

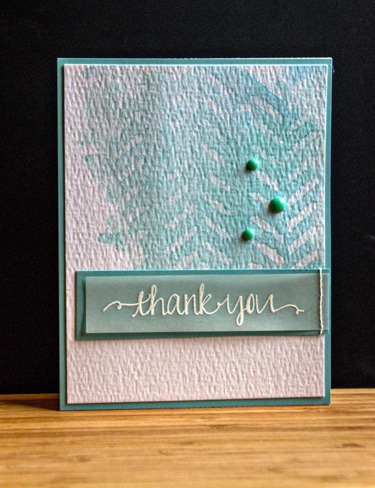
I absolutely love this technique and will use it again, I’m sure. Luckily it worked well on the first try!

ThankYouStencil

I used my Winsor and Newton travel watercolor set with the Crafter’s Workshop “Mini-herringbone” stencil on Tim Holtz watercolor paper. My favorite thing about this watercolor paper is how white it is. Both my cold press watercolor pad and my regular watercolor pads are more cream colored. I bordered the watercolor piece with a piece of Worldwin “Light Terrific Teal” cardstock. I used to be able to buy this paper locally. When the last of the local shops went out of business I stocked up on a lot of colors, but they’re beginning to dwindle. I love the range of colors and it’s a great weight for matting. 

The sentiment (“Oh, Happy Day” by Avery Elle) was stamped on vellum, layered on another piece of cardstock and stitched down. I’ll enter this in Virginia’s View Challenge:  Stitching, even though there’s not a lot of it!

Watercolor for Card Makers 1

  • by

As soon as I saw it advertised I signed up for the Online Card Class:  Watercolor. I’ve tried nearly all the techniques from Day 1, and have four cards I’ll share here over the next few days, but today is Day 4, and the list of things I want to try is LONG! Like every other Online Card Class, this one is packed with techniques, videos, and great tips that apply to more than just watercolor. I thoroughly enjoy these classes.

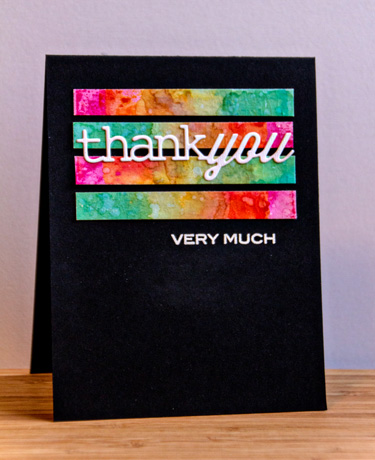
My first attempt at using Distress Inks and an acrylic block to stamp some intense watercolors wasn’t a total success. I wasn’t really happy with one of the colors I chose, but when I cut the piece into strips and alternated them, I ended up with a card I like.

ThankYou1

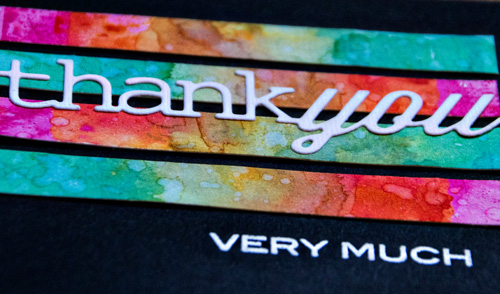
The die cut & stamp are from “Wonderful Words: Thank You” by Papertrey Ink, and the cardstock is Papertrey’s True Black. 

ThankYou1Close

I was happier with the second attempt, but I’m saving that one to post on Mother’s  Day. Off to see the videos for Day 4!