Skip to content

Color Hues 102

  • by

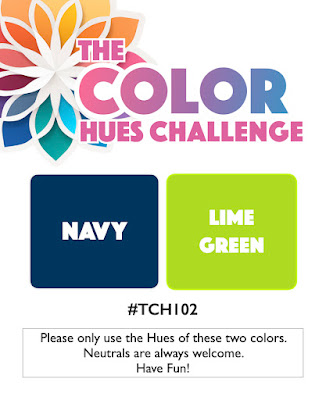
Stef has chose the new colors for the mid-January Color Hues Challenge:
CH #102-Navy and Lime Green.001

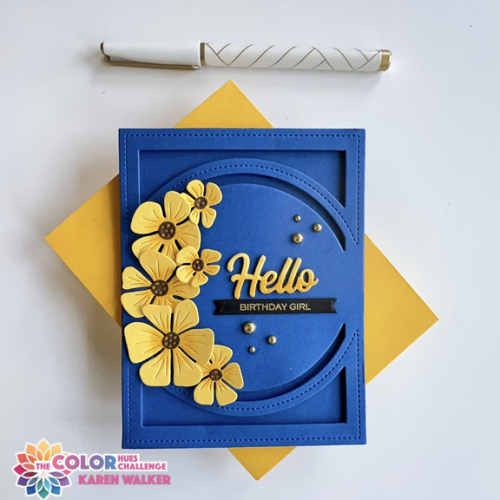
Typically when I see a color combo like this one I reach for one of my geometric stamp or die sets. I really wanted to branch out this time and have an Altenew collection I’ve been wanting to use for months. I rarely purchase one of Altenew’s kits, but I had some points to use and fell in love with the Craft Your Life Project Kit: Chocolate Flowers. It includes a Zero-Waste die cut, layering stencils, a background stamp set with sentiments, and a 3-D embossing folder. I die cut the Zero-Waste flowers and leaves from white cardstock with no firm idea of what I wanted to do with it. 
CH102

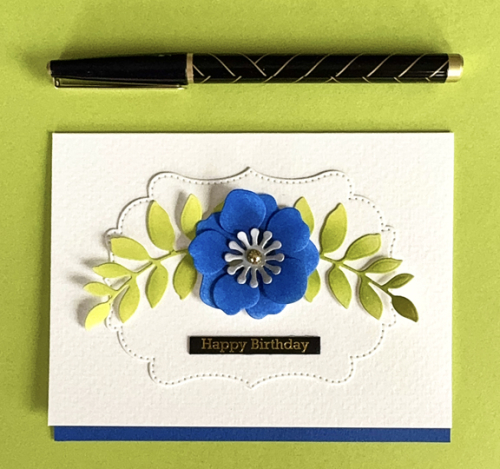
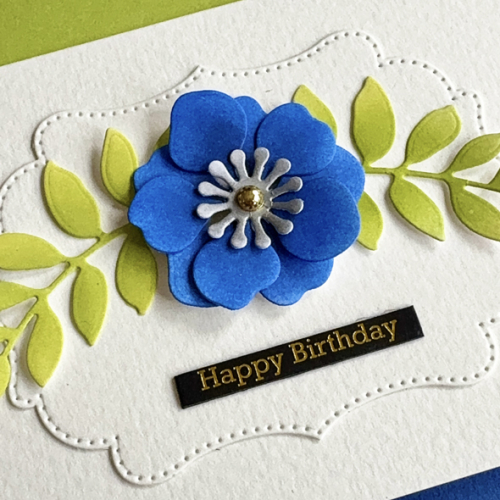
I started by choosing two navy inks (Pinkfresh Studio Sapphire and Stargazer) and two lime inks (Papertrey Ink Limeade Ice and Green Parakeet) and set about ink blending some of the flowers and leaves. After coloring the ones you see above, I already had an ideas for the card. I added a center die cut ink blended with Honey Bee’s Metallic Silver ink and put the flower together. While we were away, I purchased some Artpop Watercolor paper at Dick Blicks specifically for using as card bases. When I was creating some card bases, I miscalculated on one and ended up with a narrow edge that extended beyond the card.

The Pinkfresh Studio Fancy Dotted Frames looked to be a great base for the flowers and the leaves, and I was happy with how they fit on the frame which I added to the card base. I die cut a narrow strip of blue paper for contrast at the bottom of the card.
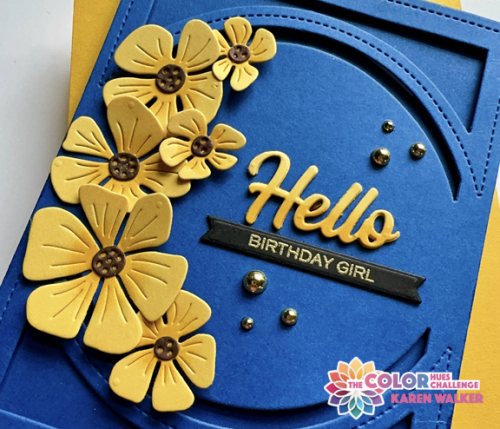
CH102Close

The sentiment is from Memory Box and is one of their Black Greeting Tabs–this set is all birthday greetings. Because the lettering is gold, I added a PFS gold pearl to the center of the flower.

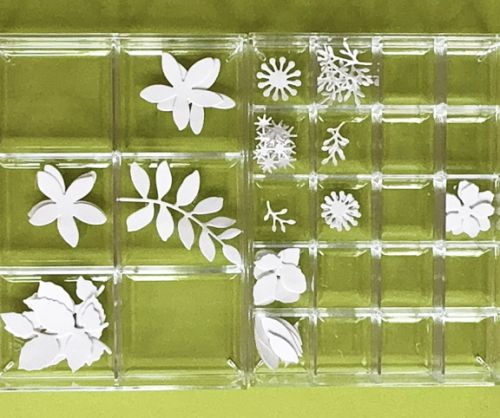
I took a photo of the leftovers from the Zero-Waste Die Cut so you can see how much restraint I used to get a CAS card! You’re certainly going to see more cards soon! (I love these small divided acrylic boxes from The Container Store. They stack and I also have one with just two compartments for larger dies. The work great to sort the die cuts as you cut them as well as when you are ink blending and assembling the pieces.
CHLeftovers

I hope you’ll join us for this new challenge. You’ll (as usual) find lots of inspiration from the Design Team as well as our Guest Designer, Esther Asbury. I’ll be adding this to the gallery at A Cut Above where die cuts are always the main event.
 

Color Hues #101

  • by

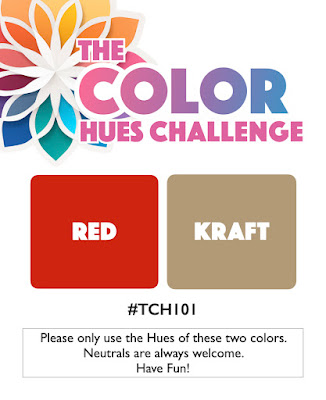
Sheri is the hostess for our first Color Hues Challenge of 2025. She chose Red and Kraft, and it was a perfect combination for putting two of my very recent purchases to work.

CH #101 Red and Kraft.001

I couldn’t resist ordering the Frosty Buds (and a few other goodies) from The Greetery’s November release. Betsy always has a nice sale for this release, and she ships her products very quickly. I also ordered Pinkfresh Studio’s Nested Hexagons Blanket Stitch from Simon Says Black Friday sale. 

CH101

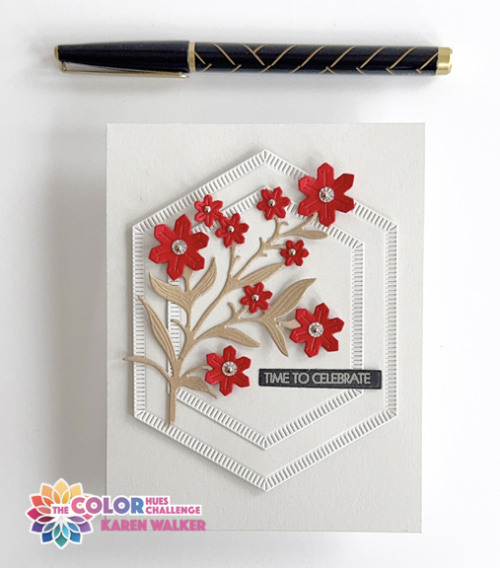
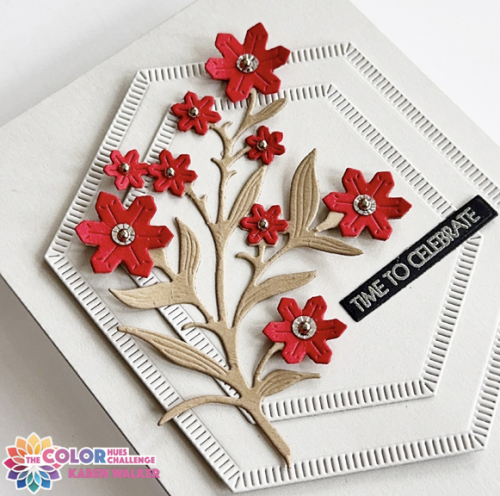
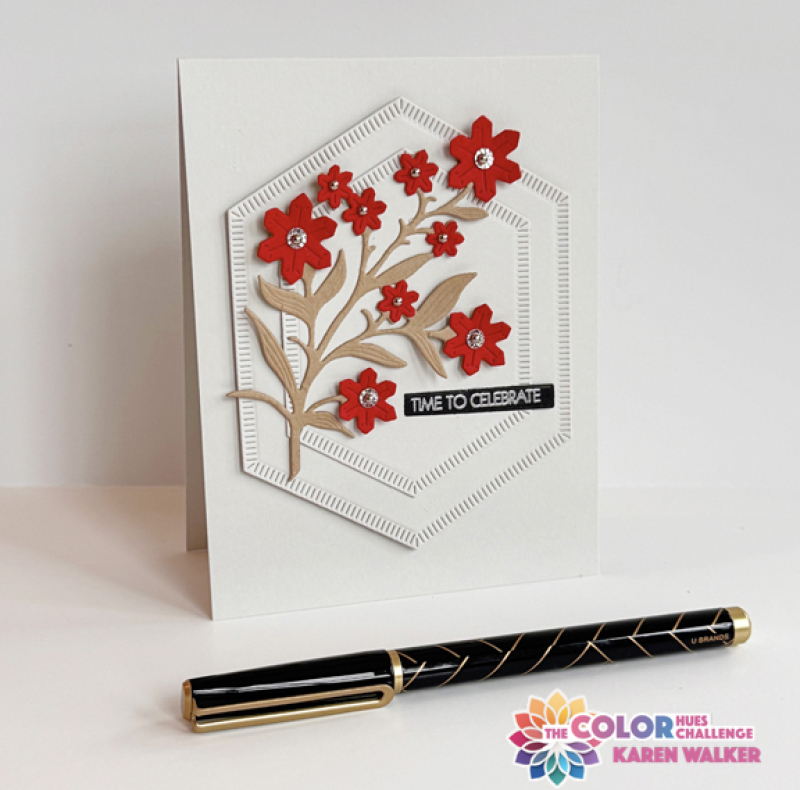
I die cut the two hexagons and created the card base from Papertrey Ink’s Soft Stone paper which is a very pale grey. The Frosty Buds were die cut from pretty red cardstock in my scrap box and the branch from kraft cardstock.

CH101Flat

Deciding on the centers of the buds took a bit of trial and error. I first tried crystals from the Crystal Sequin Mix offered in The Greetery’s November release. It ended up looking too busy, so I settled for four of the crystals with tiny silver pearls in the centers of the crystals and just the pearls for the smaller buds. 

CH101Close

I silver embossed the sentiment from Pink & Main’s Special Day sentiments and trimmed it down. I fluffed up the florals and the leaves a bit for some dimension, and also added dimensional foam between the largest hexagon and the card base. “Time to Celebrate” is one of my favorite sentiments because the card is suitable for a variety of occasions. 

I hope you’ll join us in the gallery to start off another year of inspirational color combinations! The Design Team and Guest Designer, Stephanie Severin, have some great inspiration waiting for you on the blog. 

Thanks for visiting. Here’s to a Healthy and Happy New Year! 


Color Hues 100!!!

  • by

Our fabulous leader, Nancy, has chosen the wonderful colors for this amazing 100th Challenge for Color Hues.

CH #100 Blue and Purple.001

Since this is our 100th challenge, Woohooo… there will be a fabulous prize offered to one of our winners. You can read all the details over on the Color Hues blog. 

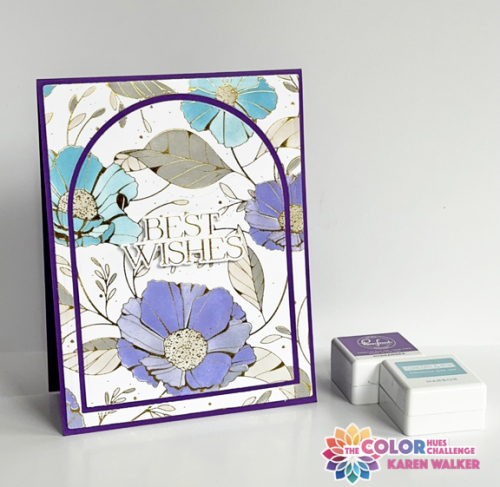
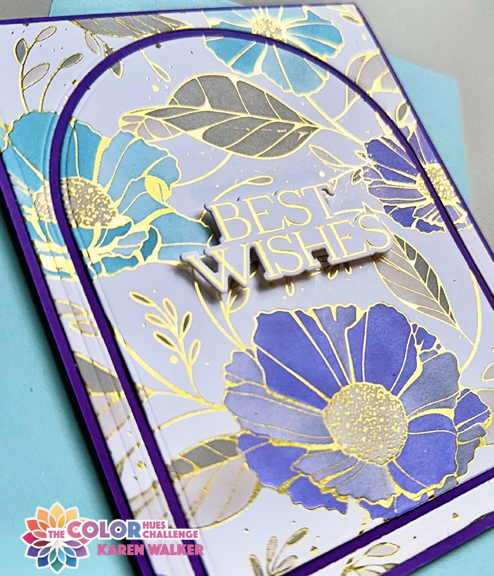
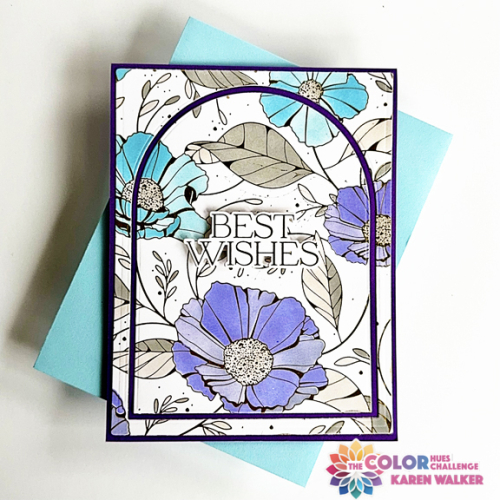
Originally, I thought I’d create a holiday card for this challenge (and sadly, I’m still in need of a few). But I found a foiled panel on my desk of the beautiful Spellbinders Cosmos Backdrop, and thought it would be lovely stenciled in blue and purple. I’m happy with the result. 

CH100

It’s hard to see how pretty it is unless your can see the gold foiling as well. You can see the purple card base better in this photo, too.

CH100Close2

I used two shades of grays for the leaves. Then I die cut the panel with one of Ellen Hutson’s Essential Arches and layered the two pieces on a purple card base. 

CH100Flat

The sentiment from a new Pinkfresh Studio Betterpress plate, Here for You was foiled in gold and die cut with the accompanying die which I love. Foiled cards are so hard to photograph well. I hope the second photo gives you a sense of how pretty the card is in your hand.

I hope you’ll join us for this monumental challenge. Hop over to the Color Hues blog and see the wide variety of wonderful cards from the Design Team!


Color Hues #99

  • by

It’s mid-November (where does the time go?) and Marcia has a wonderful color combination on the Color Hues Blog for the next two weeks: Pink and Aqua.

CH #99-Pink and Aqua.001

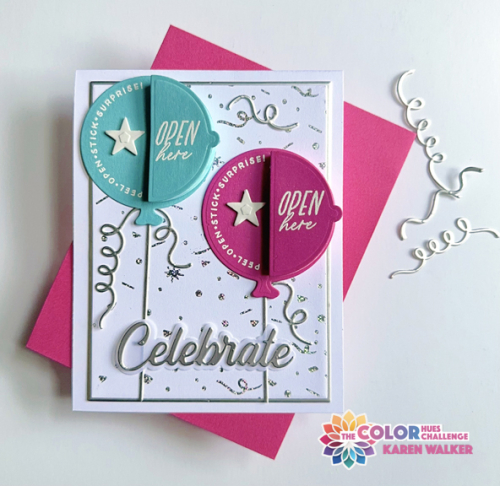
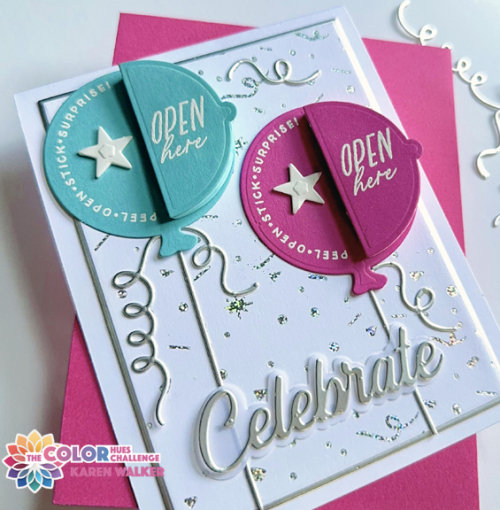
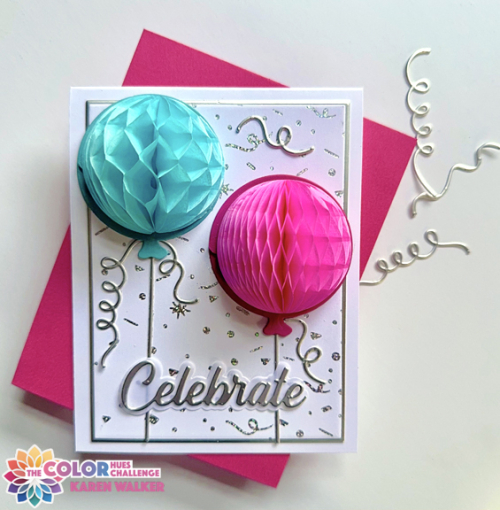
These colors were perfect for the Hey, Honeycomb Balloons, by The Greetery. I started out with The Greetery Ticker Tape hot foil plate foiled with Silver Holographic Facets by Spellbinders.

CH95Closed

For my hues of Pink and Aqua, I matched the cardstock to the colors of two of the Honeycomb Balls: Party. After die cutting the balloons, I white embossed sentiments from the Hey Honeycomb Sentiments on each balloon. 

CH95Close

I die cut some streamers, the balloon strings, and the sentiment from Pinkfresh Studio from silver metallic cardstock. Before arranging everything, I die cut the main panel and a panel of silver cardstock with Gina K’s Master Layout #1, and attached them to a white cardbase. The white stars on the balloons are actually die cut from double-sided adhesive. Once the top layer is pulled off here’s the final card.

CH95Open

I knew these products would make a very festive card, and I’m quite sure I’ll be using up my supply of honeycomb balls for a variety of cards.

You’ll find lots of inspiration on the Color Hues blog, where you’ll find great cards created by our special guest, Teresa, and our very creative new Design Team member, Bonnie Klass!


Color Hues #96

  • by

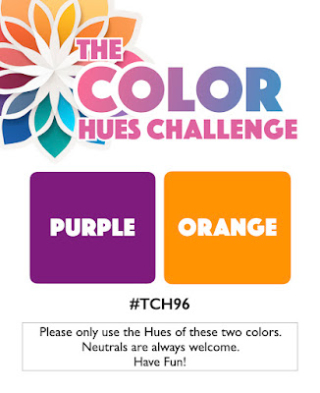
Julie B’s choice, Purple and Orange, for the first of October Color Hues Challenge sent me right off to find my Halloween die cuts. 

CH #96 Purple and Orange.001

CH96_2

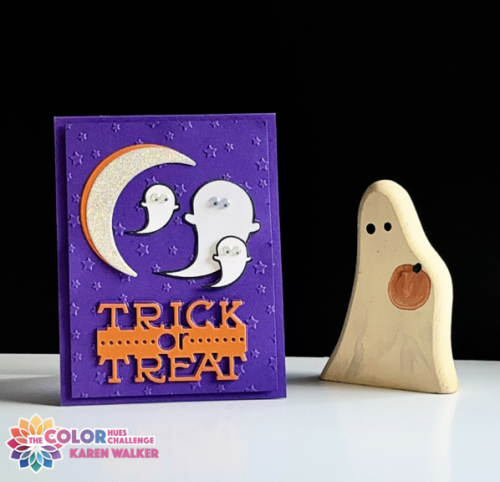
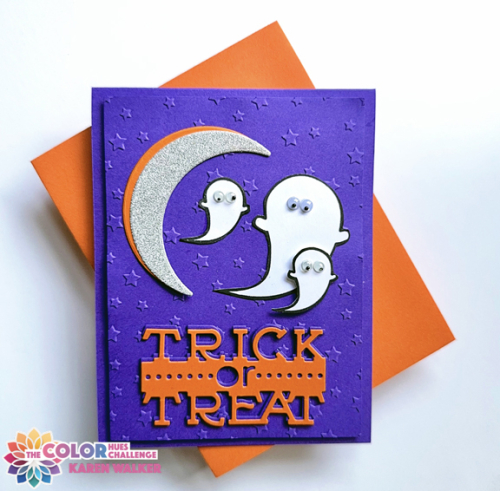
I reached for my favorite purple (Simon Says’ Royal Purple) and orange (Papertrey Ink’s Orange Zest) cardstock. Most of these images were die cut two or three years ago when I got together with two friends and used some of their Halloween dies. I die cut enough that I’ve used some of those for the last two Halloweens, and still have some left for more cards this year and next! All of the dies are from Papertrey Ink. The sentiment is from the Tricky Trio die cuts, and is no longer available. I layered three sentiment together, two purple and then the orange slightly offset. 

CH96Flat

The sparkly moon is from the Boo Black Cat and the three ghosts were stamped and die cut from Ghost and Ghoulies. I love their tiny googlie eyes that I found in my stash. Once I arranged them, I decided the card definitely needed something more, so cut a panel of purple and then used Spellbinder’s Stargazer embossing folder–just what it needed.

I’ll need a few more Halloween cards, but it’s good to have one on hand early. I hope you’ll join us in the gallery of the Color Hues Challenge. You’ll find plenty of inspiration from the Design Team there. 

Blue and Pink for Color Hues 95

  • by

Cindy has a great color combo for us on the Color Hues Blog this round: 

Color Hues #95 Blue and Pink.001

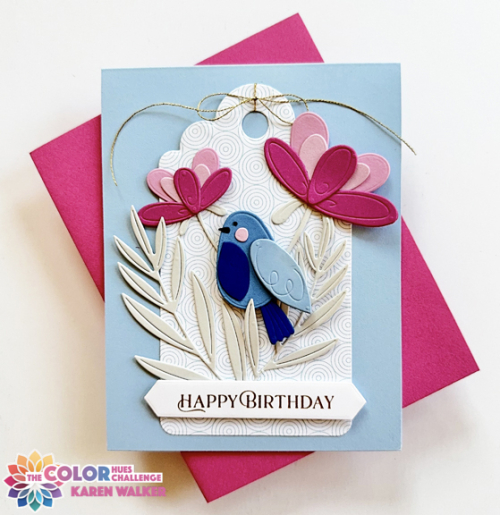
I pulled out two new products (NBUS) from Alex Syberia: Garden Tweets and Signature Tags for my card, and I’m really happy with how it came out.

CH95

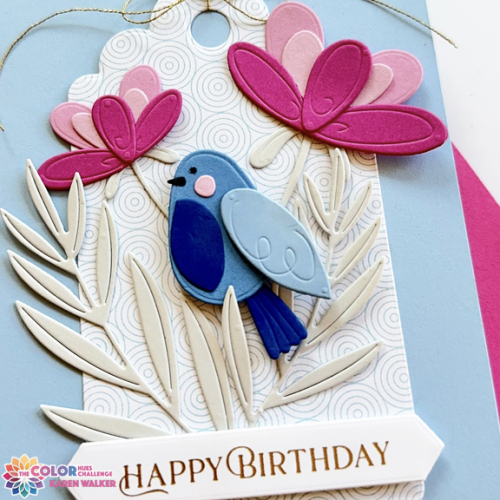
I chose two Papertrey Ink papers for the main blues: Blueberry Sky and Spring Rain. The foliage was die cut with one of my favorite neutrals: Soft Stone. The pinks all came from my scrap box as most of the die cut pieces were very small. After assembling the bird and flowers, I arranged them on one of the two large tags from the Signature Tags set cut from a piece of patterned paper in an older My Favorite Things paper pad, Road Tripper. I like the subtle light blue pattern which adds some interest but doesn’t detract from the main images.

CH95Close

After tying a bow with gold thread from Altenew, I added a sentiment that was hot foiled in gold with Spellbinders Better Press Plate, Fancy Sentiment Strips. I used some dimensional tape under the sentiment strip, and adhered the tag to a card base of Spring Rain cardstock. 

There’s always a lot of inspiration from our Guest Designer and the Design Team at the Color Hues Blog, so hop over and see what might inspire you to join us in the gallery.

This is off to Darnell’s NBUS Challenge.


Color Hues #94

  • by

I knew September would show up long before I was ready to say goodbye to summer. I remember Tracy once saying that now that we’re retired “it’s  endless summer.” Sadly, not. I will miss the long hours of sunshine, the pretty flowers in my yard and garden, and the warm weather. It will still be nice for a few more weeks, but once Labor Day arrives, summer seems to end for me.

Knowing fall is on its way, Carol has a wonderful color challenge for us at the Color Hues Challenge blog:

CH #94 Rust and Green.001

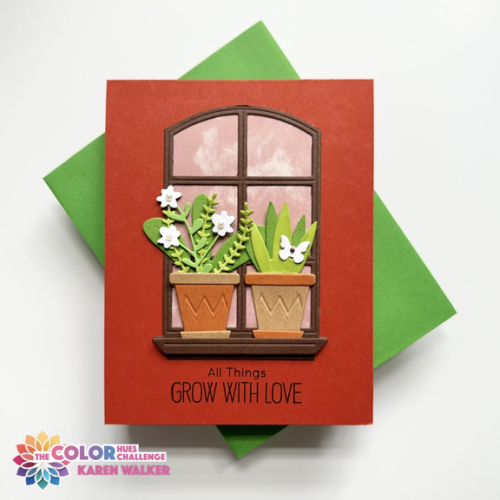
For this challenge, especially, remember that this is a color hues challenge so there’s always room for a variety of hues. I chose two hues of cardstock for rust and two hues of green. I also included some dark brown and white–neutrals are always welcome. I immediately thought of two die sets in my NBUS box:  Spellbinders’ The Botanical Solarium and Altenew’s Through the Window. 

CH94Flat

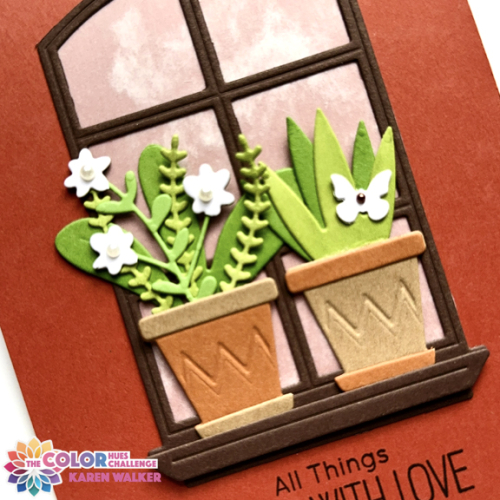
After die cutting all the elements, I added a bit of ink blending to the greenery and backed the window with a piece of cloud vellum. When I started to consider what I could use I remembered some of this, but I had no idea if there was any left. I had plenty for the window, and enough for several more when I use this die again. 

CH94Close

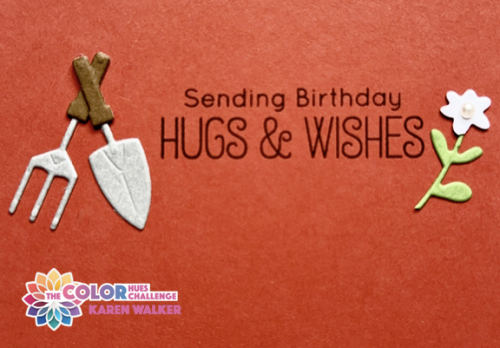
I had several contenders for a rust card base but chose Papertrey Ink’s Terra Cotta Tile. The rust cardstock for the pots is Gina K’s Rusty. The sentiment is from My Favorite Things, Sunflower Sweetheart. The only embellishments were the pearls for the flower centers and one for the butterfly. I had a few die cuts left over, and decided to use a few of them on the inside:

CH94Inside

The sentiment here is from My Favorite Things Sweet Birthday Wishes. I’ll bet there are a few stamps or die in your collection that would make for a great entry to our Rust and Green gallery. Be sure to check on the Color Hues Blog for more inspiration, and come join us!

As noted above, this card definitely benefited from my NBUS box, so it will be an early entry to Darnell’s September NBUS challenge. I’m also adding it to the gallery at Addicted to Stamps and More: Die Cuts and Stencils.

NBUS Die Cuts and Stencils


Color Hues #93

  • by

Tracey has chose perfect summer colors for the new Color Hues Challenge.

Ch #93 Orange and Yellow.001

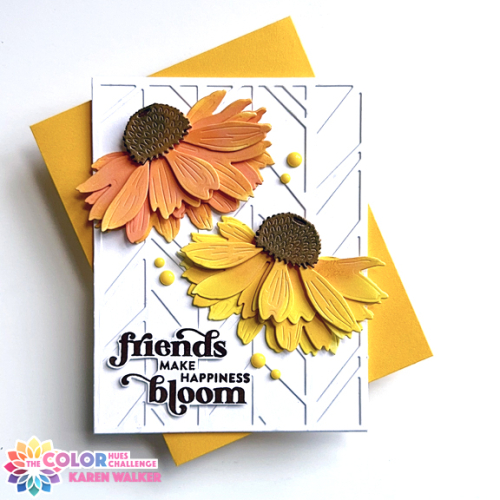
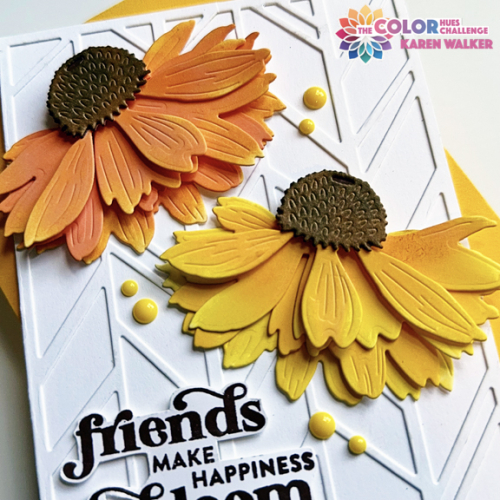
I pulled out an old favorite for some bright and cheerful Coneflowers by Honey Bee. The layers and size of the florals make a big impact on an A2 sized card.

ColorHues93

Catherine Pooler’s Chic Chevron coverplate made a good background for the florals. I added a sentiment stamped in dark brown and fussy cut from Pinkfresh Studio’s Friendship Blooms stamp set. 

ColorHues93Close

The colors in the photos are quite a bright as they are in real life–a too frequent result of living in an old house with limited light. I added a few yellow enamel dots was the only embellishment. 
I hope you’ll join us at the Color Hues Challenge. The gallery is open until August 29th so there’s lots of time to create with us! 


Color Hues #92

  • by

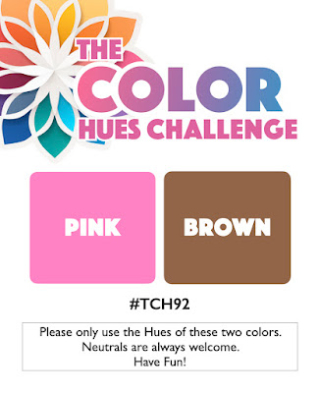
Another month has flown by, and we’re at the top of August already: time for a new Color Hues Challenge. Stef has chosen:

CH #92-Pink and Brown.001

Last month, Jill Foster for Penny Black presented ten videos in a series call “Permission to Play.” Each video featured a different layout design, and I chose the layout from the second video.

Screenshot 2024-07-15 at 11.16.27 AM

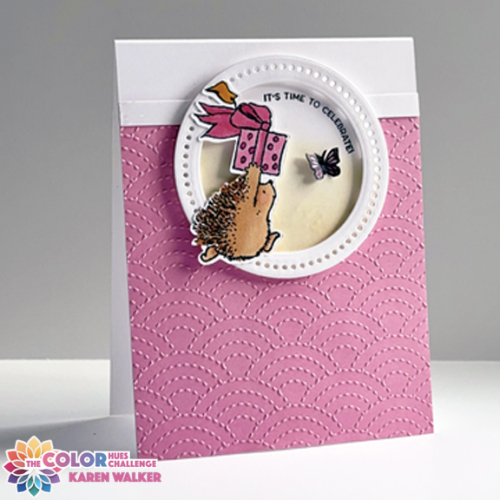
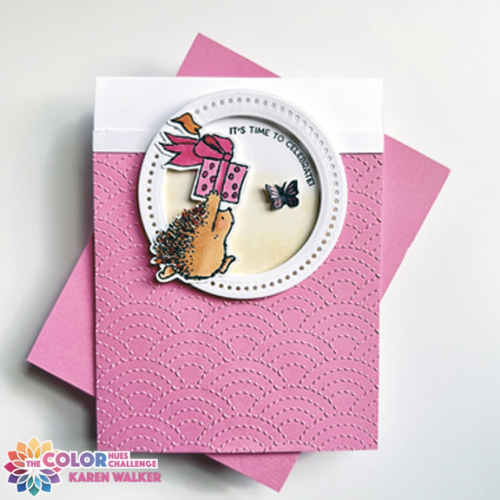
You’ll quickly realize I made one major change, using a circle frame rather than an oval. Much to my surprise, I didn’t have any decorative oval frames, and no circle ones that I was happy with either. I ended up creating my own using one design from Pinkfresh Studio’s Braided Circles and using one of the Ellen Hutson Essential Circles.

Hedgie

I’ve always love Penny Black’s hedgie images, but only own one set. This cute critter rushing off with his package is from the Critter Delight set, and is one I’ve owned for a long time. Jill Foster used watercolors for all the images in her 10 video series, but I chose Copic markers for this guy.  After adding some ink blending to the background circle, I added the frame with dimensional tape.

HedgieFlat

The sentiment from The Greetery’s Inflated Sentiments was curved to fit inside the frame (and doesn’t look as close to the frame IRL.) I added a small butterfly (an embellishment used by Jill on several of her cards.) I didn’t have a small die so fussy cut this one from an older Papertrey Ink set, Life is Beautiful. 

There’s lots to see at the Color Hues Blog so hop over and take a look at the creative designs by the Design Team. 

Color Hues #91

  • by

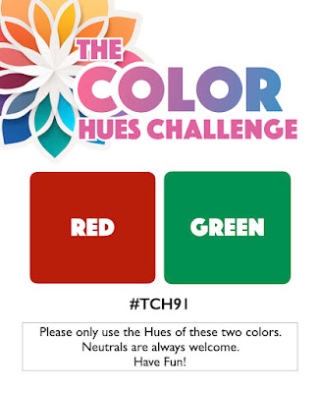
Sheri’s pick for this Color Hues Challenge came at a great time for me. Red and Green called out Christmas, and my stash of Christmas cards is very small. 

CH #91 Red and Green.001

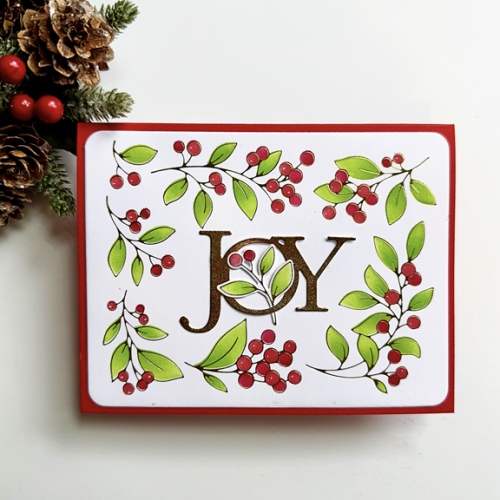
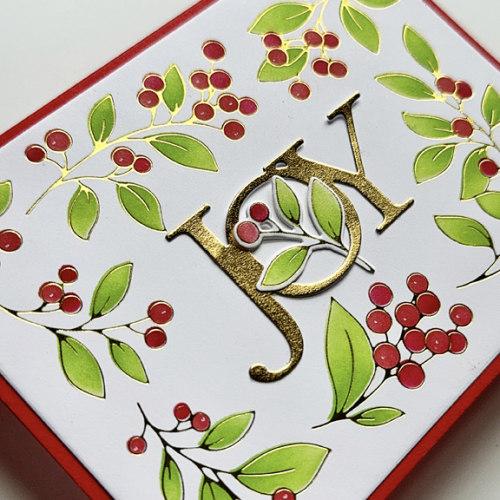
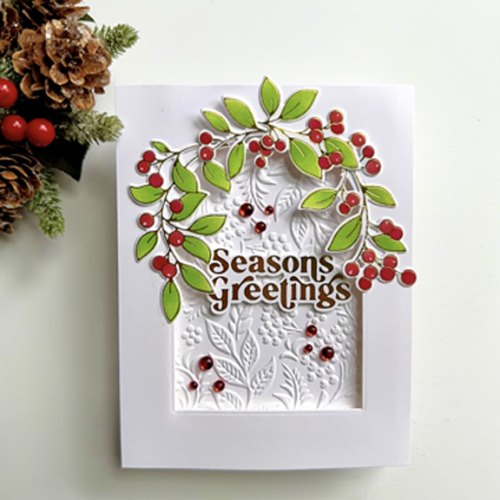
In keeping with my goal of using NBUS, I pulled out Pinkfresh Studio’s hot foil plate, stencil, and die cut for the Winter Berries Frame purchased months ago and went to town. The first card is my fave and the one I posted on the Color Hues Challenge site, but there are four more cards as well. I challenged myself to try a different design for each of the cards. 

JOY

This is the only card where I didn’t use the die. I’ve always love the Savvy Joy die cut and use it almost every Christmas. I used the stencil and two shades of green and red to color the berries. I stenciled enough panels for all the cards first, and actually have quite a few left over.

JOYClose

The closer view shows the beautiful hot foil and the pretty gold sentiment.
For the rest of the cards, I’ll just list the additional products used for the card.

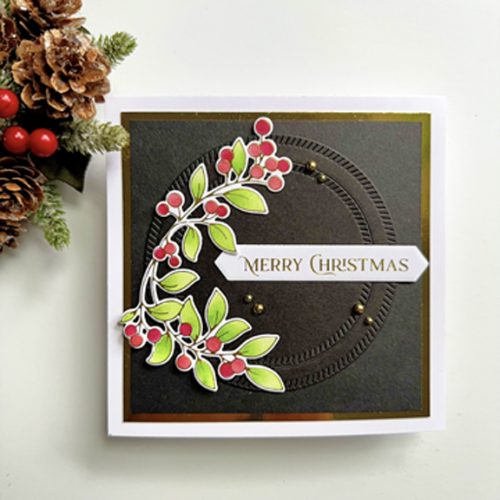
MerryChristmas

black & gold mirror cardstock, Pinkfresh Studio Diagonal Stitched Circles, Spellbinders Betterpress Fancy Sentiment Strip & die (foiled in gold), PFS gold pearls

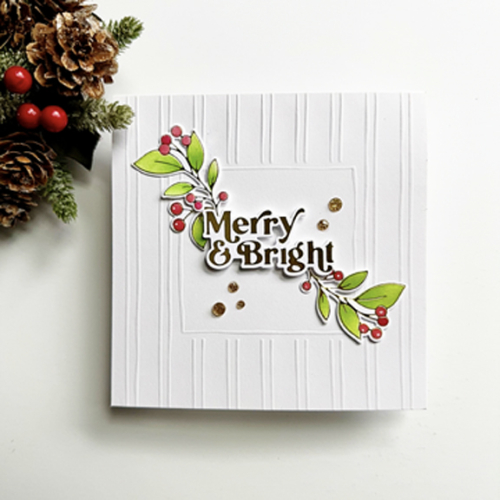
MerryBright

a premade embossed square card, PFS Perfect Sentiments: Holiday (foiled in gold), PFS Gold Glitter dots

SeasonsGreetings

Gina K embossing folder Tapestry, Ellen Hutson Essential Arches die, PFS Perfect Sentiments: Holiday, PFS scarlet clear drops

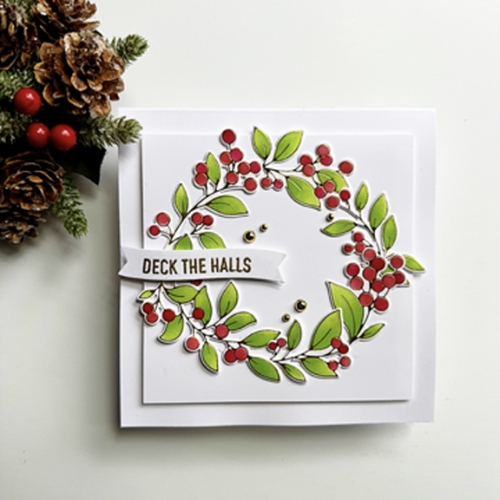
DeckTheHalls

PFS Basic Banners: Christmas, The Paper Studio gold pearls 

It’s not just Christmas on the Color Hues Challenge board although I’m not the only one to add to their stash of holiday cards. Please hop over and take a look at the great designs of our Guest Designer, Rosemary, and our Design Team. 

Some of these cards are off to two additional challenges: Addicted to Stamps and More: Christmas, the Christmas Kickstart Challenge: Festive Frames (which I’d better continue to play with!) and NBUS for the berry frame.


Christmas badge
#Kickstart88NBUS

Color Hues #90

  • by

It will already be July when this post goes live, and I guess I shouldn’t be too surprised. We spent a week going to Wisconsin, flying with our 12 year old grandson to Washington, D.C. for a few days, driving home, and then a week of commuting between home and a cottage on Conesus Lake Tracy’s family had rented. I was glad to be home for a week before we leave again for Chautuaqua Institute. We’ve been there before but never just the two of us. It’s sure to be relaxing, inspiring, and informative. This week’s theme is Artificial Intelligence. 

Nancy, our fabulous leader at Color Hues, has chose a wonderful color combination: 

CH #90 White and Aqua.001

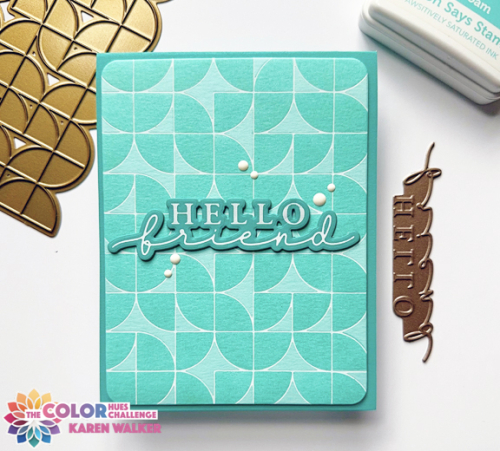
I knew almost at once what I wanted to try. Some time ago I purchased Matte White foil from Spellbinders and wanted to try it out on aqua cardstock. Concord & 9th’s cardstock foils beautifully, and their Aqua Sky cardstock was the perfect color. It’s not often a card ends up looking exactly as I imagined it, but this one did.

CH#90_2

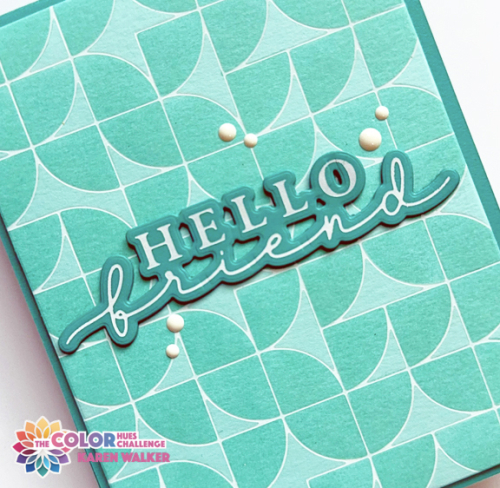
I chose an old favorite from Pinkfresh Studio, Quadrant Backdrop and ink blended it with the coordinating stencils with Simon Says Sea Foam ink. I chose Concord & 9th’s Oceanside for the cardbase and sentiment. I love Waffle Flower’s Hey There” sentiments, and this one fit perfectly.

CH90_2Close

I added a piece of dimensional foam behind the main panel, and stacked three of the sentiments together for a bit more dimension. Adding some white enamel dots was the final touch.

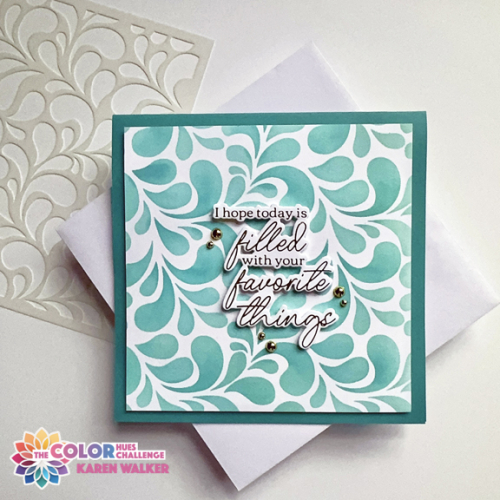
Edited to add: In my attempt to work through my NBUS box, I created a second Aqua and White card with a new-to-me stencil, Frosty Lace. By the name, I’m thinking it was meant to be a winter-themed stencil but it looks like it could be a sea foam stencil as well.

CH90jpg

Like my first card, I used Concord and 9th cardstocks and Simon Says inks to ink blend, primarily Seafoam again, adding some Surf ink to add some dimension. I decided to cut the piece down to a square card. 

CH80Close

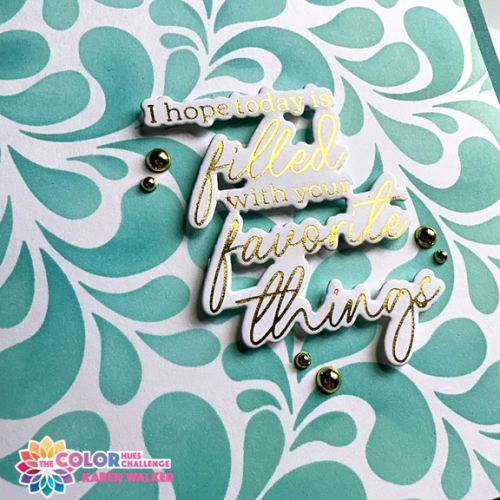
This time I used a gold foiled sentiment from Pinkfresh Studio’s Favorite Things Betterpress plate, and added some gold pearls to finish it off.

As always, you’ll find lots of inspiration from our guest, Nance, and the Design Team on the Color Hues Blog. Please join us in the gallery!

I’m sending the second card off to Just Us Girls: Anything Goes Stencils and to Darnell’s new July NBUS gallery.

733 STENCILNBUS

Color Hues #89

  • by

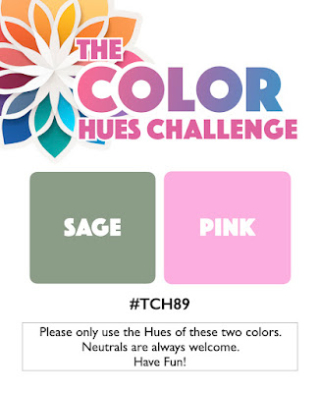
Marcia has chosen a very lovely color combo for the Color Hues Challlenge this time, Sage and Pink.

CH #89 Sage and Pink.001

This is, once again, the second card I created for this challenge but it has a slightly different story than previously. I created a card I was pretty happy with, photographed it, but hadn’t gotten around to posting it. Then a day or two later I created this card:

CH#89WM

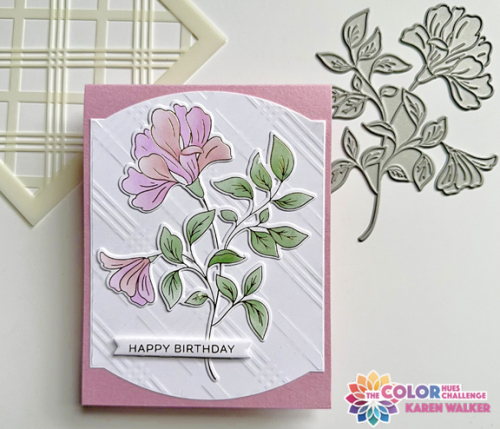
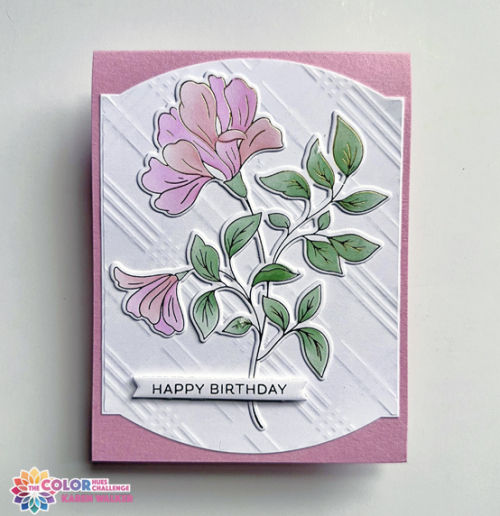
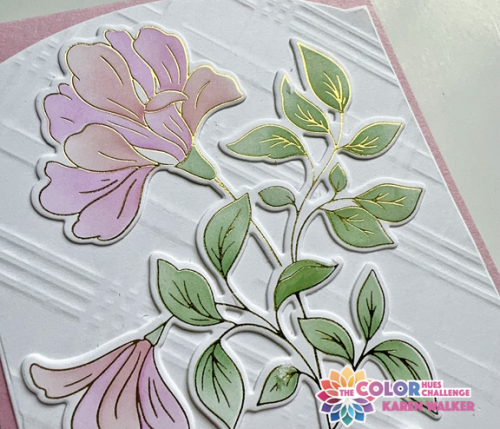
This card was intended for a Pinkfresh Studio Challenge, but when it was completed, I realized I had used (once again) a sage and pink colorway. Clearly this color combo speaks to me. I like the card even better than the first one, so saved it for this challenge. It represents a lot of firsts for me: 1) I had never dry embossed using a stencil, 2) I had never foiled using a Betterpress plate, and all of the elements on the card are ones that I have never used before. 

CH#89FlatR

The Betterpress Plate, coloring stencil, and die are Pinkfresh Studio’s Amazing Things, and the stencil is Pinkfresh Studio’s Diamond Plaid.  I used a new die from My Favorite Things, Elegant Rectangles, to cut the background for the floral. The sentiment was also foiled with a Betterpress plate from Spellbinders, Always and Forever Sentiment Strips.

CH#89CloseR

The closer view shows how beautifully the Betterpress plate foils. All the inks I used were from Pinkfresh Studio:  Sage, Ballet Slippers, and Sparkling Rose. 

As always, you’ll find lots of inspiration from our Guest Designer, Amy, and the Design Team on the Color Hues Blog.

I’m sending this off to the Time Out Challenge where the quote speaks of flowers, to Triple B for Blooms,  and to NBUS for all the new products and techniques I used.

TimeOutTriple B Challenge BadgeNBUS


Color Hues #88

  • by

With another turn of the calendar my hopes for summer increase dramatically! I’m the hostess for the new Color Hues Challenge and I chose:

CH #88 Yellow and Blue.001

Clearly I’m hoping for lots of sunshine and bright blue skies–and my happy card reflects my optimism. 

CH88

Although I’ve posted some cards using the Spellbinders Fresh Picked Buttercups, it was actually purchased with this color combination in mind.  I die cut a bundle of the buttercups from yellow cardstock and used some Distress Ink to add some dimension to the centers. Brown is always an accepted neutral for the Color Hues Challenge so I chose that for the centers of the buttercups.  For a background I chose the Reverse Confetti Center Circle Cover Pattern. I love the stitched details and the circle was a great place to arrange the blooms. 

CH88Close

I added dimensional tape behind the cover plate, and some dimensional dots beneath some of the buttercups. I used the same cardstock and Distress Ink to create an ombre look for the die cut sentiment from Pinkfresh Studio’s Scripted Greetings. The sub-sentiment is from Papertrey Ink’s Scripted stamp set. A few gold pearls from Pinkfresh finished it off. 

I hope you’ll find time to join us in the gallery at Color Hues which will be open until June 14th. Be sure to stop by the blog for inspiration from my very talented friends on the Design Team!

Color Hues #87

  • by

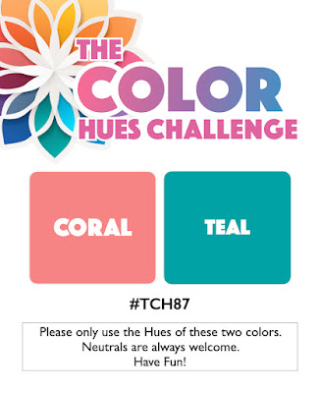
The new Color Hues Challenge is live. It took me awhile to come up with an idea for this color combo chosen by Jules:

CH #87 Coral and Teal.001

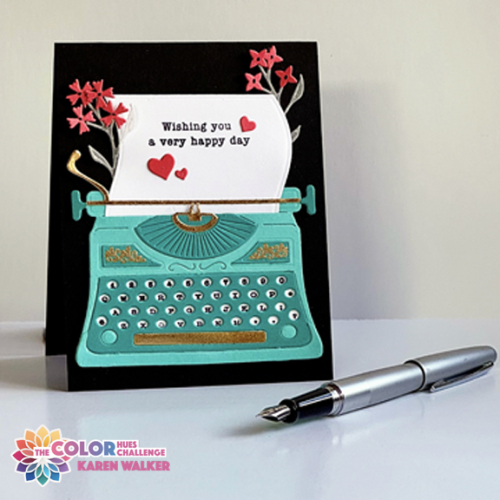
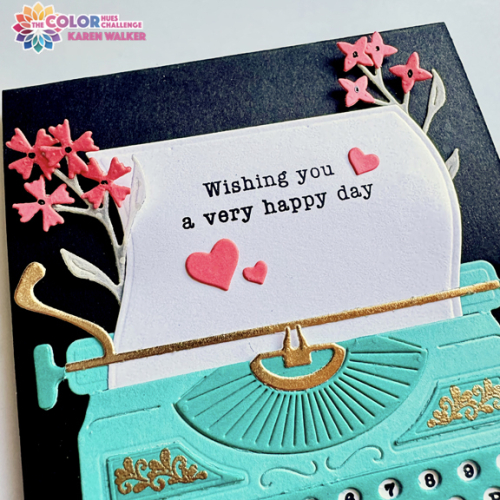
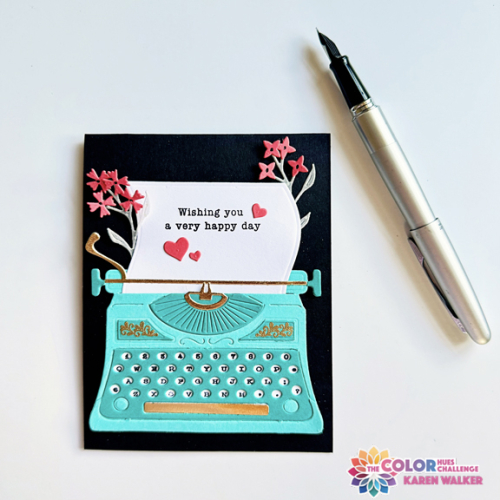
The obvious choice was florals, but I really wanted to stretch myself to come up with a different theme. Thanks to my friend, Kelly Schirmer, who loaned me the necessary die and stamps I got just what I wanted–a very cool typewriter. (The only typewrite die I own is very tiny, and would not have made much of a statement.)

CH87R

The fabulous typewriter dies & stamps are from The Greetery, Vintage Type.  I die cut the pieces from two hues of teal, adding some gold accents and embossing.  The florals (which I own) are also from The Greetery, Wildflower Mix. The blooms were die cut from coral cardstock, and the stems and leaves from a dotted vellum purchased years ago from Papertrey Ink. The accompanying stamps from Vintage Type are for the flourishes on the typewriter, and for the letters and numbers on the keyboard.

CH87CloseR

I wanted a sentiment with a typewriter font, and found one on display in a printer’s drawer that hangs in my craftroom. It’s a wooden stamp by Hero Arts, and I had to stamp it multiple times on the cute paper die that comes out of the typewriter. It makes me even more appreciative of acrylic stamps and my MISTI. 

CH87FlatR

The only embellishment were three hearts die cut in coral with Simon Says Holiday Shapes. Once I added the typewriter to the black card base, I put some dimensional squares behind the paper, and tiny bits of black dimensional adhesive to a few of the flowers.

There is, as always, lots of inspiration for this color combo on the Color Hues blog. Take a look, and then join us. 


Color Hues #86

  • by

Julie has a wonderful Spring color combination for our next Color Hues Challenge:

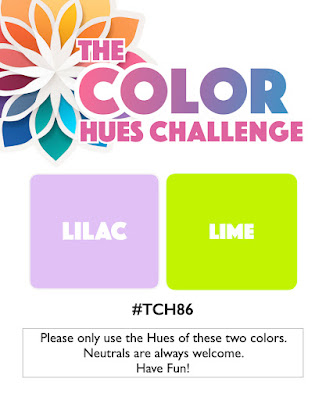
CH #86 Lilac and Lime.001

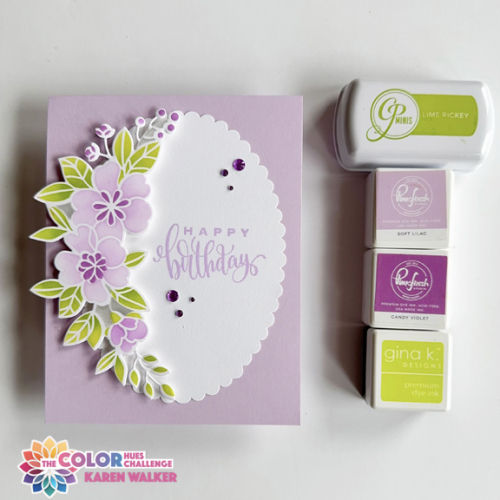
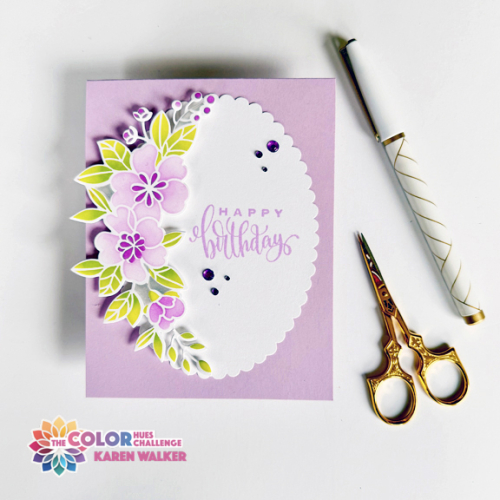
We live just two blocks from Rochester’s Highland Park designed by Frederick Law Olmstead, and planted with over 700 varieties of lilacs. The annual Lilac Festival begins on May 10th and lasts until May 19th, so this combination was very timely. The Greetery just released fabulous lilac dies, but I don’t own them, so I chose a lovely floral stencil instead. The Curved Floral Banner was part of a Gina K Kit a year or so ago. When I had finished stenciling it, I die cut it with the accompanying die. It also comes with a detailed die cut that creates an border around the whole image, but I decided I much preferred the soft, clean look of just the stencil.


CH86R

I’ve always known purples were hard to photograph, and this card certainly gave me a run for the money. I spent way more time trying to get accurate colors in the photos than I did making the card. They’re still not perfect. If you have a sheet of Concord & 9th’s Lilac paper, you’ll get the real picture! 

CH86-CloseRR

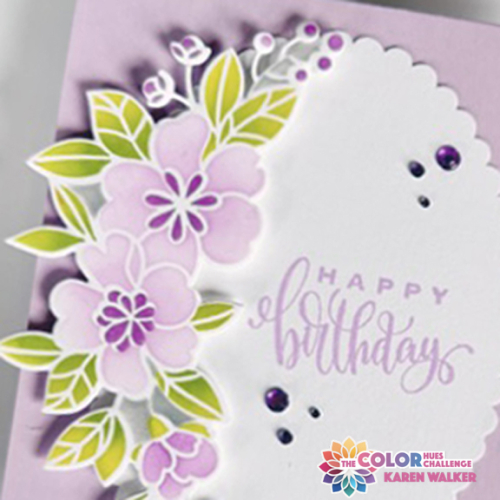
The scalloped oval is from a pack from Dick Blick’s, and I stamped it with a sentiment from the Gina K’s Sweet Sentiments with Pinkfresh Studio’s “Soft Lilac” ink. I added a few beautiful lilac gems to the oval as the finishing touch.

CH86-2R

Please check out all the lovely cards from the Design Team and our Guest Designer on the Color Hues blog. Then come join us in the gallery!