Skip to content

Surprise!

  • by

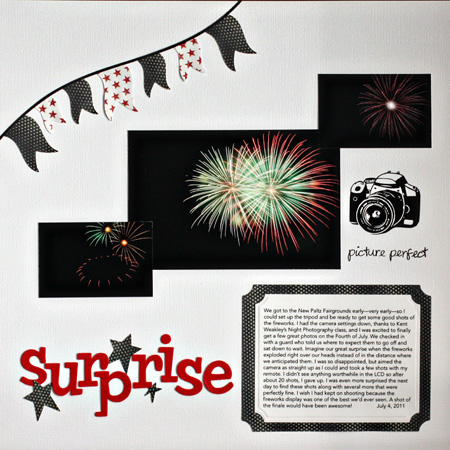
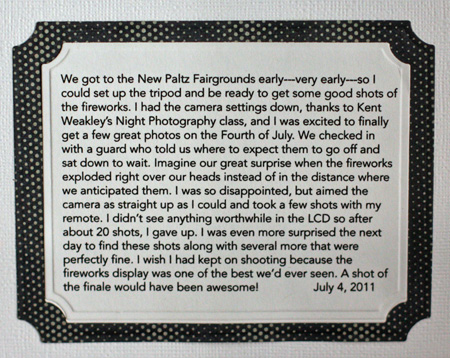
I just had to do a layout about finally getting decent fireworks shots, even though I didn’t expect them.

SurpriseLO

I started with white textured cardstock from American Craft. The banner is Quickutz’s DIY Pennants. I cut the pennants from Pink Paislee’s “Starlight” and Reminisce “Liberty Stars” and just attached them at the top so there’s a bit of dimension. The camera is a rub-on and the caption is a stamp from Lawn Fawn. Bright red American Craft Thickers and a few punched stars took care of the title. I love the Grand Large Labels from Spellbinders which make perfect journaling mats. Both were cut with my Grand Calibur.

Here’s a better look at the journaling:

SurpriseJournaling

Seeing 3-D

  • by

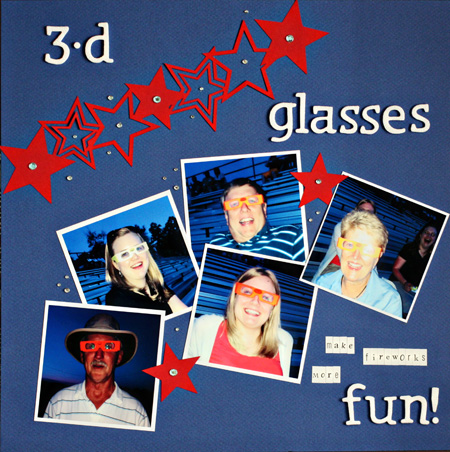
Who knew there were 3-D glasses for watching fireworks? Let me tell you they are amazing! Every firework turned into a kaleidoscope and if you’re wondering about some of the overlit photos, the flash on the camera had the same effect. My niece works for a credit union who passed out the glasses to their customers. It made the Fourth more fun than ever!

3-D LO

This is a pretty simple layout. I started with the bright blue textured cardstock, and used American Craft glittter Thickers which seemed so appropriate for the Fourth. The star border was cut with my Silhouette SD, and then I added some little letter stickers and a few rhinestones. A much more glitzy layout than I usually create, but it seemed appropriate for the occasion.

CKC Convention Recap

  • by

Two weeks ago, my friend and I went to Buffalo for the CKC Convention. Aside from taking a lot of photos of the layouts in the Studio Calico booth, I totally forgot to take pictures. Mary and I both took three classes. All of hers were card-making classes (and she loved them). I took one scrapbook class with Technique Tuesday and made two 2-page layouts using papers designed by Ali Edwards. I love both layouts, but haven’t chosen the photos for them yet.

TechTuesLO1

TechTuesLO2

They use a color combination I love and I liked the papers so much I bought a pack of them, even though I had a few left from the class. The class moved right along, but it wasn’t had to keep up.

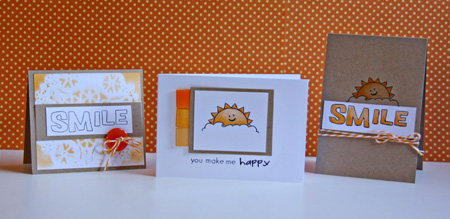
The next class I took was a copic airbrushing class. I have a small airbrush set-up using the air cans, but I’ve always been a bit afraid to give it a try. We used the expensive air compressors in the class, but they demonstrated the can set-up so I’m sure I’ll not have any trouble with it. The class was taught by instructors from Clear and Simple Stamps and we made three cards while practicing the airbrushing techniques.

Clear&Simple

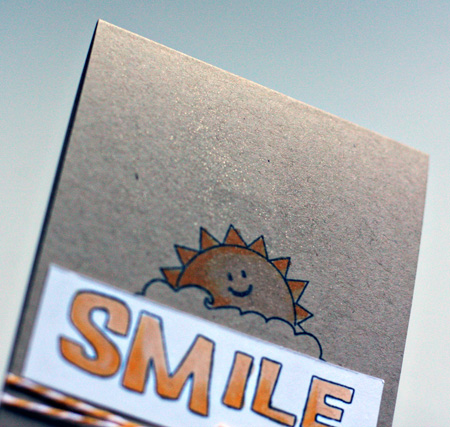
For the card on the left, we airbrushed over a doily and then lifted it up to create the background. For the middle card, we airbrushed the ribbon tags, and for the last card we airbrushed with a glitter pen. Here’s a close-up of that.

SmileGlitter

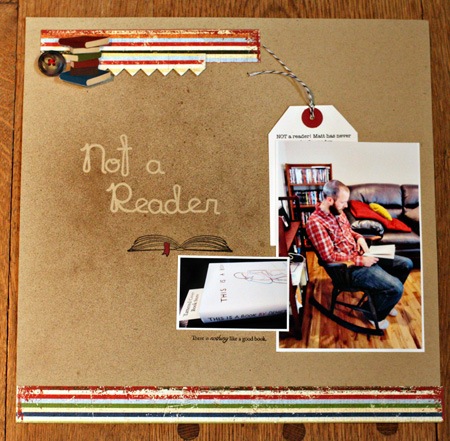
The last class I took was called Terrific Trends by Studio Calico, and it focused primarily on using the Mr. Huey mists. We created a title for a layout by putting down letter stickers, misting and then removing the letters. I liked the technique, but the papers and embellishments they used for the layout did not fit the photos I had taken, (This is frequently the case, and I’ve learned over time, to simply take the papers home with me so I can create a layout of my own.) Here’s the layout I finished this morning.

NotAReaderLO2

Matt’s ADD has always made it hard for him to read without taking his medication. He did really well in college, but when he’s working he needs the meds in order to focus on the job. One of the side effects of the medication is being unable to sleep, so he hesitates to use any after noontime. Thus the amount of reading he’s done since he graduated has been limited to newspapers and crossword puzzles. When we were in Denver we went to one of my favorite independent bookstores, The Tattered Cover. While we were browsing, Matt picked up this book, started to read, and started to chuckle. We bought the book and in just a day he had read nearly a third of it. It was too big a moment not to capture!

I used a Papertrey Ink die and some stamps from All Booked Up, a Jolee sticker and button from my stash, and some patterned papers I picked up at the convention from Simple Stories called Elementary.

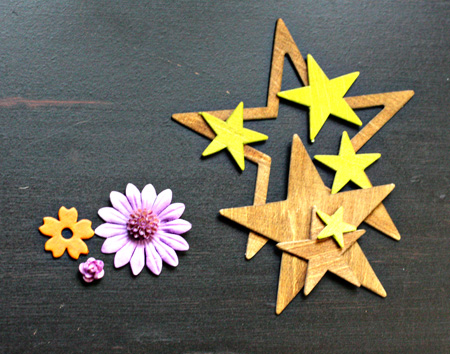
In both the Copic Airbrushing class as well as Terrific Trends, we got a chance to color some embellishments. The ones on the left were airbrushed with Copic markers and the Wood Veneer stars from Studio Calico were sprayed with Mr. Huey mists. I know I’ll find a great use for all of them before long.

AlteredEmbellishments

All in all, it was a great convention. The vendor faire was a bit better this year and I got some lovely embellishment at the Melissa Francis booth, and picked up a few papers that were on my wish list. Another benefit of the classes is I came home with three new stamp sets as well as quite a few papers and embellishments from both Technique Tuesday and Studio Calico.


A Scrapbook Layout!!!

  • by

Yes, I do scrapbook, but it sure seems to be sporadic. I still haven’t edited all the photos from our trip and we’ve been home seven weeks. It’s only four more weeks until we leave for Vancouver and Alaska! I did, however, get one photo from our trip scrapped for a Scrap-Mart blog post.

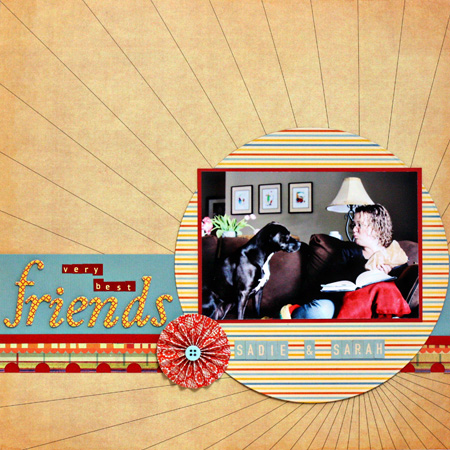
I love watching Sarah and Sadie interact. Sadie is the sweetest dog I’ve ever known, and she gets along with everyone. But she and Sarah have a special relationship.

Sadie&Sarah

I loved this Sassafrass Lass paper which came in a Studio Calico kit. The radiating lines prompted me to mat the photo on a circle from October Afternoon’s Rocket Age line. I used some American Craft Thickers for the title along with October Afternoon and Cosmo Cricket letter stickers. The paper flower is from American Craft, and the border is the edge of the Sassafrass Lass paper.

DYI Smashbook

  • by

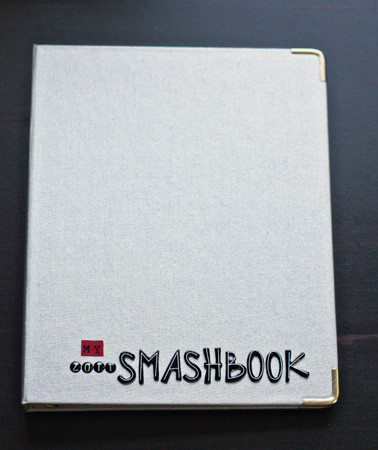
I said I wouldn’t (twice, even), but I broke down and made a Smashbook, and I’m already glad I did. I first saw this on Rinda’s blog and then on Mel’s. Both times, I said, “not me.” But after watching some of the videos linked on Rinda’s blog and the Counterfeit Kit site, I had an idea for a somewhat different version to meet my somewhat different needs. So here it is. I decided I wanted a three-ring version so I could add, subtract, and move my pages around. I started with a lovely binder that I bought nearly five years ago, and never found a good use for. I kept the cover simple, add some American Craft Thickers and stickers from my stash. (In the spirit of the Counterfeit Kit Challenge, all the supplies were from my stash.)

Cover

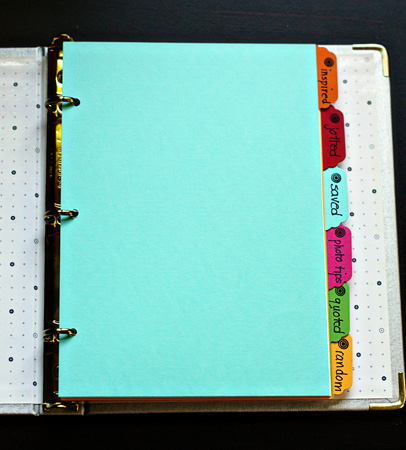
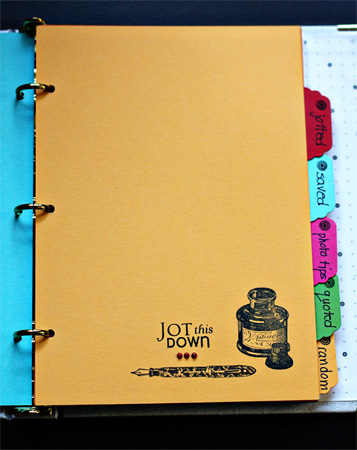
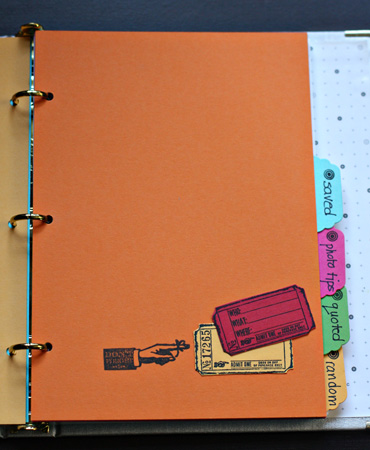
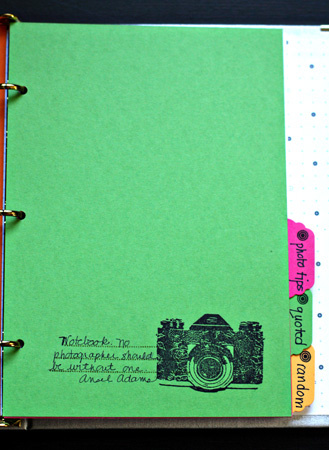
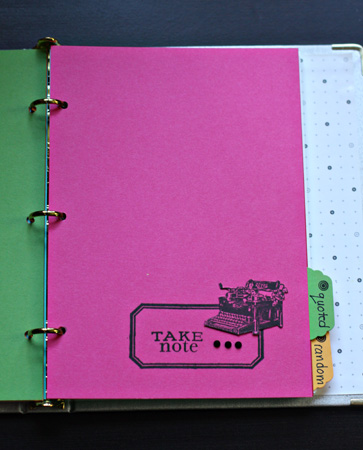
Then taking a selection of bright, cheerful Papertrey Ink papers, I created dividers and tabs. The tab punch I had was way too big, so I die cut six tabs from a Nestability Labels Eleven die, and adhered them to the back of the dividers. Most of the divider headings came from one of the Smashbook videos.

Dividers

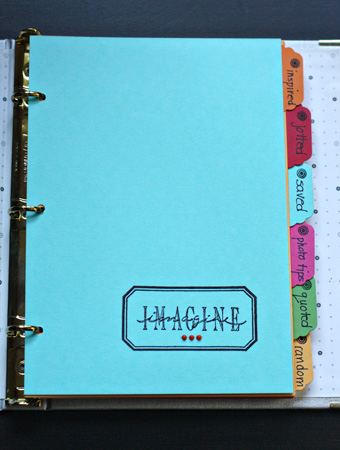
Next I raided my stamps for images that seemed to fit the divider topics. Inspired (Stampers Anonymous; Labels–Jeni Bowlin):

InspiredDivider

Jotted (Take Note-Papertrey Ink; Alice in Rubberland; Stampa Rosa):

JottedDivider

Saved (Odds & Ends–Tim Holtz; Daily Junque–Pink Paislee);

SavedDivider

Photo Tips with an Ansel Adams quote (A Girl & Her Camera–Unity):

  PhotoTipsDivider

Quoted (Labels–Jeni Bowlin; Daily Junque–Pink Paislee; Take Note–Papertrey Ink):

QuotedDivider

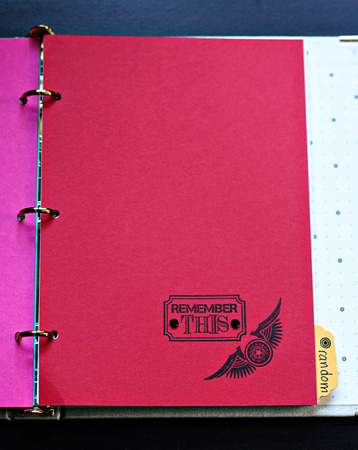
And Random (Freestyle–Teresa Collins; Postage–Papertrey Ink):

RandomDivider

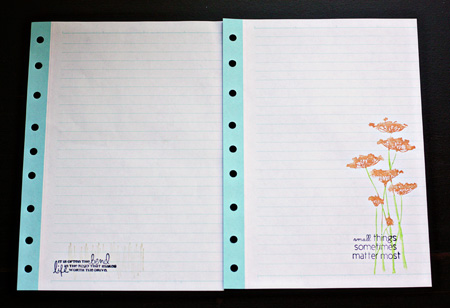
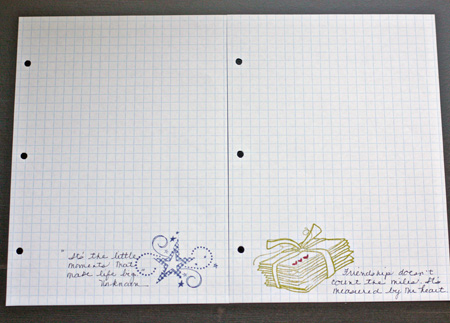
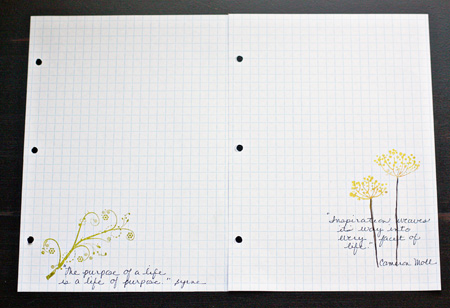
The notebook came with lined paper, but my favorite paper is graph paper so I cut and punched a lot of graph paper to use as well. I stampd a few pages and added some quotes to get started. (Stamps: Insightful Meadows & Authentic Man; Kit of the Month–Unity)

LinedPaper

GraphPaper1

GraphPaper2

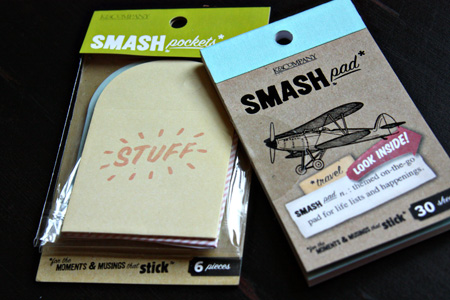
And then look what showed up in this month’s Studio Calico kit. I’m sure I’ll be able to incorporate some of this into the notebook as well.

SCSmash

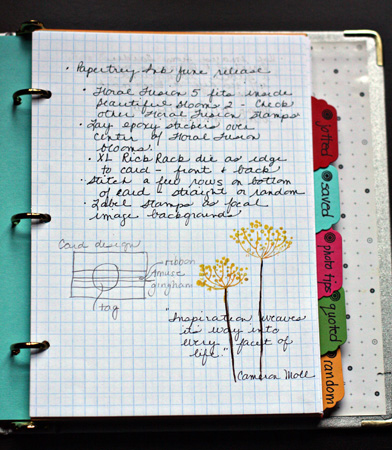
One of my reasons for creating the notebook this way was to have a place to record information I don’t want to forget. I always carry a tiny Moleskin notebook in my purse and keep one by my computer. I have two filled notebooks and need to go through them to see what I need to hold onto. I’ll just add the information in the correct section. Today when I started going through the beautiful cards on the Papertrey June Release blogs, I started a page in the Inspiration section with ideas for little details to include on cards. Here’s a look at one of them.

CompletedPage

So thanks, Mel and Rinda, for giving me the inspiration to get organized.

The Rossie Albums

  • by

I didn’t have time to create my page for the One Little Word tag book before I left on vacation. But the big accomplishment this month was finishing Sarah’s Rossie Album. I finished Matt’s last month, but ended up moving all the photos from one album to another. I bought two-up albums for these projects, but I don’t like the way the pages lay in the post-bound album. I can’t find another 8X8 ring album that works, although I ordered on that didn’t work!

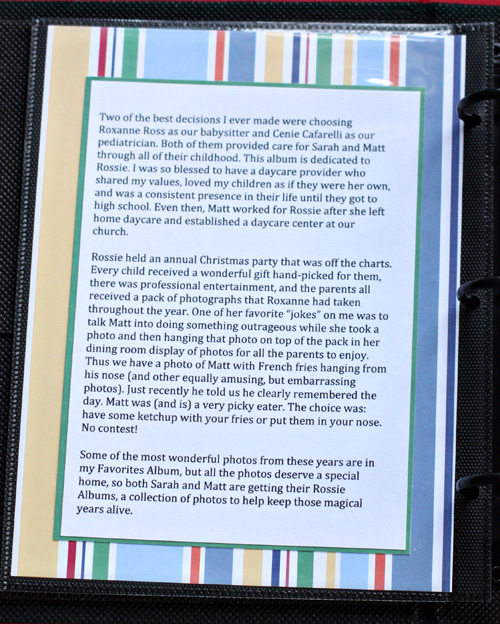
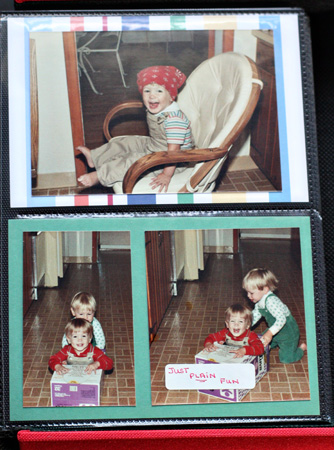
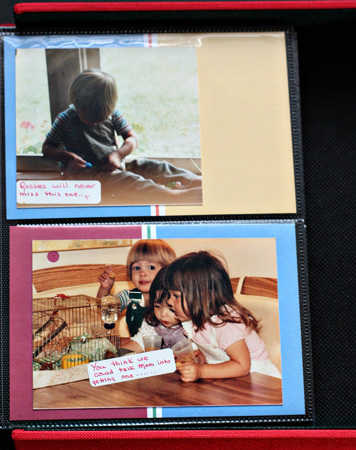
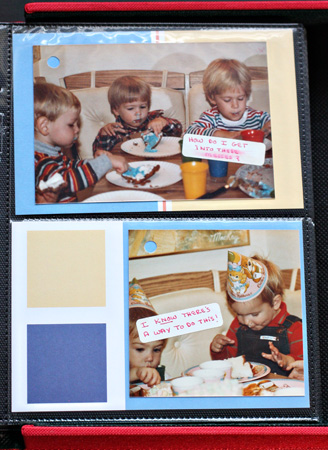
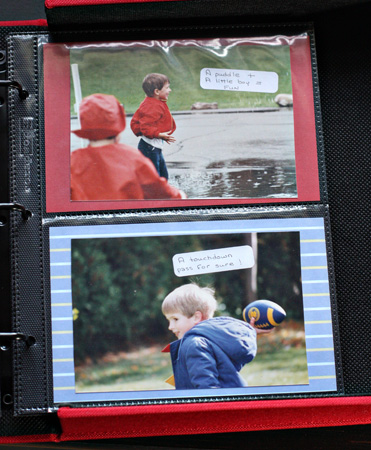
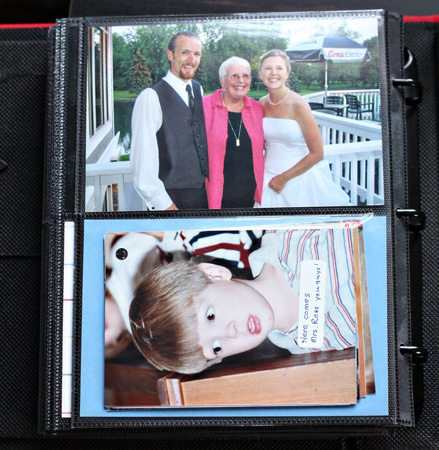
I had the very best day care any mother could want. Rossie (a variation of her last name) is still a wonderful friend to all of us. Both kids worked for her when they were in middle school. She paid them a nominal fee, and it kept them in day care for a couple extra years. Moving up through the ranks from baby to toddler to little kid to big kid was a rite of passage in her house. Almost no one left once they’d come through the door, so both Sarah and Matt had the same friends for years and years. Sarah is still in contact with one of them, and when I run into any of the parents or the kids around town, it’s like a little family reunion.

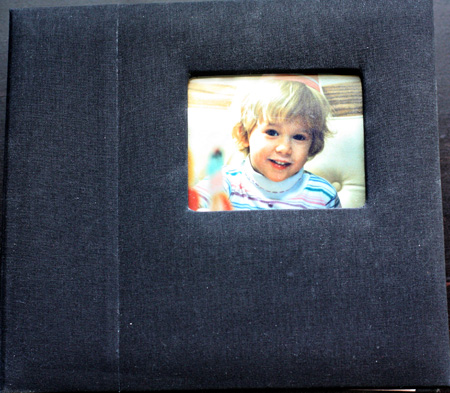
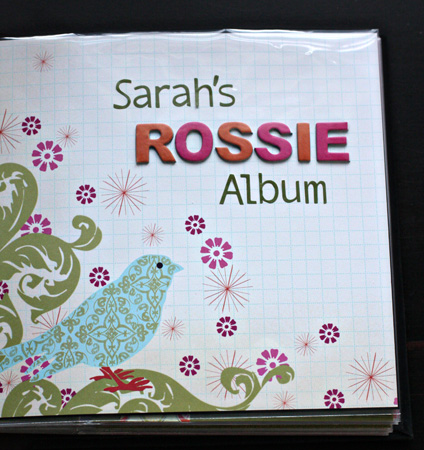
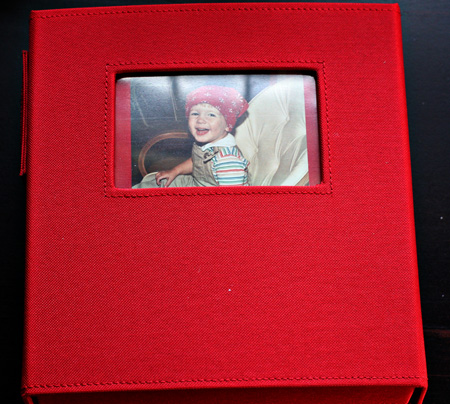
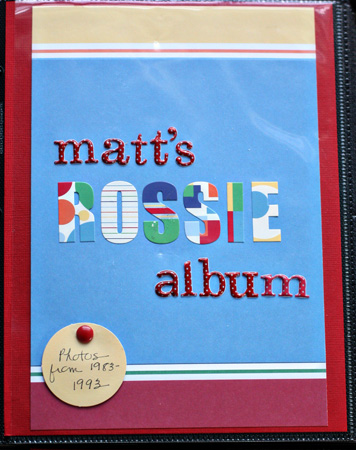
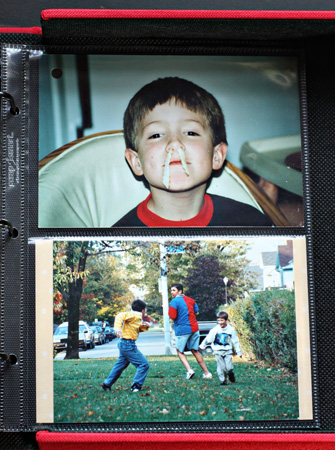
Rossie took lots and lots of photos during the year. At her annual Christmas party she would hang a packet of them for each parent on her dining room wall. One of her favorite things to do was to find a really goofy photo to put on the top of Matt’s pile, in hopes of making me squirm. 🙂 Thus the photo of French fries in Matt’s nose. He laughed when he got to that photo, and told us that Rossie told him he could try ketchup on the fries or stick them up his nose! She knew he’s never try the ketchup. I wanted my kids to have these albums of their time with Rossie. Matt took his with him, and Sarah will have gotten hers by the time this posts. Here are a few photos of the two albums.

SarahCover

SarahTitlePg

Sarah2

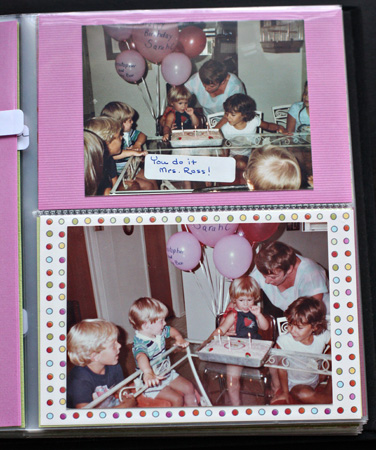
You always had two birthday parties, one at Rossie’s and one at our house.

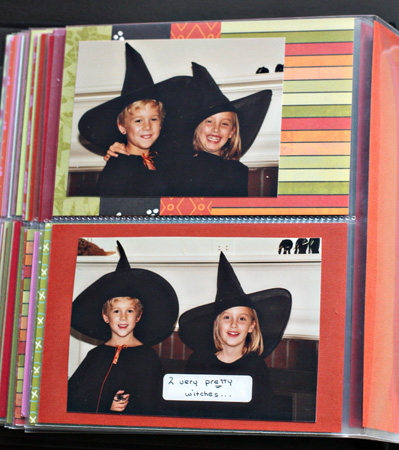
Witches1

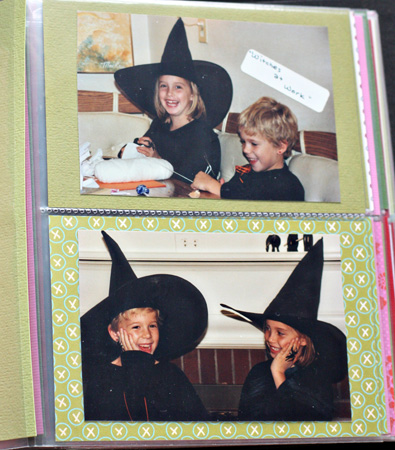
Rossie’s captions were always a big hit!

Witches2

Sarah3

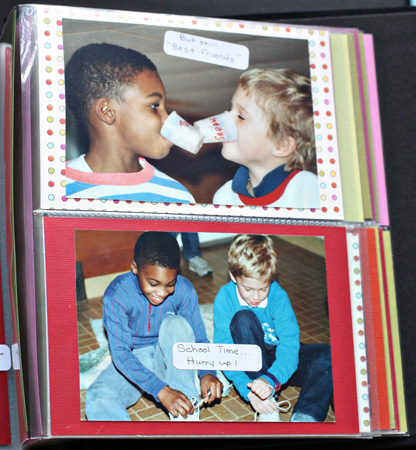
Still friends today.

SarahFinal

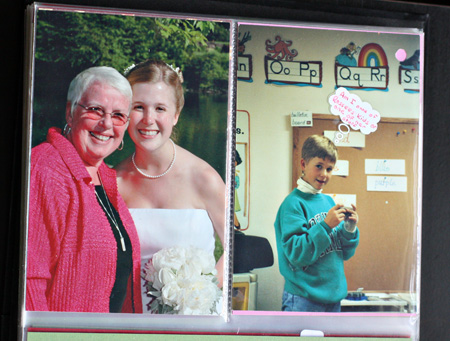
Sarah and Rossie at her wedding.

MattAlbumcover

MattTitlePage

Journaling

Matt8

Matt6

Matt4

Matt3

Matt1

MattFinal

The last page of Matt’s album with a few extras that I didn’t have room for.

Since most of the photos were 5X3 I had to cut 4X6 mats for them. Sarah’s album uses coordinated papers from Scenic Route, and Matt’s are from SEI.

Road Trip Layout

  • by

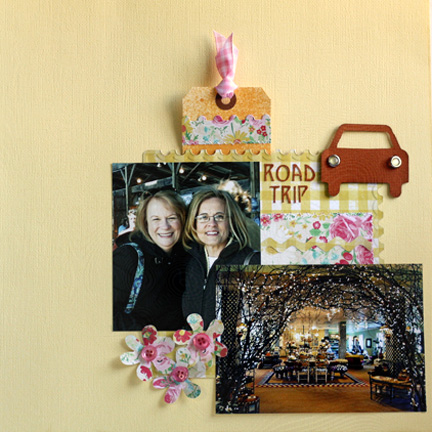
Here’s a layout I did for the Scrap-Mart blog this month. I really like how it came out. It was nice to work with just two photos instead of trying to fit four or more on the page as I have been with My Home album.

RoadTrip3

I started out with the beautiful new paper from Emma’s Shoppe by Crate Paper, and used both sides of it for my layout. I die cut and embossed a panel from Spellbinders’ Creative Book Pages as a mat for the photos and embellishments. Then I stitched a piece of the floral paper and cut a rickrack border with the checks. The car was cut with my Slice (Animal Cracker’s cartridge) with two SEI brads for headlights. I needed a tiny title and the Silhouette came in handy again. The strip on the misted journaling tag is the negative piece from one edge of the Creative Book Page die, and the flowers are from Lifestyle Crafts (Quickutz) Spring Blooms die. The ribbons and buttons are from my stash. The yellow cardstock is American Craft’s “Butter.”

Scrapbook On The Road

  • by

On a whim, I purchased Ali Edward’s class “Scrapbook on the Road,” and set up an album to take with me on our next trip. I’ve never tried to scrap on the road, but I’m anxious to give it a try, and this looks totally doable. Although Ali assembled all of her scrapbook ahead of time, I decided to create the pages and take a small bag of embellishments and journaling cards with me. This way I can choose what size page I need and can decide whether or not I need an envelope or how big a journaling card each day warrants. I used the Spellbinders Creative Book Pages dies again for this album which, once again, seem just perfect. I plan to bind the book with my Bind-it All when it’s finished.
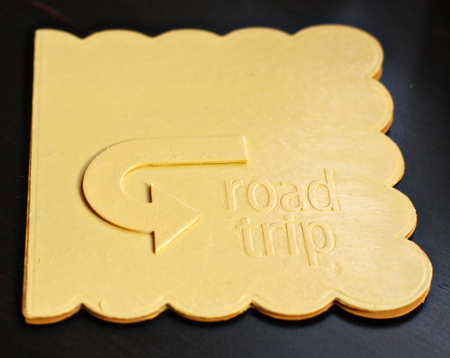
Cover

The covers were cut from plain chipboard (run through the Grand Calibur twice) and painted with Heidi Swapp paint after I adhered the Doodlebug Stickers to the front. I painted a Technique Tuesday arrow and adhered it to the cover as well.
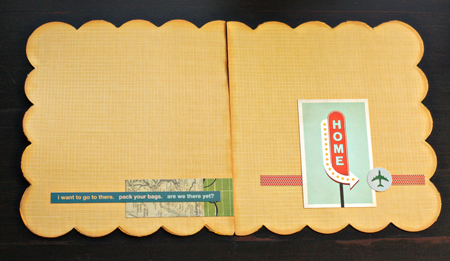
InsideCovers

Rather than paint the inside covers, I lined them with Chatterbox patterned papers that have been in my stash for years. The embellishments are a scrap of paper by Simple Stories from a page I cut for the album, and a phrase sticker from Little Yellow Bicycle. On the back inside cover is a Studio Calico Journaling Card and two stickers from Little Yellow Bicycle.
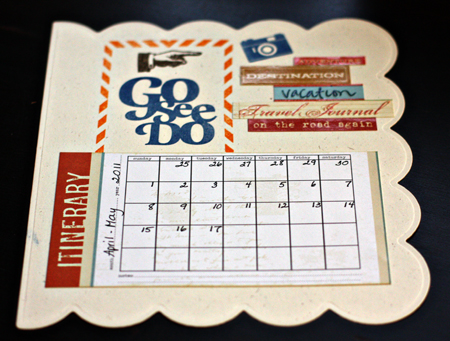
Itinerary

This is one of very few completed pages (except for filling in the calendar). The Itinerary card and word fetti stickers are Little Yellow Bicycle, the camera stamp is from October Afternoon, and the three title stamps are all Studio Calico.
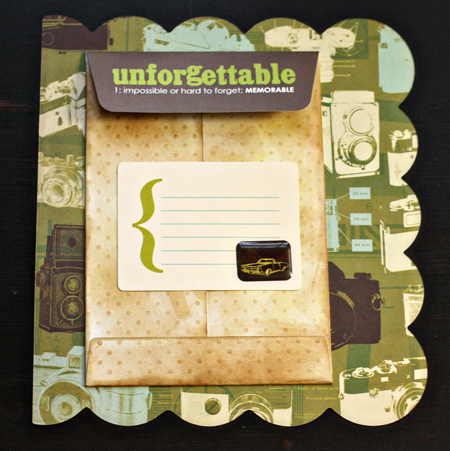
MemorabiliaPocket

When I was going through my stash to look for supplies, I found these pocket envelopes from an old Lisa Bearnson kit. I knew they’d come in handy some day! The journaling card is from October afternoon and I covered the image on the card with an SEI sticker. The patterned paper is Studio Calico.
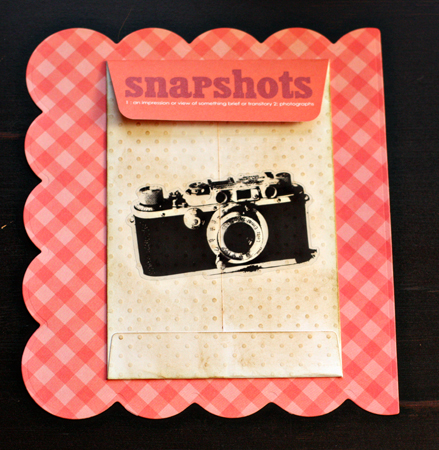
Snapshots

Another pocket envelope from the same kit and Side B of a beautiful cloud paper from this month’s Studio Calico kit.
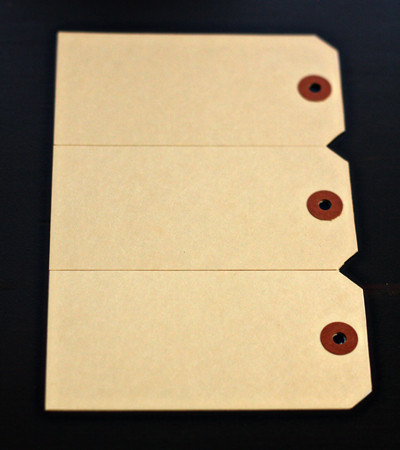
TagsSideA

A page made from three tags glued to a piece of patterned paper.
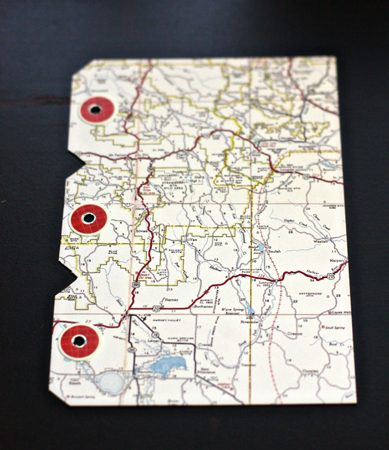
TagsSideB

The flip side.

TransparencyOverMap

A piece of Clearly Creative cardstock (Papertrey Ink) with a Hambly rub on. I’ll probably leave the page with the map behind it. I think it’s also a Studio Calico paper, but I’m not sure.
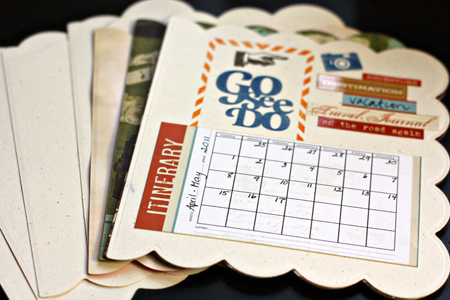
PagesSize1

These are the largest pages, most cut from Rustic White cardstock by Papertrey Ink. They’re about 6 1/2 by 7 inches.
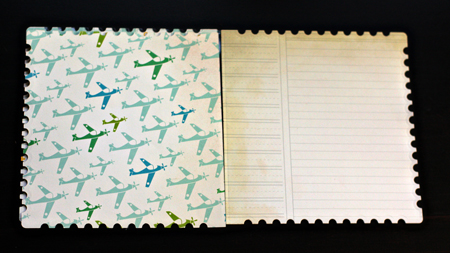
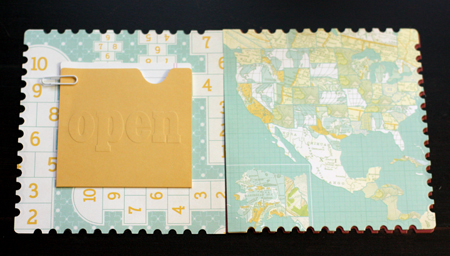
SamplePPpages

SamplePPwithjournaling

There are also a set of pages the same size as the transparency page, about 6 X 6. I think these are all Studio Calico papers, and the journaling card is from the Lisa Bearnson kit.
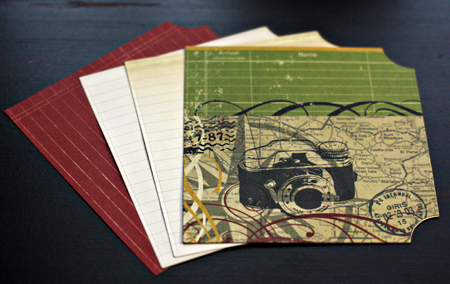
PagesSize2

This is the third size page, about 5 X 5 1/2 inches. There are also a few pages that are about 3 1/2 X 3 1/2. The Creative Book Pages dies also have two smaller dies which I will probably use for dividers once I get home.
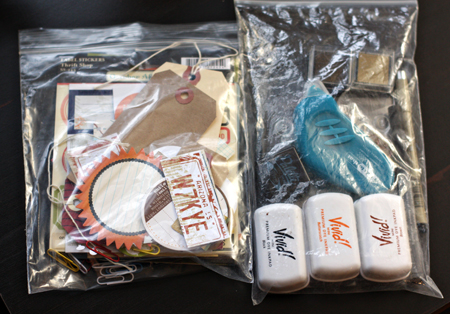
SuppliesToGo

I’m not taking the album covers with me, but I have the pages tucked into a plastic baggie as well as these two little bags of embellishments and supplies. I hope to pick up a pile of memorabilia to add to the book as I go. I know I’ll take many more photos than I can possibly use in a scrapbook this size, but I have a nice album given to me by my last class that will work wonderfully for the photos, and I won’t have to spend much time when I get home trying to recreate our road trip. This really came together quickly, just an afternoon and part of an evening. Painting the covers definitely was the hardest part for me.


The Home Album

  • by

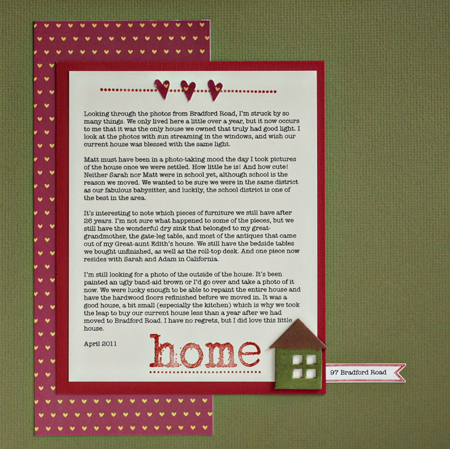
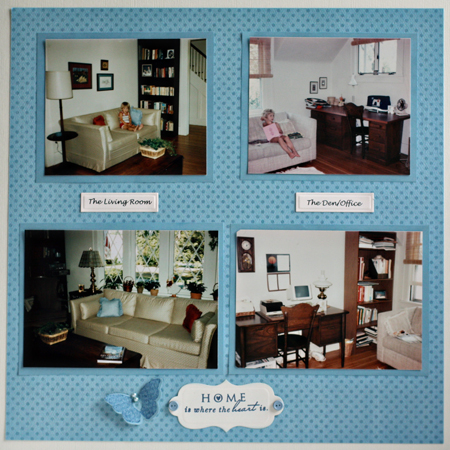
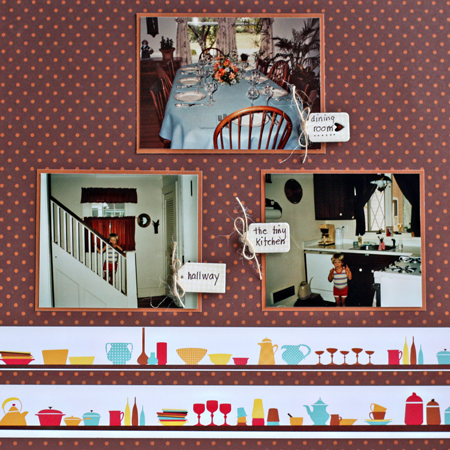
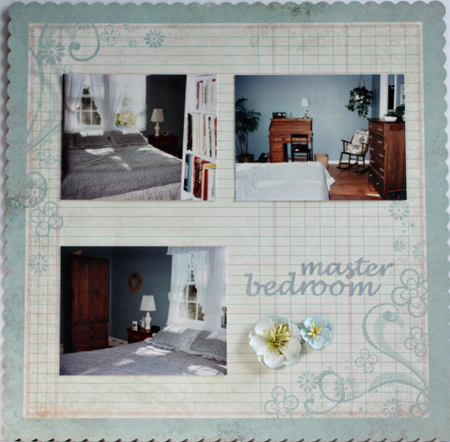
I’ve been working on our Home Album this week and finished five layouts about a little house we lived in for just a year. It was fun to look through the photos (we moved from there nearly 26 years ago) and see what items of furniture we still have (quite a bit), what art work is still hanging on our walls (not much), and how very young Sarah and Matt were. I know we have a photo of the outside of this house, but I can’t put my hands on it, so the first page is a photo-less page. Should I ever find it, I’ll add it to the page.

IntroPage
Cardstock: unknown (green–would love to find more of it) & Light Totally Tan (Worldwin), Patterned Paper: “Honey I’m Home” (Bella Blvd); chipboard house (Maya Road) inked with Tim Holtz’s Distress Stains (love these!); Stamps: “Home is Where the Heart Is” (Technique Tuesday), Faux Ribbon & Banner Builder (Papertrey Ink).

LivingRoom:Den

Cardstock: Bazzill (cream) & light blue from stash; Patterned Paper: Bo Bunny; Stamps: “Love Lives Here” (Papertrey Ink); Brads: Making Memories; Dies: Grommet Tags & Happy Everything (Spellbinders) and Butterfly (Papertrey Ink)

KitchenDining

Patterned Paper: “Abode” (American Craft); Tiny Tags die (Papertrey Ink), Stamps: “Bitty Background Blocks;” Antique Linen Distress Ink, and twine (Papertrey)

MasterBedroom

Patterned paper: “So Sophie” (My Minds Eye); Cardstock: Medium Heritage Gray (World Win); Silhouette (for the title); Flowers: Recollections (MIchaels)

KidsRooms

Patterned paper: Mia Collection (Crate Paper), “Wander” (Basic Grey) & Dude Collection (Prima Marketing); Chipboard Alpha: Cosmo Cricket

The Alphanumeric Blog Hop

  • by

Alphanumeric hop badge

Welcome to the Alphanumeric Blog Hop hosted by the fabulous Mel! You should have arrived here from the beautiful Peonies and Pennies.

TopTenTiles

It’s easy to see what number I drew. I thought it would be fun to share three Top Ten Lists.

First of all Ten Great Reads. I loved all of these books. It’s a mix of fiction and nonfiction. Hopefully some will be new to you, and worth adding to your “To Read” list.

Top Ten Reads

This I Believe

Undaunted Courage

The Happiness Project

People of the Book

True Notebooks

Intuition

Water for Elephants

Bel Canto

Three Cups of Tea

(Our local paper featured an article yesterday saying 60 Minutes would be showing a segment disputing the claims made in this book and the sequel, “Turning Stones into Schools.” I hope they’re wrong. This was a really inspirational read.)

Into the Beautiful North

(I recently heard Luis Urrea speak, and he was one of the most engaging speakers I’ve heard in quite a few years. I thought his book was equally engaging, and he was an author I had not heard of before.)

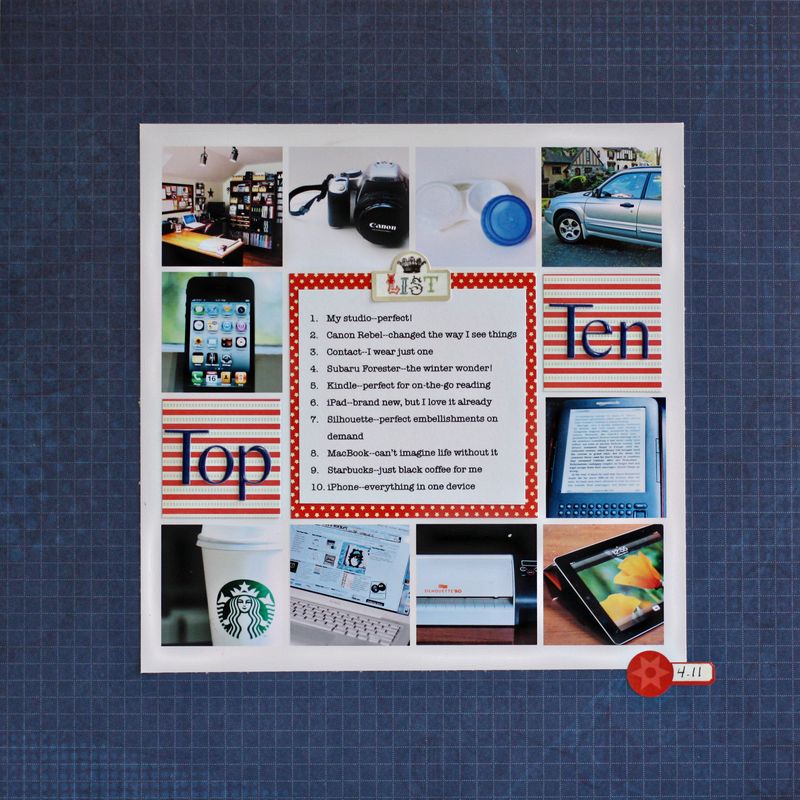
It’s been a few years since I did a “things I love” scrapbook page, so this seemed like the perfect opportunity to make a new one. It’s interesting how things have changed since my last one. The car and the computer are a bit newer, but essentially the same, but my camera and cell phone are much improved and many items on the list didn’t even exist when I did my last one. You can see that I kept the list to things. There’ll all things that make each day more interesting or much easier. If you click on the layout, you’ll be able to read the journaling.

TopTenLO
The background paper is Scenic Route, the photo template by Kitty Designs, the small patterned papers by Collage Press and October Afternoon, and the two stickers from Echo Park’s For the Record.

And finally, a list of Ten Great Cardmaking Blogs, for although I love photography and scrapbooking, at heart I’m first and foremost a card maker. If you’re ever looking for inspiration for creating a card, you can usually find it somewhere on one of these blogs. They embrace every style from Clean and Simple to totally Vintage and Shabby Chic.

Ten Great Blogs by Card Makers

My Paper Secret

Inspired By

Jennifer McGuire Ink

Capture the Moment

Simply Stamped

Thinking Inking

Paper, Scissors, and Superheroes

Lime Doodle

Just Made From Paper

Lily Bean’s Paperie

Thanks for stopping by. You should be off now to Carrie’s “Rosalind Revival,” and I know you’ll have a great time there. And in case you’re lost in this wonderful hop, here’s a complete list of the blogs in the hop.

I Speak Melsh
BE Glorious

Captured On Film

Chatty Crafty Arty Pig

Creating Room

Curiouser and Curiouser

Daily Life – Bits and Pieces
Deb’s World Den’s Crafty Diary
From High In The Sky
Gallo Organico
Ginger’s Life Of Spice
Handmade By Kirsty
Havoc and Mayhem
Heather’s Scraps
Helena’s Creative Maven
Holaday’s Happy Hearts
Jeant-Jinnag
Just Jimjams
K’s Crafty Corner
Life…As I See It
{Life Behind The Purple Door}
Lisa E Design Blog
Living Life One Blessing At A Time
Mary’s Musings
Michelle Loves…
Obstinate Pursuit
Over At Our Place
Paper Turtle
Peonies and Pennies
Random Reflections
Rosalind Revival
Scrap Dreams
Scrappyjacky
Scrapworthy Lives
Staring At The Sea
Surefiredaisy Says
This Kalil Life
This Little Life Of Mine
Xnomads’ Blog

Project 64: Scarlet

  • by

Project 64

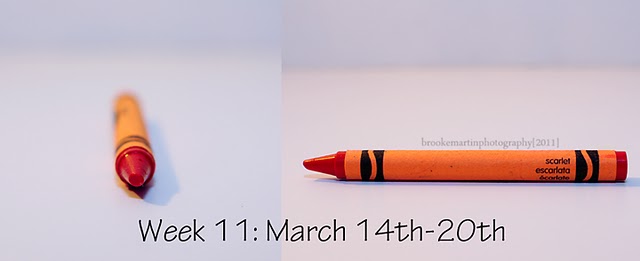
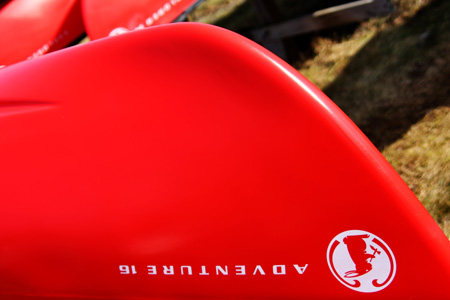
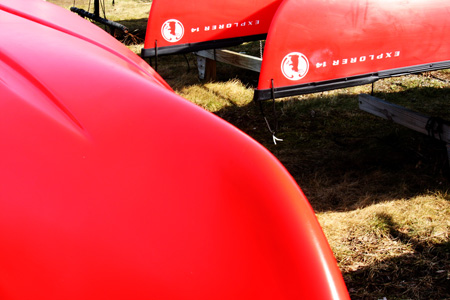
I didn’t get out much this last week, but my first foray outside the house was last Thursday when Tracy took me to the lake for lunch. I knew I wanted to make a quick stop to take a photo of kayaks along Irondequoit Bay for the prompt this week at Picture Inspiration. (That post is coming.) As we were pulling out of the parking lot, Tracy noticed these three kayaks–all scarlet–a much more orangish red that I would have imagined.

Wk11 March 14_20_Scarlet

I always think of Snow White’s evil stepmother with scarlet lips which (in my picture book) were a deep and bluer red. So this week I have just two offerings for scarlet. Hopefully, this week will be a bit better and I’ll be up and running again.

Kayaks2w

Kayaks1w


Online Classes: Take 2

  • by

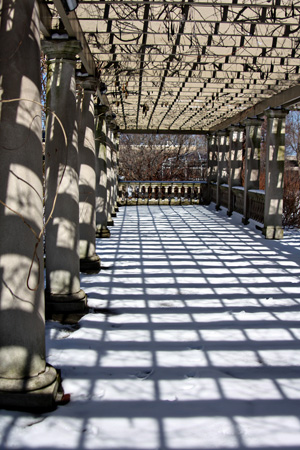
This week’s prompt for Picture Inspiration was to Find Some Rhythm. Tracy shared part of a definition for rhythm with us:  “a harmonious sequence or pattern of masses alternating with voids, of light alternating with shade, of alternating colors, etc.” The words “haromonious” and “pattern” made me think of the staircase in the George Eastman House. My brother-in-law gave me a year’s membership for Christmas so I can go as often as I like this year without any admission fees. It’s quite the lovely gift. I’ve been three times since mid-February. As it turns out I found two shots, one inside and one outside, that seemed to fit the prompt.

Staircase2w

Arborw

I love the patterns of the columns, arbor, and all the shadows. I took a few other photos there I’ll save for another time. One of the things I’m enjoying a lot with this class is working my way through the gallery of photographs posted by members of the class. Talk about inspiration!
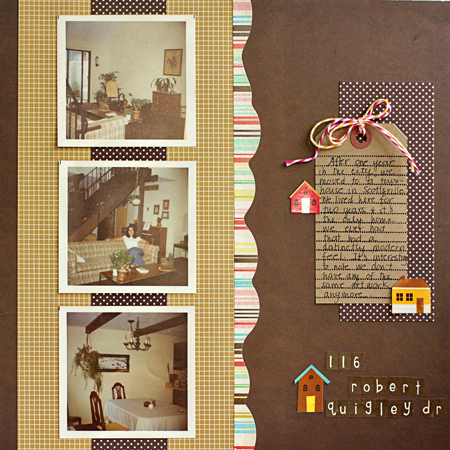
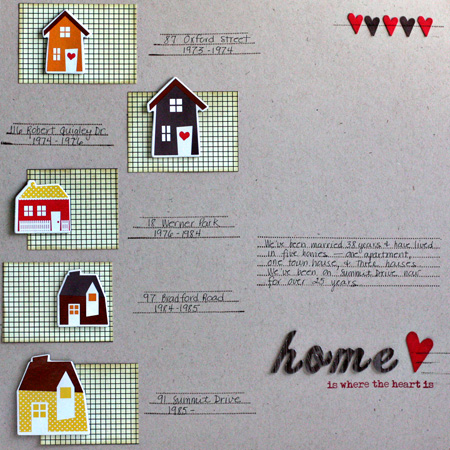
Participating in Finding Your Way has proven to be pretty motivating for scrapbooking. I finished three more layouts for the house album. It’s already getting frustrating, however, because I can’t find photos I thought I had! For instance, I have photos of how our first house looked when we moved in, but almost none of how it looked by the time we sold it seven years later. We had a beautiful kitchen put in that house, and I can’t find any photos of it. I’m sure there are negatives of the photos, but I have several boxes of those and no easy way to examine them. Oh well, I’m trying to embrace imperfection, and just get on with it.

RobertQuigley

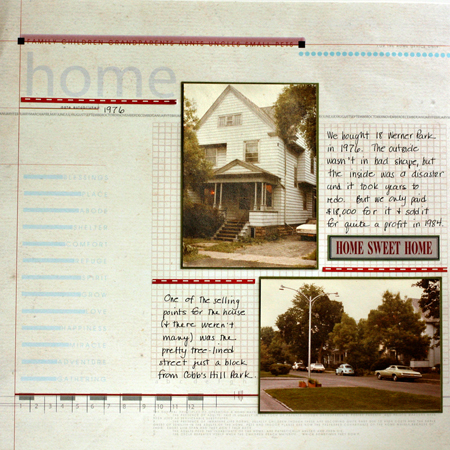
18WernerPk

Inheritance

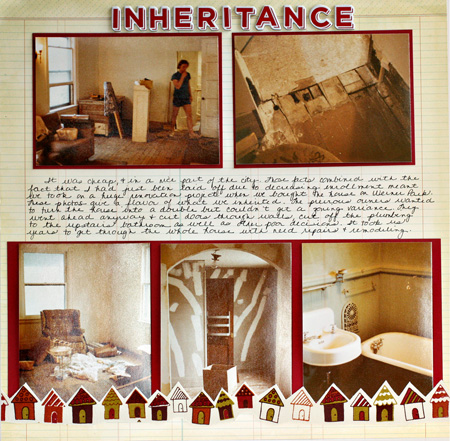
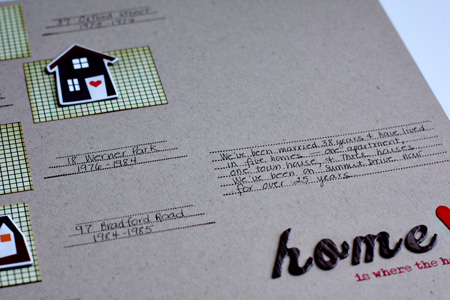
I’m definitely not a fan of my handwriting, but Karen G. is right, it does speed up the process considerably. Now that I’ve started it in this album, I’ll maintain it. The journaling is hard to read so here’s what it says: It was cheap and in a nice part of the city. Those facts combined with the fact that I had just been laid off due to decreasing enrollments meant we took on a huge renovation porject when we bought the house on Werner Park. These photos give a flavor of what we inherited. The previous owners wanted to turn the house into a double but couldn’t get a zoning variance. They went ahead anyway and cut doors through walls, cut off the plumbing to the upstairs bathroom as well as other poor decisions. I took us years to get through the whole house with needed repairs and remodeling.
I’m continuing to enjoy the Silhouette 101 class. It’s nearly over, and I’ve learned everything I hoped to. This week I learned out to use the print and cut feature. I printed some cute tickets on my printer and then ran them through the Silhouette which cut them perfectly. You’ll see them in a project soon, I’m sure.

I’ll be away from the computer for the next few days, but will catch up with your blogs early next week. Have a great weekend.


Online Classes: Take 1

  • by

Despite my intention not to start any new classes, I am in fact taking three. The first is a class at My Creative Classroom on using the Silhouette, and it has been fantastic. I’m learning just what I needed to know and am amazed at the capabilities of this machine. The other two are both at Big Picture Classes. I broke down at the last minute and signed up for Karen Grunberg’s Finding Your Way. I’m already happy with that decision because I’ve decided to use the assignments to work on one of my biggest 2011 FINISH albums. The last is Picture Inspiration because I’m always looking for photography inspiration and conversation. My plate feels too full right now, but I know it will ease up as I get going with each of these.

One of Karen’s first assignments was to identify the things you use on your pages so you can focus on making those accessible and stop spending money on things you don’t use. I did that when I moved my studio and did one of my first big purges. But before I started the Home Album I gathered up all the supplies (kraft paper for the basics, patterned papers, stamps, and embellishments) from my stash that I thought I might use. It has really expedited the process.

HomeKit

Here are the first layouts I did for Finding My Way with some Silhouette work as well.

HomeLO

This isn’t the title page which I’ll do later, but it’s an introductory page to the album. I scraplifted it from a layout I saw on Kelly Purkey’s blog a long time ago. I also incorporated journaling stamps and my own handwriting—two things Karen suggests as ways to speed up your scrapbooking process.

Here’s a close-up of the journaling.

HomeCloseUp

Circa1931

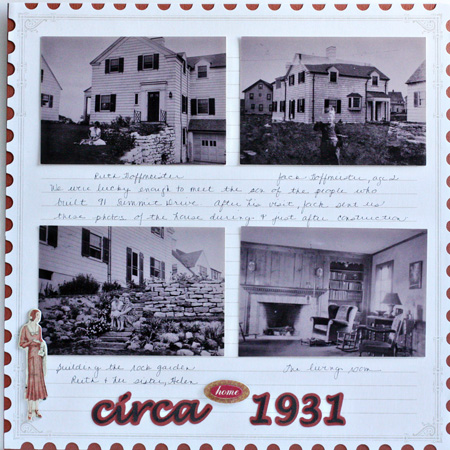
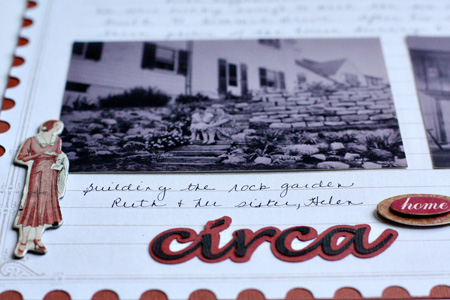
This page shows photos we received after a visit from the man whose family built our house in 1931.  The journaling documents the people in the photos as well as how we came to have them.

CircaCloseUp

One of the things I’ve learned how to do in the Silhouette class how to cut my own titles using the fonts on my computer. This week we learned how to weld the letters of a script font and create a shadow for the title. The chipboard accent is from Cosmo Cricket Circa 1934, which seems appropriate.

The first week’s assignment for Picture Inspiration was to take a self-portrait. I avoid these as often as possible and I didn’t take this until the last day possible. But I’m not unhappy with it and will eventually change my avatar since I finally have a photo that doesn’t use a mirror. I used my tripod and my remote and took it in my studio.

SP_PortraitPerfectw

Three Things

  • by

Sweetshotbutton

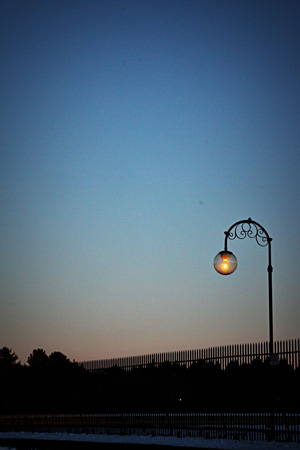
First off, my shot for Sweet Shot Tuesday (and P52). It’s the same shot I used for Team-up Thursday, but it was my favorite of the week.

InTheDistanceSLw

I also like this one, taken the same evening.

ReservoirLightHLEdgeBurn60w

Second, a layout I completed for Shimelle’s 4X6 class on 2Peas, that I also posted on the Scrap-Mart blog. I usually wait until they’ve posted there before I post here.

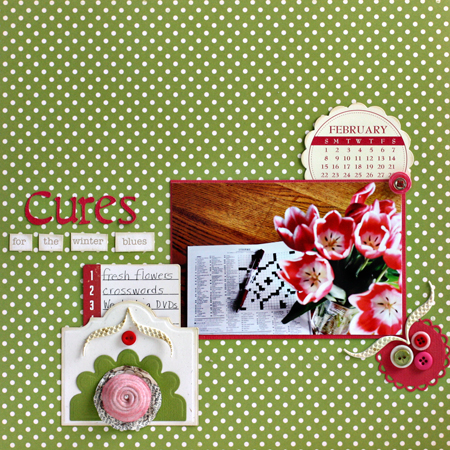
CuresLO

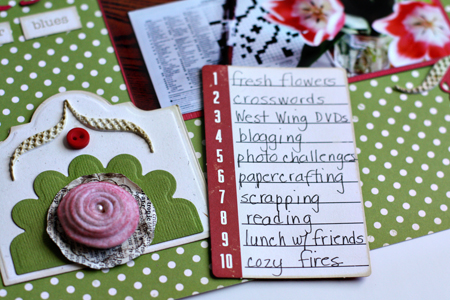
CuresLOJournaling

I followed the sketch pretty closely and used a lot more product than I usually do on this layout. I made the pocket from two of the dies in the Spellbinder’s Creative Book dies. I used a new Quickutz die for make the rose from Vintage Cream felt that I sprayed with a Perfect Pearls mist. I cut “Cures” from the Calendar cartridge with my Slice, and used embellishments from October Afternoon, Jillibean, Pink Paislee, and a Scrapbook Circle kit. I’m hoping to get the next sketch completed in the next day or two.

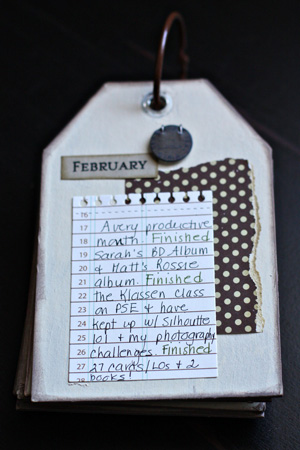
And finally, an update on my One Little Word: FINISH. Here’s the February page in the tag book.

  FebTagBookUpdate

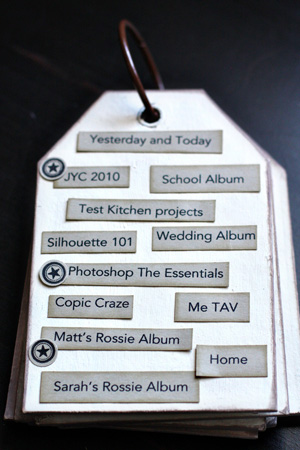
And the record page:

TagBookFebIndex

I’m very pleased with this month’s progress. I finished two big projects (Sarah’s Birthday album which I never listed on this record page, and Matt’s Rossie Album–which I’ll post soon.) I finished all the lessons for Kim Klassens’ Essentials Photoshop class where I finally grasped the concept of layer masks. I’ve been quite successful in using them as well. I’m taking a Silhouette 101 class at My Creative Classroom which has been terrific, and I’m current on all the lessons there. I read one book from my 2010 list and finished our Book Group book as well. Now I’m into Cleopatra:  A Life, which is the Book Group pick for March. I fill out a project card for almost everything I make, and there were 27 of them in the February envelope.

One Little Word–Finish

  • by

I decided to do a mid-month update for my One Little Word project for this year. This week I’ve finished a project that’s been in the works for at least five years. About five or six years ago, I took every photo we had out of the old albums (some in damaging magnetic albums) and sorted all of them by event or subject.We’re talking hundreds and hundreds of photos. I have over 900 of them now in photo albums and the rest are sorted into boxes waiting for a scrapbook home.

When the sorting was done, I started a birthday album for Sarah, but got bogged down when I couldn’t identify all the guests, and when I realized there weren’t enough photos to scrap (or the photos were totally missing!) for some birthdays. (I’d like to know what happens to those missing photos. They remind me of socks that disappear down our laundry shoot. I know we had them, but they can’t be found!) This scrapbook was exactly why I chose the word “finish” for this year. 

So this week I finished about four layouts that just needed some journaling or a list of guests. I gave up on the lists since neither Sarah, her babysitter, nor I can identify everyone, and replaced that spot with a journaling spot, a decoration, or another photo. Then I completed several last layouts for the birthdays for which I had enough photos. I’ve left room in the album in case photos reappear, but for now, I have more than half her birthdays documented. As she got older, we no longer had big parties, and there seem to be few photos. Anyway, I was feeling pretty good about this project and went to my tag book to mark this project done. Imagine my surprise when I realized I never listed this as one of the projects I wanted to finish! What was I thinking?

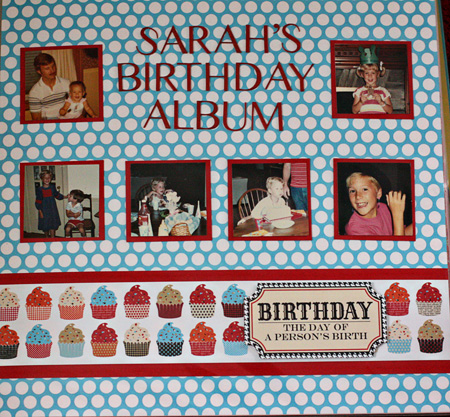
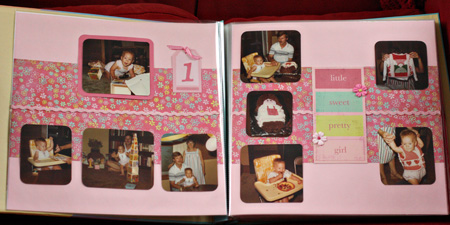
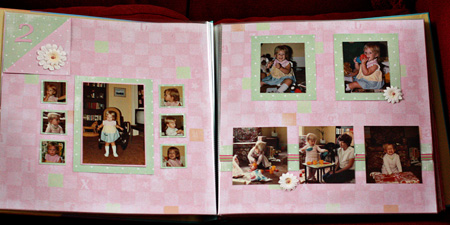
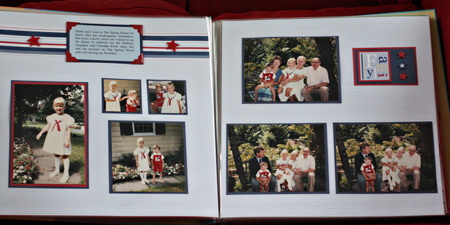
I was too lazy to take the layouts out of the album, but thought I’d share a few of the pages here. The title page was done yesterday after I punched out some 2X2 squares of extra photos. It’s interesting to me that my scrapbook style has stayed relatively consistent over the years–pretty linear and a good amount of white space.

Title

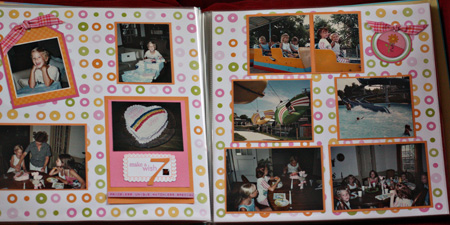
1w

2w

6w

7w

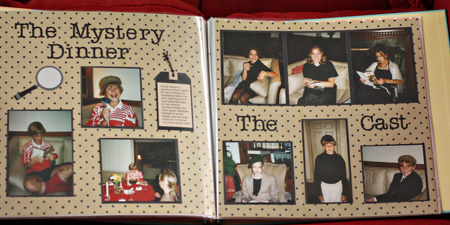
MysteryDinnerw

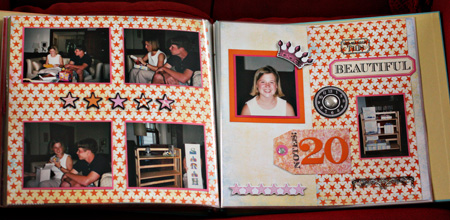
20w

The page on the right here was done as a Make & Take at CHA last July. I later ordered some of the Teresa Collins papers so it was easy to add the second page.