Skip to content

Thanksgiving Mini-Book

  • by

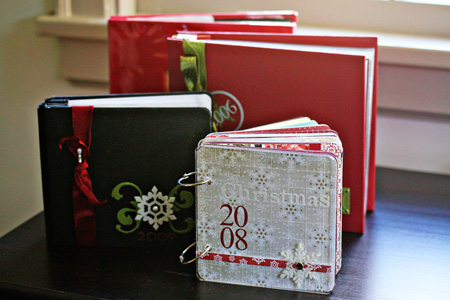
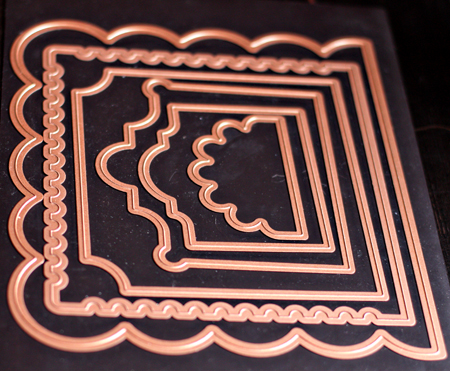
The week before CHA I received some great new dies from Scrap-Mart so I could develop some projects for their blog. As soon as I saw these Grand Nestibilities–Creative Book Pages–I knew just what I wanted to document.

CreativeBookDies

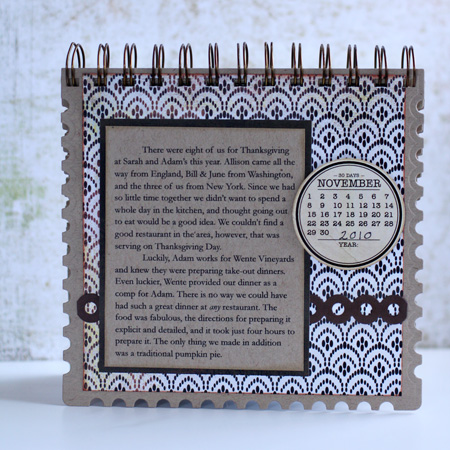
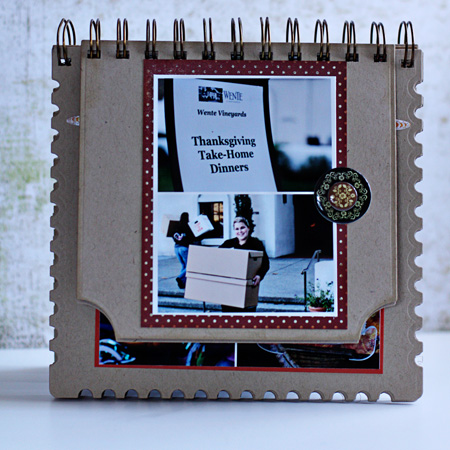
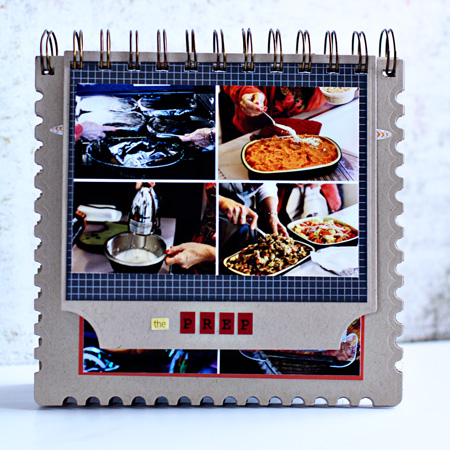
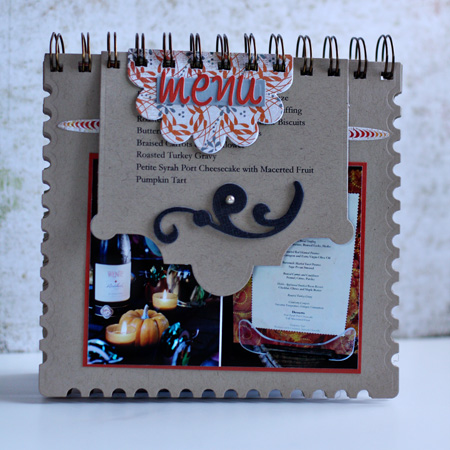
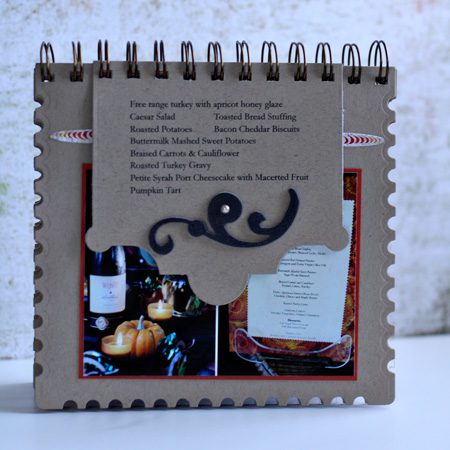
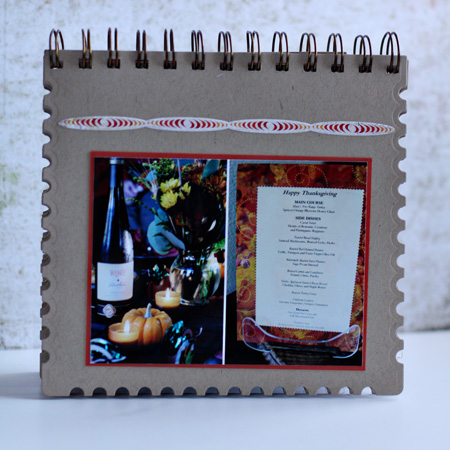
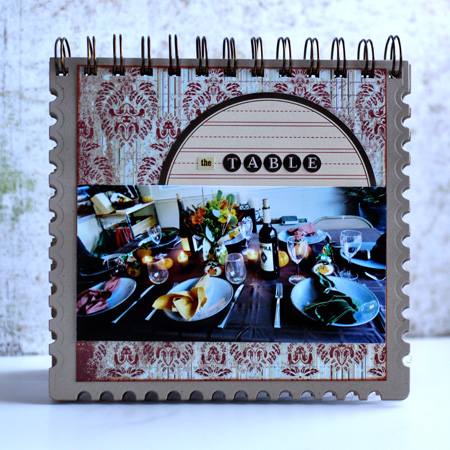
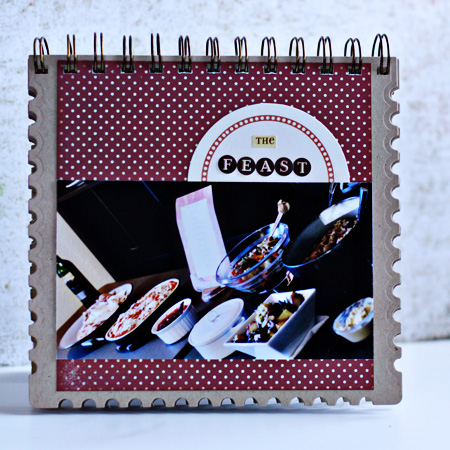
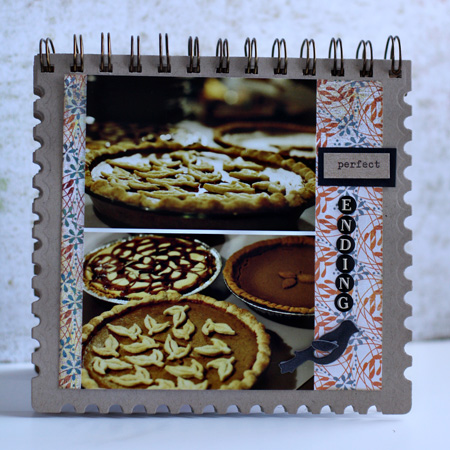
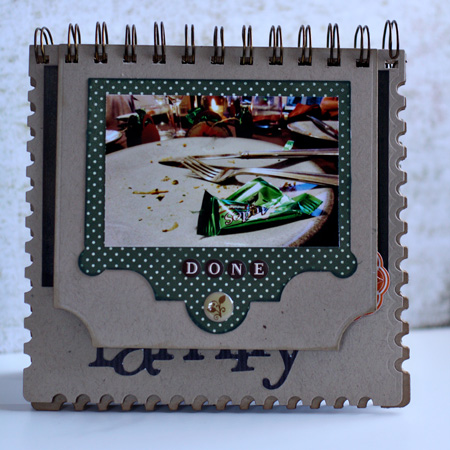
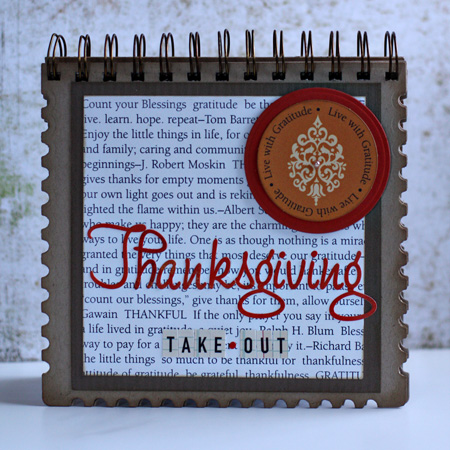
I used all but the largest one to make the mini-book and documented the amazing take-out dinner we had for Thanksgiving. One of the best things about the dies is they were designed to be bound with the Bind-it-All. I bought one with a coupon several months ago, but hadn’t had a chance to use it. I was delighted to find out easy it was. Here’s the book in pictures:

MBCover

MBJournaling

MBPick-up

MBPrep

MBMenu1

I really like these cascading pages. I started using different sized page protectors in all my scrapbooks a couple years ago, and like the flexibility and the way it looks.

MBMenu2

MBMenu3

MBTable

MBFeast

MBPerfectEnding

MBDone

MBFamily

I’m not sure why these photos seem to have a bluish cast on the blog. They seemed to be fine in PSE when I processed them. Sigh. All the materials for the album came from my stash. Most of the patterned papers are Teresa Collins or Basic Grey, and the Kraft is all Bazzill. Thanks for looking!

One Little Word–January

  • by

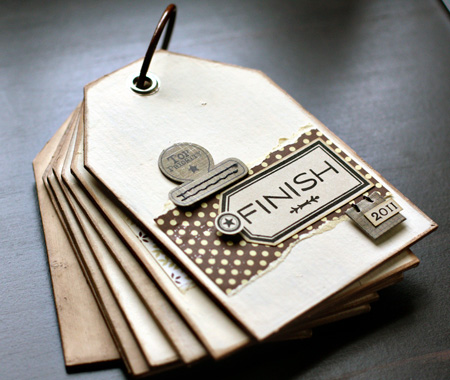
Rinda threw down a challenge earlier this month to create an art journal, book, or some method of keeping a record of your progress with your One Little Word. My word for 2011 is FINISH, and I am well aware that having some method of accountabilty helps me in any endeavor. Typically I made a book or a layout to document my One Little Word, but I’ve never done a monthly accounting. I’ve decided to join her, and created a tag book to record my progress.

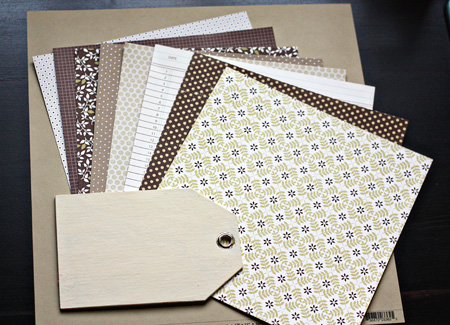
I had a set of chipboard tags from The Paper Source that I purchased for a project that was never finished. (Hah, thus my word for 2011!) I decided this was a perfect format for this project. I painted the tags with Making Memories Manila paint, and distressed the edges with Tim Holtz Walnut Stain ink. Then I chose some papers for the project. I decided to stick with Papertrey Ink papers since their colors remain consistent from one paper collection to the next. I chose a kraft cardstock and shades of brown, kraft, & cream with a bit of green mixed in for the patterned papers.

Supplies

Coverw

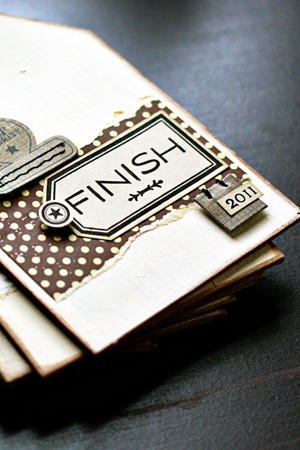
My second decision was to utilize my stamp collection rather than letter stickers. For the cover I stamped Papertrey’s Fillable Frame #9 and the word “finish” with the Fresh Alphabet. The 2011 came from Calendar Basics which I used to stamp all of the months as well as the little star detail (more about that later.) The tab and hanging tag are both from Basic Grey.

CoverClosew

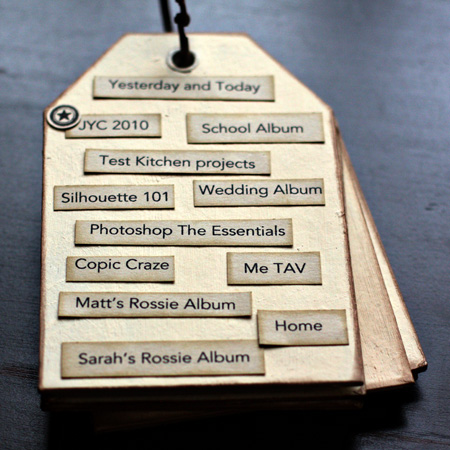
There are seven tags total. I’ll journal for each month on one side. For the back of the cover I typed up a list of projects I’d like to finish this year, cut them in strips and distressed the edges. Do I think I can complete all 12 projects? Probably not, but I think the list will help keep me focused this year. You can see one star next to JYC 2010 because I have finished that project. As I complete each project, a small star will be added next to the title.

ProjectPagew

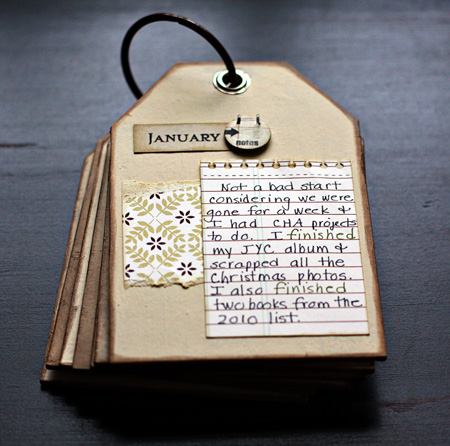
Januaryw

For the journaling I’ve decided to use Papertrey’s Spiral Notebook Page die and paper from their Library Ledger collection. It seems to be just the right size, and I’m trying to streamline this project as much as possible so it doesn’t become an unfinished project in the end. I also decided to change the color of my ink whenever I use the word “finish” as a way to accent the accomplishments. You can see I chose to add a comment about another activity as well as my papercraft projects.

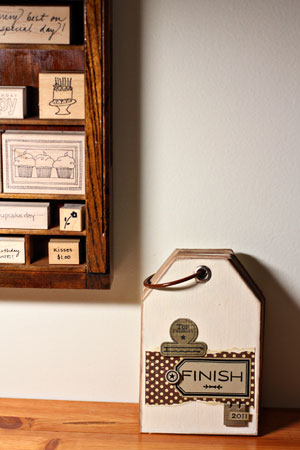
BookShelf2w

I found the perfect spot to display the tag book—on my table under my printer’s drawer that holds many of my wooden stamps. I’ll see it every day and will have a visual reminder of my focus for 2011. Thanks, Rinda! I’m not sure I would have done this without your prompting, and I’m glad I did.


Ced2011logo

I’m linking this post to Creative Every Day.


The Last of Christmas

  • by

I was just visiting Melissa’s blog where she has posted photos of her lovely Christmas Journal as well as some other great ideas for documenting your holiday. It reminded me that I have never posted the last of my Christmas layouts which I finished last week. I was really ready to put away all the Christmas papers and embellishments that were cluttering up my studio!

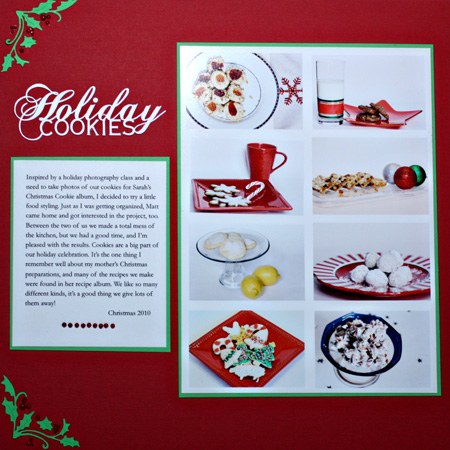
The first layout is one I did for the Scrap-Mart blog about the food styling session Matt and I had. First I arranged my photos in PSE 9. This time I didn’t use a prepared template since it was easy to get all the photos into a grid myself. I used my Silhouette to cut the title as welll as the corner embellishments for the layout. I used red pearls for the berries in the corners since red paper wouldn’t have shown up on the background. The layout came together so quickly. The rest of the patterned papers and the alpha are all from Girls Paperie collections.

HolidayCookies1
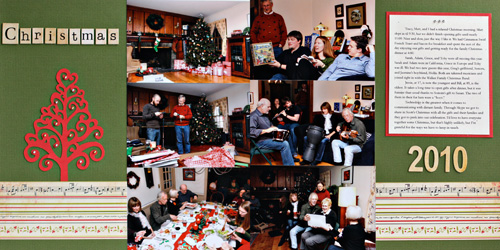
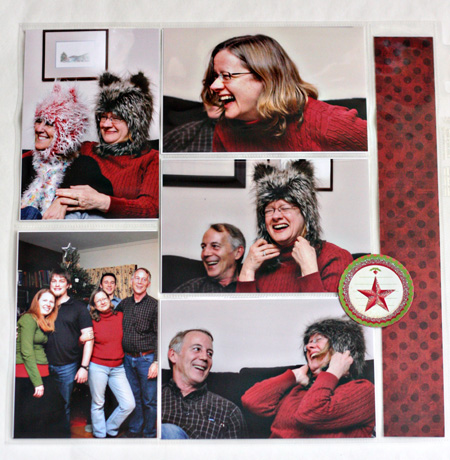
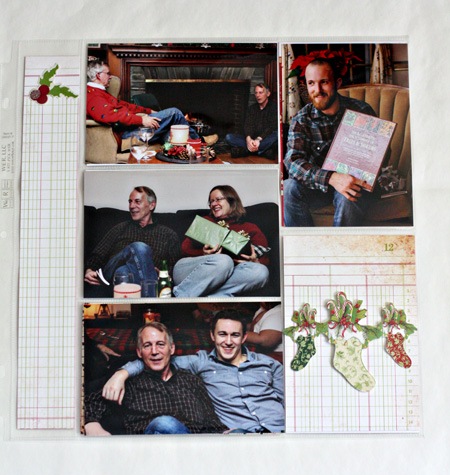
I printed about seventy photos from our Christmas celebrations this year and wanted to get them into the 2010 album. I picked six from Christmas Day that represented some of the highlights of the day and did a two page spread.

ChristmasLayout

All the papers are from Girls Paperie as well as the alpha. I used the Silhouette again to cut the gorgeous stylized tree and added silver and gold gems to it. I love that you can resize any of the images to exactly the size you need for a project. I didn’t include the journaling here since both layouts are summaries of information I shared on the blog previously.

When I was in Atlanta, I made a trip to Archivers, the best scrapbook store I know. I picked up a variety of the WeRMemory Keepers Easy Scrapbook protectors. They come in a variety of sizes and make adding extra photos to your album so easy. Here are two of the six I put together. Some pages are all photos, but when I didn’t have enough photos to fit the design I used some patterned papers.

PhotoEasy1 PhotoEasy2
Melissa shared some information about using Christmas cards. The stocking embellishment here came off a Christmas card we received two years ago.

We’re Here!

  • by

PlaneRockies11.19wTaken with my iPhone

We had an uneventful and smooth flight to San Francisco yesterday and were in Livermore by 1:00 California time. We just hung out at Sarah and Adam’s last night, glad to be together. The last time all five of us were together was last May; too long.

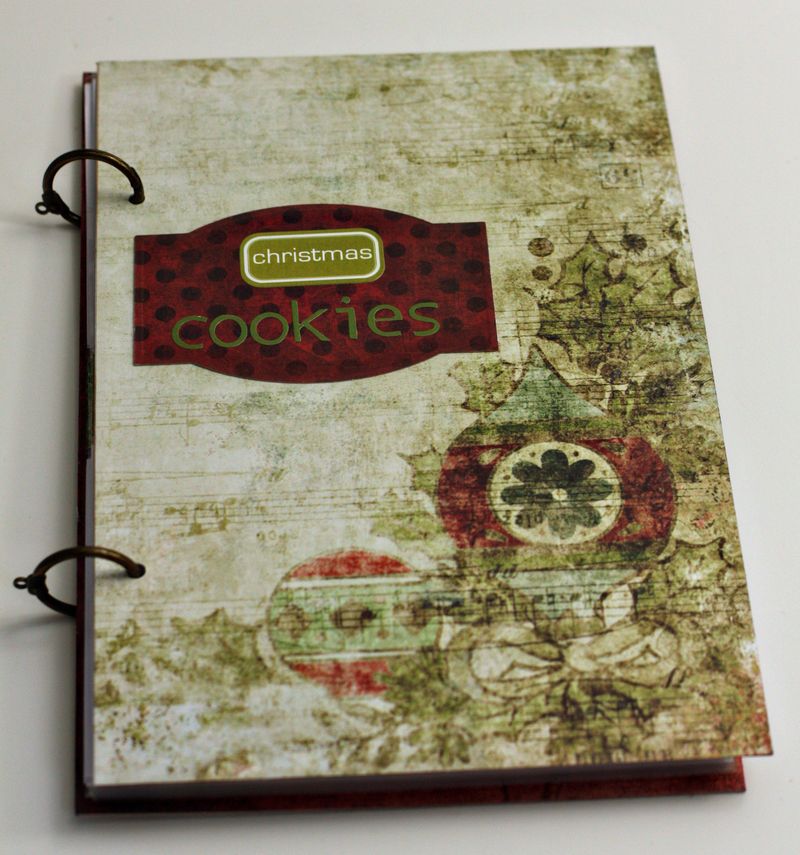
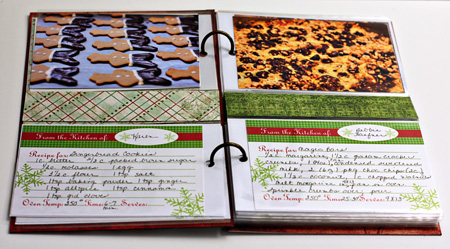
Today is cookie day. One of Sarah’s requests while we are here is to get her Christmas cookies started. I completed a number of projects last week and one of them was a Christmas Cookie album for Sarah.

CookieAlbum

All the papers except the inside covers are My Minds Eye from the “Holly Jolly” collection. The inside covers are Basic Grey “Wassail” papers from my Christmas box of scrap goodies. I had a terrible time finding Christmas recipe cards but finally found some in the $1 spot at Michaels.  The sticker on the front is also from my Christmas box. It’s by fontwerks, but I have no idea how old it is. The letter stickers are from one of the first scrapbook kits I ordered from QVC many years ago when I was just getting started. It was nice to use up some of these older supplies.

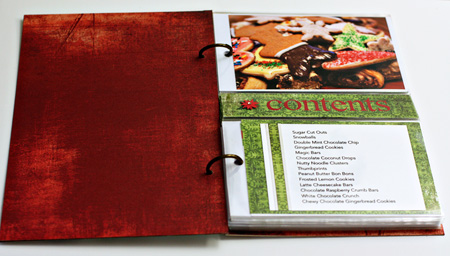
ContentsPagew

The photos are from previous Journal Your Christmas albums. I still need to fill in a few for her, but have a list of what’s needed when I start baking in early December. This photo is of cookies on one of the many cookie trays I send off to friends.

CookiePagesw

Here’s a double spread. It’s funny that in this photo the middle strip on the left looks much wider than the one on the right. Needless to say, they are identical. I chose a paper printed on two sides so the pattern alternates, and I only needed to cut one strip for two pages.  When it was appropriate I added a note on the back of the recipe with a bit of history about it, or whose favorite cookie recipe it was. I think Sarah was pleased to receive this, and it was a lot of fun to make. I added a lot of extra pages with blank recipe cards at the back so she can add her own recipes and those from Adam’s family as she collects them.


Journal Your Christmas 2010

  • by

I’ve completed four Christmas journals and although each one is different, I love them all. Only the first one followed the prompts in Shimelle’s Journal Your Christmas class, and it’s the only one with a page for each day of December. After that I combined a variety of prompts or made up my own. Looking back at them, I’m so glad I kept track of the little things that made each holiday season a bit different. Each of my albums have been a different size and a different format, and I like that, too.

  ChristmasJournals

Every year I try to decide how I want to proceed. I’ve never really followed Ali Edward’s December Daily process, but her initial post really inspired me. Combined with Shimelle’s class (free every year after the first one), Jessica Sprague‘s notebook “Holidays in Hand” which I completed last year, and Tracey Clark’s upcoming class Picture the Holidays, I think I’m going with a December Daily format this year.

I’m also going to use the same set-up Ali showed on her blog:  transparencies followed by a journaling and photo page. I downloaded the journaling/photo pages over the weekend from Designer Digitals and will use them either digitally or print them out; probably a combination of both. I went through my Christmas stash and found a few transparencies as well as a few in other collections that should work well. Now I have my eye out for the rest I will need to purchase. A few years ago I purchased some lovely red chipboard which will be perfect for the cover. I need to get all of this put together so when we return from California (arriving here a few minutes after midnight on December 1) I’ll be ready to go.

Scrapbooking the Weekend

  • by

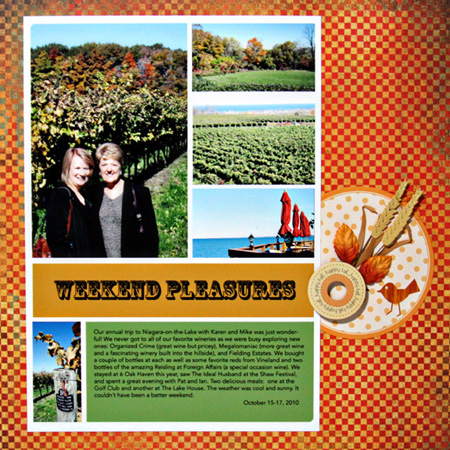
On our way to Canada, I stopped in my favorite stamp/scrapbook store in Buffalo. We don’t have anything like it in Rochester, so I’m always anxious to see what’s new. I picked up a Tim Holtz stamp set, a Hero Arts set of leaves, and a few papers and ribbons. I bought just one sheet of a Basic Grey Whiskers & Whiskers paper. It just called out to me for a fall layout, so yesterday I put together a quick layout of photos from our weekend in Canada.

   WeekendPleasuresW

I started with a digital template from Moon Ko which I’ve used in the past. I like the combination of landscape and portrait photos that it accommodates. Once I printed that out, I wanted some embellishment. I so envy people like Sian who seems to pull together the most wonderful collections of items into beautiful focal points on layouts. It’s not a natural process for me, so arranging the items on the journaling circle from my Scrapbook Circle kit took longer than doing the digital template. I’m happy with the final result, though. There’s a wooden ring with sticker from Sweetwater which has been in my stash for years, two leaves from Prima, a sticker from Jolee, and one of Studio Calico’s new rub-on birdies. I fell in love with them at CHA.

I finished taking the photos and writing my post for this weekend’s “Let’s Eat” Blog Hop. Are you ready?

Scrap-Mart Projects

  • by

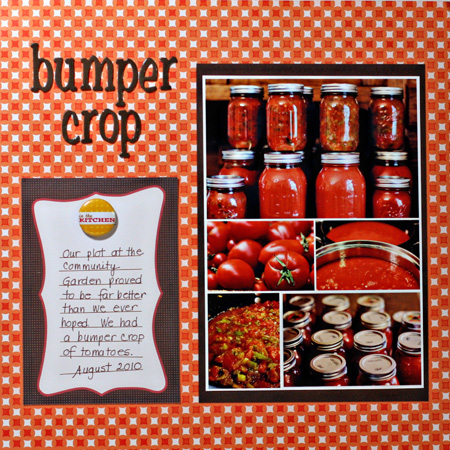
I’ve had several projects go live on the Scrap-Mart blog, and I often forget to share them here as well.

BumperCropLO

Sadly the bumper crop of tomatoes has ended, and we need to get over to the garden this week to clean it out. Our investment in the Community Garden plot was returned many times over this summer–both the financial and time investments.

SMApples

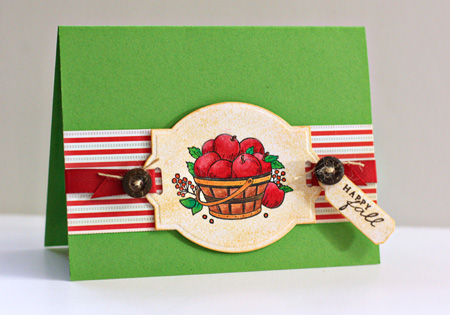
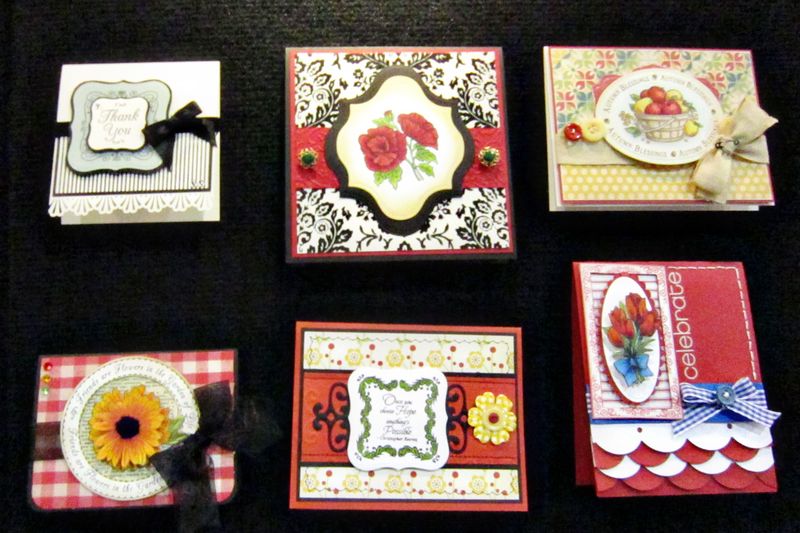
I love this “Autumn Blessings” stamp from Just-Rite. I colored it with Prisma colored pencils and then sponged some ink on the Scrap-Mart exclusive Nestability. It’s become one of my favorites. So many images seem to look good on it.

FarmersMarketLO

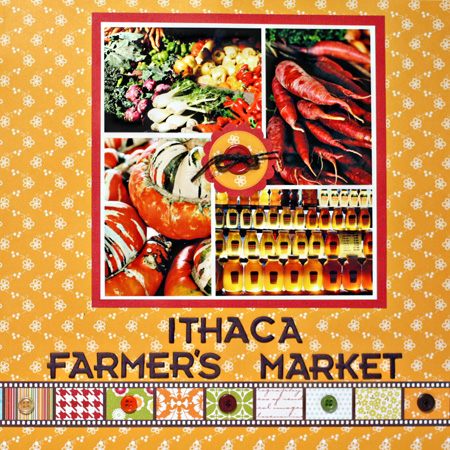
As usual, the layout looks a bit crooked in the photograph. I’ve been investigating some different options for photographing projects. Does anyone have a process (or product) that works for them? Our house is so dark I always need some artificial lighting. And I’d love to get more reliable results when taking photos of scrapbook pages that are too big to be scanned.

This layout uses new Jillibean papers from the Pasta Fagioli line which I love.


Playing with Shutter Speed & Studio Pics

  • by

Today’s post for 31 Days to a Better Photo dealt with shutter speed. It seems to me from my reading that most people understand shutter speed before they understand aperture. I had the opposite experience. Before I started shooting in manual this year, I almost always shot in aperture priority. Occasionally I would play with shutter speed, usually while shooting water in a fountain or a waterfall, but I rarely got what I hoped for. After today’s exercises I feel more comfortable with shutter speed, and know that one of the problems I’ve always had in the past is not using a tripod.

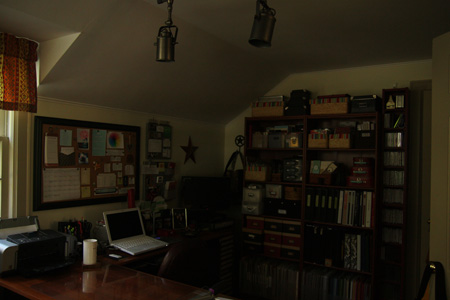
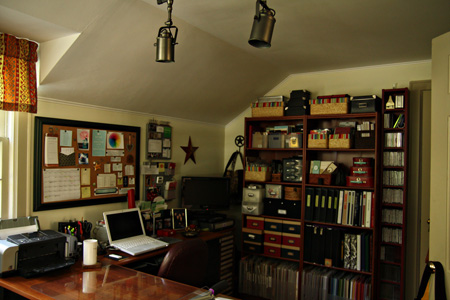
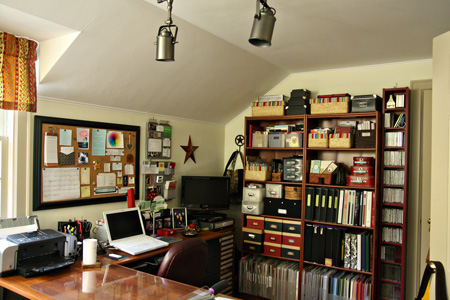
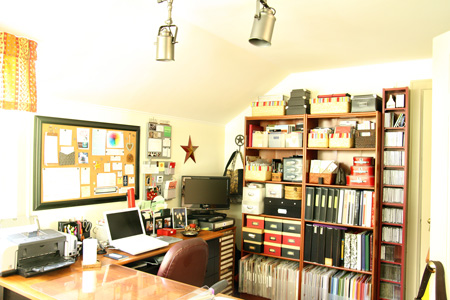
I’ve been planning a post about my new studio for a while, but have had trouble getting the shots I wanted, primarily because of the lights in the studio. Although this room has more light than my last one, our house is generally dark, and we need artificial light most of the time. Today I put the camera on the tripod, and practiced two techniques (in addition to changing shutter speed) that I picked up on Kent Weakley’s blog:  depressing the shutter button with almost no movement with your index finger, and using the self-timer set at 2 seconds. Although I got good results with both, I much prefer the self-timer. So here are the photos from the shutter speed experiment.

1:125_2.8w
Shutter speed 1/125

1:30_2.8w
Shutter speed 1/30

1:8_4.0w
Shutter speed 1/8

0.6_4.0w
Shutter speed 0.4

The best of the lot is #3, and I would never be able to get a sharp picuture hand holding the camera at that speed. Although the last photo is very washed out, it has an artsy feel to it that I don’t mind. These photos show the main work space in my new studio. The corner desk actually divides the room into two area. The TV in the corner in on a wooden stand Tracy made years ago to hold my wooden stamps. The shelves hold paper, supplies, notebooks, embellishments, alphas, and paper pads. Using lots of baskets maximizes the space there.

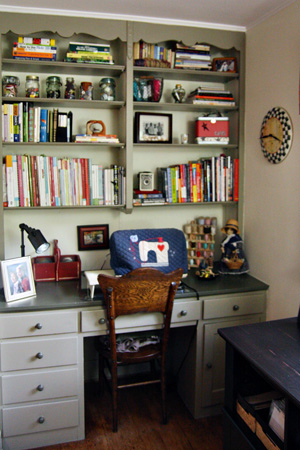
This room also has a built-in desk. I gathered all my books from around the house and brought them all into the studio so I have a shelf of books about scrapbooking/cardmaking, a shelf for photography, writing, computer manuals, and a few favorites. I also have room to display some photos and special treasures I’ve picked up in our travels. My sewing machine has been set up in this room for over a year. The drawers now house all of my sewing supplies as well as some office supplies.

SewingDeskw 

DeskBookshelvesw
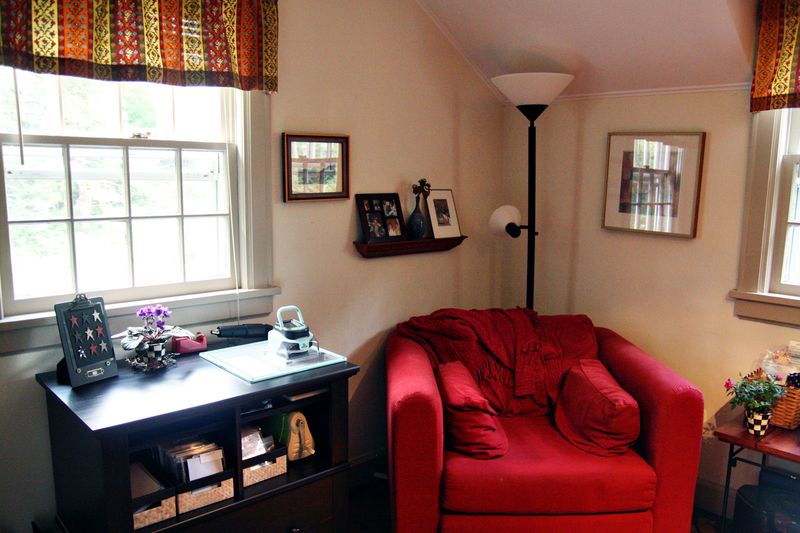
At the same end of the room is a reading and die cutting station. I’ve had my Cuttlebug and dies in this room for nearly a year as well, but I purchased a lateral file that matches my desk to create a die cutting table. My Slice sits on top, and the Cuttlebug, dies, impression plates, and embossing folders are on the open shelves. In the file drawers are all my paper scraps filed by color, alpha stickers, and some patterned papers. In the corner is my wonderful red chair from LL Bean that folds out to create a single bed if needed.

ReadingCorner
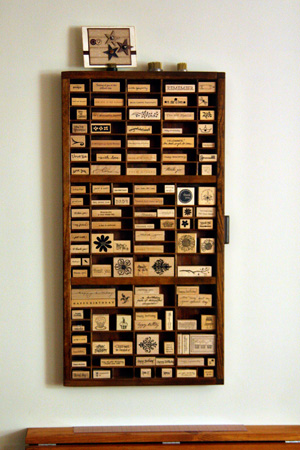
Behind my desk and between the door to the room and the closed door is my fold-up table from IKEA. It was one of the best $19 I ever spent. It’s mounted to be counter height so if I want to stand to put together a layout I can, but it doesn’t take up much room when collapsed against the wall. Above it is a printer’s drawer I refinished a year or so ago where I house most of my wooden sentiment stamps. The table isn’t centered under it because I wanted to be able to open the closet door when it’s up. I now have an Ott clamp light for the table, and keep it up most of the time.

Printer'sDrawerw
Really, I can’t believe I fought this move for so long. I absolutely love everything about it. It’s so easy to find everything, and very quick to put away the terrible mess I always make when creating. The best part is that both Tracy and Matt come in here to visit much more frequently now. It really is a very inviting place.

California Scrappin’

  • by

I didn’t take many photos the week I spent with Sarah, but I printed three of them the other night and got layouts done for all of them.

Ride?LO
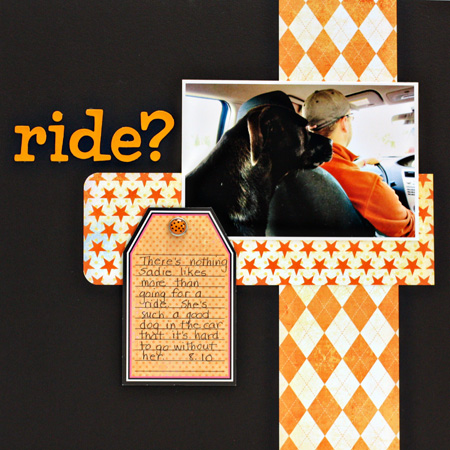
I love Sadie, Sarah and Adam’s dog. She LOVES to go for a ride in the car. Here she is as Adam and Sarah take me to the airport to fly home. All the papers and the tag are from Teresa Collin’s new line “Freestyle.” It was one of my favorites at CHA, and I couldn’t wait to use them once they arrived this week.

PrettyFeetLo
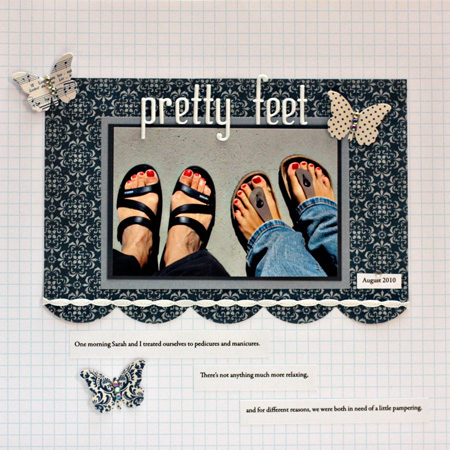
I joined a scrapbook club again a month or two ago. It had been some time since I’d belonged to one and I decided on Scrapbook Circle. The cost/month is very reasonable, and so far I’ve been pleased with the variety of product that arrives. If I don’t keep up with using it, I’m sure I’ll give it up as I have a few others I’ve tried in the past. The background paper is old Scenic Route. I love the graph paper and bought a lot of it before they went out of business. The Paislee Press patterned paper, and Jenni Bowlin butterflies were from the kit. The alpha is a new one I picked up at CHA from American Craft, and I found the ribbon in my stash.

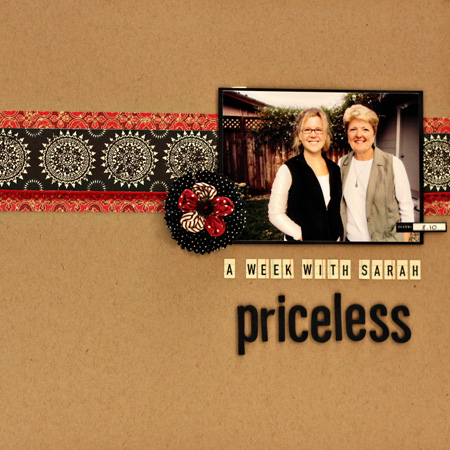
I always make my kids pose for photos when I’m with them. Adam took this shot of Sarah and me before we left for the airport. The title says it all.

PricelessLOw

The patterned paper is an older Collage Press line. Like the  Scenic Route I bought some extra when it was being discontinued. I have no idea where the fabric medallion came from, but the flower on top of it is from Maya Road. And the ribbon is from my stash. The small alph is October Afternoon and “priceless” is my fave–American Craft Thickers. I just noticed that the strips of patterned paper seem a bit crooked in the photo. Absolutely straight IRL. 🙂

CHA Consumer Super Show

  • by

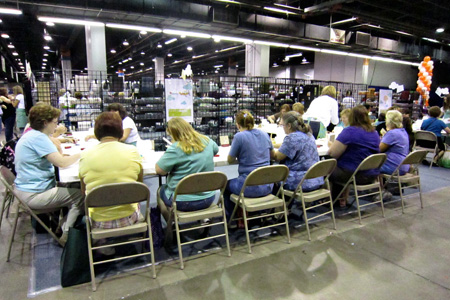
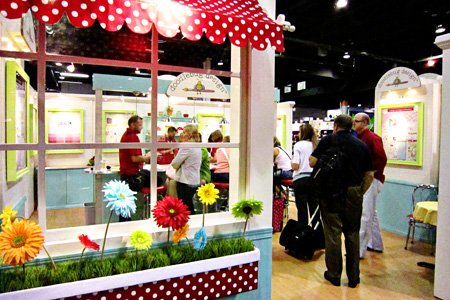
The CHA trade show started on Monday and went through Thursday. I spent Tuesday and Wednesday there. Cruising the show as Howard and Laura met with the manufacturers to decided what they will order was truly an education on what it takes to produce and create the products that we all love seeing hit the  scrapbook stores. On Thursday Howard, Deb, and I set up the Scrap-Mart booth for the CHA Consumer Super Show. I think the last time I worked this hard was the day we moved into our current house about 25 years ago. 

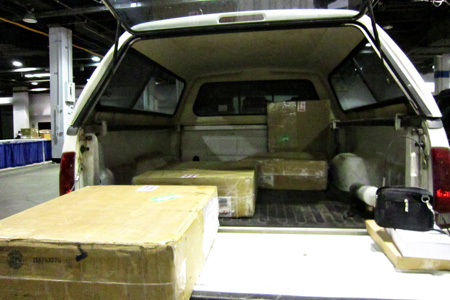
We started by unloading Howard’s truck. It was packed solid from floor to roof, and that was just a small portion of the product that was delivered to the booth.

Truckw

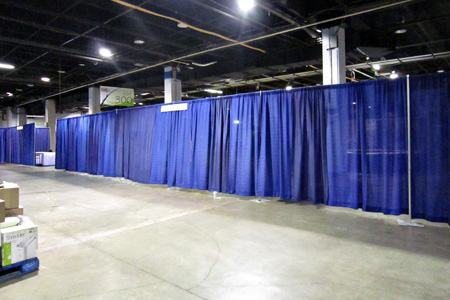
It took almost 11 hours to go from this:

EmptyBoothw
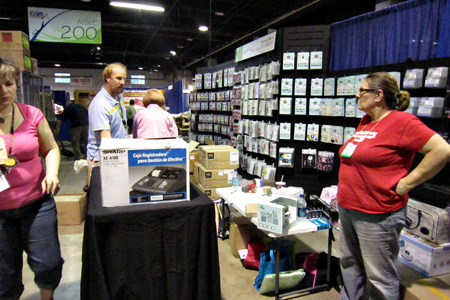
To this:

SMsetupw 

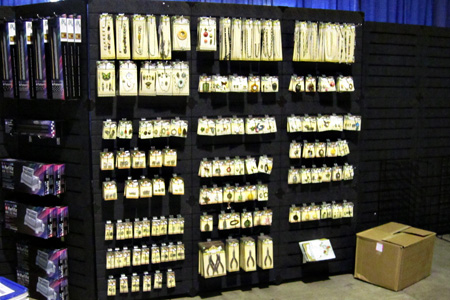
And it still wasn’t quite done when I snapped this shot. Scrap-Mart carries a wide range of products. Deb and I unpacked, checked off, priced, and hung the new Making Memories display of Vintage Jewelry.

VintageFindingsw

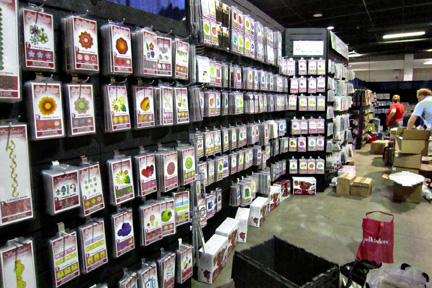
This shot shows the Spellbinders display. Beyond that is a wall of Just-Rite, then Making Memory Slice, Eclipse machines and supplies, Xyron machines and supplies, the Vintage Findings display, American Crafts papers, Thickers, and embellishments, then Copic and Triart markers, as well as the Cuttlebug and Cuttlebug products. Tables held piles of American Craft cardstock.

SMSetup5

I had seen a Scrap-Mart booth twice before—once in Buffalo where I first discovered Scrap-Mart and then in March in Pleasanton, CA when I first met Howard and Laura, the owners. I remember being overwhelmed in March by the amount of product, but never gave much thought to how it got set up. Now I know. On Friday and Saturday we manned the booth. Friday was incredibly busy and we never sat down from the time we arrived at the convention center about 9:00 am to finish pricing and setting up, to noon when the show opened and to 8:00 that night when the show ended for the day.

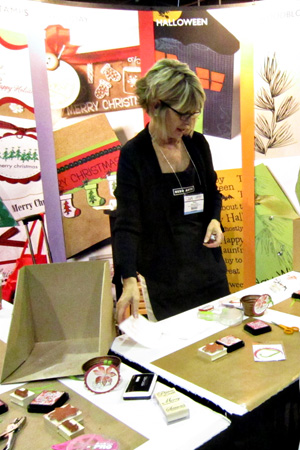
Saturday wasn’t quite as busy so I was able to visit the Papertrey Ink booth, pick up some stamps and supplies, and do a Make & Take with Dawn McVey.

PapertreyM&Tw

DawnMcVeyw

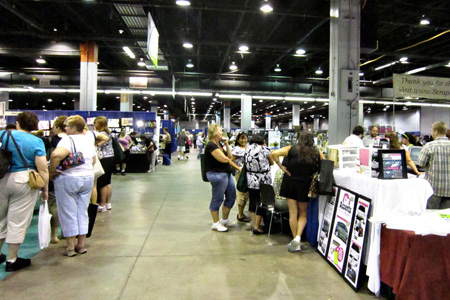
This is a view down the aisle at the Super Show. It was really fortunate for my budget that I didn’t have time to shop any of the other booths.

SuperShoww

It was a great show, and despite the hard work, I had a great time. I was really tired by the time I got home, so I have to admit it’s been very nice to be here at Sarah’s this week where I can just hang out and relax.


CHA: Part 2

  • by

There were lots of things I liked about attending CHA:  seeing new product, spotting folks I know through the internet, looking at fabulous sample layouts and cards, getting demos of new products, doing make & takes, and looking at the wonderful booth designs. I left my make & takes at home when I came to California so I’ll have to save those for a later post. I’ll also have another post about the CHA Consumer Super Show.

Here are some of the things I liked at CHA:

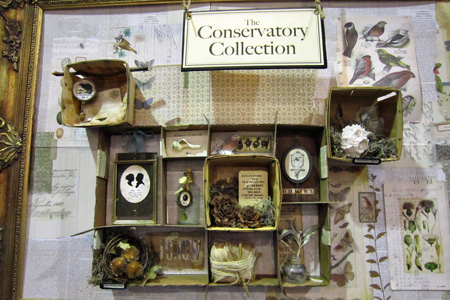
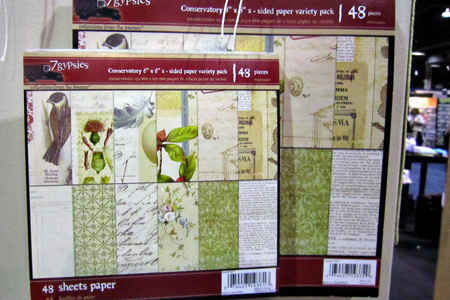
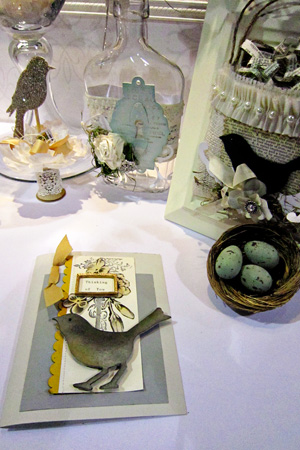
The display and the product for 7Gypsies Conservatory Collection:

7GypsiesCollage 

7GypsiesConservatory

7GypsiesSamples

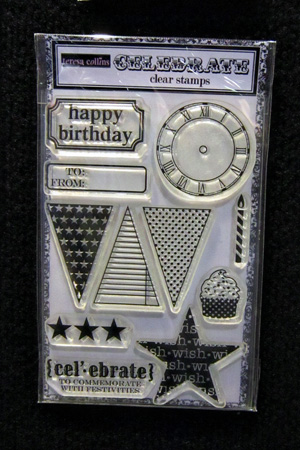
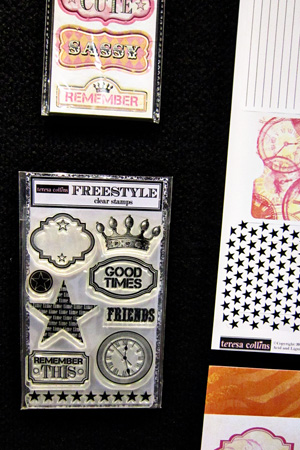
I did a great make & take at the Teresa Collins booth. Here new collections—Freestyle, Celebrate, and Noel–are at the top of my wish list for the fall. Strangely enough I only took photos of the stamps for two of the sets. If you click on the link it will take you to one of her blog posts that shows the papers. I loved the papers, the tags, the transparencies, the stamps . . . the whole package!

CelebrateStamps

FreestyleStamps

It was fun to watch everyone crowd around Tim Holtz at the Ranger booth.

TimHoltz1w

This was a display at the Ranger booth. There were so many great vintage items displayed with the new products.

TimHoltzDisplayw 

I liked this one at Little Yellow Bicycle that highlighted their new Savor line.

SavorDisplayw 

LYBSavor 

The Doodlebug booth was about as cute as any at the show, and their products exude cuteness too!

DoodlebugBooth 

DoodlebugSamples

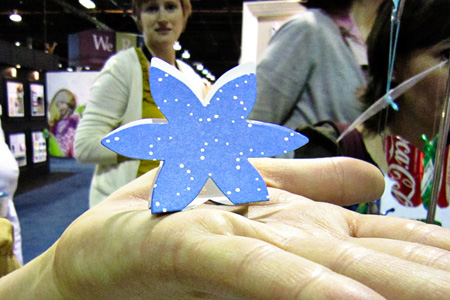
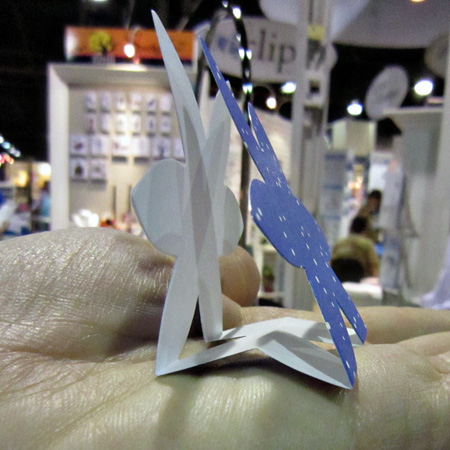
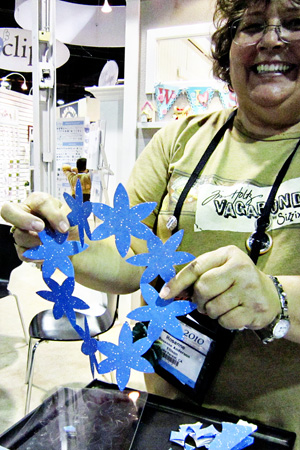
We got an amazing demo at the Sizzix booth on how to cut folded papers into fabulous shapes using their dies.

SizzixFolds

Fold&Cut2

Fold&Cut1 

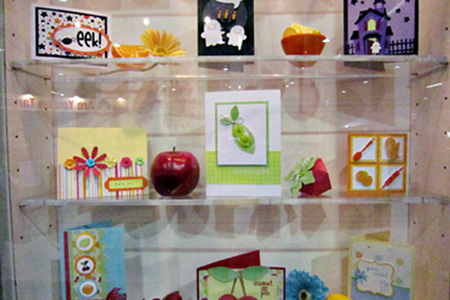
Just-Rite Stamps had shelf after shelf of beautiful samples. I came home with an Autumn Blessings set I can’t wait to ink up.

JustRiteSamples 

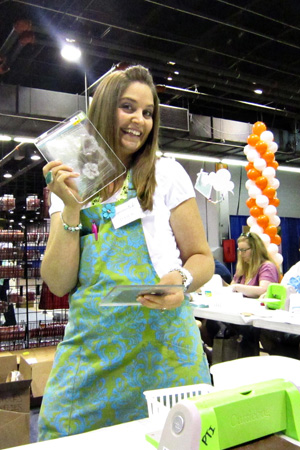
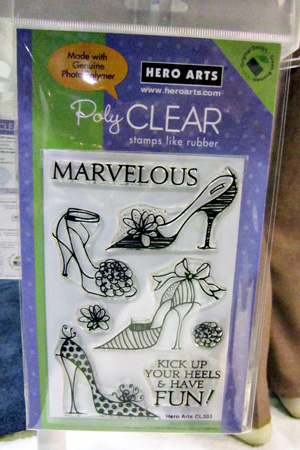
I did a Make & Take at Hero Arts with Sheri Carroll; so much fun to “meet” the folks you “see” on blogs week after week.

HAMake&Take 

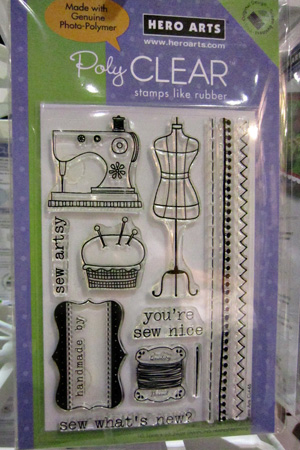
Here are a couple stamps sets I particularly liked from their new designs.

HAStamps1w 

HAStamps2

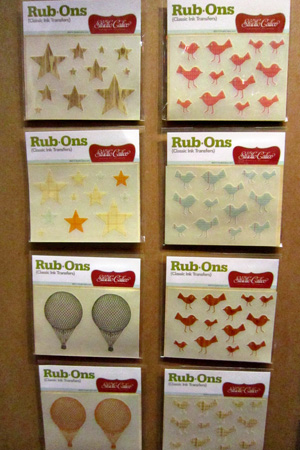
Studio Calico has some great new products coming out. I’ve already pre-ordered some of their new mists including a white opaque one. These rub-ons go on like butter. I did a make & take here as well.

SCRubons 

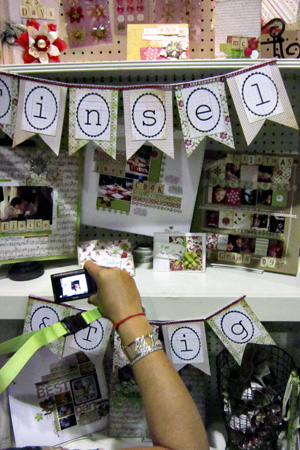
Some of my favorite samples were at the Girls Paperie booth. I wasn’t alone; it was really hard to get close enough to take a photo.

Tinsel&Twig
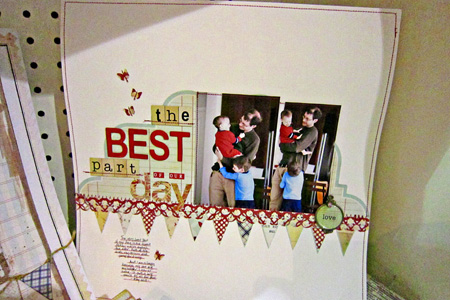
This layout is one by Karen Grunberg:

GruneburgLO 

There was so much to see and take in that it can be overwhelming. Everyone was talking about how small this show was compared to the winter show. It was plenty big for me, and certainly was not a disappointment!

CHA: Part 1

  • by

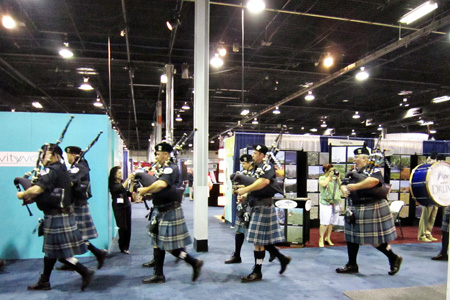
I’ve taken 250 photos in the last two days, but don’t worry, this post is photo heavy, but not nearly THAT heavy! Being at CHA is like being a kid in a candy store. There is so much to see, and lots to learn. My understanding is that this is a smaller show than the winter one, but it’s plenty big for me! Yesterday the show opened with a bagpipe parade. This is a traditionally done for the manufacturers before the doors were opened, and we were lucky enough to be inside to see and hear it.
Bagpipersw

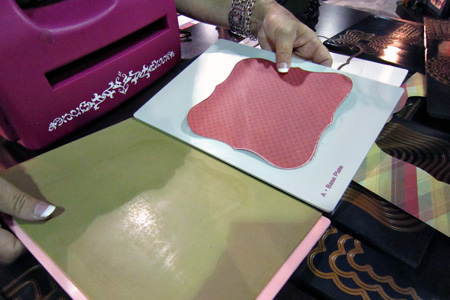
One of the first booths we went to was Spellbinders. Their Nestability dies are my favorites and the big new product is large format dies. They are fabulous, and can be used in scrapbook layouts as mats, as books, and as cards.
Nesties2 

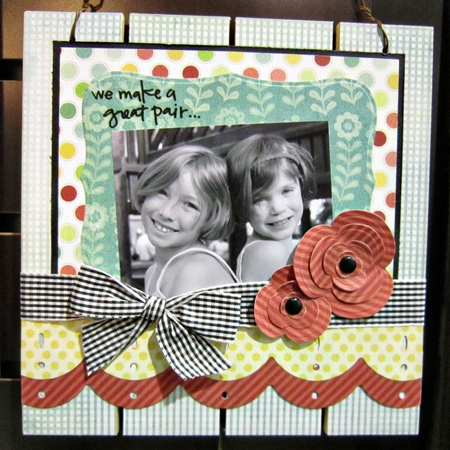
One of the best things is seeing all the samples by the manufacturer’s design teams. Here’s a layout using one of the large format dies.
NestiesLO 

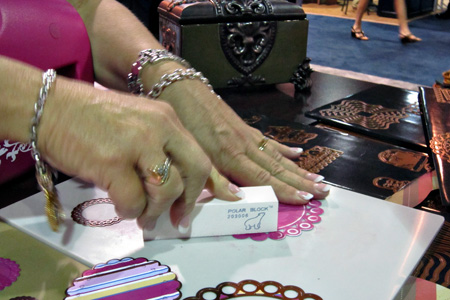
Learning some new techniques has also been one of the benefits of being here, and I’ll have more to show you in the next post.
Nesties 

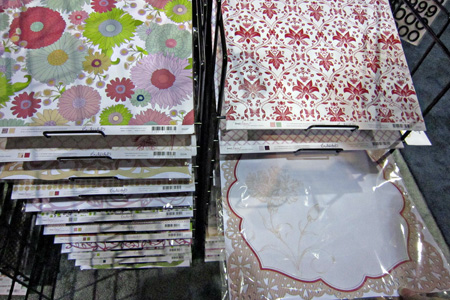
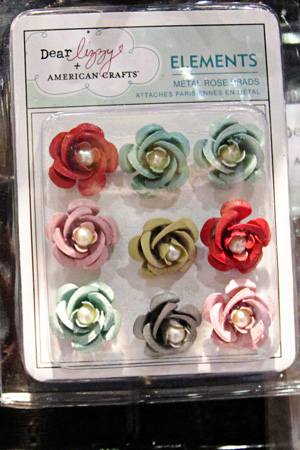
The American Craft booth had fabulous new papers, embellishments, and Thickers. Some of my favorites were from the new Dear Lizzy line. We got to meet and talk to Elizabeth Kartchner who couldn’t be nicer.
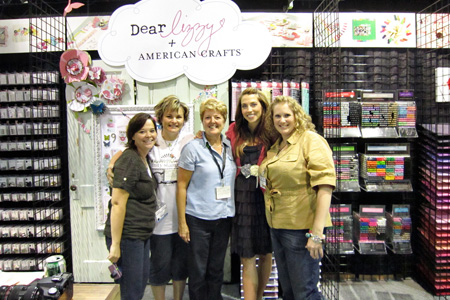
EKartchnerUsw

Laura, Eva, me, Elizabeth, and Katie
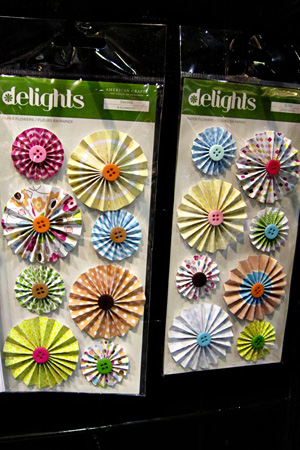
ACPaper
ACEmbellish1
ACEmbellies2 

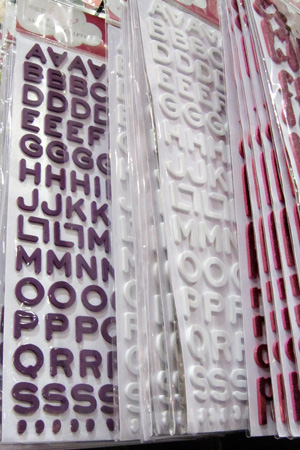
I love these new Thickers.

ACThickers 

Next stop was the Making Memories booth. These wonderful butterflies are just one example of the great decorations, hard work, and thought that goes into creating these booths.
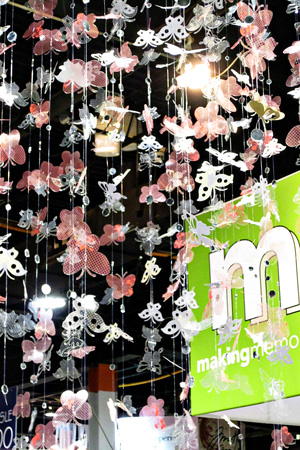
MMButterfliesw 

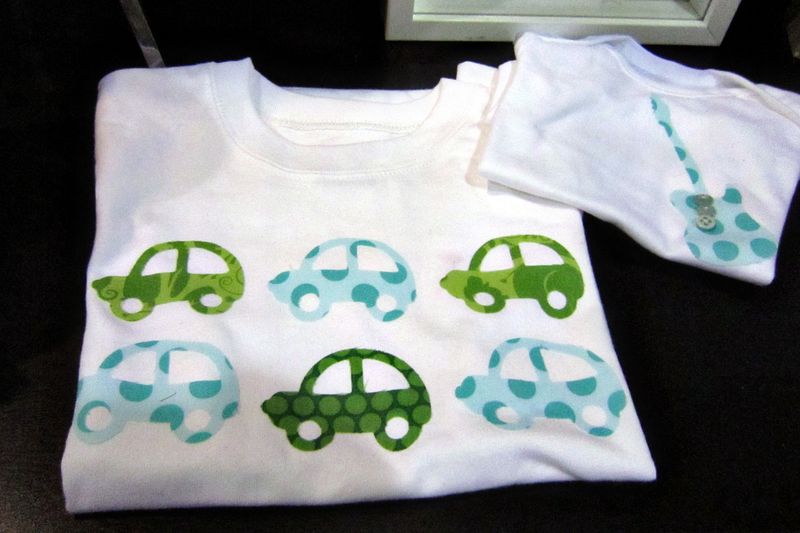
The Slice now has a new cartridge that cuts appliques. How cute are these?
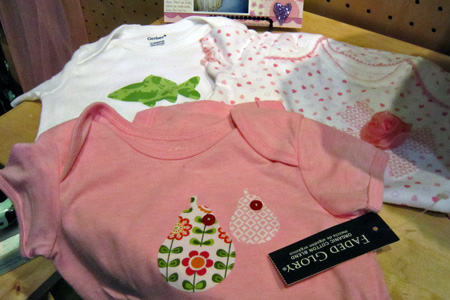
MMOnsiesw
MMOnsies2 

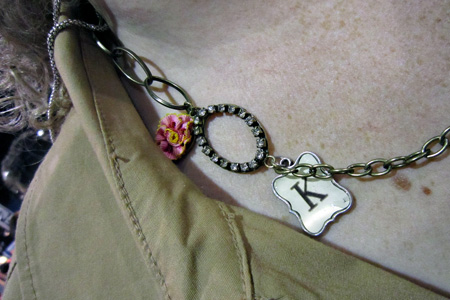
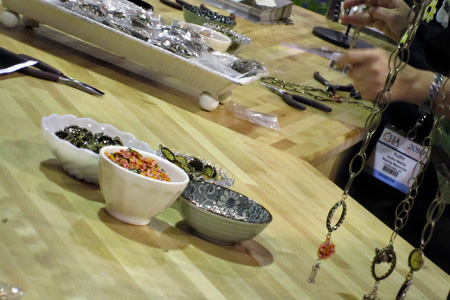
They were doing Make & Takes with their new Vintage Jewelry line.
MMJewelryw
Here’s Katie’s.

Katie'sNecklace 

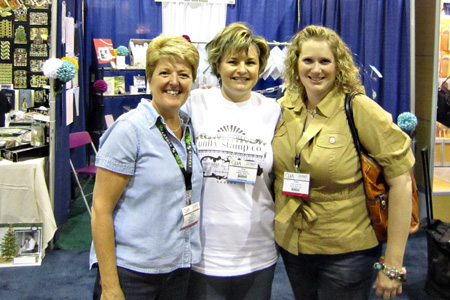
This was my first opportunity to meet Katie and Eva who are on the Scrap-Mart Design Team with me. They are, of course, just as nice in person as they are online!
KarenEvaKatiew
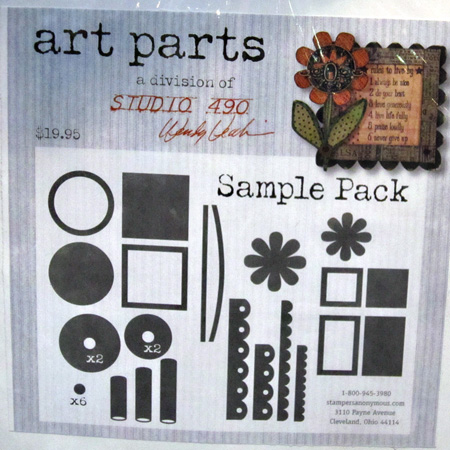
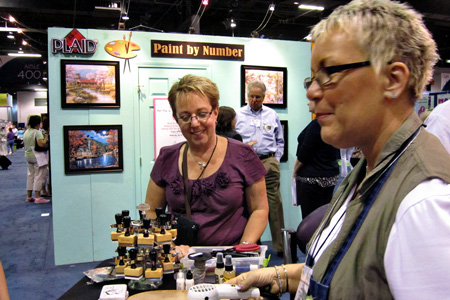
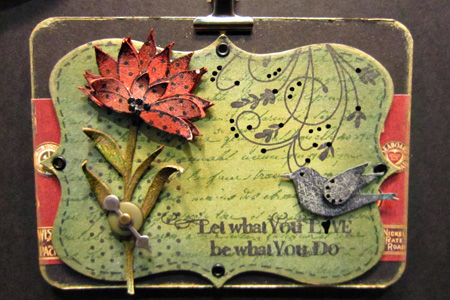
I even bumped into Sharon Klima, the owner of Buffalo Stamps and Stuff. We were both watching a fabulous demonstration of Art Parts by Wendy Vecchi. Wendy’s coming to Buffalo to teach a class in September and I hope I’m able to go. I loved her work.
Sharon&Wendyw 

ArtPartsArt 

ArtParts 

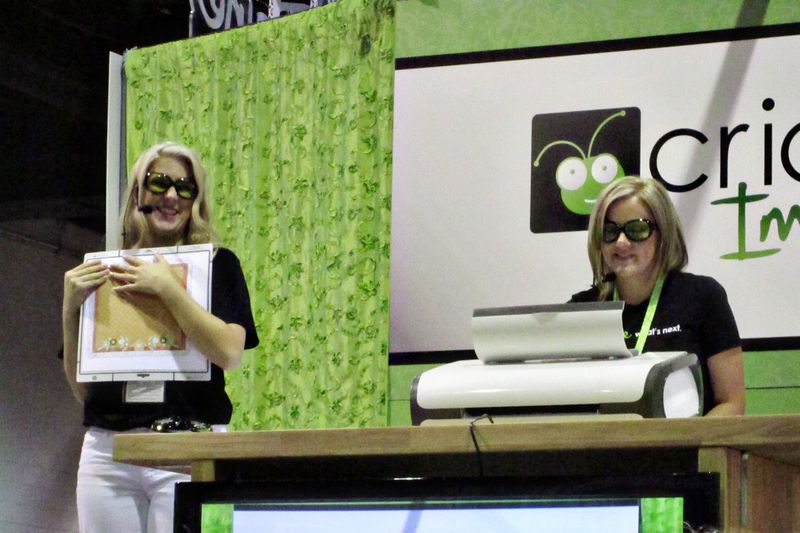
But the best part of today was winning not one, but two raffles. First I won the Martha Stewart Cricut Cake machine which I handed over to Laura since I’m not ever going to be a professional baker.
CricutRaffle 

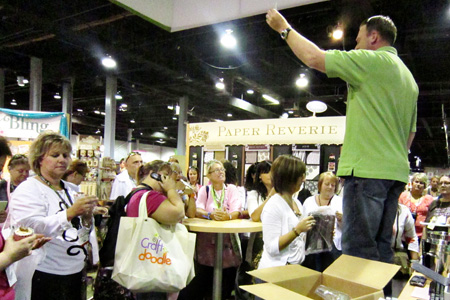
That was at 11:00 and at 2:00 I won a Slice machine! Can’t beat that kind of luck!
MMRafflew
Tomorrow we set up the Scrap-Mart booth for the consumer show on Friday and Saturday. I’ve learned a lot about what it takes to run a business in this industry (and it ain’t easy!), and tomorrow should be another learning experience. I’ve got more to share as soon as I have time to get the post written.
Love Your Pictures, Love Your Pages: Layout for Prompt 11

  • by

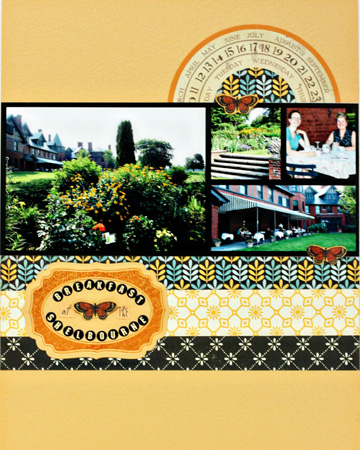
One of Shimelle’s sketches featured a page-wide panorama-style photograph which I liked a lot. Amy created one that I loved, but I wanted to scrap some of the photos from our recent road trip and couldn’t choose just one. So I modified the sketch by using one of Cathy Z’s templates (#8) turned sideways. It worked perfectly. I thought I would have Prompt 10, 11, & 12 completed by now, but it’s been a busier weekend than I anticipated and scrapping is rarely a quick event for me. I couldn’t find any place for the journaling so I’m putting it on the back of the layout with a brochure from the Shelbourne Inn.
BreakfastLO 

Cardstock: Bazzil; Patterned paper: October Afternoon & Basic Grey; Alpha stickers: Jenni Bowlin; butterflies cut from a sheet of Graphic 45 tags, Botaniabella; Stamp: Vintage Label 4 Waltzing Mouse; Journal card: MME; template: CZ Designs #8

Love Your Pictures, Love Your Pages: Inheritance Layout

  • by

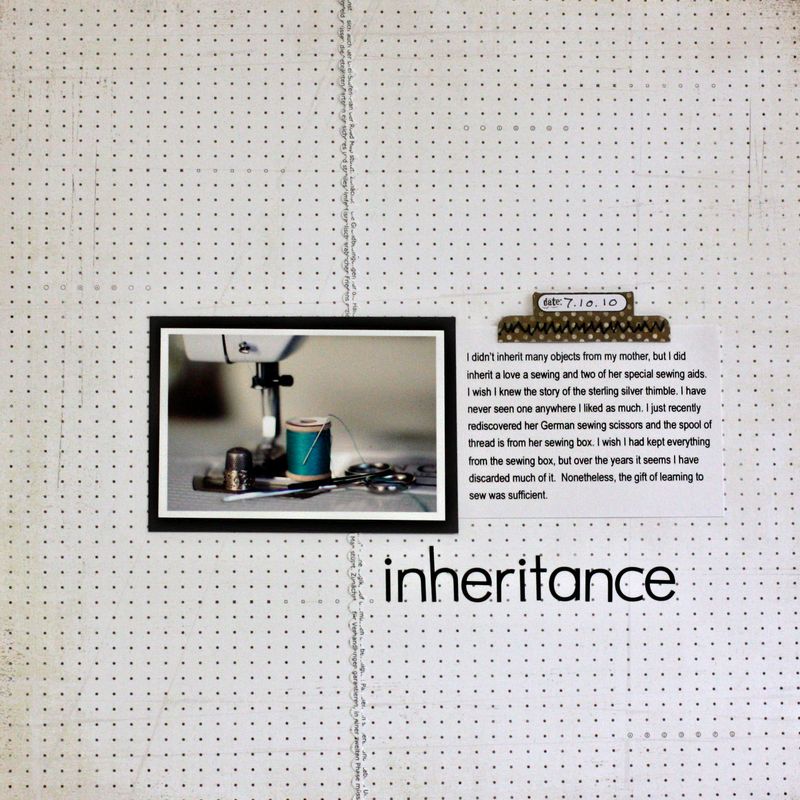
This layout is based on one of Shimelle’s sketches and a wonderful digital layout by Amy. After I took the photos for this photo prompt, I knew I wanted to scrap one of them. I decided that the photo with my sewing machine and my mother’s tools best supported my “story.”
InheritanceLO

Patterned paper:  Basics by Basic Grey; Sticker border & tab: Basics by Basic Grey; Cardstock: Smoky Shadow by Papertrey Ink; alpha stickers: Scenic Route

If you click on the layout you will be able to read the journaling more easily. The last line seems to have been distorted by the photographer. (sigh)

Friday Challenges

  • by

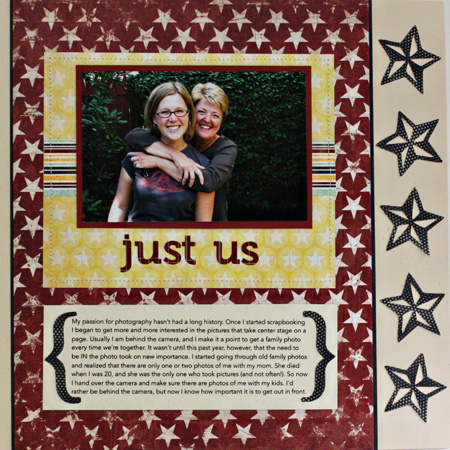
Just by coincidence I was responsible for posting two challenges today. The first one was for the Scrap-Mart blog. My challenge is to create a layout or a card using only cardstock and papers from just one manufacturer/line. If you’d like to play along, you can post a link here or on the Scrap-Mart blog. One of my favorite paper lines right now is PinkPaislee Starlight which I used on this layout about the importance of being in the photo yourself.

JustUsNoFrame

All the papers and the alpha stickers are from the Starlight line. I used my Slice to cut the stars and the brackets and stitched around the photo frame. I did another layout last week that meets the challenge and uses papers from the same line.

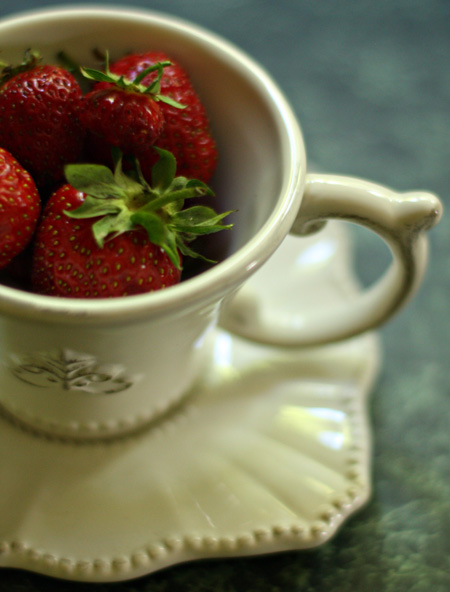
I consider myself fortunate to belong to a very supportive group of women on a photo board, and it’s my turn to post the challenge there as well. I decided on the word “fresh” since we’ve been buying the first fresh strawberries and wonderful fresh asparagus, lettuce, spinach, and radishes from the local farmer’s market. I put a few strawberries in a lovely cup I bought at Antropologie a few weeks ago. I knew I’d find some photographic uses for it.

Freshw