Skip to content

Four More Inchies

  • by

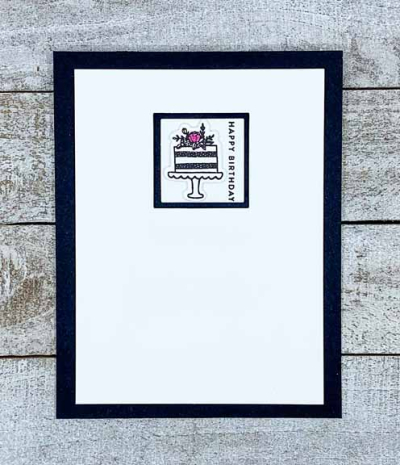
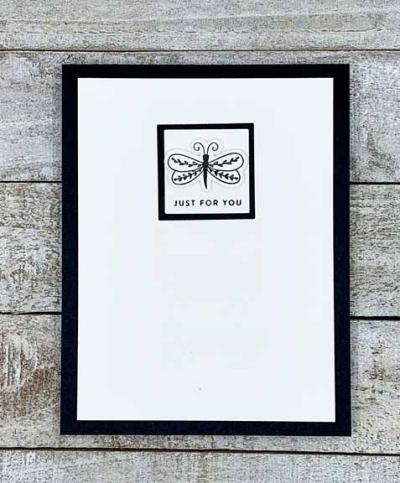
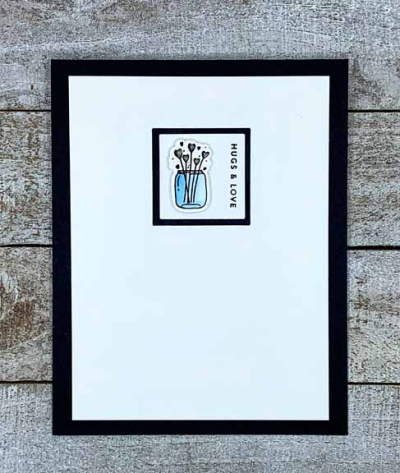
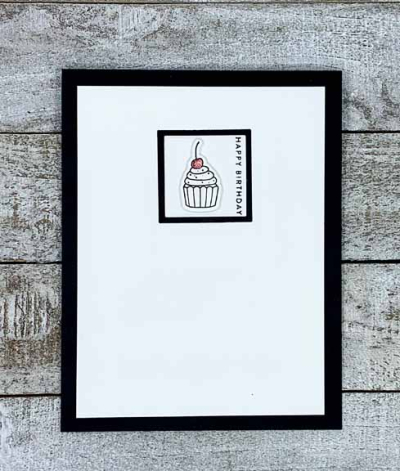
After creating this inchie card for a challenge, I wanted to see what other images from the Pinkfresh Studio Itty Bitty Elements might work as well. I found four more, and since there was no black and white challenge involved I did just a bit of spotlight coloring and/or a bit of glitter. 

CakeInchie

DragonflyInchie

Added just glitter to this one.

JarInchie

Glitter on the hearts here.

BDInchie

These clearly appeal to me as they couldn’t be much more clean and simple. It’s good to have a few more cards in the stash! 

Gorgeous weather here—60’s and maybe 70° one day—then back to the 40’s and 50’s, but no more 20’s in sight so I’m pretty happy with the forecast! Took a three mile walk yesterday and looking forward to another long walk today.

Three of a Kind and Shades of Purple

  • by

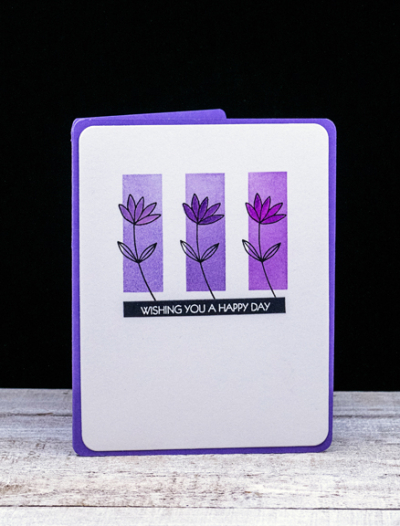
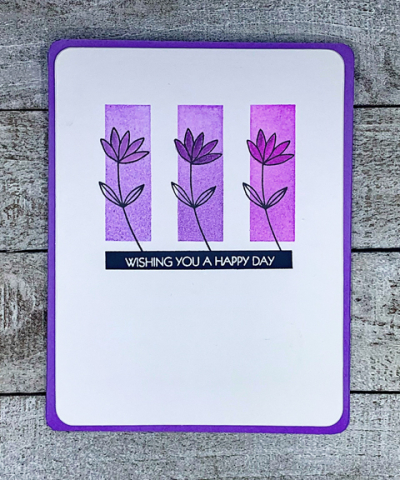
When I saw the challenge at Happy Little Stampers CAS for Three of a Kind, I immediately thought of a MFT’s stencil in my collection. Then The Flower Challenge showed up with a Shades of Purple challenge and that was that! Happy Little Stampers Stencil: Anything Goes also works!

Purple

I started by taping off the bottom portion of the stencil as I wanted smaller rectangles. Then I chose three Altenew purple inks–Lavender, Deep Iris, and Midnight Violet and ink blended them through the stencil. I found just the perfectly sized flower in Pinkfresh Studio’s Fleur 2 stamp set and stamped it with Altenew’s Obsidian ink.

PurpleFlat2

I smooshed a bit of each ink on my glass mat, and used a small paint brush to color in the petals of each flower. The sentiment is from Special Day by Pink & Main. It’s becoming one of my favorite sentiment sets. I rounded the corners of my stamped piece as well as the corners of an Amethyst Allure card base and added the focal piece to the card. It’s definitely a CAS card, and a design that would work well with different colors and different small stamps.

March 2021 CAS TFChallenge#54HLS Stencil Challenge (1)

Time Out Challenge’ s 7th Birthday!

  • by

I am thrilled to be a Guest Designer for Time Out’s 7th birthday party!

#182

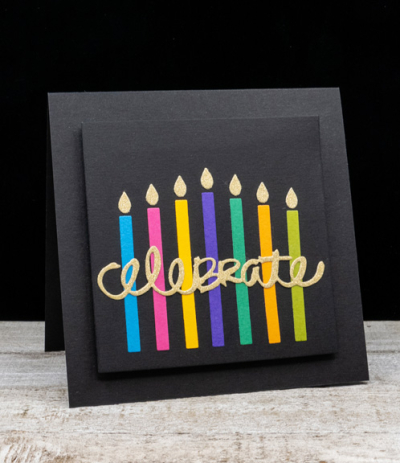
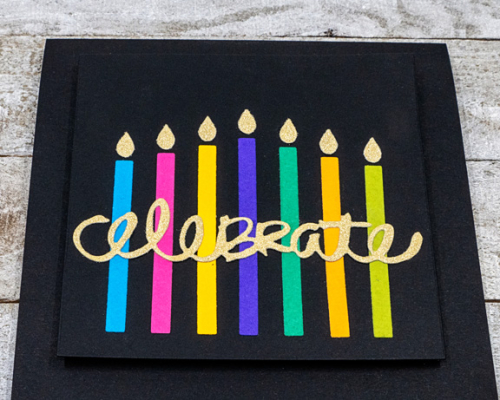
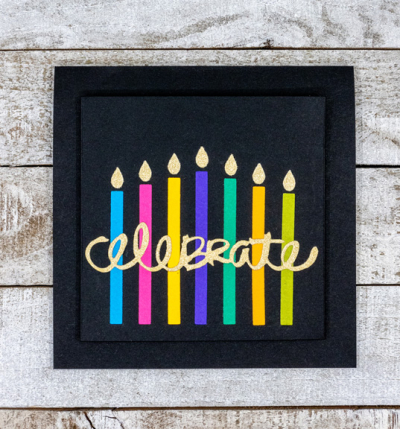
In honor of this occasion, I designed a card with seven candles much like the one for my brother when he turned 70. This time, however, I die cut the candles from scraps of brightly colored cardstock and mounted them on black cardstock. I love the contrast.

CelebrateGD

To make it more festive, I added flames and a sentiment die-cut from My Favorite Things “Gold Sparkle” cardstock. The candles are die cut with MFT’s “Birthday Candles” die and the sentiment from Papertrey Ink’s “Good Times” set. 

CelebrateGDClose

I decided on a square card, and trimmed the focal piece before adding it to the card base with black foam for some dimension. 

CelebrateGDFlat

I hope you’ll hop over to the Time Out Challenge and see what the Design Team has created—and join in. It’s always good to have a few birthday cards in your stash!

The Reading Life

  • by

Before January slips away, I wanted to write a blog post about my reading life. I’d hoped to get it posted early last week but was sidelined last week with an inexplicable rash and horrible itch on my back, and then by surgery on my thumb to remove a piece of rattan that had lodged itself in my right thumb. Everything seems to be improving, but not quickly enough for me! 

I’ve always been a reader, and I spend a minimum of an hour every day reading, and often more. My goal for 2020 was the same as in 2019: 50 Books. Thanks to the pandemic, I read 70 books. Last year when I started The Unread Shelf Project i was inspired to start a new kind of book journal. I’ve always kept track of the books I read online—first with Shelfari, and when that site closed, I moved what I could to Goodreads. For the last two years, I also registered my goal on Goodreads, and I love that they send you a summary at the end of the year.
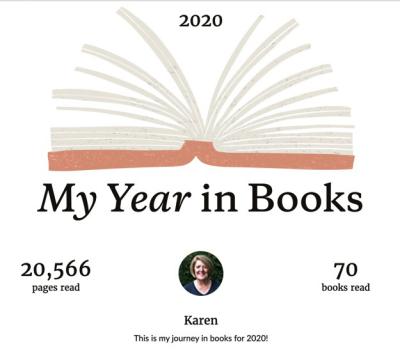
Goodreads

This year, thanks to my journal, I know a lot more about my reading life. The split between fiction (36) and nonfiction (34) surprised me as I think I usually read more nonfiction than fiction. I also kept a list of the books I acquired in 2020, quite a few more than usual since the library was closed for the first 5-6 months of the pandemic. I’m heavily into borrowing from the library, not only because they are open, but because they offer curbside pickup.
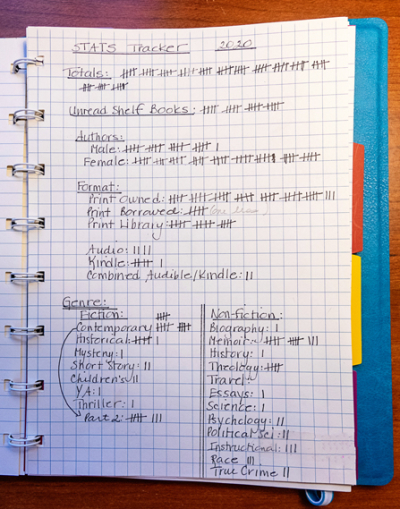
StatTracker2020jpg


This year I decided I needed a new format for the tracking. Interestingly, the woman who runs The Unread Shelf Project decided to abandon her tracking this year, and decided just to keep a list with a few sentences about each book she reads. I really liked the information about the books I read, and although I sometimes got off track, in general it’s been easy to maintain. These photos were taken before last week, when I finished two more books while I was sidelined.
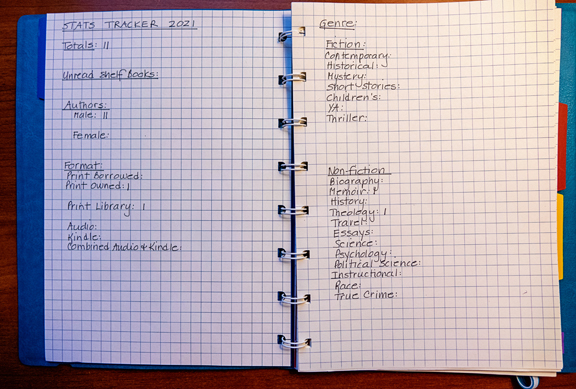
StatTracker21

I’m always interested to see bloggers’ picks of their favorite books of the year, so I thought I’d post mine here. When I looked through the list of books to pick out my favorites, I ended up with six fiction titles and six nonfiction titles—-totally unrelated to the amazing split in my overall reading. Here they are:

Fiction
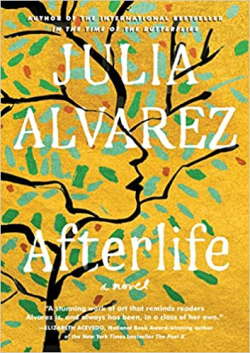
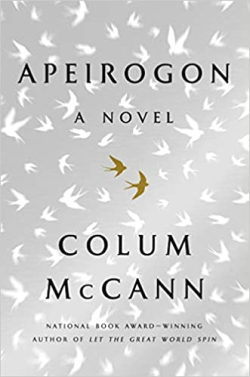
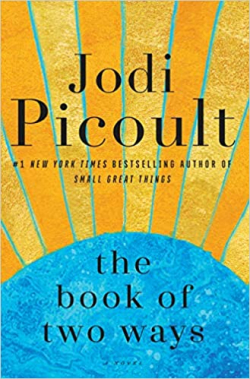
Afterlife Apeirogon BookofTwoWays

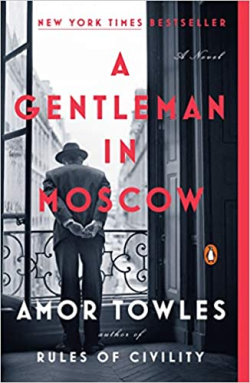
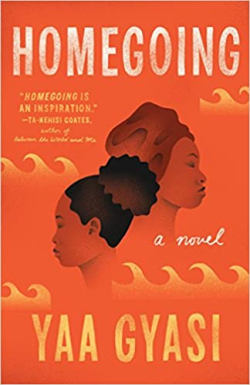
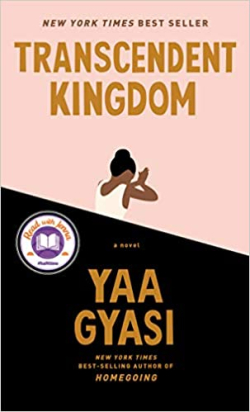
Gentleman Homegoing Transcendent

Apeirgon was, without a doubt, the most inventive and creative book I read all year. I absolutely loved it, but Sarah couldn’t get into it at all. Another blogger was trying to list to the book, and asked if I thought she was missing something. I highly recommended she get a printed copy—the formatting, photographs, and drawings are essential to understanding the text. The novel that will stay with me the longest, though, was Yaa Gyasi’s Homegoing which traces eight generations of two sisters in Ghana (one who is sold into slavery and one who married an Englishman.) It was absolutely powerful— its language and its story. I also loved her novel, Transcendent Kingdom.

Nonfiction
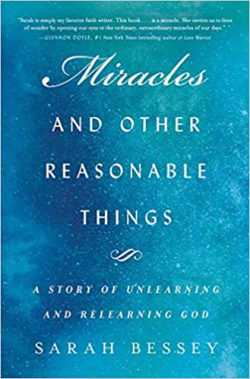
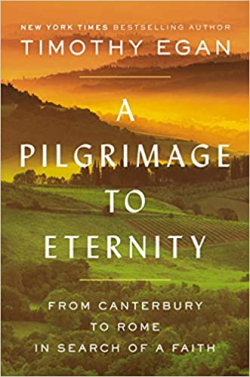
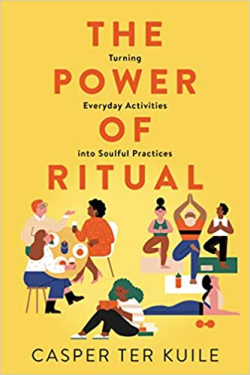
Miracles Pilgrimage PowerOfRitural
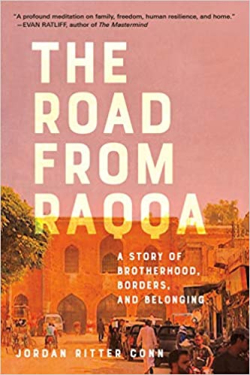
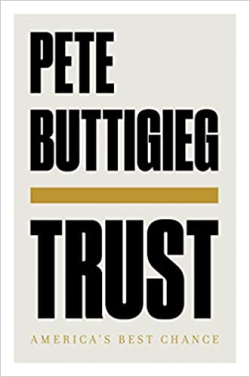
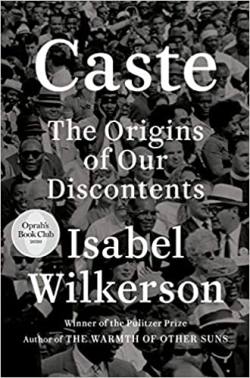
RoadRaqqaTrust Caste_

The way I choose favorite books is based on the amount of time I continue to think about the book after completing it. All of these have stuck with me, and some more than others. A good friend recommended Caste and it’s the most important book I read in 2020. All of us in my wonderful study group who have read it, continue to reference it again and again. Aside from the content, Isabel Wilkerson’s writing is superb.

Although I have friends who read many more books each year than I do, I’ve set a goal for 2021 that I’m not sure I can meet: 60 books. Although we’re lucky to have appointments in mid-February to get COVID vaccinations (should vaccine be available,) I’m not sure when it will really be safe to move about. Everything I read, says keep doing what you’re doing even after the vaccine. In that case, 60 books is doable. If things improve, I’ll be happy with whatever I read.


Watercolor Challenges

  • by

There are more card challenges on the internet than you can count, and I keep coming up with new ones that I want to try. Recently, I found a series of challenges by Happy Little Stampers. One thing I like about all their challenges is they run for a month. Their watercolor challenge for January is “Anything Goes.” The CAS Mix-Up Challenge is for “Splatters” combined with one other mixed media element, in this case, watercolor.

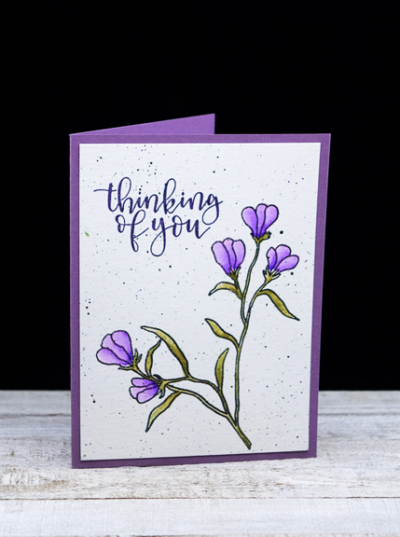
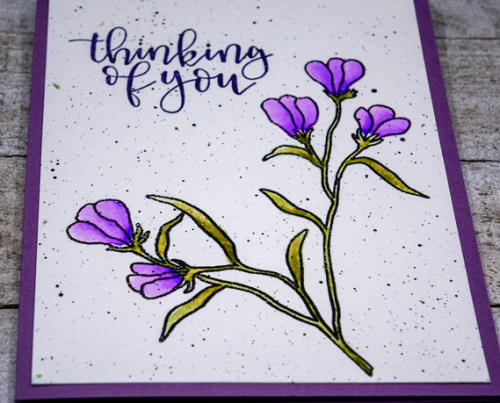
I actually have two cards to share. A weekend or so ago, I sat down with a pile of already colored, die cut, and stamped elements to create a group of Thinking of You cards which I badly needed. Both of the focal images for these cards were already stamped, splattered, and watercolored. I just needed to add sentiments and assemble the cards.

PurpleFlowers

The flowers are from the Waffle Flower “Bouquet Builder” set, and watercolored with Zig Clean Color Markers

PurpleFlowersClose

After watercoloring the flowers, I added some black, purple, and green splatters. The sentiment is an old favorite from Papertrey Ink, “Penned Elegance.” I added the panel to a Plum Pudding card base.

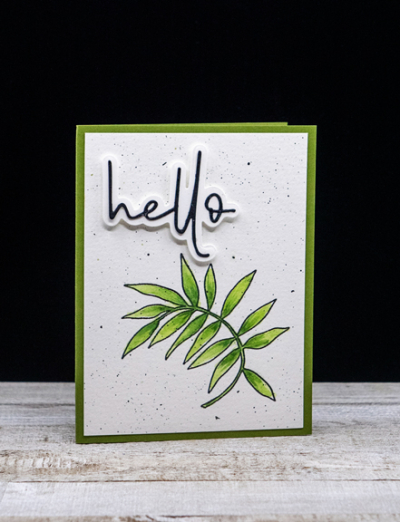
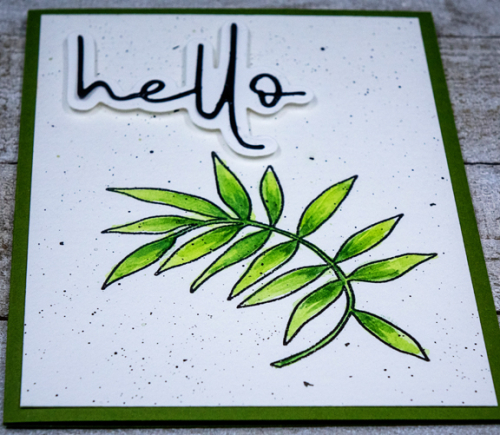
The next card features a botanical from the same Waffle Flower set.

HelloLeaf

This was watercolored with Altenew’s 36 pan watercolor set, and highlighted with some Polychromos colored pencils.

HelloLeafClose

The sentiment was die cut and assembled by a friend who gave me an envelope with a variety of the die cut sentiments from Papertrey Ink’s “Frame It Out: Wishes.” I love the modern font. The card base for this card is Gina K’s Asparagus cardstock which has become a favorite. 

I’ll be linking these up with:

HLSWatercolor

CASJanuary 2021


An Interactive Christmas

  • by

Merry Christmas!

I know for many of us, this holiday has brought disappointments, and for many, sorrows due to the COVID pandemic. I hope that you’ve been able to find some joy or hope in the Christmas message today. We’re celebrating in a much quieter fashion this year. Inside of a crowd of family members for Christmas dinner, it will be just us and Matt’s family. For that, we are truly blessed. We’ll FaceTime with Sarah and her family, but we had hoped to be there for Christmas this year.

Grandchildren certainly bring excitement and joy to the holiday. I’ve long admired the interactive cards I’ve seen on blogs over the years, and now that my grandchildren are old enough (ages 4-9) to appreciate them, I’ve started to have a lot of fun creating them. I waited until all the other Christmas cards were in the mail, but in the last week, I’ve made a slider card for both sets of grandchildren, and interactive cards for three gift card gifts. 

SantaSliderFlat1

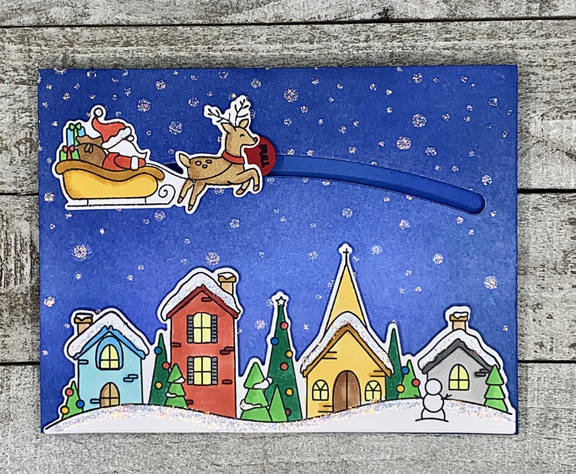
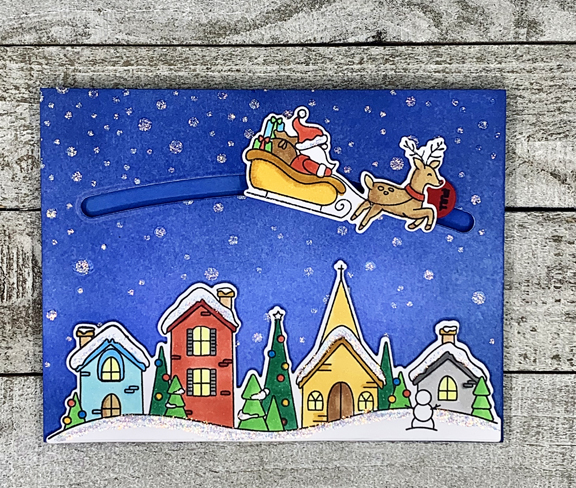
This set was released by Simon Says this year, and I held off buying it for awhile, but finally caved when I saw some variations I knew I could use in the future for more adult cards. I pretty much followed the designer’s tips in making this card—an ink blended snowy sky, textured snow, and a colorful village scene. I used a Simon Says stencil and Gina K Glitter paste to create the glittery snow–which I think could also be seen as stars. Santa and his sleigh ride across the sky thanks to some “spin and slide” discs by My Favorite Things, and two pennies.

SantaSlider2

I colored the little town with Copic markers and added some Glitter Glue along the eaves and the snow drifts. I’m never quite sure how these cards will be received, but yesterday I gave the three little girls their card, and they all were quite taken with it. Ella, the six year-old, was particularly entranced, not the least of which was due to the fact that she could read the inside greeting (“Merry Christmas to all, and to all a good night!) by herself. The sentiment came from an older Papertrey Ink set. 

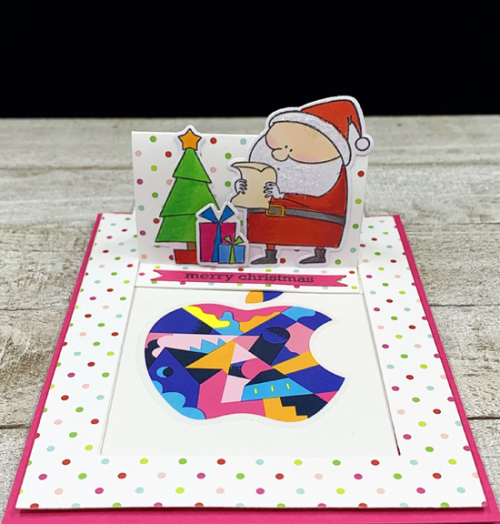
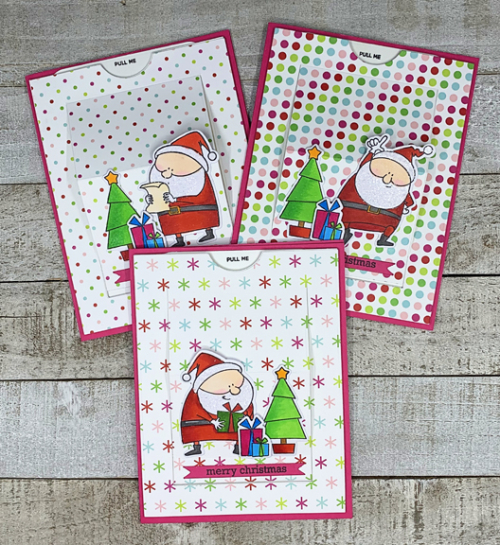
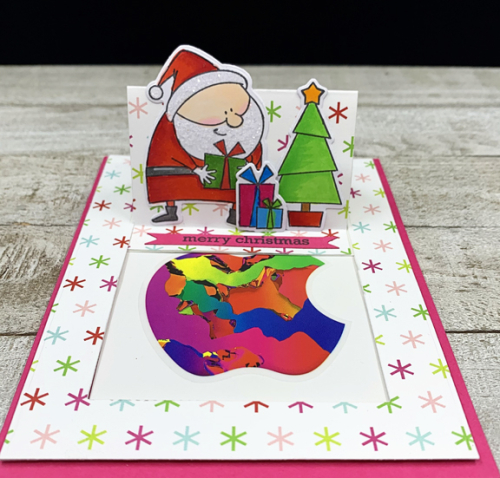
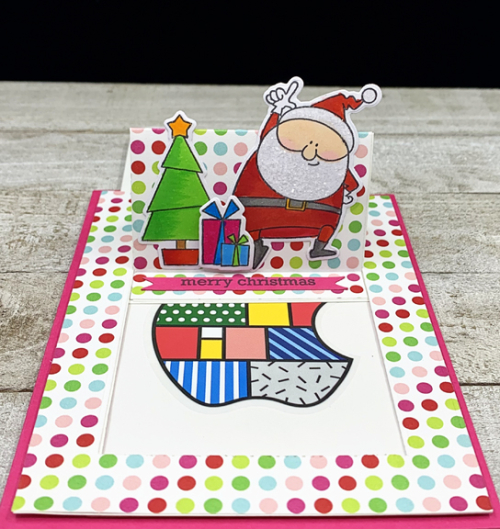
The little girls will be getting Apple gift cards this evening. Because of remote learning this year, they all have iPads. They frequently request additions for some of the apps, which are typically refused. Betsy thought they’d be thrilled to be able to purchase some extensions for the apps. I’ve used this slider card die a couple of times already, and thought it would be perfect for “hiding” the cards. All the images are from My Favorite Things Jingle All the Way set, and the patterned papers are also from My Favorite Things.

SantaSliders

Santa1

Santa2

Santa3

Off to enjoy the fireplace for a bit before the girls and their parents arrive for early dinner. I’ll be back in a day or so with a few more Christmas cards to share before I move on to cards for winter birthday, and thinking of you cards for my single friends who will find it more difficult to get out during the winter.


Color Hues #8

  • by

The new Color Hues Challenge is up and running, and it’s colors are:

Color Hues Badge #8

Christmas is just nine days away, but I still have a card (or two) to share even though nearly all of them are in the mail now.

BlueGreenWreath

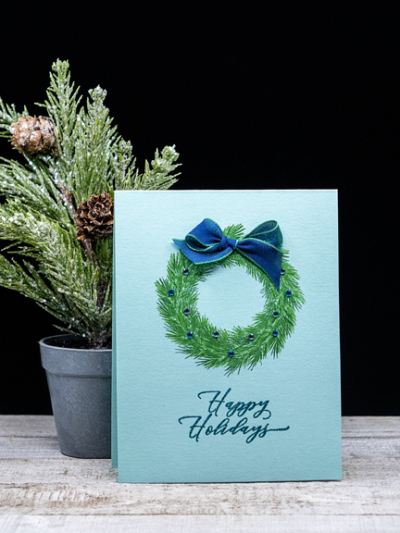
This isn’t the card I first imagined nor is it the first card I made for this challenge. From the moment I finished the first card, I knew I was going to do another one. The first one was just too “busy” for my tastes. This one is almost a one layer card and definitely in the CAS camp! The idea for this card came as I was looking through my Christmas stamps for something entirely different. When I came across W+9’s “Woodland Wreath,” I knew just what I wanted to do. 

BlueGreenWreathClose

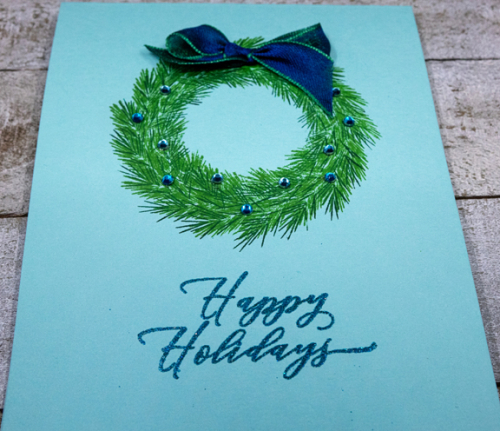
The stamp set comes with four different wreaths that can be layered (or not) to create a variety of wreaths. This one used two of the stamps in two different green inks which gives is a depth you wouldn’t get with just one stamp or just one ink. Once it was stamped on the blue card base, I wanted to add some ornaments or berries, and was excited to find these beautiful blue pearls in my stash. The next challenge was to decide on how to stamp the sentiment from Altenew’s “Holiday Tag Sentiments.” Another lucky find in the stash was this glittery blue embossing powder from Simon Says–“Ultra-fine Mermaid Embossing Powder.” 

BlueGreenWreathFlat

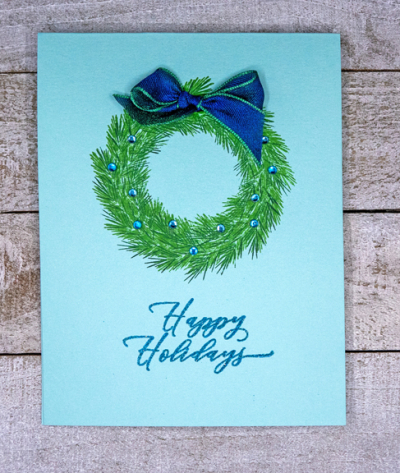
The final touch was the ribbon bow–a third stash find! I can’t remember the last time I used real ribbon on a card, but I love this blue and green ribbon and think it’s just perfect.

Hop over to the Color Hues blog to see what our Guest Designer, Steph, and the rest of the Design Team has come up with . . .

 Nancy

Hannelie

Cindy

Julie

Sheri

Kristie

Lindsey

and join in the fun!

Celebrate (With a Bit of Twinkle)

  • by

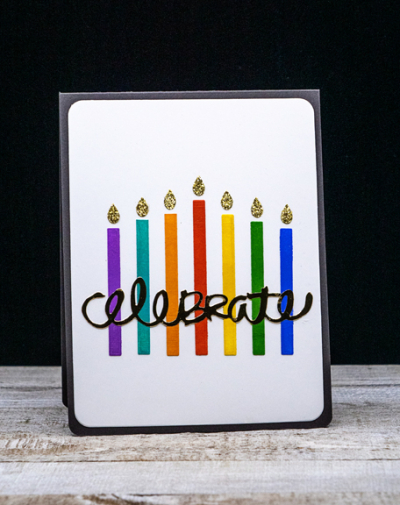
My brother celebrated a big birthday this week. His card features seven candles, and although I forgot to photograph the inside, it reads “Times 10!”

Celebrate_Dane

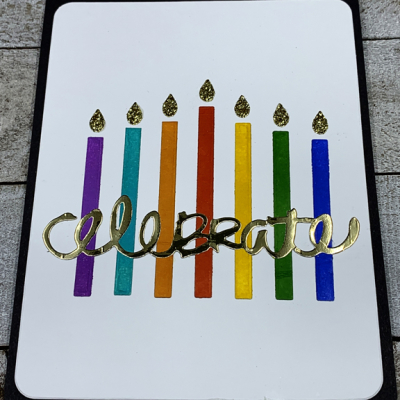
I used another of my NBUS dies, and I can’t understand why it’s taken me so long. There are actually eight candles in the My Favorite Things “Happy Birthday Candles,” and you can die cut them on the front of the card and back them with color. Since I only needed seven, I die cut them and colored them with Distress Inks. Then I arranged them on the front of the card, using the negative die cut as a guide to keep them straight and well-spaced. 

Celebrate_DaneClose

The sentiment from Papertrey Ink was die cut with gold mirror cardstock, and the flames from a gold glitter paper. (Not a stamp to be seen on this card!)

Celebrate_DaneFlat

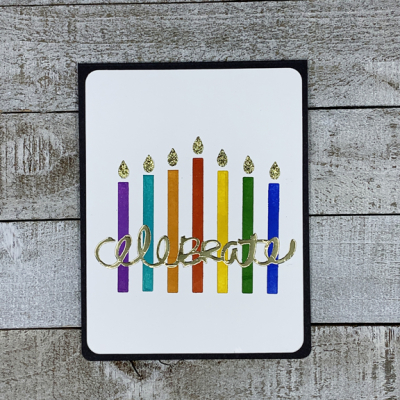
I used my Hero Arts “Rounded Rectangles” to die cut the main panel, and rounded the bottom corners of the card for a bit of interest.

The current challenge at AAA Birthday is “Twinkle” and I think the candles definitely qualify. I’m also linking up with Darnell’s NBUS challenge for December. 

#20 NBUS


Just Add Ink

  • by

There is no end to the number of card challenges on the internet, and I’ve discovered a new one to me. The usual route to finding a new challenge is by reading blogs of other card makers. All of a sudden an interesting challenge site pops up. I usually scroll through a few of the challenges to see what I think, and then I add it to my list. I love the name of this one:  Just Add Ink! And this round that’s one of three elements you can use: Stamps, Ink, and Paper. No die cuts (that’s a hard one for me,) no embellishments (not so hard.) 

#530

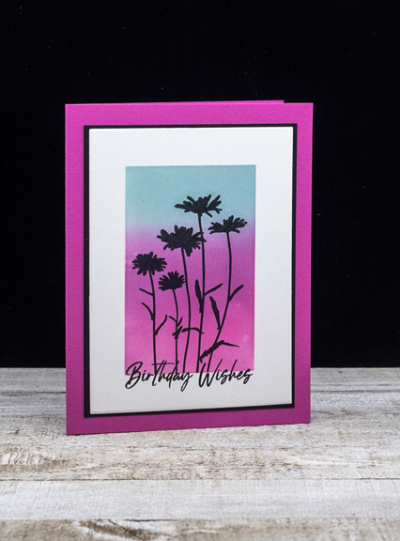
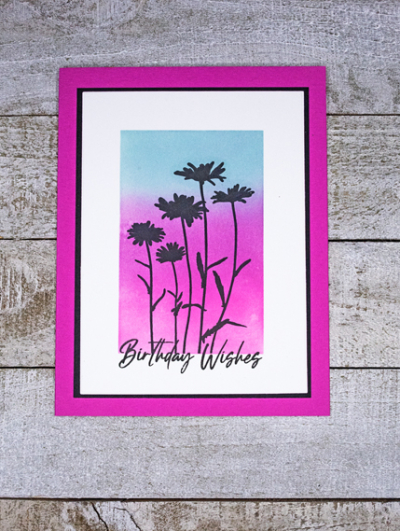
This card was created with one of the beautiful silhouette stamps in a Gina K kit I purchased this summer. Her kits are loaded with product and are an excellent value. The quality is top-notch, too. This is the only kit of hers I have at the moment, but her most recent one is on its way to me. Once it gets here, you’ll be seeing lots of it!

FuschiaSilhouette

I ink blended the background on a piece of white Bristol cardstock, using the Taylored Expression “Rectangle Mask.” Then I stamped the silhouette from “Natural Silhouettes” in black ink. My new favorite for silhouettes and sentiments is Altenew’s Obsidian pigment ink. It gives a great impression with the first stamping. 

FuschiaSilFlat

The sentiment is also from “Natural Silhouettes,” and I overlapped it a bit on the bottom of the ink blending. A narrow black cardstock frame on a Stamp Market Fuschia card base finished it up.

Color Hues #5

  • by

Color Hue Logo!

It’s time for the fifth Color Hues Challenge, and the colors this week are:

Color Hues Badge #5

This was a fun card to create. I knew what I wanted to do from the outset, and it turned out pretty much as I hoped.

Yello-Kraft

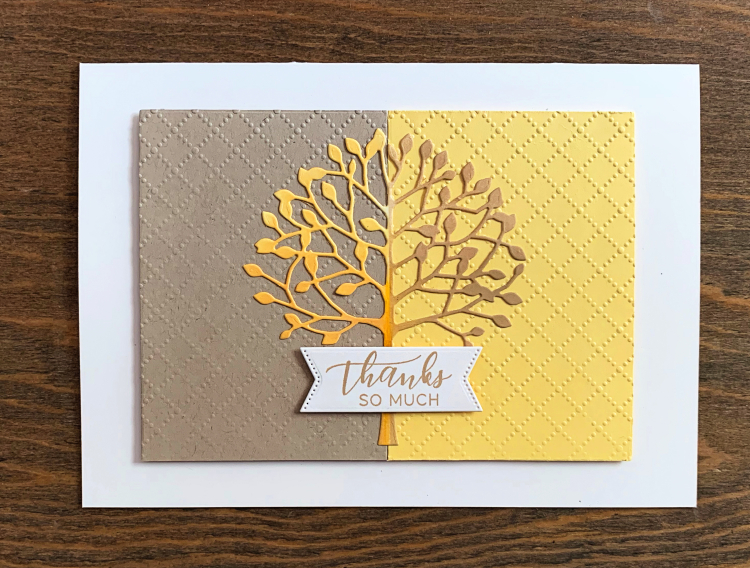
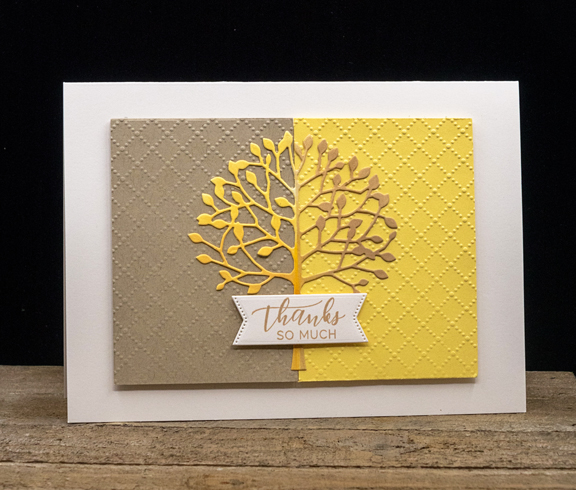
I started by dry embossing pieces of Harvest Gold and Classic Kraft cardstock with the Taylored Expression’s embossing folder, “Dotted Lattice.” Then I die cut the “Arboscello Tree” by Memory Box from Bristol paper and ink blended it with the coordinating inks from Papertrey Ink.

YellowKraft

After piecing the two embossed panels together and adhering the tree in the center, I added the sentiment from The Greetery’s “Sentiment Suite: Thanks.” I added dimensional tape to both the banner (“Sentiment Suite) and the embossed panel. The cream card base is 5X7. I don’t often make that size card, but the die cut tree determined the final size of the card.

I hope you’ll hop over to the Color Hues Challenge and join in the fun, checking out the cards made by our wonderful Guest Designer, JoAnn, and my awesome Design Team members.

JUGS: The Color Challenge

  • by

It’s Color Week at Just Us Girls Challenge:

Screen Shot 2020-07-18 at 5.15.50 PM

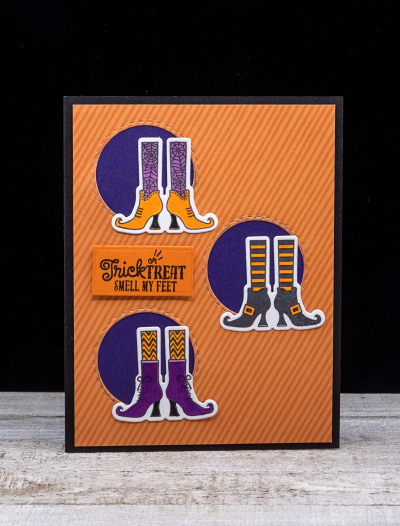
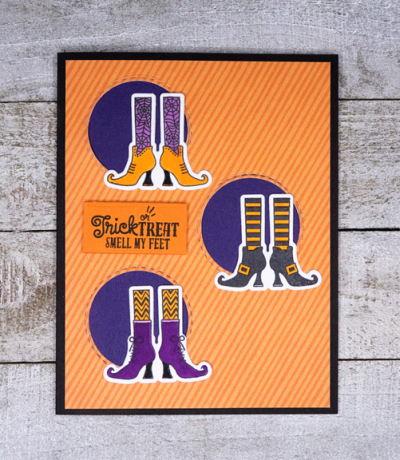
The colors–purple, black, and orange–seemed custom-made for a Halloween card. This time, the design I envisioned ended up looking exactly as I imagined it. 

Colors

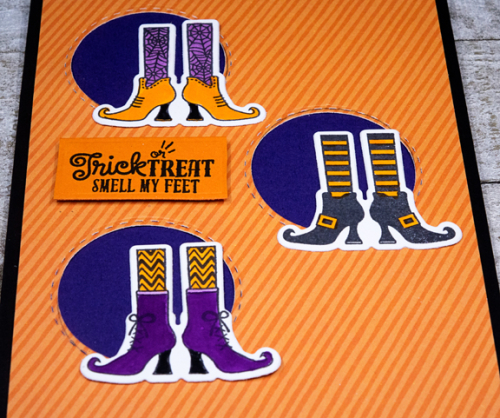
I started by stamping and coloring with Copic markers the three sets of witches’ feet in purple, black, and orange. The stamps and coordinating die are from a Hero Arts set “Witch Feet.” After diecutting the feet, I die cut three circles with Simon Says “Stitched Circle” dies in a piece of orange patterned paper from an old American Crafts 6X6 paper pad. I adhered that to a piece of purple cardstock and trimmed both to leave a narrow border on the black card base.
ColorsClose

I arranged all three sets of witches’ shoes in front of the die cut circles. 

ColorsFlat

The sentiment is from a Make-It-Market kit from Papertrey Ink, “Halloween Pin-ups,” and couldn’t be more perfect! I die cut that with a Pinkfresh Studio, “Worthy Frames.”

I haven’t decided yet how many Halloween cards I’ll be making this year. My three granddaughters seem perfectly happy to share a card, but Caleb and Hannah definitely want cards of their own. Here’s the first one, and I have a second one in mind for a challenge that popped up on my radar a couple days ago. We’ll see how time and inspiration work out this year! 


Just Us Girls: Ombre

  • by

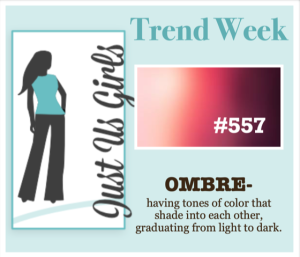
It’s the second week of my Guest Designer gig for the Just Us Girls Challenge which I am really enjoying! This week is Trend Week and the theme is OMBRE.

Screen Shot 2020-06-03 at 5.17.55 PM

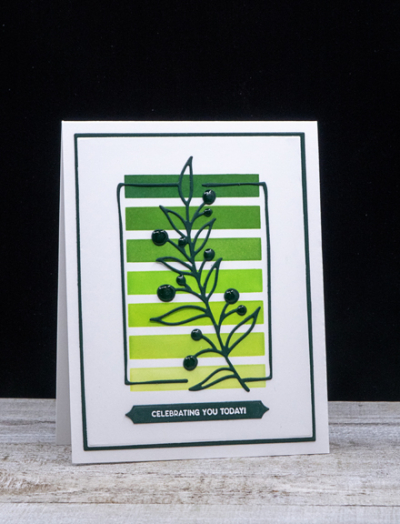
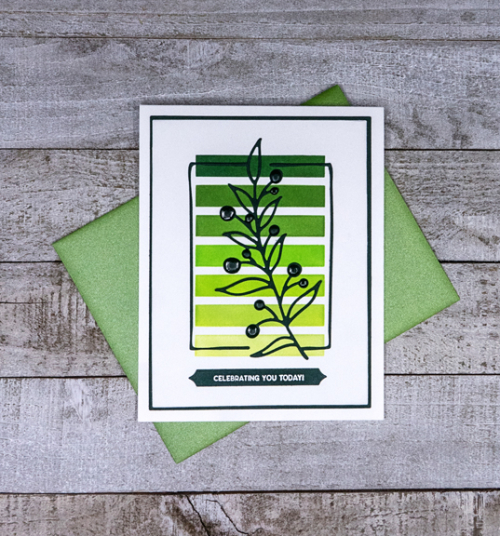
This gave me an opportunity to use a new stencil that arrived not long ago from Simon Says, called “Simple Patterns: Trio” designed by Cathy Zielske. I chose the simple stripes pattern, and used the Pinkfresh Studio ink cube pack called “Over the Hills” along with Concord & 9th’s Evergreen to create an ombre background.
OmbreBlog

Pinkfresh Studio’s “Botanical Branch” was die cut from Pinefeather cardstock (PTI) and layered over the stenciled background. 
OmbreClose

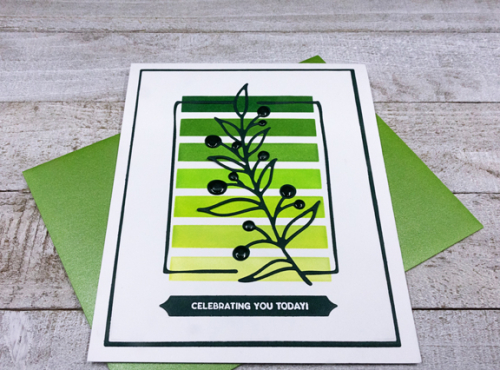
Then I die cut the focal panel and the narrow Pinefeather border with Gina K’s “Master Layout #1” dies and layered them onto a top-folded cardbase. The sentiment from The Greetery’s Sentiment Suite: Birthday was embossed in white on a skinny Pinefeather banner from Papertrey Ink. 

OmbreFlat

The final touch was to add Nuvo Crystal Glaze to each of the berries on the delicate branch for a bit of dimension.

Please hop on over to the JUGS blog to see what the Design Team has to share!


Just Us Girls: Another Die Cut Window

  • by

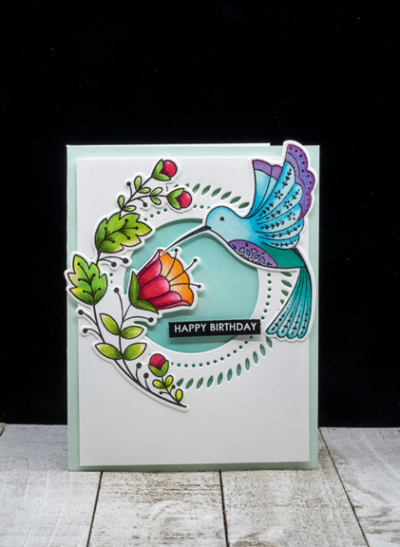
Here’s another card using an image I colored for the #100DayProject. I love this “Folk Hummingbird” stamp by Pinkfresh Studio, and it’s been in my collection for a long time. I don’t know if I was intimidated by it or what, but once I got it out and colored it, I was very glad to have it in my collection.

Hummingbird

The “Braided Circle” die from Pinkfresh is also a favorite of mine. After die cutting it I backed it with some subtly ink blended paper and then adhered ti to a card base with dimensional tape. 

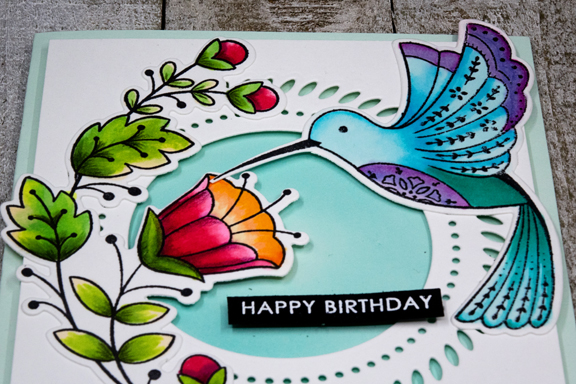
HummingbirdClose

Fortunately, I purchased the dies for these images so I didn’t have to fussy cut them! 

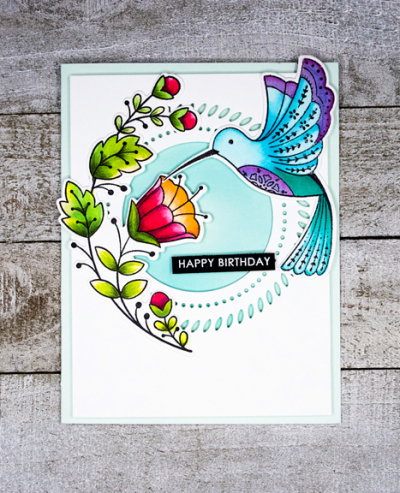
HummingbirdFlat

A simple sentiment strip seemed to work best. Not sure which stamp set I used for it. I keep a supply of already embossed greeting in a little basket, and found this one there.

In addition to the Just Us Girls Challenge, this is another card for Darnell’s NBUS Challenge. So glad to be adding it to the collection of used stamps, and I’m sure you’ll see it again!

JustUsGirls

NBUS


Your Light Shines

  • by

There are two new challenges, both for Clean and Simple cards, that inspired me to pull out a never-before-used stamp set from Simon Says “Your Light.” The first is CAS on Friday where the challenge is SUMMER. The second is CAS Mix Up and the challenge there is Watercolor/Beach.

CAS Mix Up August 2020

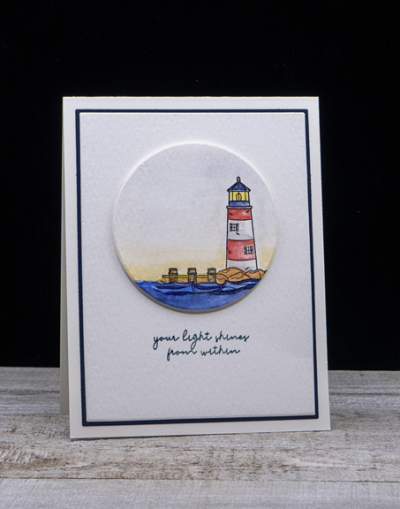
This lighthouse image reminds me of two lighthouses on Nantucket. One, the Brant Point Lighthouse, sits on the beach as you approach the island, so the setting is similar to the stamp. The other is the Sankaty Lighthouse which has a very similar shape, and I watercolored it in red and white to resemble the Sankaty Lighthouse. This is the first summer my daughter-in-law has missed a summer vacation in Nantucket since she was a little girl. Thanks to her and her family, we’ve enjoyed several vacations there over the last few years. It represents summer for sure, and spending time on its multiple beaches is one of the great pleasures of a vacation there. 

Light

After watercoloring the image with Daniel Smith watercolors, I die cut it with an Essentials by Ellen circle. I die cut another piece of watercolor paper with the smaller Gina K Master Layout die, and a piece of Dark Indigo paper with the larger of those dies.

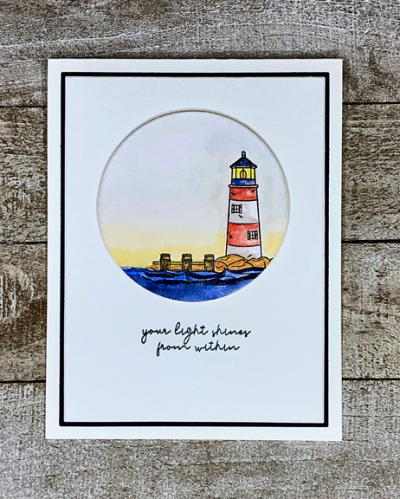
LightFlat

I adhered both layers to a cream colored card base, after stamping the sentiment in Dark Indigo ink. The focal image was adhered with dimensional tape. It’s odd that in the flat layout, the focal image looks inlaid rather than bumped up!

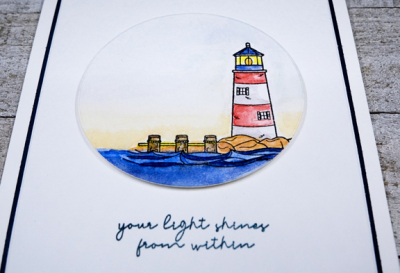
LightClose

I decided to leave it all very CAS–no embellishments, no additional images. I’m adding this to the NBUS blog as well–glad to have this set out of the Never Been Used Stuff category.

2 small USE THIS ONE NBUS participants badge with URL


Happy Father’s Day

  • by

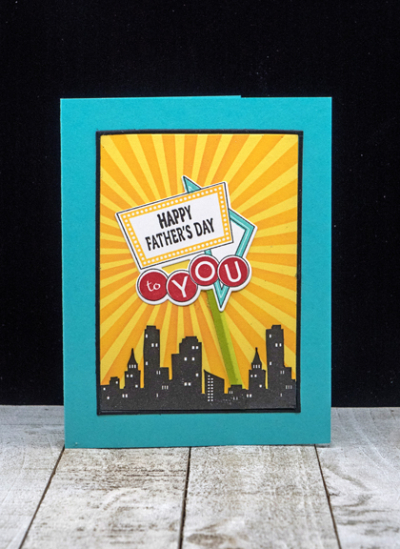
Today is Father’s Day in the United States and I’m happy to honor three absolutely fabulous dads. I had a lot of fun making these three cards. Tracy’s card was inspired by one I saw on the Minted website. It wasn’t possible to link to the specific card, but it was a lot less colorful than the one Tracy gets today. It did incorporate the retro feel and an arrow that I knew was part of an older Papertrey Ink set. In the end, I didn’t use the arrow at all, but used both Retro sets: “Retro Style: Graduation,” and “Retro Style: Birthday.”

FathersDayT

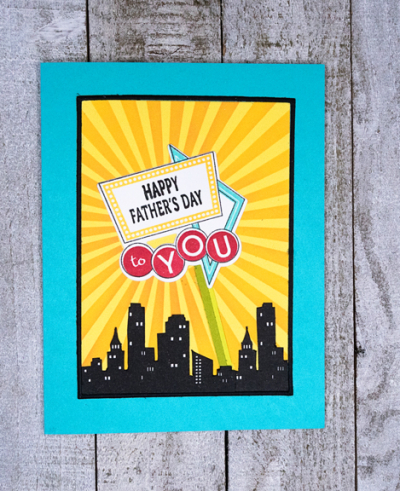
In fact, I ended up using more than my usual number of products: The background was created with My Favorite Things “Radiating Rays” stencil, and the cityscape from MFT’s “You’re Super.”

Father'sDayTFlat

The sentiment came from the”Retro Style: Birthday” set as well as W+9’s “Super Star” set. After trimming down the focal image panel, I adhered it to a Hawaiian Shore card base, and die cut a narrow black frame with Simon Says “A2 Thin Frames.”

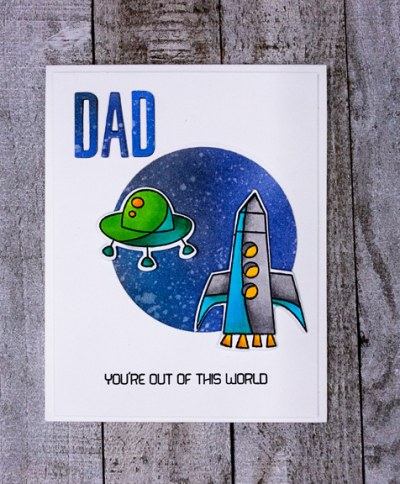
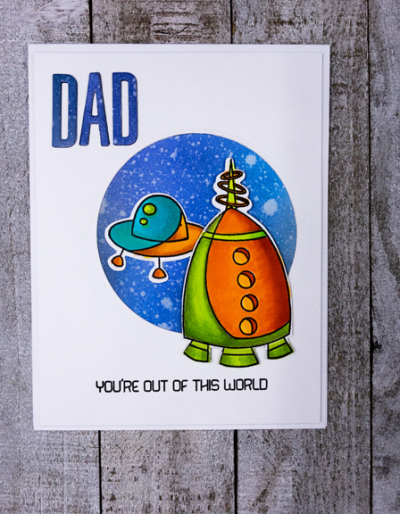
Both Matt and Adam’s cards are very similar and use the same products.

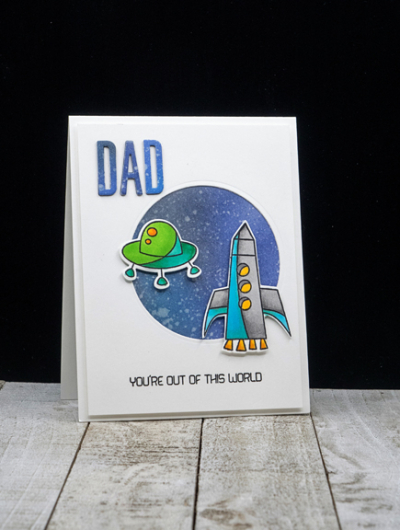
Father'sDayM

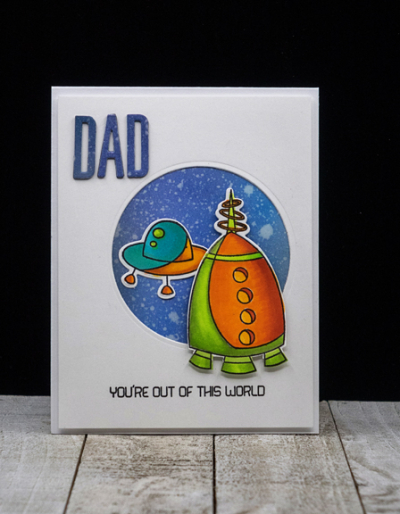
Father'sDayA

I used Distress Oxide inks to ink blend a background, and then added some water drops to simulate stars and objects in the sky. I also applied a heavy coat of glitter with the Spectrum Noir clear glitter pen. I tried several angles, but couldn’t get a good photo of the glittery effects. After die cutting circles from the top panel, I adhered a slightly larger circle cut from the ink blended paper behind it. The top layer of letters is also die cut from that paper  with Papertrey Ink’s Block Alphabet dies, and layered on two more die cuts from dark blue paper. 

Father'sDayMFlat

Father'sDayAFlat

The images, colored with Copic markers and fussy cut, and the sentiment are from My Favorite Things “Out of This World” stamp set. 

I hope these three guys have a great day—they all devote a LOT of time and give a LOT of love to their families!