Skip to content

Project 64: Mac & Cheese

  • by


This week’s color at Project 64 was certainly easier for me than last week’s Sea Green! And I managed to get another photo for Rinda’s Scavenger Hunt (see the left sidebar) as well. I love orange, and as soon as I pulled out my little card for Mac & Cheese, I checked my orange J. Jill shirt from a couple of years ago. Perfect match, and now I have a self-portrait (taken with my Hipstamatic app) for the Scavenger Hunt. And I’m submitting this one to Project 64 which is a pretty gutsy move seeing how much I hate self-portraits.

SelfPortrait

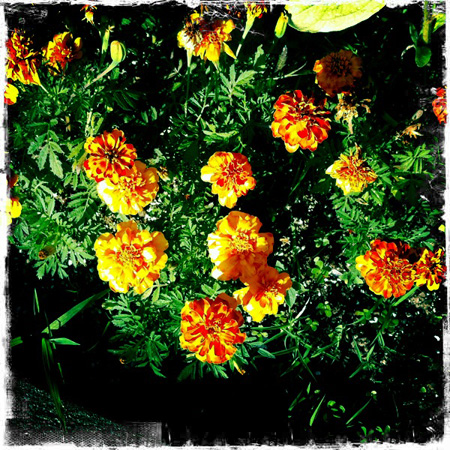
All the rest of the photos were taken on just one morning walk with my iPhone.

Marigolds
Marigolds

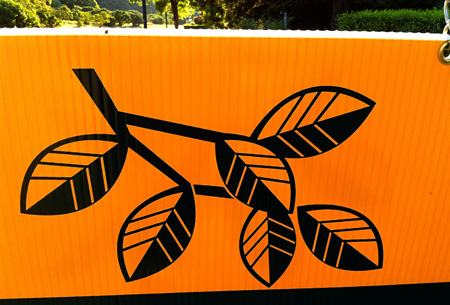
  RealtorSign

A realtor’s sign

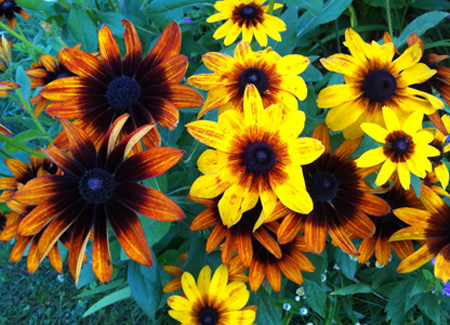
Rubekia

Rudbeckia

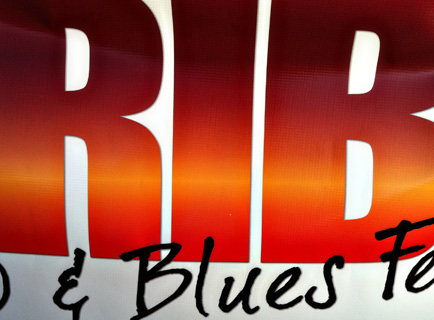
RibSign

Sign for a Ribs and Blues Fest


Fanatical About Botanical Challenge in the Moxie Fab World

  • by

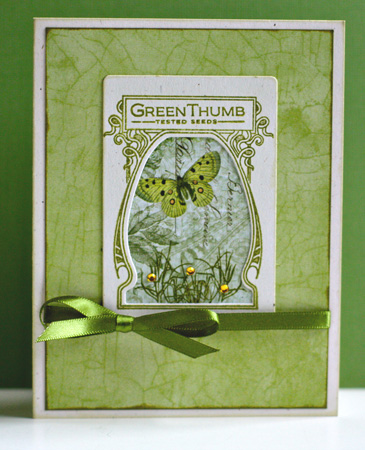
I have a card for the new Moxie Fab World challenge, botanicals. The Garden Variety stamps by Papertrey seem a perfect match for the Pink Paislee Butterfly Garden papers. Edited to add this to the Simon Says Anything Goes Challenge.

GardenVarietyMercy

The butterfly is part of the patterned paper, but I added some stamped grass to the bottom of the frame and some gems for some dimension.

Supplies:
Cardstock: Rustic White (Papertrey)
Patterned Paper: Butterfly Garden (Pink Paislee)
Stamps:  Garden Variety (Papertrey)
Die:  Seed Packet Frame (Papertrey)
Ribbon: Paper Source
Gems from stash

Project 64: Sea Green

  • by

Week 27 Jul4_10_sea Green

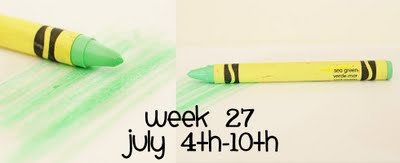
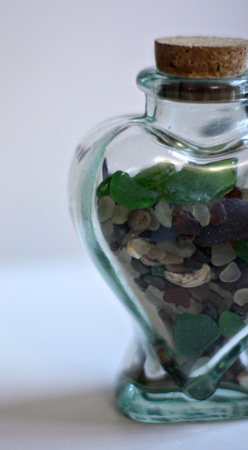
I’ve put this post off as long as I can hoping something better would show up for last week’s color. Sea Green was the hardest one yet for me. Several folks posted sea glass, and I have a jar filled with sea glass from our first trip to California fifteen years ago. None of my sea glass is quite right, but the jar itself is the closed thing I have to sea green. Since it’s nearly translucent, it’s harder to see in a photo. It’s much closer to the crayon sample than the crayon wrapper.

SeaGreen2

You can find more Sea Green here.

Project64

Embellish Nautical Challenge and Summer Card Camp

  • by

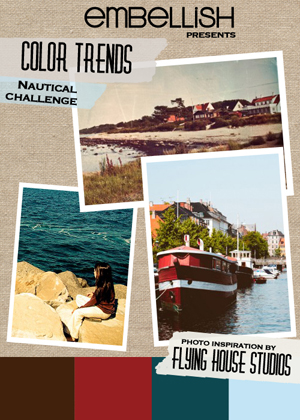
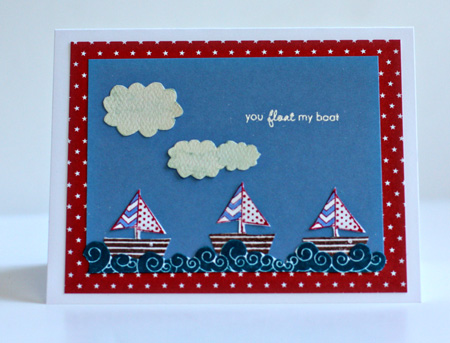
Earlier in the spring, I was the lucky winner of a new stamp set from Craft’s Meow called “It’s a Shore Thing.” When I saw the Embellish Nautical Color Challenge, I knew I’d found a way to use these cute stamps.

Nautical_ColorTrends

Although someone named the colors as brown, red, navy, and light blue, the darker blue is not quite navy in my book. Fortunately, I found an Adirondack ink pad (Stream) that was exactly the right color.

FloatBoat

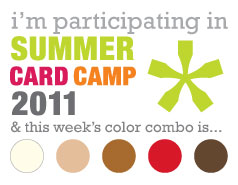
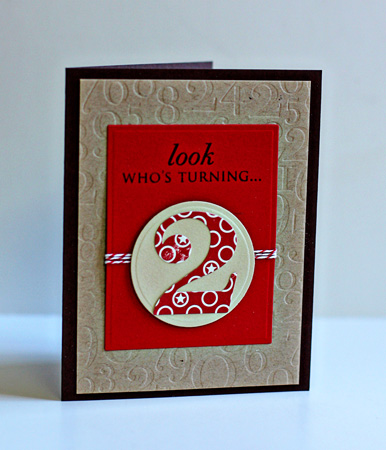
This is Week 3 of Summer Card Camp, and I’m actually on track with my first card with the new color combination which seemed perfect for my niece’s son who is turning two.

Week3-colors

Here’s my card. I was happy to get to use these fun Papertrey Ink products.

Two

It’s a bit hard to see but both the red mat and the taupe circle are cut and embossed with Nestabilities.

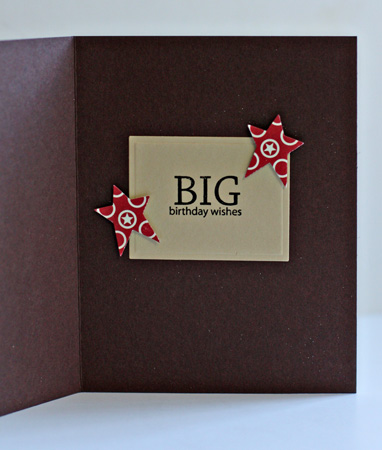
InsideTwo

Supplies:

You Float My Boat
Cardstock:  Neeah Solar White, Memory Box light blue
Patterned Paper: Bitty Stars (Papertrey) & clouds cut from Quite Contrary (MME)
Stamps:  It’s a Shore Thing (Craft’s Meow) & Tiny Treats: Valentine (Papertrey)
Light Blue marker:  Faber-Castell Pitt Artist Pen

Look Who’s Turning Two
Cardstock:  Dark Chocolate, Pure Poppy, Kraft (Papertrey) & scrap from stash
Patterned Paper: “Night Light Jack” (October Afternoon)
Nestabilities: Classic Rectangles & Small Classic Circles (Spellbinders)
Die:  By the Numbers (Papertrey)
Impression Plate: By the Numbers (Papertrey)
Stamps:  Birthday Bash & Big Birthday Wishes (Papertrey)
Twine: Pure Poppy (Papertrey)
Star punch; McGill

Celebrate with New Shoes

  • by

FotoFlexer_Photo-CFC10

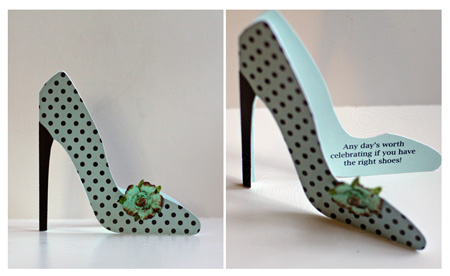
I thought it would be fun to play along with Casual Friday’s challenge this week. I quickly found a shaped card I could cut with my Silhouette, and I know just who will get this card in the fall for her birthday.

HighHeels

The Silhouette cards come together so quickly. The only challenge on this one was to figure out how to get the sentiment on the inside. I printed the sentiment on coordinating cardstock on my computer and then used the “stencil” that was left after cutting the card to trace around the shoe. I handcut it and adhered it to the inside. The shoe was cut with white cardstock and then covered with patterned paper on the outside. I hand cut the high heel from more textured cardstock. The Prima flower was colored with a BG11 Copic marker and distressed with chalk inks. Wish I could wear shoes that look like this!

Rinda asked what kinds of adhesive I use on intricate die cuts. On this card, I used the Xyron sticker maker with repositionable adhesive. Frequently I use permanent adhesive, but I knew positioning all these die cuts would take more than one try. On this card, I used my American Craft This to That dotted tape runner. I’ve never found a tape runner I like as much as this one, so I always have a supply of them in the closet. For the leaf border, I just applied adhesive selectively along the border so some of it appears three-dimensional.

Supplies:
Cardstock:  American Craft & Memory Box
Patterned Paper: “Home Grown” (3 Bugs in a Rug)
Flower:  Prima
Chalk inks: Quick Quotes
Copics

Moxie Fab Border Challenge

  • by

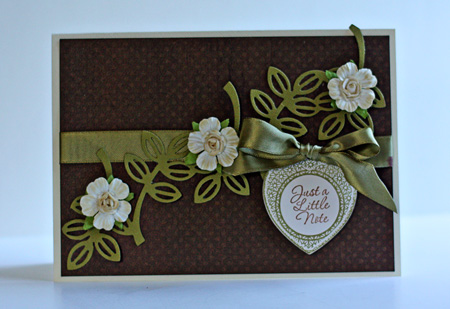
I have a more shabby chic card than usual for the current Moxie Fab Border Challenge that ends tomorrow, but I’m quite happy with it. The challenge asks that you use a border in an innovative way. I usually think of borders as going across the card horizontally or vertically, but in this case running the die cut border diagonally proved to be much more pleasing.

JustANote

 I started with a cream card and die cut the Leaf Border by Lifestyle Crafts from textured cardstock. I decided it needed a dark mat and used my favoriet dotted patterned paper by Bo Bunny. The sentiment is from Just Rite’s “Charmed” die cut with the matching dies from Spellbinders. I  distressed the mat with some chalk ink as well as the three Prima flowers. The green ribbon is from my stash.

Summer Card Camp

  • by

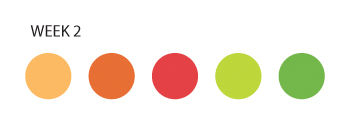
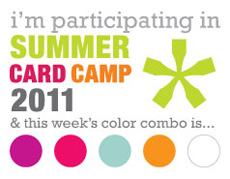
This  is week 2 of the Summer Card Camp, and I’ve barely had time to read the pdfs, to say nothing of watch the videos. Hopefully, I’ll get to the videos this afternoon or tomorrow. I do love this week’s colors, so I had to sit down and get a couple of cards made. I already have receipients for both cards, so I “killed two birds with one stone,” so to speak. Here are this week’s colors:

Week2

They translate into Papertrey Inks cardstock easily:  Summer Sunrise, Orange Zest, Pure Poppy, Simply Chartreuse, and New Leaf so I decided to use up some scraps and do some die cutting.

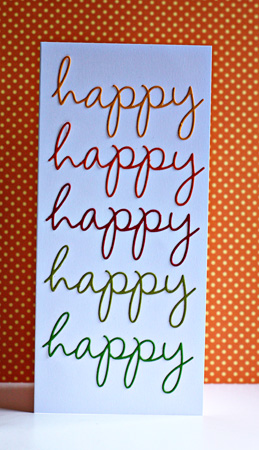
Happy

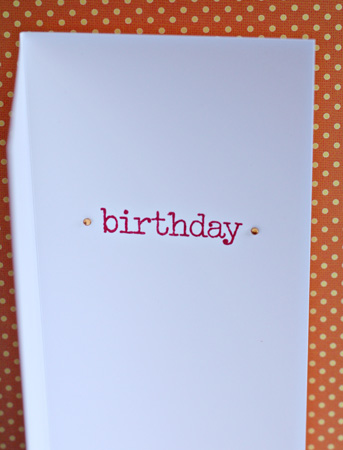
For the first card, I die cut five words from the Wonderful Words die from Papertrey. In the photo, it’s a bit hard to see the bright colors of the words. Here’s the inside, stamped with Wonderful Words Additions.

InsideHappy

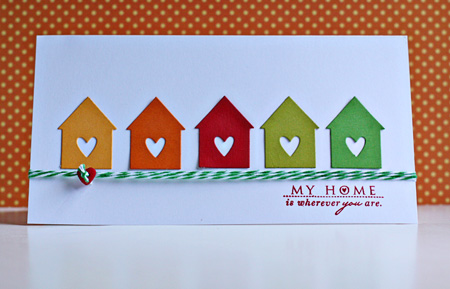
For the next card, I die cut five little houses from Love Lives Here (Papertrey Ink). It’s one of my favorite dies. The sentiment is from the coordinating stamp set.

MyHome

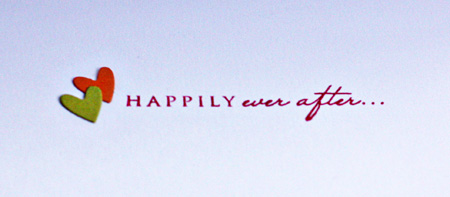
The twine is from Divine Twine and the button from my stash. Here’s the inside, also stamped with Love Lives Here.

InsideMyHome

Back to the To Do List. Have a great day!


Summer Scavenger Hunt

  • by

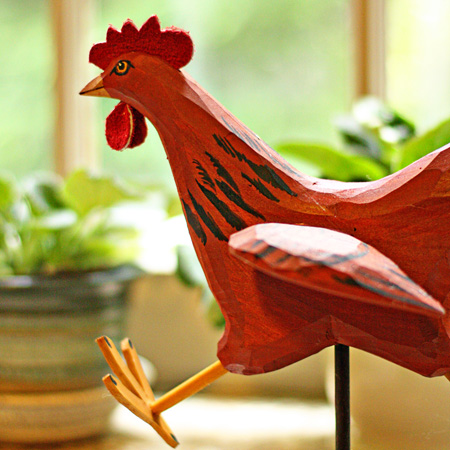
Rinda is hosting a Summer Scavenger Hut on her blog. I signed right up and have found a few things on the list. First on my list is the rooster. I have a little red rooster that sometimes sits on my kitchen window.

  WoodenRoosterw

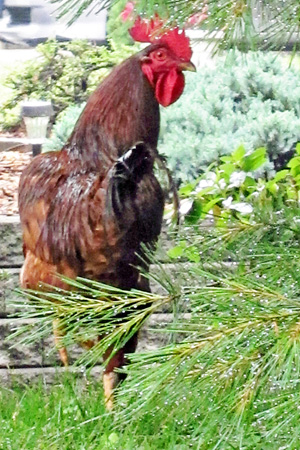
Then this weekend I saw this handsome fellow walking around the yard of one of my brother’s neighbors.

Rooster1w

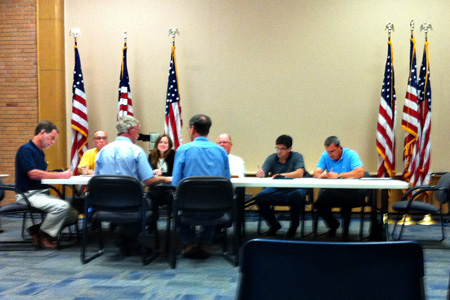
Tracy and our contractor had to present the plans for the new bow window in our kitchen remodel to the town’s Architectural Board, so here’s a photo of a town meeting. The plans were approved, and we hope the process will begin early next month.

TownMeetingw

Next is Warner Castle, currently home to the Rochester Civic Garden Center. It’s on a street near Highland Park, where we walk nearly every morning.

WarnerCastlew

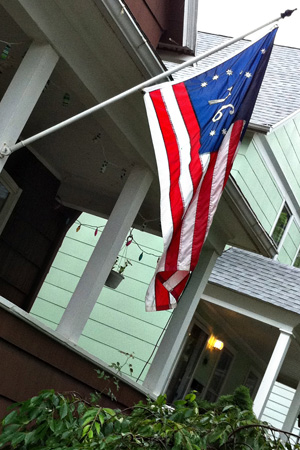
Finally, for today, a commerative United States flag hanging on a city house on one of our walking routes.

Flag

Project 64: Red

  • by

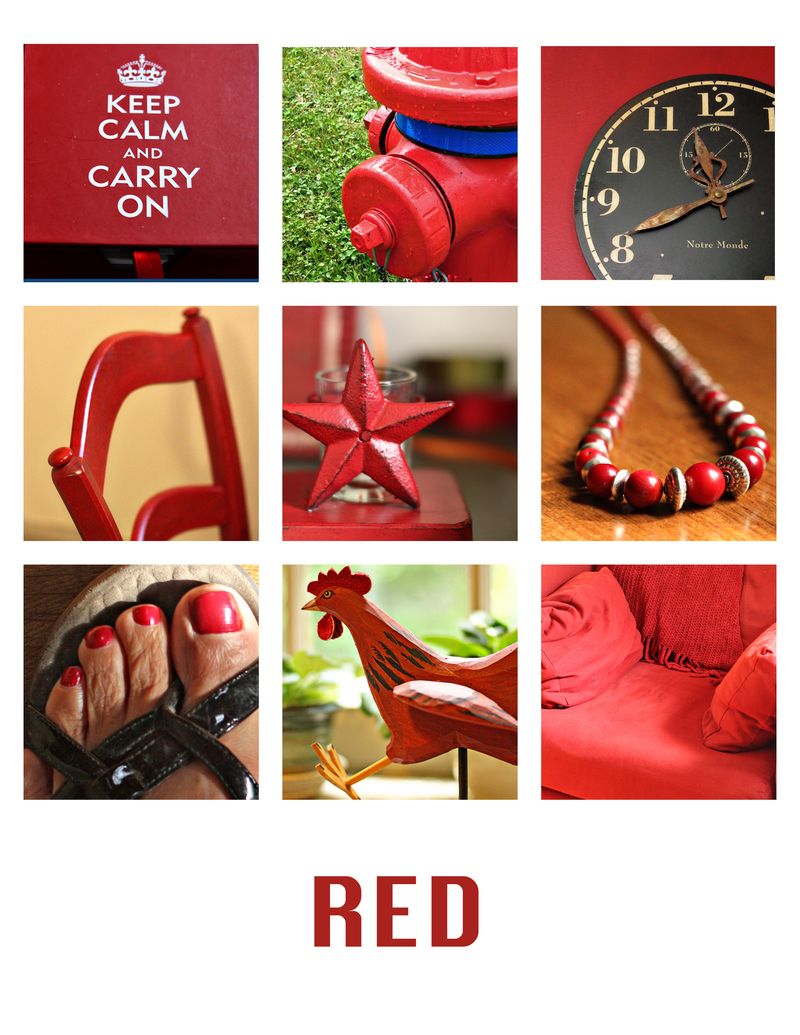
This week’s color is my favorite color:  red! So I took a few photos and put them into a collage.

RedCollage

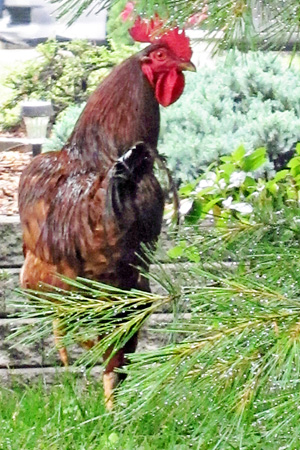
And then this weekend, I found this rooster wandering about the yard of one of my brother’s neighbors. I just love his red comb.

Rooster1w

You can find more red here:

Project64


Happy Fourth of July!

  • by

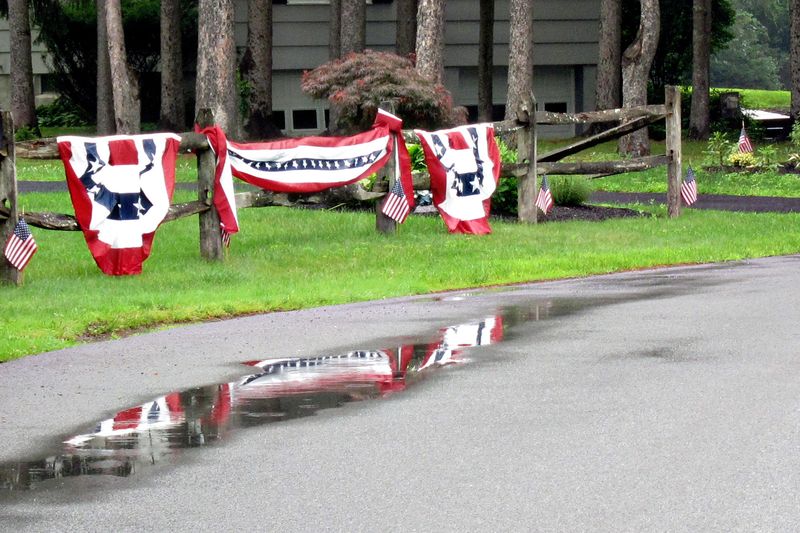
Yesterday  Tracy and I took nearly a three mile walked around my brother’s neighborhood in Hyde Park, NY. It was drizzling most of the way and since I didn’t think I had any great fireworks photos to post, I was looking for Fourth of July decorations for today’s post. First I saw this:

July4bunting

I love the way the bunting was reflected in the puddle. Then we came upon this:

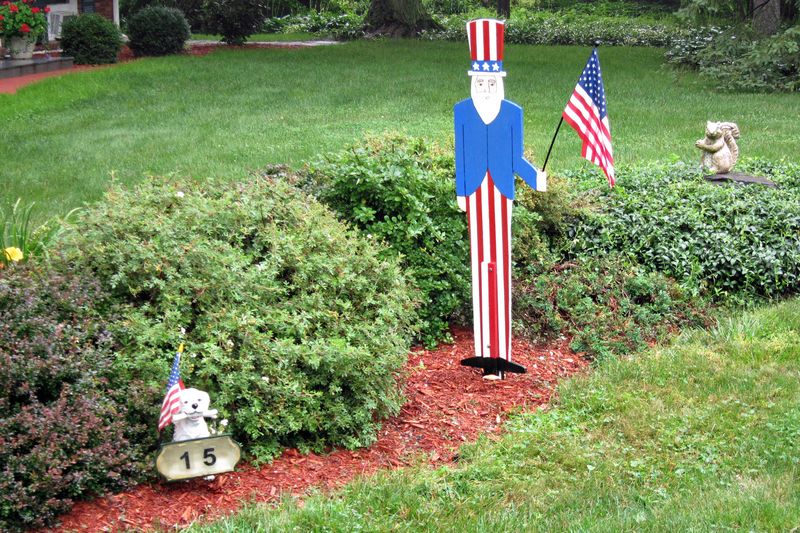
July4Lawn

The little doggie ornament is holding a flag as well.

Then last night I uploaded photos from my point and shoot (above) and my photos from my SLR from Saturday night’s fireworks. In frustration, I had pointed my camera to the sky and took about 20 photos with my remote, not expecting anything. Imagine my surprise when I saw these:

Fireworks3

Fireworks6

Fireworks8

Edited to add: I’m submitting this one to Sweet Shot Tuesday:

RedFireworks1

Just four of ten decent photos of the fireworks. What a pleasant discovery! If you’re in the U.S. have a wonderful holiday! My brother and Tracy are off to golf this morning, and I’ll be hanging out with Stephanie. There’s a cookout planned for tonight. Early tomorrow morning, we’ll be headed home.


Summer Card Camp Take 2

  • by

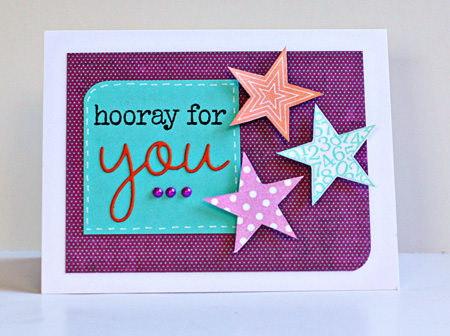
Week1-colorsOne of my former fifth graders graduated from high school a week ago. I’m missing her party because we’re traveling this weekend, but I wanted to get her card and gift to her before we left. The high school colors are pretty boring for a delightful young woman full of energy and enthusiasm, so I decided to use this week’s camp colors to create a card for her.

HoorayForYou

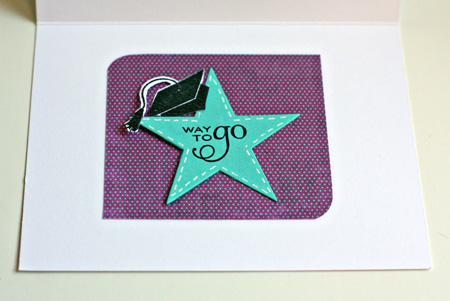
For those of you in the class, you can easily see my inspiration from Kristina’s card sketch and video. I wanted to try the faux stitching with the white gel pen, and was very pleased with how easy it was. It’s something I’ll use again for sure. Here’s a peek at the inside:

InsideAmy

We’re in Hyde Park for the holiday weekend visiting my brother and nieces. Last night was the New Paltz fireworks display, and I hoped to have some awesome photos from it. We got there early, asked where the fireworks would be set off, and got the tripod and camera set up for a site beyond some trees in the distance. Imagine our surprise when the fireworks erupted right over our heads! It was an awesome display, but we were far too close for any great photos. One of my nieces works for a local credit union and had 3-D glasses for the fireworks. They were amazing, turning the fireworks into kaleidoscope displays. It was lots of fun, but I’ll have to wait for another opportunity for my fireworks assignment in the Night Photography class.

Supplies:

Cardstock: Select White, Hawaiian Shores (PTI)
Patterned Paper: Lime Twist (MME)
Stamps: Wonderful Words Additions, Star Prints, For the Graduate (PTI)
Dies:  Stars, Wonderful Words (PTI)
Pearls (Hero Arts)
Ink: Brilliance

Three Months: One Little Word (FINISH)

  • by

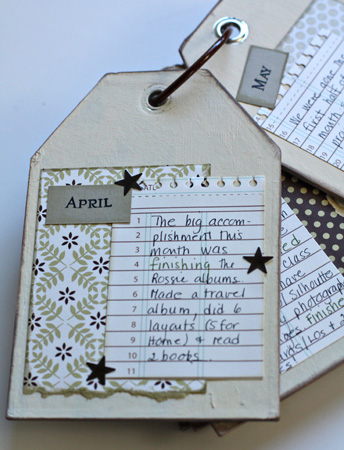
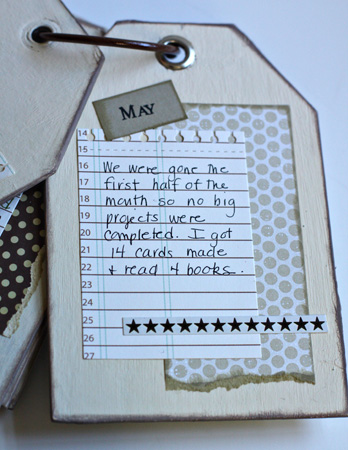
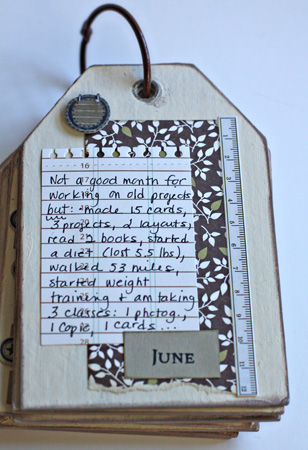
Even though I was three months behind in recording my progress for OLW, it was easy to do. I keep records of all the cards and layouts I do as well as any crafty projects. My reading list at Shelfari is almost always up to date, and this little tag book is probably the best record-keeping device I’ve ever made.

We’re now half-way through the year, and I have finished five of the twelve projects I listed in January. I have to admit that I don’t have much enthusiasm for a couple of them, but perhaps I’ll get motivated again come fall. One of my goals was to seriously limit the new classes and projects I took on. I’ve done reasonably well until June when I signed up for three new classes: Night Photography, Copic Coloring, and Summer Card Camp. Frankly, I don’t regret signing up for any of these, as I’m enjoying all of them. But there’s not time enough to do all I’d like to do for those classes to say nothing of getting going with the old ones! I’ve finally edited all the photos from our April/May trip, so I hope to get the Travel Album done by the time we leave on our next trip (just 3 1/2 weeks from now). I don’t expect to make much progress on old projects until at least September.

April

May

June

Nonetheless, there have been quite a few accomplishments on other fronts, some of which I’ve recorded above. The biggest one is a fitness goal that just got established when I finally recovered from surgery and the sprained ankle. By the time all that was over, I had twelve pounds to lose (eight of them have been a constant battle for the last three years). I finally got really serious and I’ve lost 5.5 pounds in June, and Tracy and I’ve walked 53 miles! I’ve also starting a new weight lifting routine at the gym, focusing on upper body strenght. Considering the diet and the amount of exercise, I’d hoped to see a few more pounds go by the wayside, but I know the older you get, the harder it is to get that metabolism going!

No one ever told me how hard it would be to prioritize all the things you want to do in retirement! Maybe a few less hobbies and obligations would help, but there’s nothing I’m willing to give up quite yet, so it will continue to be a balancing act.


Summer Card Camp

  • by

I couldn’t resist a summer card camp when so many of my favorite designers are among the contributors to the projects. We’ve already had three inspirational pdfs, and a video. This week’s colors are so summery.

Week1-colors

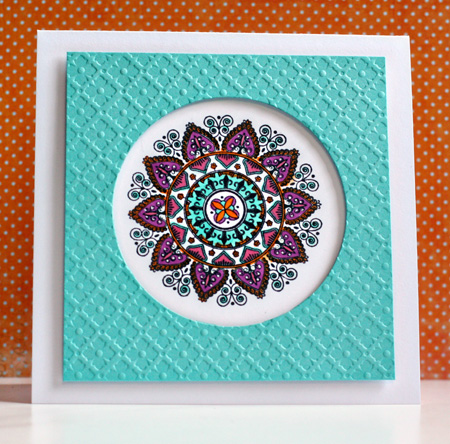
I may be back with another card later, but the rest of my day looks pretty busy, so I’ll be making up time later. This morning I saw a great idea on Laurie’s blog, and immediately thought that I could do a similar card with this week’s colors. It’s another Mehndi Medallion creation. I already love this stamp set!

SummerCardCamp1

I used the technique from the video to create a window card. The card in the video also included the sentiment on the front, but no matter what I tried, the sentiment took away from the medallion, so I finally decided to do without it.

Supplies:

Cardstock: Select White & Hawaiian Shores (PTI)
Stamps: Mendhi Medallion (PTI)
Impression Plate: Diamonds (PTI)
Copic Markers: R85, BG13, YR16, V06 & Sakura White Gelly Roll pen
Dimensional Adhesive

CKC Convention Recap

  • by

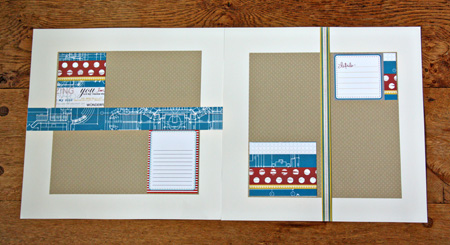
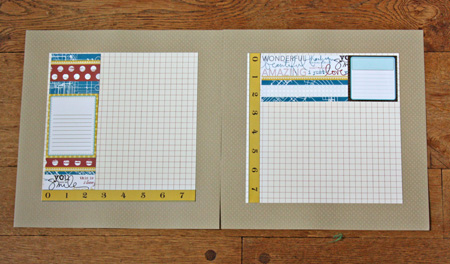
Two weeks ago, my friend and I went to Buffalo for the CKC Convention. Aside from taking a lot of photos of the layouts in the Studio Calico booth, I totally forgot to take pictures. Mary and I both took three classes. All of hers were card-making classes (and she loved them). I took one scrapbook class with Technique Tuesday and made two 2-page layouts using papers designed by Ali Edwards. I love both layouts, but haven’t chosen the photos for them yet.
TechTuesLO1

TechTuesLO2

They use a color combination I love and I liked the papers so much I bought a pack of them, even though I had a few left from the class. The class moved right along, but it wasn’t had to keep up.

The next class I took was a copic airbrushing class. I have a small airbrush set-up using the air cans, but I’ve always been a bit afraid to give it a try. We used the expensive air compressors in the class, but they demonstrated the can set-up so I’m sure I’ll not have any trouble with it. The class was taught by instructors from Clear and Simple Stamps and we made three cards while practicing the airbrushing techniques.
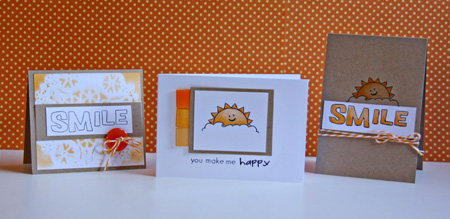
Clear&Simple

For the card on the left, we airbrushed over a doily and then lifted it up to create the background. For the middle card, we airbrushed the ribbon tags, and for the last card we airbrushed with a glitter pen. Here’s a close-up of that.
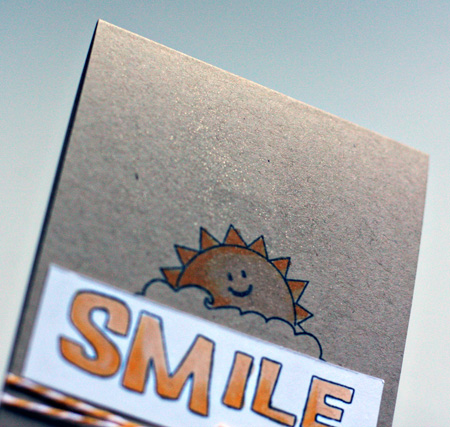
SmileGlitter

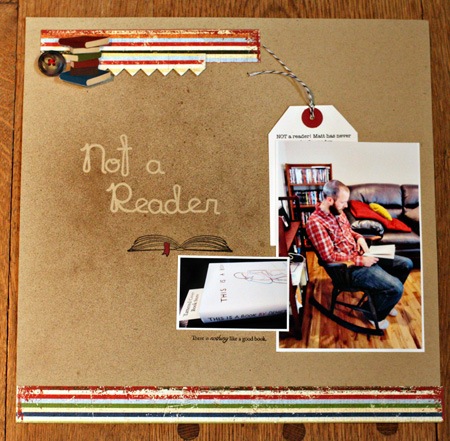
The last class I took was called Terrific Trends by Studio Calico, and it focused primarily on using the Mr. Huey mists. We created a title for a layout by putting down letter stickers, misting and then removing the letters. I liked the technique, but the papers and embellishments they used for the layout did not fit the photos I had taken, (This is frequently the case, and I’ve learned over time, to simply take the papers home with me so I can create a layout of my own.) Here’s the layout I finished this morning.
NotAReaderLO2

Matt’s ADD has always made it hard for him to read without taking his medication. He did really well in college, but when he’s working he needs the meds in order to focus on the job. One of the side effects of the medication is being unable to sleep, so he hesitates to use any after noontime. Thus the amount of reading he’s done since he graduated has been limited to newspapers and crossword puzzles. When we were in Denver we went to one of my favorite independent bookstores, The Tattered Cover. While we were browsing, Matt picked up this book, started to read, and started to chuckle. We bought the book and in just a day he had read nearly a third of it. It was too big a moment not to capture!

I used a Papertrey Ink die and some stamps from All Booked Up, a Jolee sticker and button from my stash, and some patterned papers I picked up at the convention from Simple Stories called Elementary.

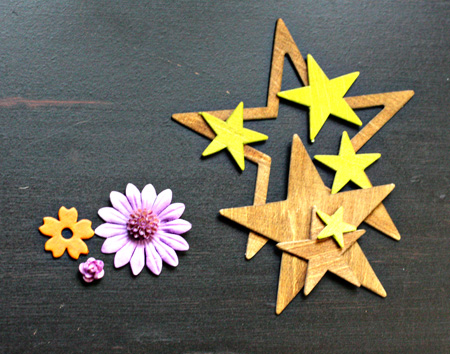
In both the Copic Airbrushing class as well as Terrific Trends, we got a chance to color some embellishments. The ones on the left were airbrushed with Copic markers and the Wood Veneer stars from Studio Calico were sprayed with Mr. Huey mists. I know I’ll find a great use for all of them before long.
AlteredEmbellishments

All in all, it was a great convention. The vendor faire was a bit better this year and I got some lovely embellishment at the Melissa Francis booth, and picked up a few papers that were on my wish list. Another benefit of the classes is I came home with three new stamp sets as well as quite a few papers and embellishments from both Technique Tuesday and Studio Calico.

 

Project 64: Goldenrod

  • by

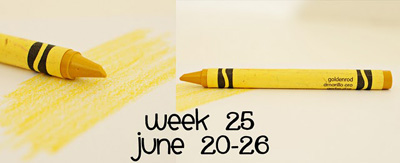
Week 25 Jun20_26_Goldenrod

It’s hard for me to believe that we’ve done 25 weeks at Project 64. This has been the one photography challenge that I’ve stuck with week by week. I’m so far behind in Picture Inspiration, I wonder if I’ll ever catch up (although I do have a few photos to share for that as well this week.) Whenever I hear the word “goldenrod” I think of the years my husband suffered from hay fever. I think just the sight of goldenrod blooming along the road was enough to set off a spate of sneezing! It was a lot more fun to find goldenrod on our walks this week. This is a first, but these photos were all taken with my iPhone. We’ve been keeping track of our walks on a great little app called RunKeeper, so I always have my phone with me. I must admit our pace/mile suffers when I stop to capture a photo. But here’s what we saw this week:

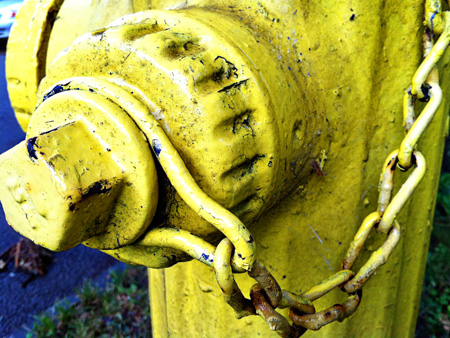
Hydrantw

All the fire hydrants here are goldenrod. I was surprised to see hydrants painted other colors in area where we were traveling.

SchoolBusw

I decided I rather liked this blurry photo of the school bus going down the street. Last week was the final week of school here, so it would be much harder to find one this coming week.

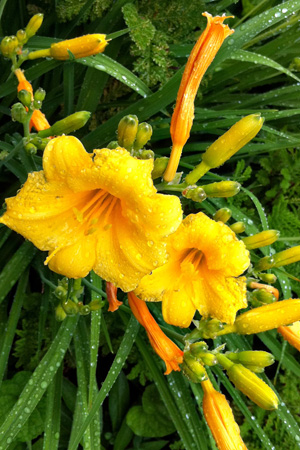
Liliesw

These were captured in someone else’s yard; ours are budded but not in bloom. You can see the water droplets on the leaves which I love. We’ve walked in the rain several days this week.

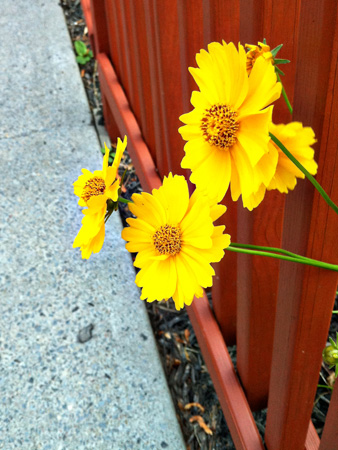
  CoreopsisFencew

And, finally, coreopsis poking their heads through a fence in front of an apartment building. You can find more goldenrod at Project 64.

Project64