Before we left for Alaska, I managed to complete the album I started after subscribing to Ali Edward’s “Scrapbook on the Road” class. I took a little bag of goodies with me on the trip, but didn’t find too many opportunities for working on the album while we were on the trip. Having constructed the basics before I left, however, motivated me to be more conscientious about picking up memorabilia that I might want to include in the album. Here are some shots of the album:
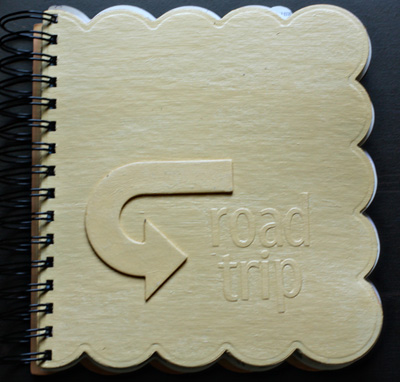
I followed Ali’s directions for making the cover; painting over letter stickers and the embellishments with acyrlic paint. I’m quite happy with the result. It took several coats.
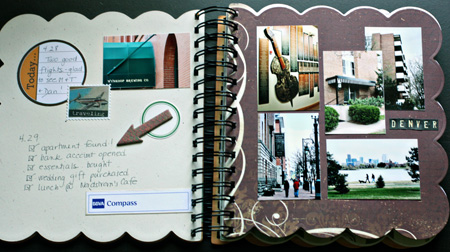
A combination of memorabilia, stickers, chipboard, journaling, and photos. All the supplies for this album came from my stash. I have a 12X12 envelope with travel papers & stickers that I save for these projects.
I love the different sized pages you can create with the Spellbinders Creative Book Pages dies. The right-hand side shows a smaller page with one of the larger ones peeking out behind.
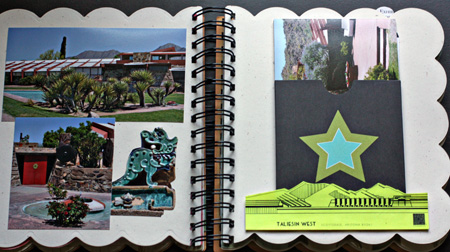
Here I used a pocket on the right-hand page to hold a stack of photos from our visit to Taliesin West. I rarely cut a shape from a photo, but I did on the left page, and cut a section from one of the memorabilia pieces on the right.
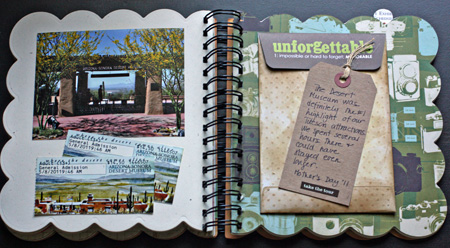
Here I included the tickets to the museum and another envelope with photos. The Desert Museum was one of our favorites from this trip.
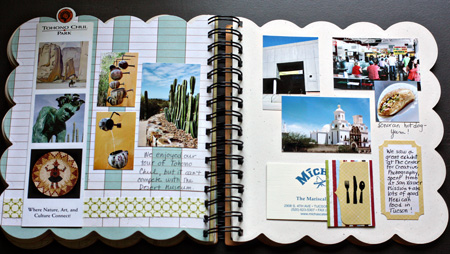
On the left-hand page, I made a little pocket and stamped the silverware to hold business cards from some of the restaurants where we ate in Tucson.
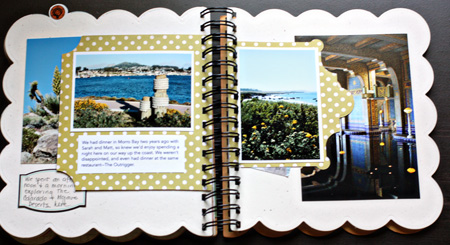
Here you can see three different sized pages with photos from our drive up the Pacific coast and our night in Morro Bay.
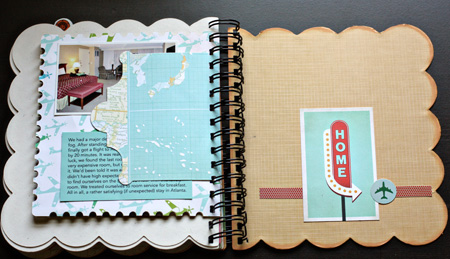
The End!
This represents a fraction of the pages. It ended up being quite thick, and I had to order the largest size ring for my Bind-it All. Although I knew I wouldn’t attempt anything like this for our Alaska trip, having completed this made me more aware of the kinds of things I might want to bring home with me from our most recent trip. I’m planning to made a photo book (we got a great deal on one through Groupon), and will probably do a one or two page layout for each of the major stops and events on our trip. Still haven’t finished editing our friends’ photos as I’ve had several other projects in the works as well. I’m always surprised by how long the editing process takes.
it looks great Karen! I also took this class and completed an album I haven’t shared yet. Guess I need to add that to my list!
What a great way to remember a trip
What a wonderful album Karen! I really like the different page sizes & your use of different envelopes to hold various items.
Great album!! I love the album cover, Karen! That white paint gives it such an interesting affect. I need to get back into one of my hobbies. I’m not doing much of anything at the moment.
Hugs!
Wow, what a great album to record the adventures of your trip! I must start scrapbooking again (telling myself, lol)!
You have been busy,Karen…..some wonderful memories of your trip.
I love the different page sizes and how you’ve used pockets to hold things – there’s something very alluring about a pocket! Yes, editing takes me ages too, and I only manage to do it if I do it in little bits.
Oh yes, editing can take a very long time indeed!
I am so impressed with your album Karen, it has such a great mix of ephemera, journaling and photos – I often forget to collect bits and pieces as we go along, which is a pity because I think they add so much depth to an album, especially a travel album.
That looks great! I love the cover . . . what a great way to use letters that might not be the right color. I need to finish up my travel journal from our England trip.
Rinda
Wow, looks awesome!! Love all the little details you added!
This is fabulous Karen, I especially like the cover!. I am a big fan of pockets! they add so much interest to the page. I have just made a book in i photo and yes the editing sure does take some time!!
Comments are closed.